Users in Linux are a fundamental part of the system regardless of what type of system is used (server or client) since these users are created to use everything that Linux offers and through permissions it will be possible to grant special attributes. But beyond this, when a user is created, it is not only possible to create it, but as administrators we will be able to assign various variables to the user based on the need of the moment and that is why TechnoWikis will teach how to create a user and use the alternatives available for it..
To create our users in Linux we will use the "useradd" command, this command is implemented in Unix and Unix-like systems and its essential task is to create a new user in the system, we will have some parameters to specify everything related to the new user such as their name, password, primary group, home directory, etc.
useradd parameters
Some of the most used parameters are:
- -c comment: allows us to add a descriptive comment from the user
- -d directory: indicates the user's home directory
- -e date: allows us to define the expiration date of the user account
- -f days: sets the number of days after the account expires before the account is disabled
- -g group: defines the user's primary group
- -G groups: assigns the user's child groups
- -m: Automatically create the user's Home directory
- -D, --defaults: set user defaults
- -K, --key KEY=VALUE: This option removes the default values from /etc/login.defs
- -l, --no-login: Do not add the user to the lastlog and faillog databases
- -M: Do not create the user's Home directory
- -r, --system: create a system account
- -s, --shell SHELL: indicates the name of the user's login shell
TechnoWikis will teach you how to use this command to manage new users in Linux..
To stay up to date, remember to subscribe to our YouTube channel!
SUBSCRIBE ON YOUTUBE
How to create user in Linux
Step 1
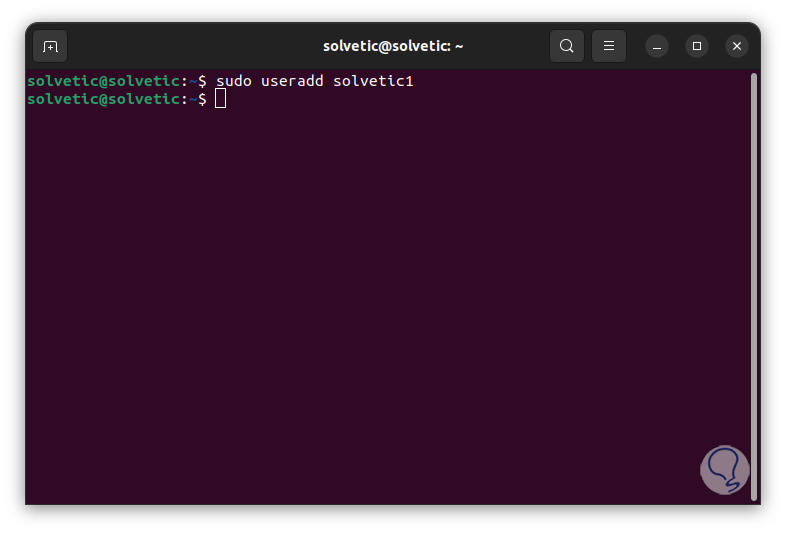
We open the terminal and create a standard user:
sudo useradd (username)
Step 2
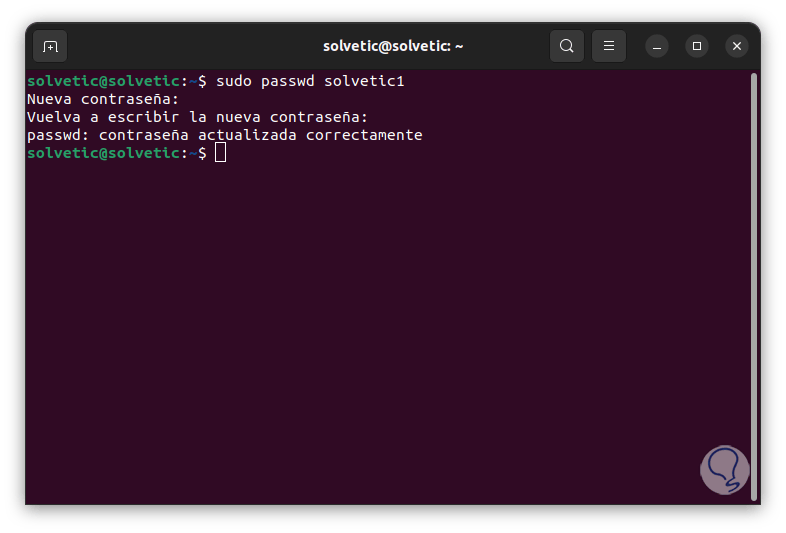
We assign a password to that user:
sudo passwd (user)
Step 3
Enter and confirm the password:
Step 4
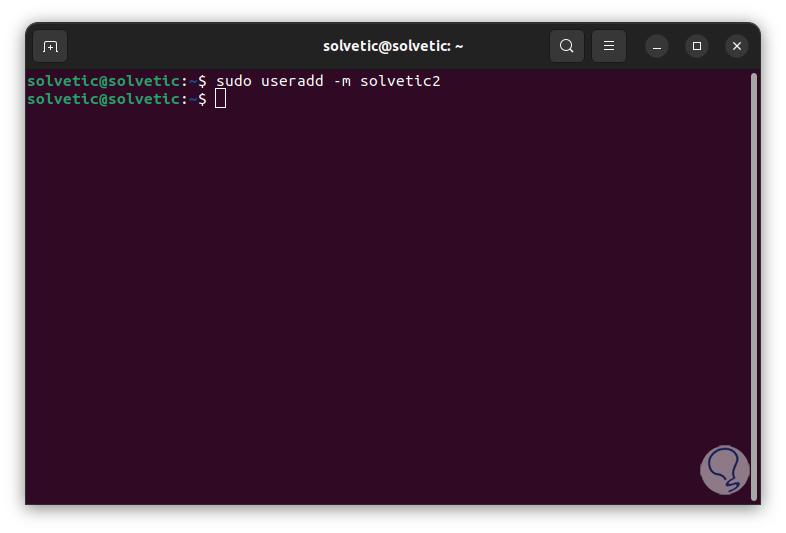
To create a user and assign the Home directory we execute:
sudo useradd -m (user)
step 5
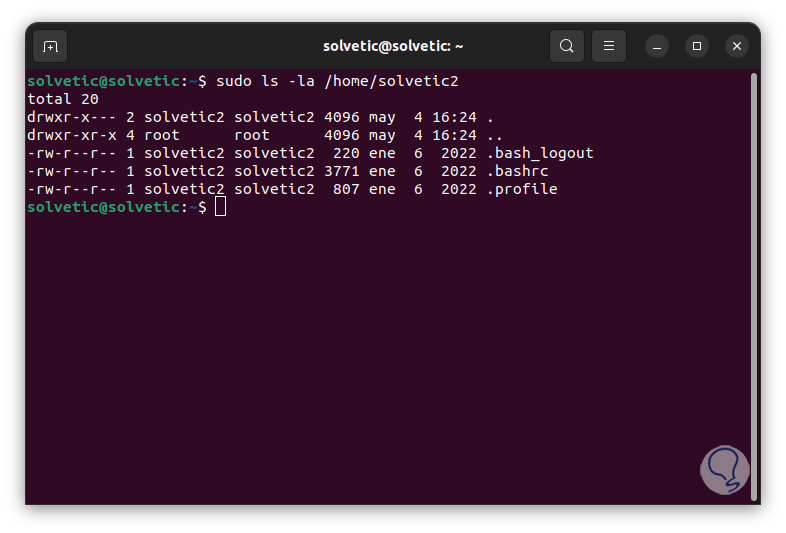
Confirm the process and directory:
sudo ls -la /home/(user)
step 6
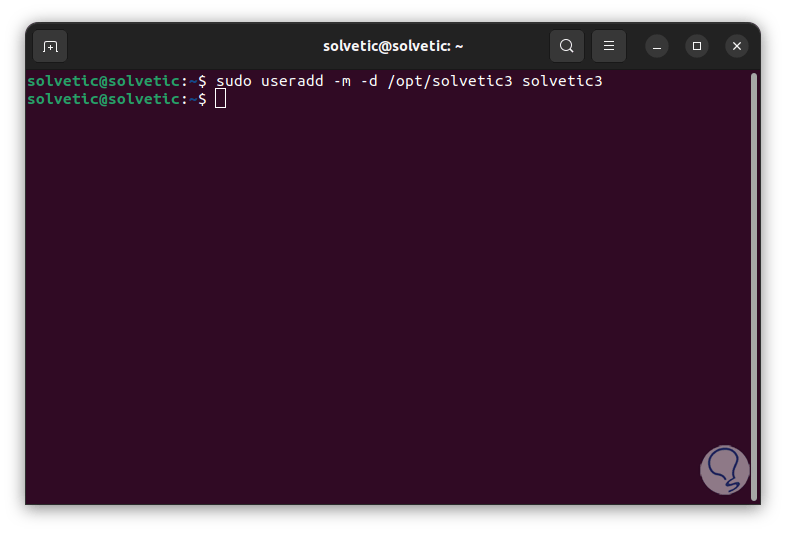
To create a user with a specific home directory or Home we execute:
sudo useradd -m -d /opt/(user) (user)
step 7
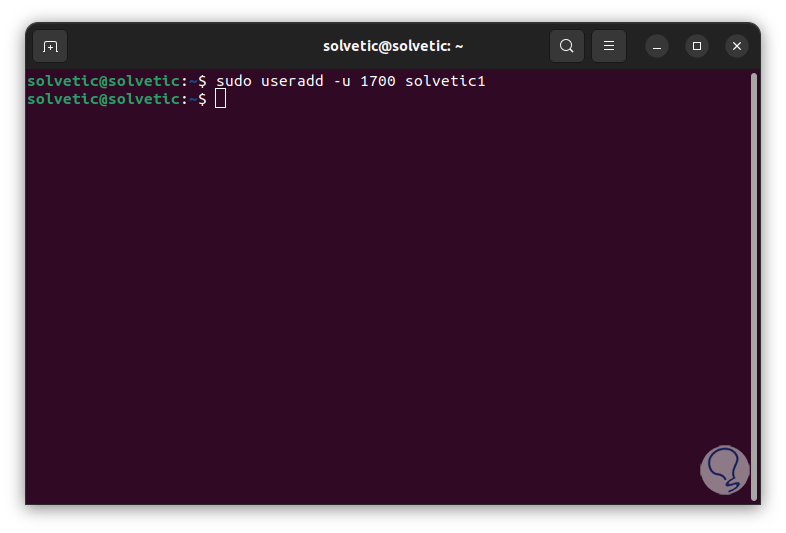
To create a user with a specific ID we execute:
sudo useradd -u ID (user)
step 8
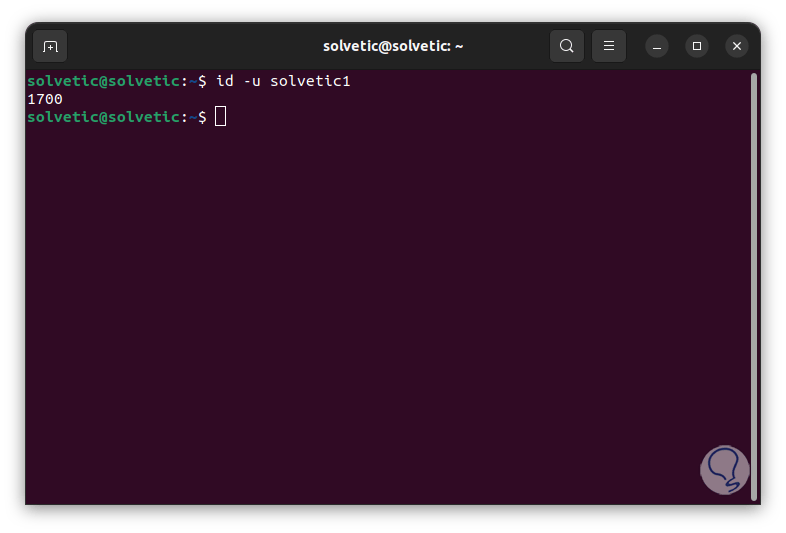
Remember that users are identified using a unique UID and username, the User Identifier (UID) is a unique positive integer that is set by the system for each user so when a new user is created the system will It takes care of granting it the next available UID from the user ID range that is hosted in the login.defs file, but we can enter our own ID as we have seen, it confirms that the ID has been assigned:
id -u (user)
step 9
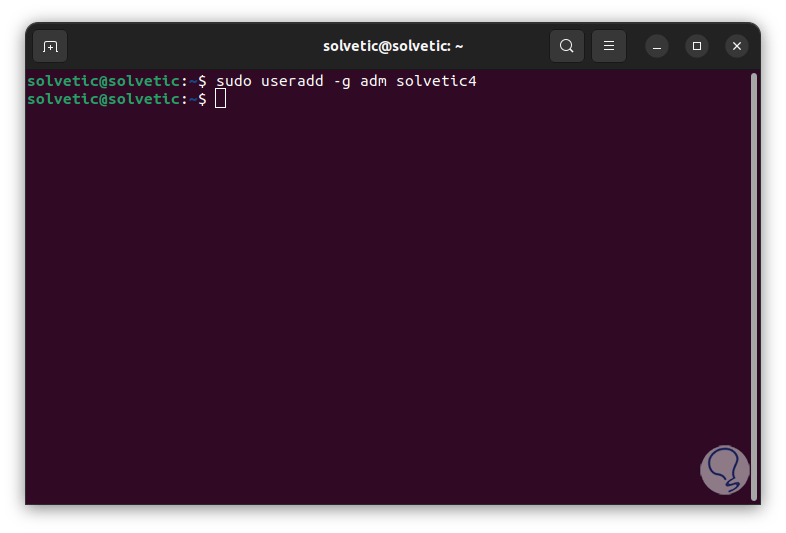
To create a user with a defined group we execute:
sudo useradd -g (group) (user)
step 10
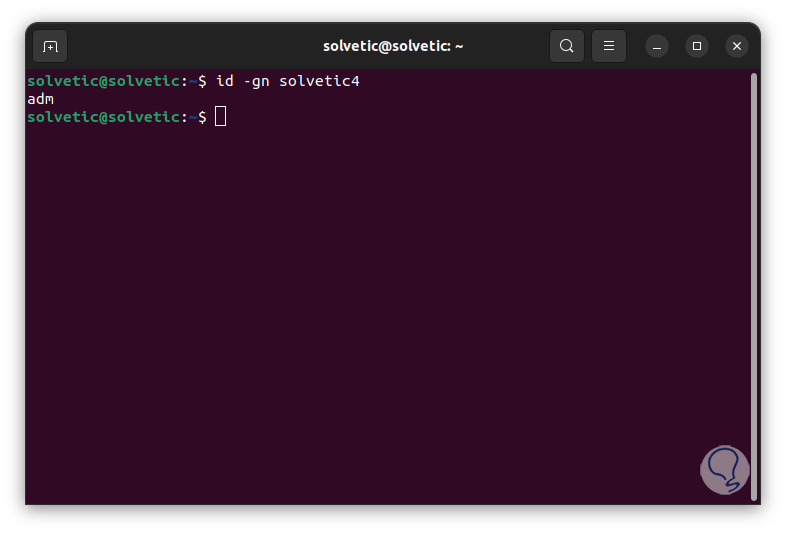
Validate the user's group:
id -gn (user)
step 11
To keep in mind, in the Linux system, the groups have been created as organizational units that allow the administration and management of user accounts, these groups will have read, write or execute permissions as the case may be, when a new user is created, a new user will be created. group using the same username and their respective GID as the UID.
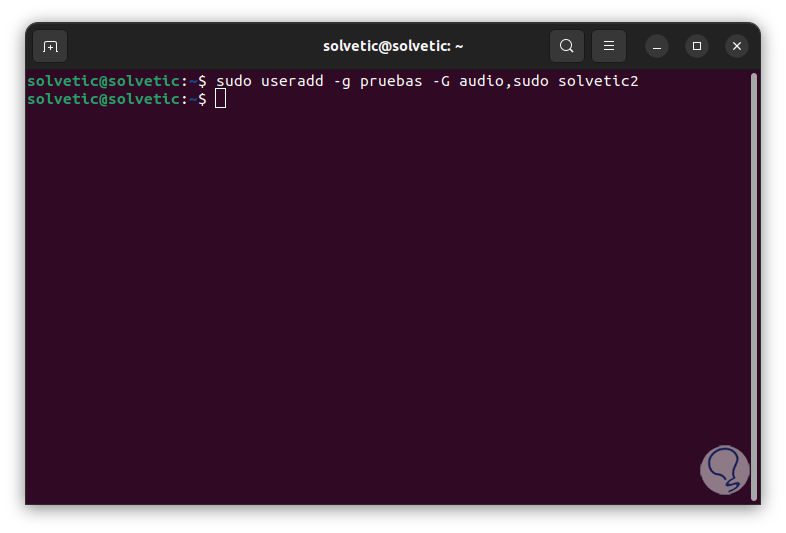
To create a user with multiple groups run:
"sudo useradd -g (group) -G (group),(group) (user)
step 12
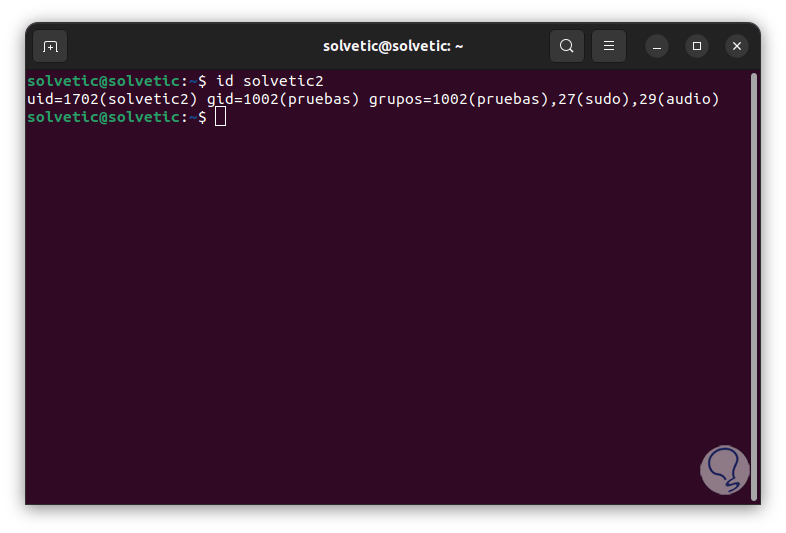
Confirm the assigned groups:
id (user)
step 13
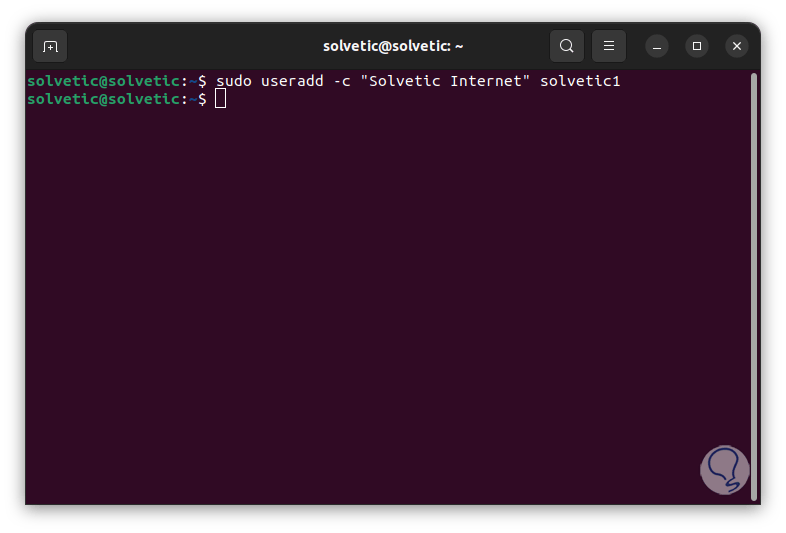
It is possible to create a user with a defined comment, in this case we execute:
sudo useradd -c "comment" (user)
step 14
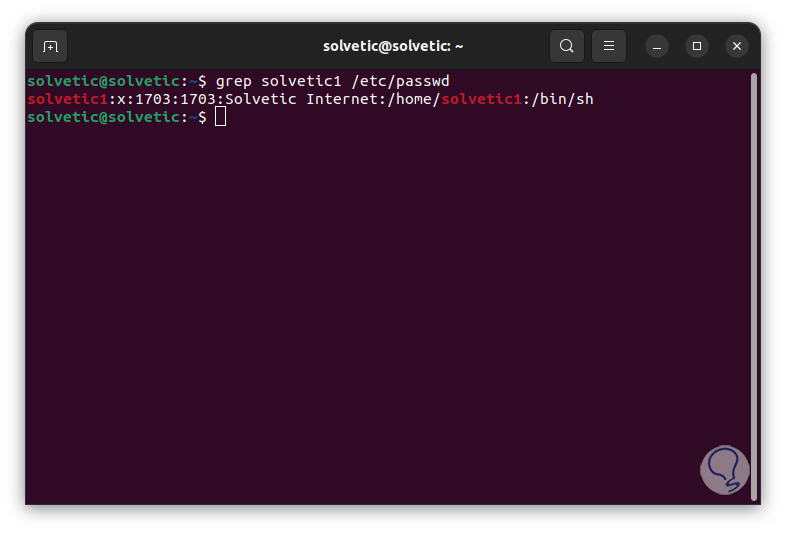
It is ideal to add a description to a user and facilitate its management, to see the message execute:
grep (user) /etc/passwd
step 15
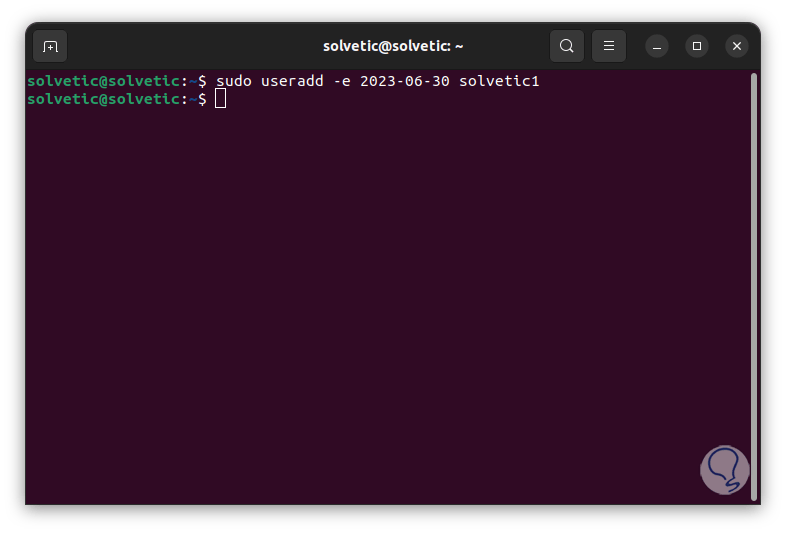
We can add user expiration date:
sudo useradd -e YYYY-MM-DD (username)
step 16
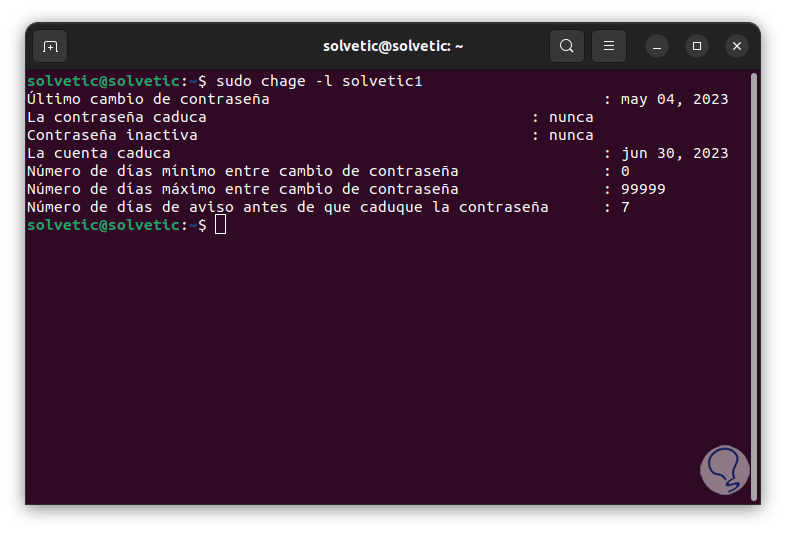
It is ideal for cases where the user will only have access to the system for a while, we validate that it has been applied:
sudo chage -l (user)
step 17
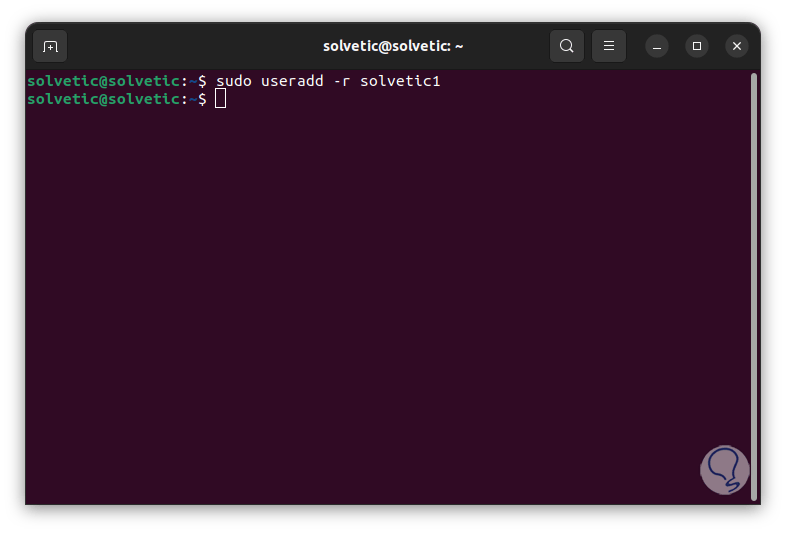
To create a system user we execute the following:
sudo useradd -r (username)
step 18
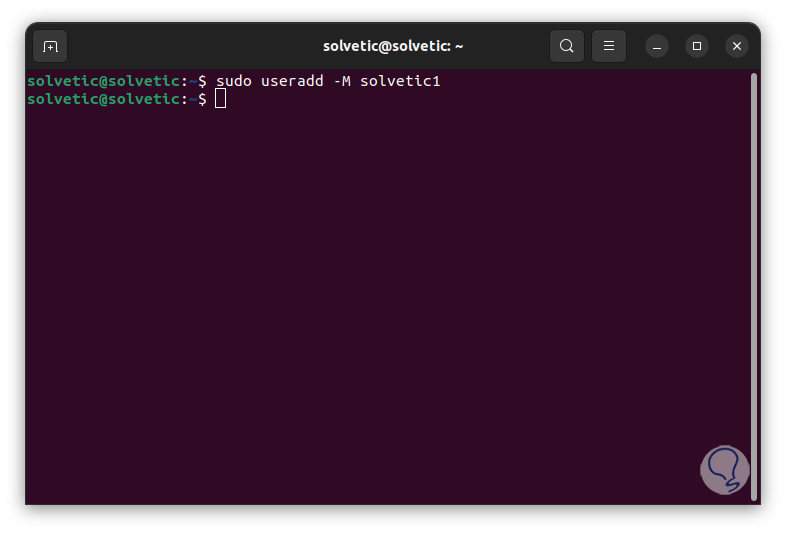
In Linux system users will be created when installing the operating system and new packages but we can create new system specific users if desired. To create a user without a Home directory we execute:
sudo useradd -M (user)
step 19
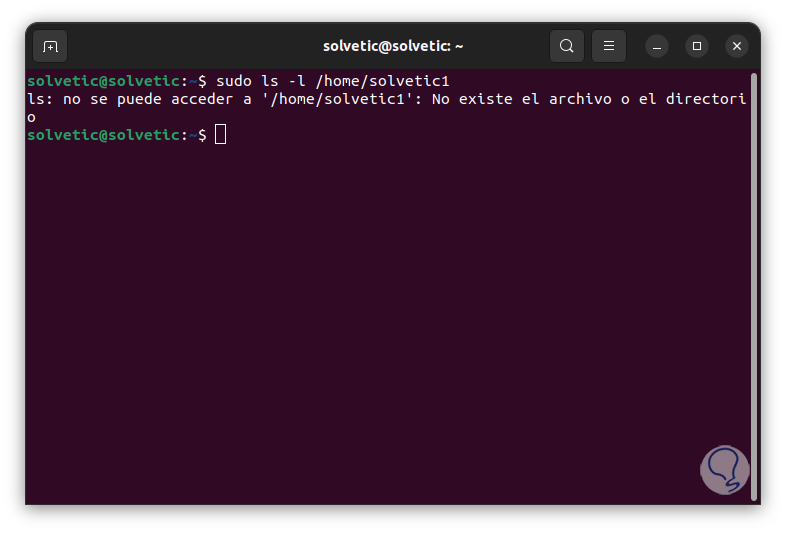
Check that the directory does not exist:
sudo ls -l /home/(username)
step 20
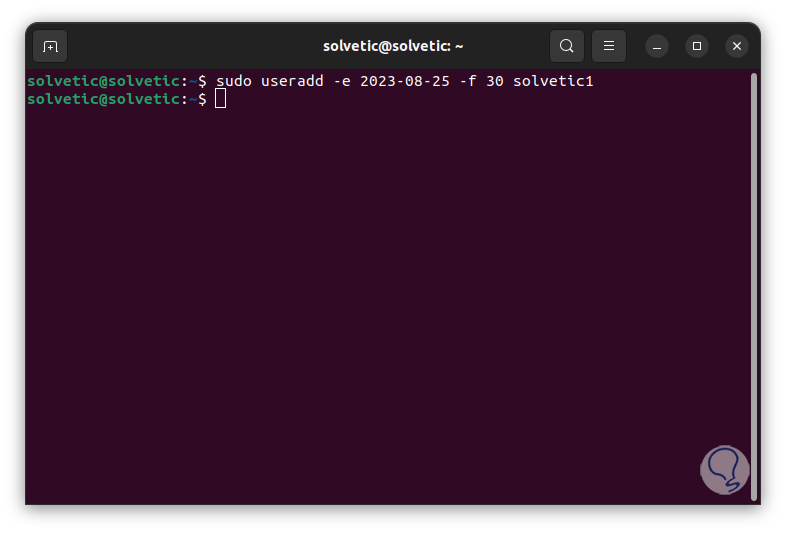
To add expiration date to the password creating the user execute:
sudo useradd -e YYYY-MM-DD -f # (user)
step 21
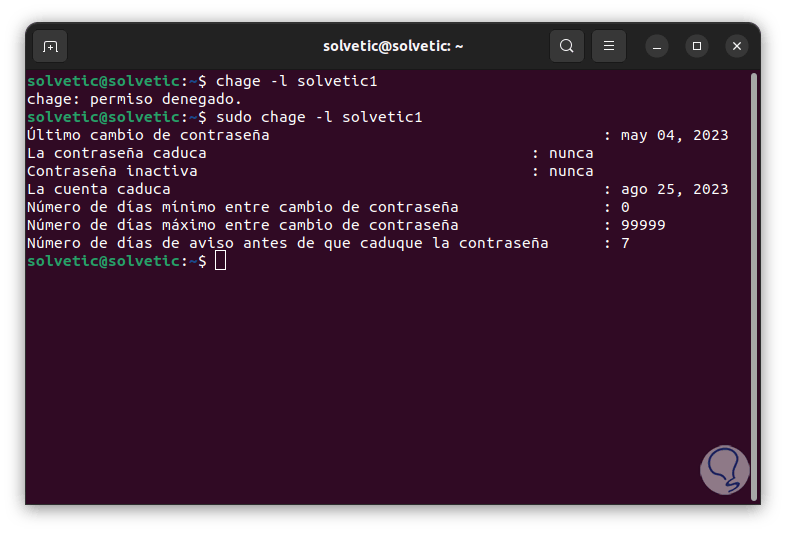
Verify that the change has been applied:
sudo chage -l (user)
step 22
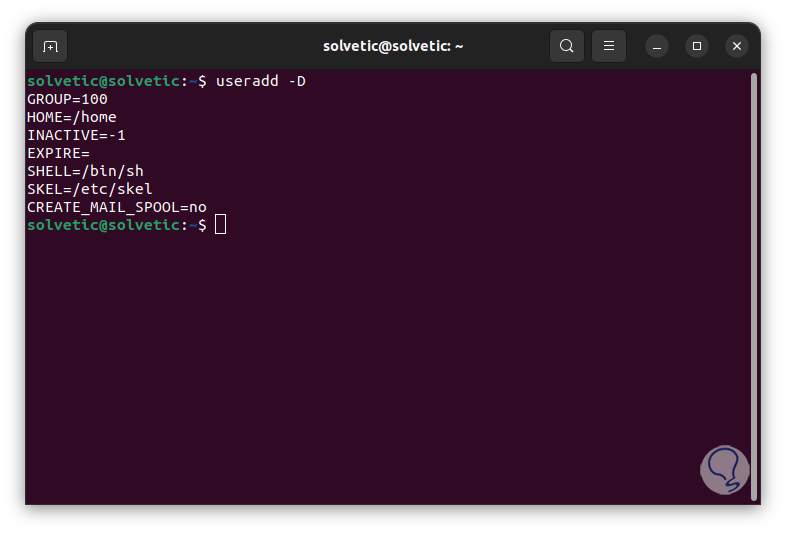
The useradd default options can be modified through the -D, --defaults parameter or manually from the /etc/default/useradd file, to see the default values we execute:
useradd -D
Step 23
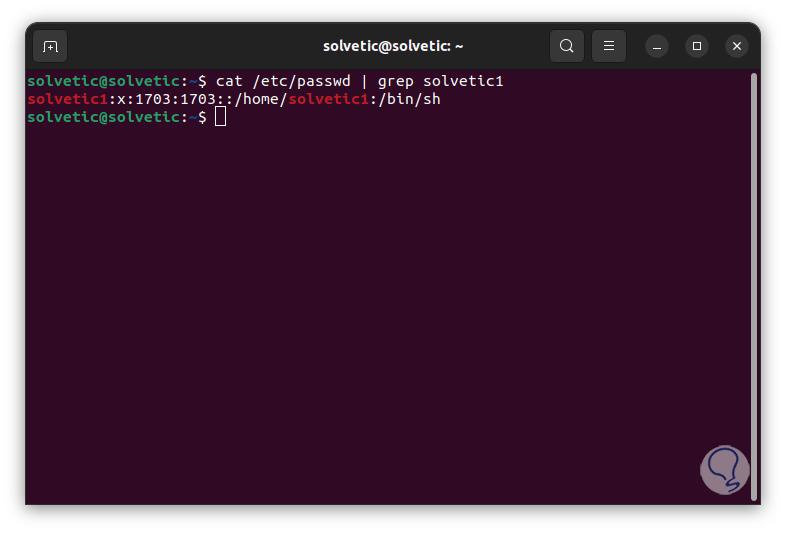
When creating a new user, it is automatically added to the /etc/passwd file, to see details of this we execute:
Cat /etc/passwd | grep (user)
step 24
We see some details like:
This is how useradd allows us not only to create a user but to manage many variables of it.