The use of the Wi-Fi network in Windows is very common since it not only applies to laptops but also to PCs that have Wi-Fi USB devices, normally as users we connect to one of the nearby networks but behind everything For this there is a set of options that we can manage and TechnoWikis will explain some ways to work with the Wi-Fi network and configure aspects that you may not have known were possible..
The use of commands to configure the WiFi in Windows can give you several advantages. Using commands to control your WiFi can give you finer control over your wireless network settings. The commands that we will see today allow you to change parameters such as the SSID, the security type and the network key quickly and accurately. In addition, the commands can be programmed in an automated way, thus facilitating mass configuration in business or educational environments. In addition, these WiFi commands allow us to quickly obtain detailed information about our wireless network.
To stay up to date, remember to subscribe to our YouTube channel!
SUBSCRIBE ON YOUTUBE
How to WiFi with commands
Step 1
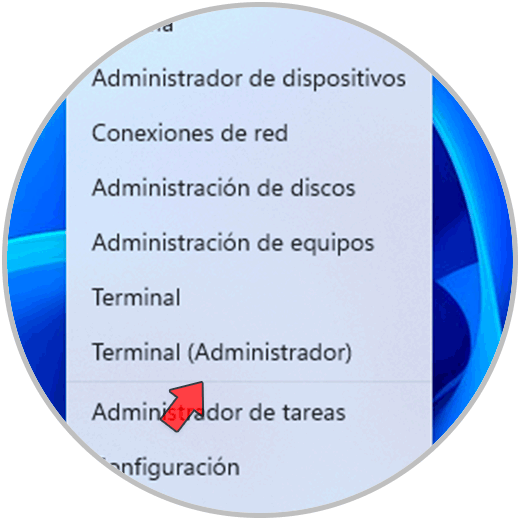
To do this we are going to open the CMD console or the terminal as administrators:
Step 2
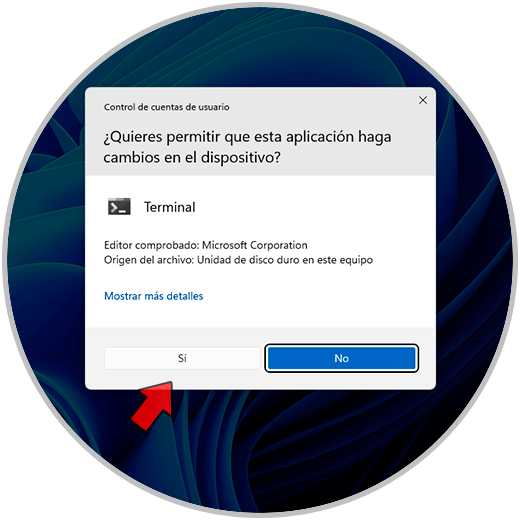
We accept the UAC permissions to access the console:
Step 3
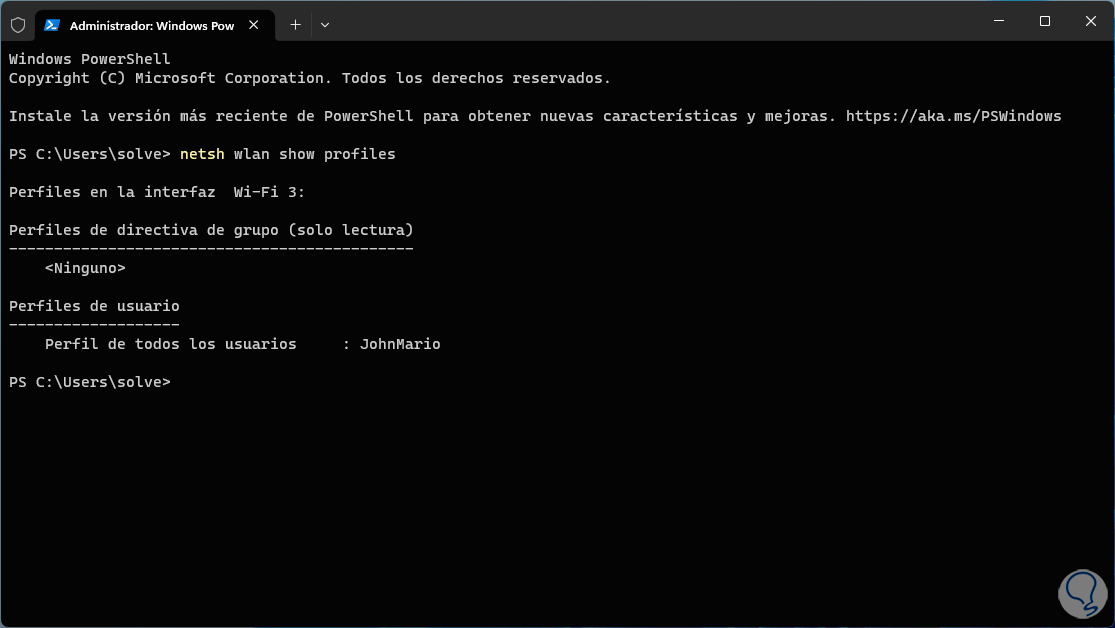
If we want to see the profiles stored in the system, that is, the networks to which we have connected, we will execute the following command:
netsh wlan show profiles
Step 4
There we find the profile and the name of the Wi-Fi interface of our equipment.
step 5
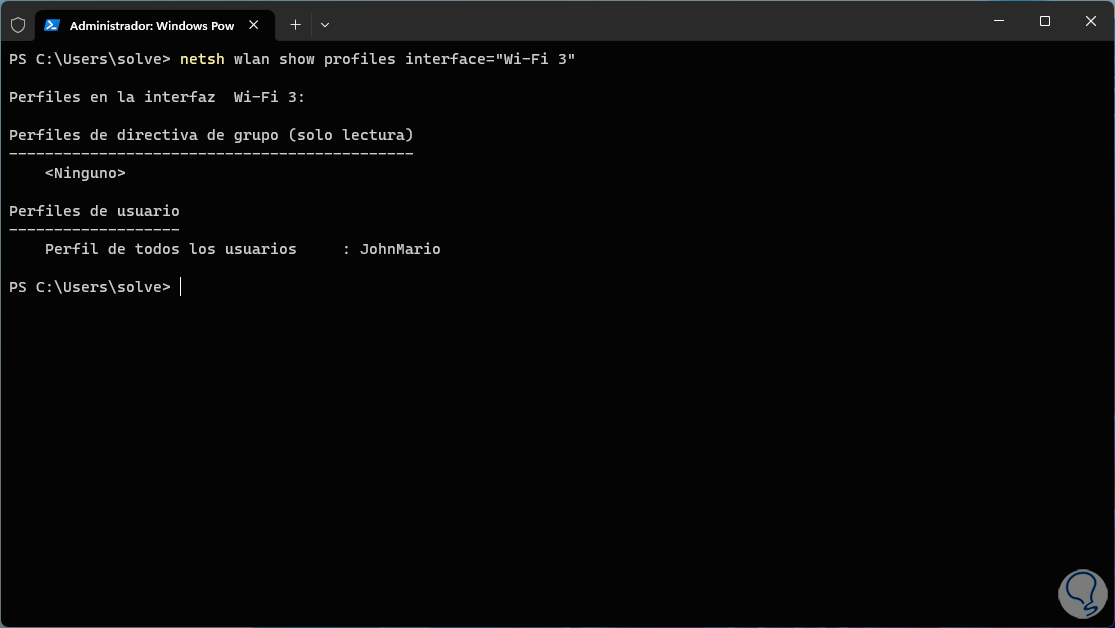
Now it is possible to see the profiles stored for a particular interface, for this you must execute the following command knowing the name of the interface to use:
netsh wlan show profiles interface="Name"
step 6
Another aspect to manage is to see the details of the Wi-Fi network driver, in this case we are going to execute the following command:
netsh wlan show drivers
Note
this will display the controller details only.
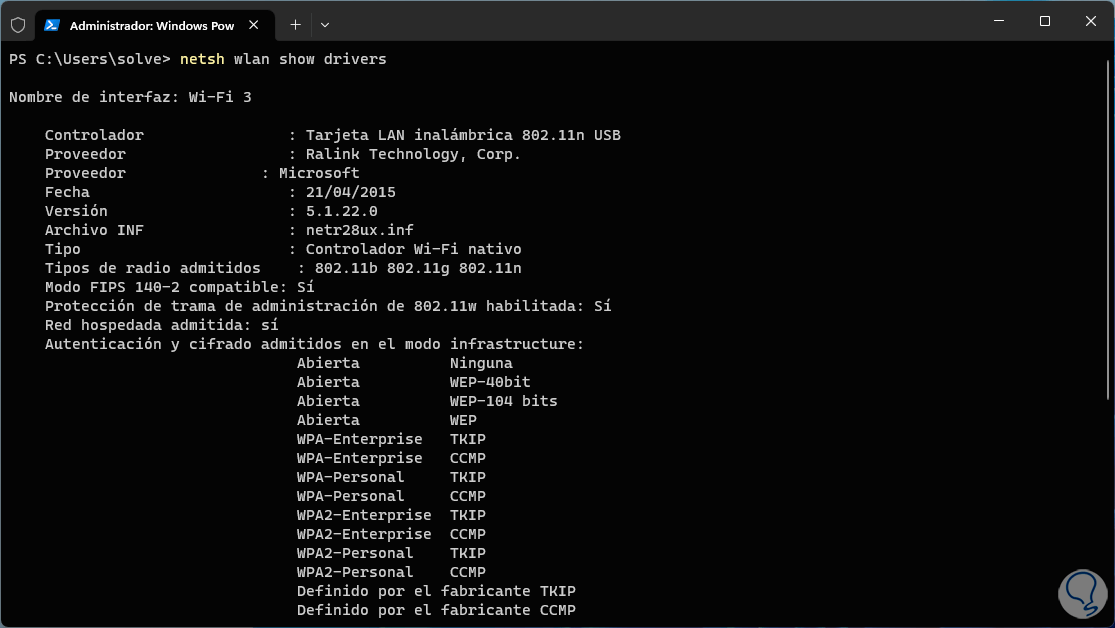
step 7
We found details like:
- Radio types or ranges supported (802.11ax, 802.11a, 802.11n)
step 8
We can go down a little more to have access to more details:
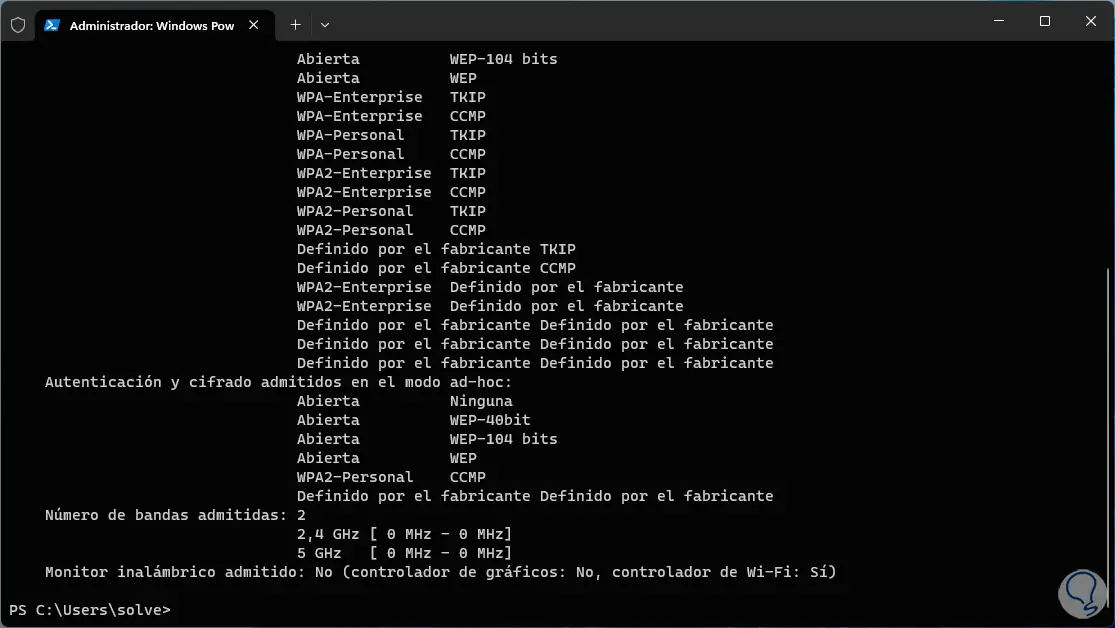
step 9
Another option that we can access is each capacity of use of the Wi-Fi network adapter, for this we are going to execute the following command:
netsh wlan show wireless capabilities
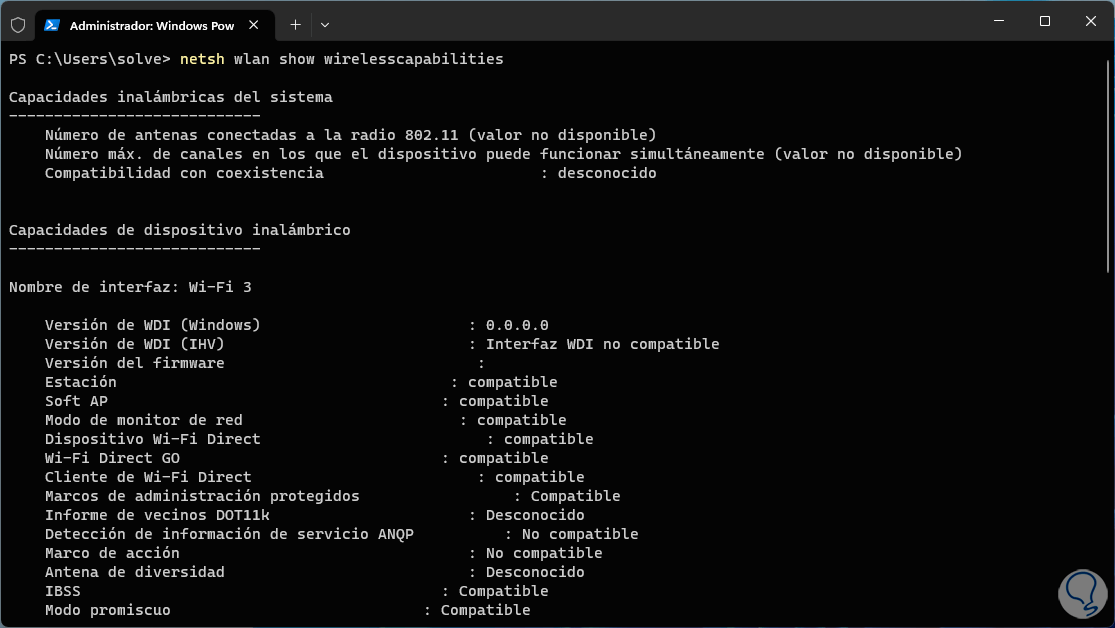
step 10
We can see things like:
- Number of channels supported
- Technical aspects of said interface
step 11
We can navigate in the terminal to see more details:
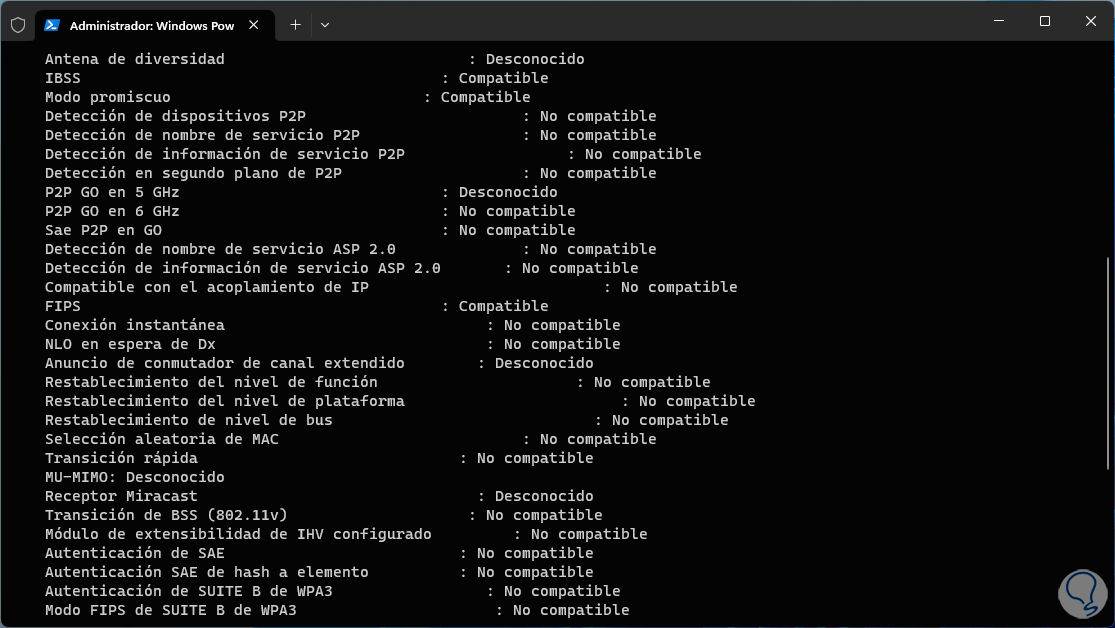
step 12
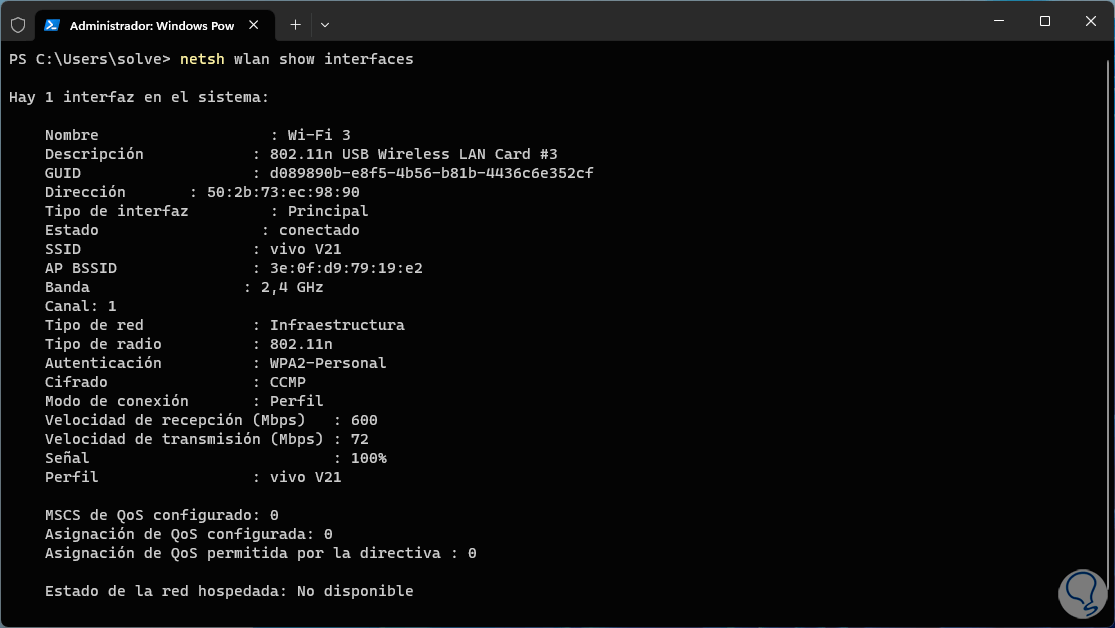
Now, if the objective is to see the configuration of the Wi-Fi network adapter, we are going to execute the command:
netsh wlan show interfaces
step 13
We see specific details such as:
- GUID associated with the system
- Reception and sending speed
step 14
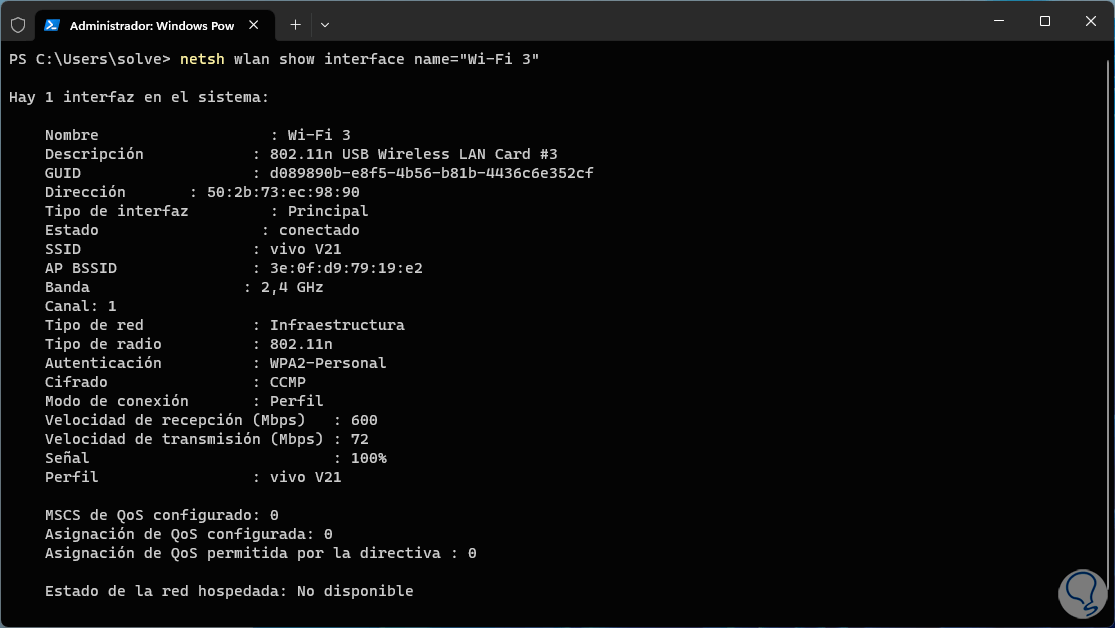
It is possible to specify the interface for which you want to see the characteristics with the command:
netsh wlan show interface name="Name"
step 15
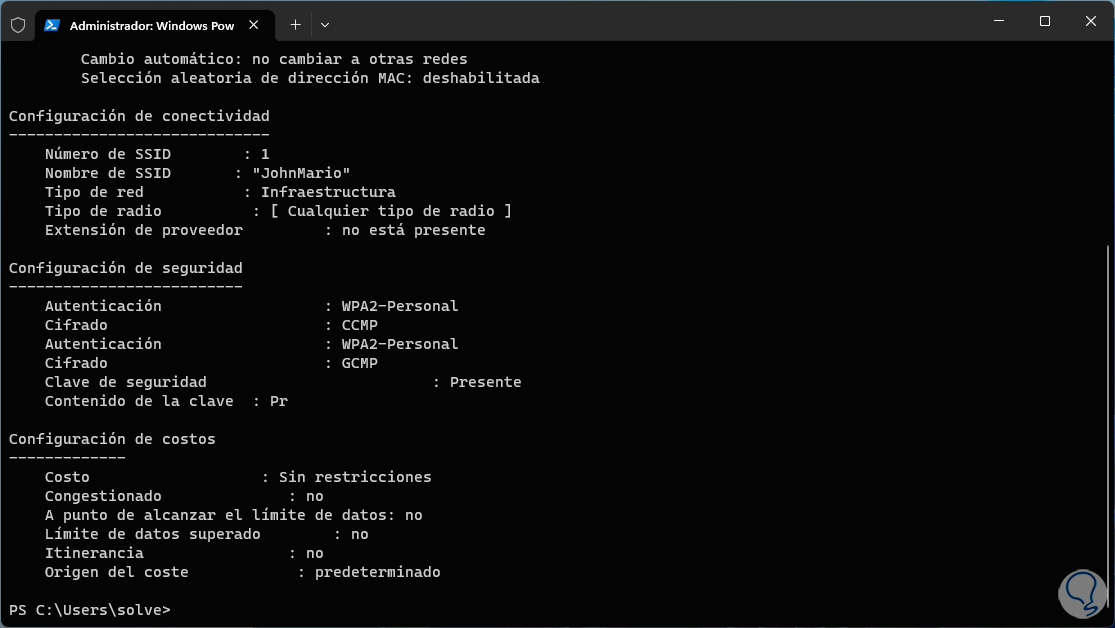
If for security reasons it is necessary to see the password of the Wi-Fi network, TechnoWikis teaches you which is the command to execute in the console, we enter the following:
netsh wlan show profile name="Profile" key=clear
step 16
By pressing Enter we can see the password in the line “Content of the key”.
step 17
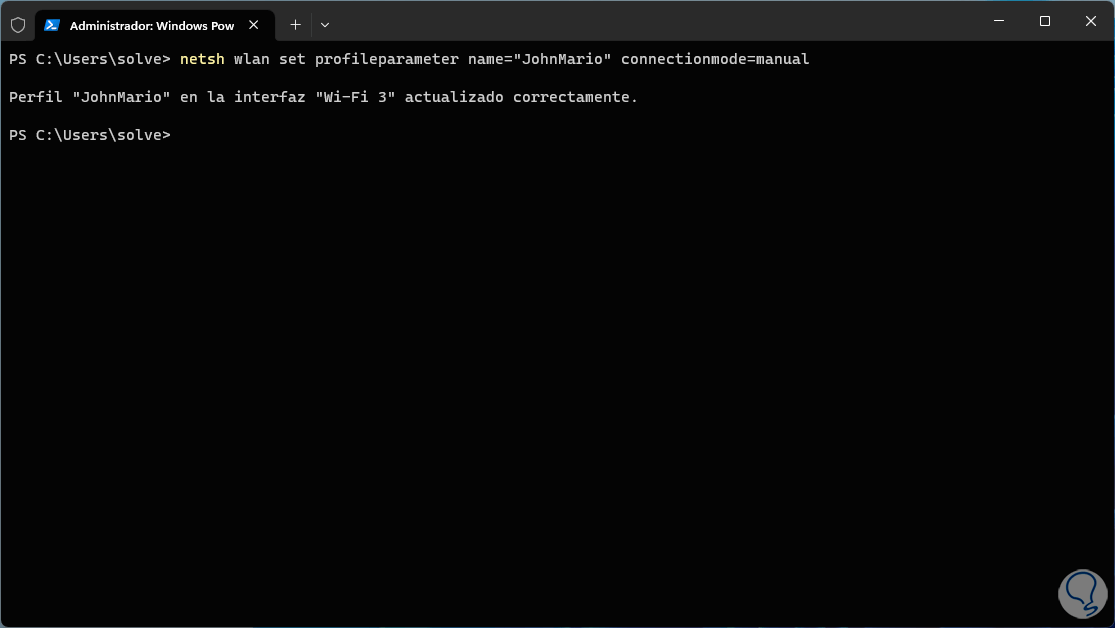
When we connect to a Wi-Fi network in Windows by default, the option to connect automatically is active but we can prevent this from being the case, if we want to prevent the Wi-Fi network from connecting automatically in Windows we will execute the following command:
netsh wlan set profileparameter name="Profile" connectionmode=manual
step 18
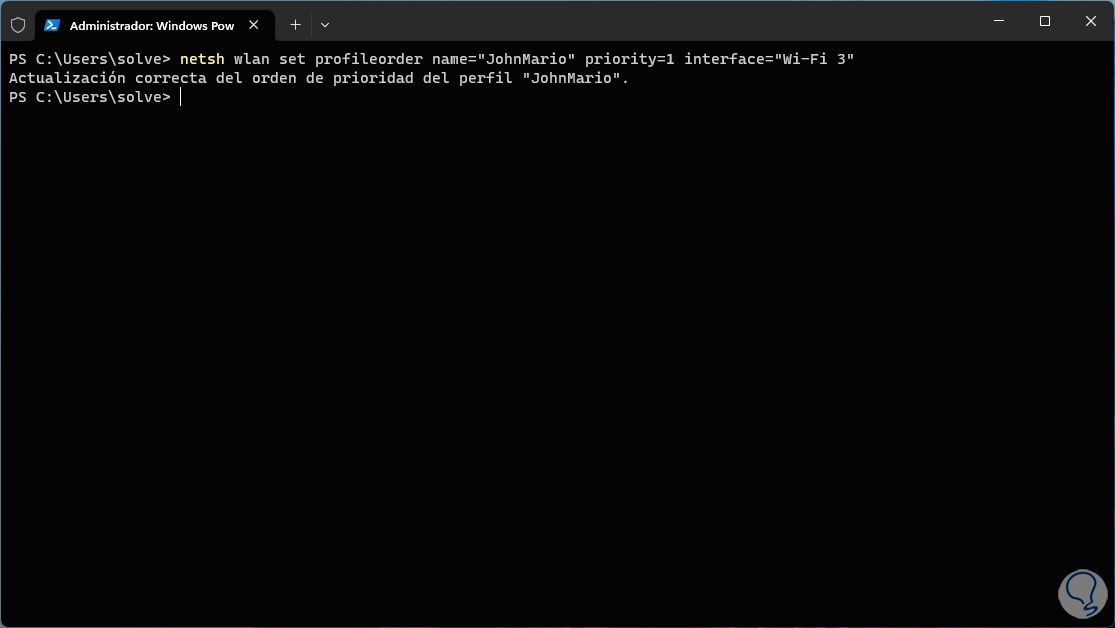
It is possible that we want to change the priority of the network that we use so that it is the most important, in this case we are going to execute the following:
netsh wlan set profileorder name="Profile" priority="Priority number" interface="Adapter"
step 19
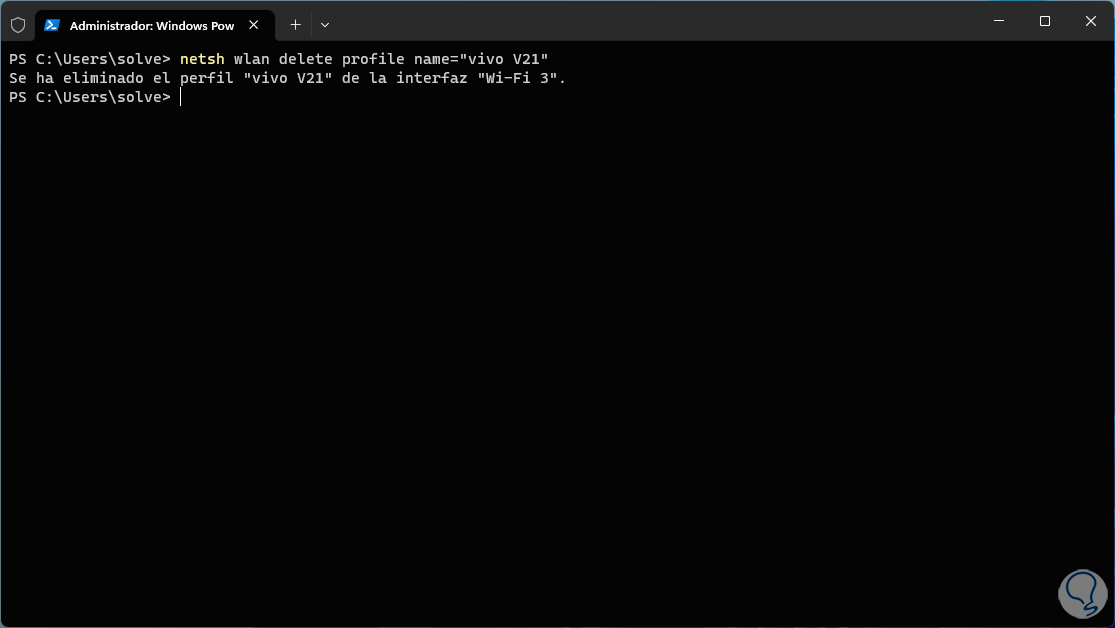
The lower the number, the higher the priority the system uses. If we connect to many Wi-Fi networks it is possible to delete one that we no longer use for security or management, in this case we will use the following command indicating the name of the network to be deleted:
netsh wlan delete profile name="profile"
step 20
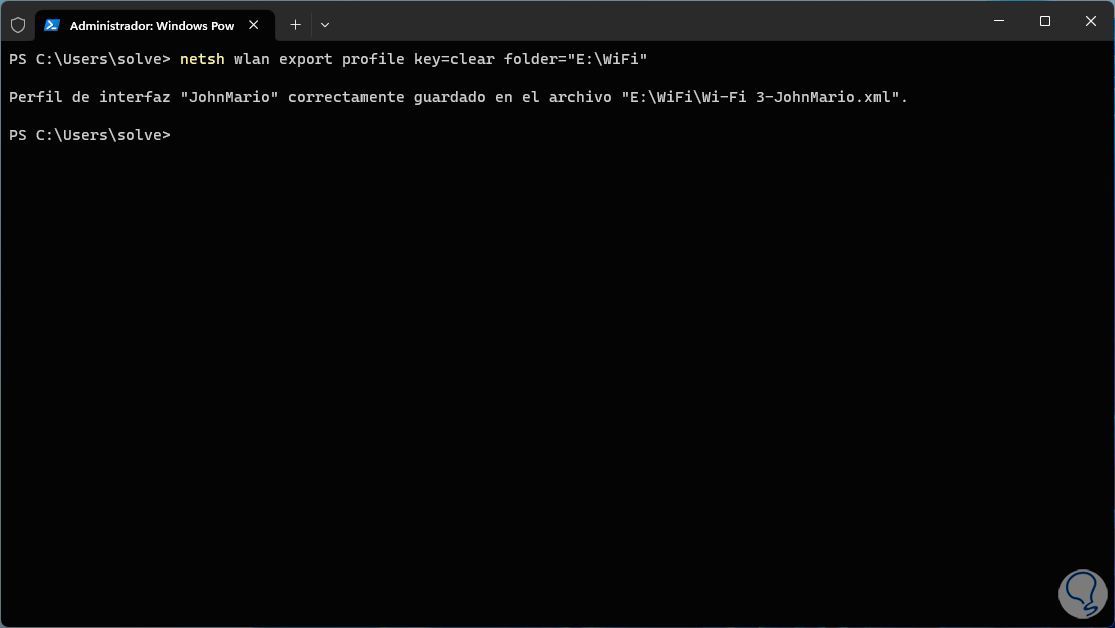
For security or administrative tasks it is possible to export the profile of a Wi-Fi network in Windows, if this is required we will use the following command:
netsh wlan export profile key=clear folder="path"
step 21
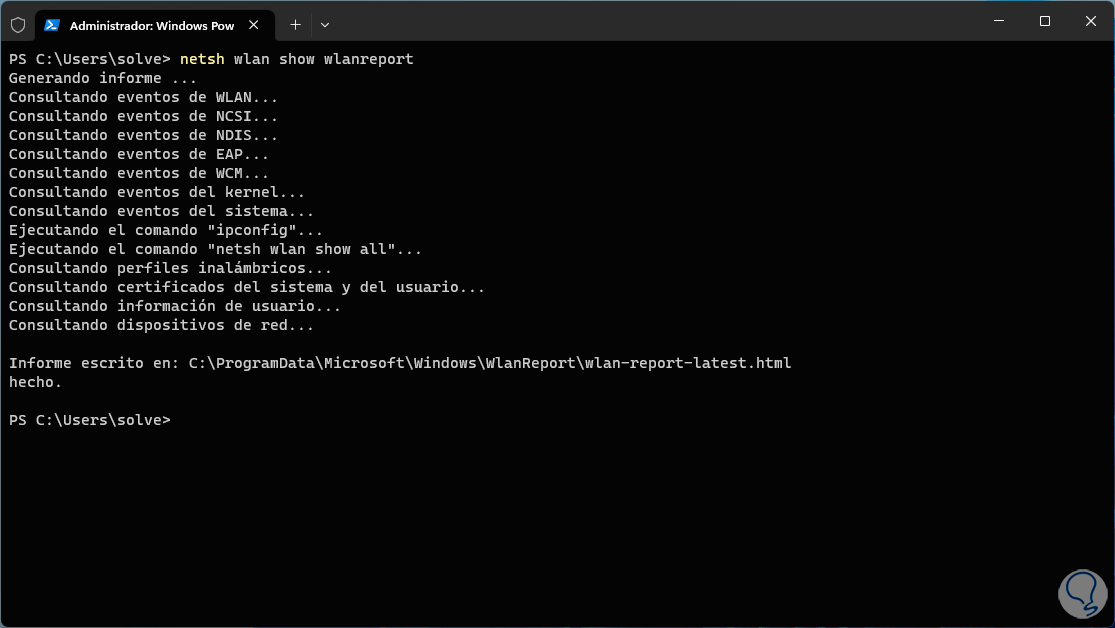
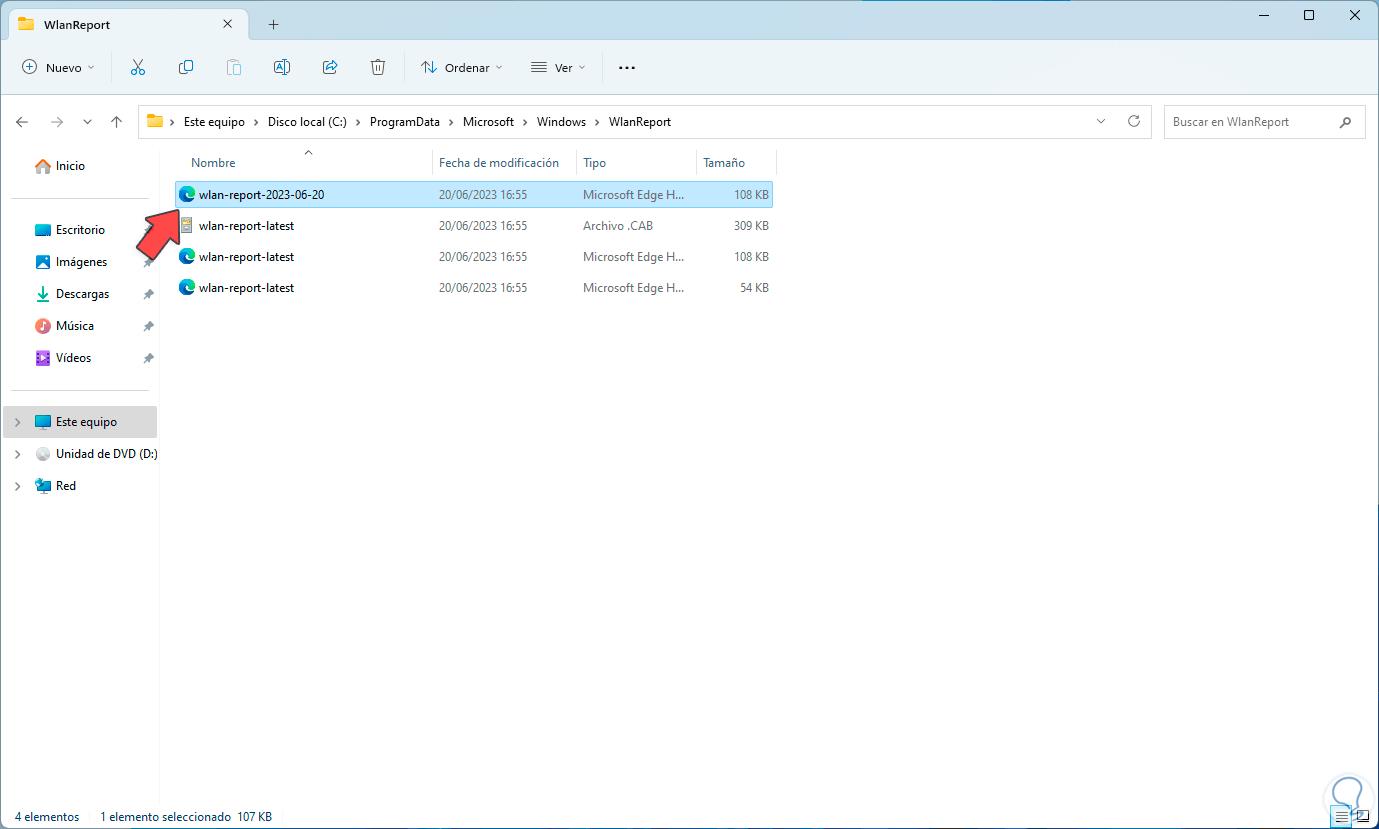
Now there we will have the details in the XML file. One of the most important aspects of this management is to have a complete report of our Wi-Fi network, to access this report, we are going to enter this command in the console:
netsh wlan show wlanreport
step 22
We can see the path where this file has been stored, we go to that path:
Step 23
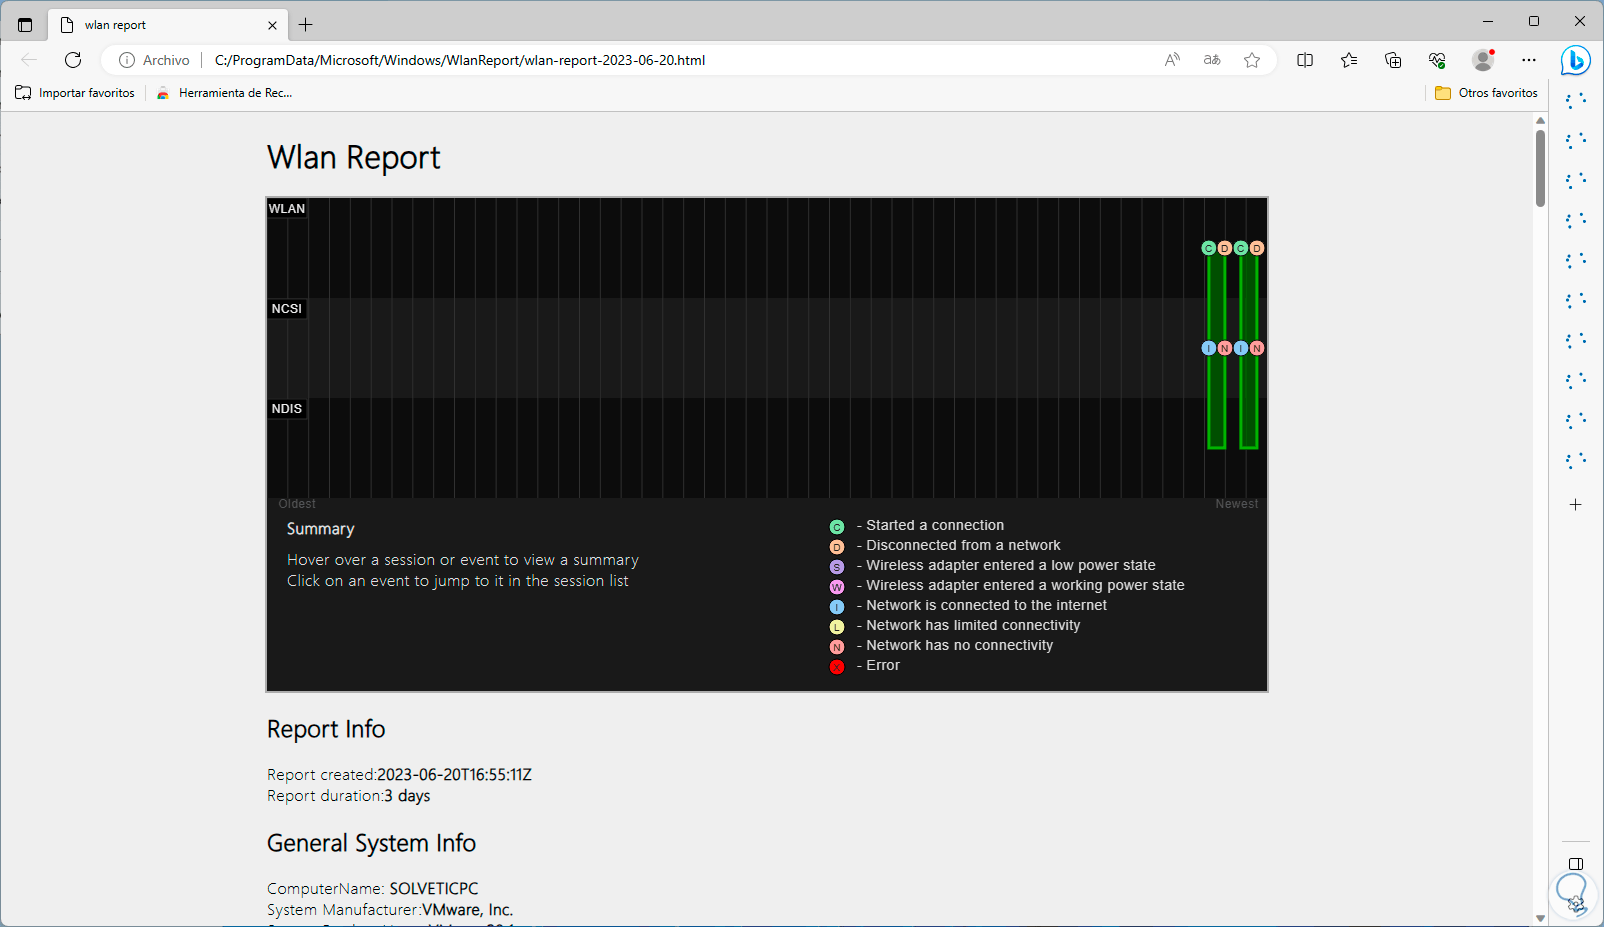
We double click on it to access the details from the browser, these will be in graphic format and in a complete way:
step 24
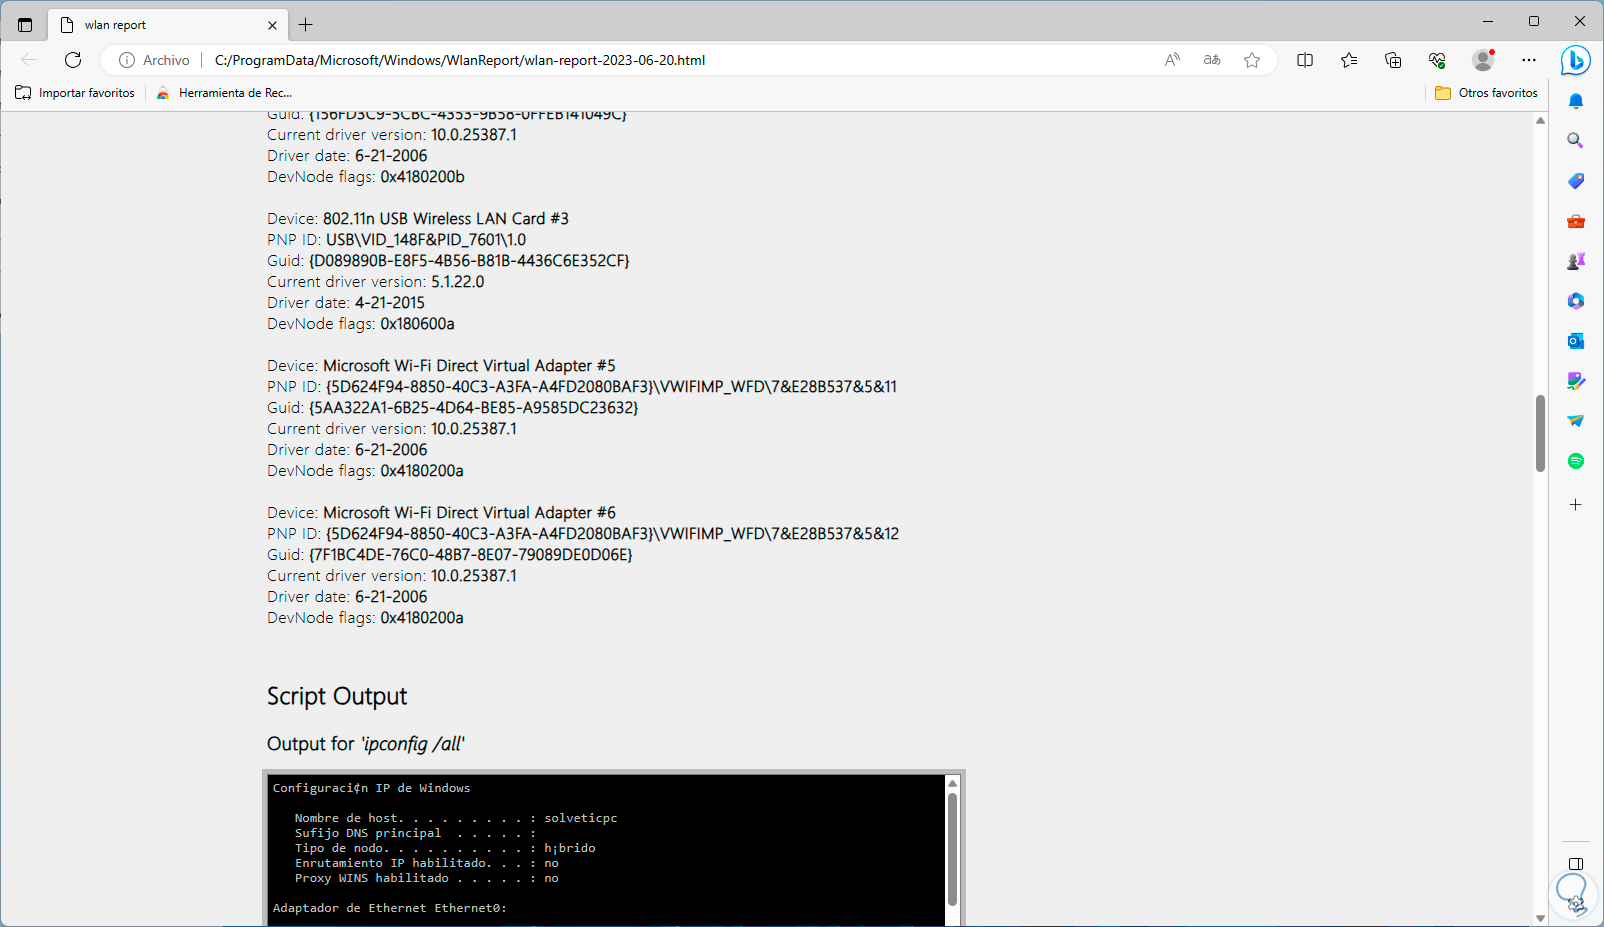
We can navigate in the options:
step 25
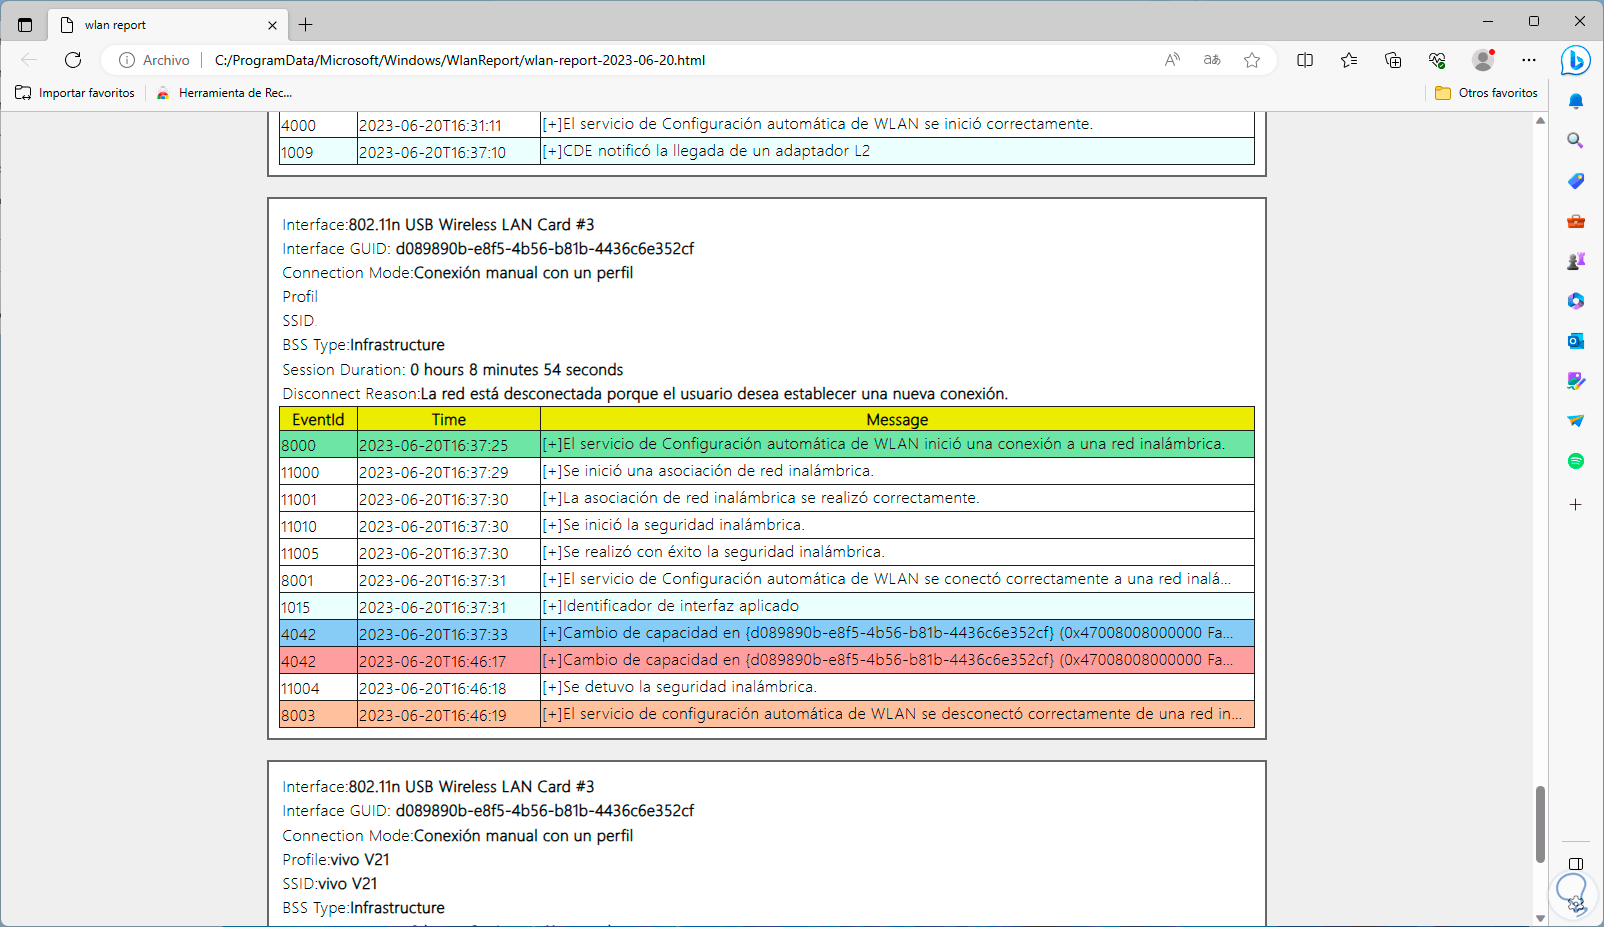
There we find executed commands and statistics of use and status of the Wi-Fi network and the adapter:
Step 26
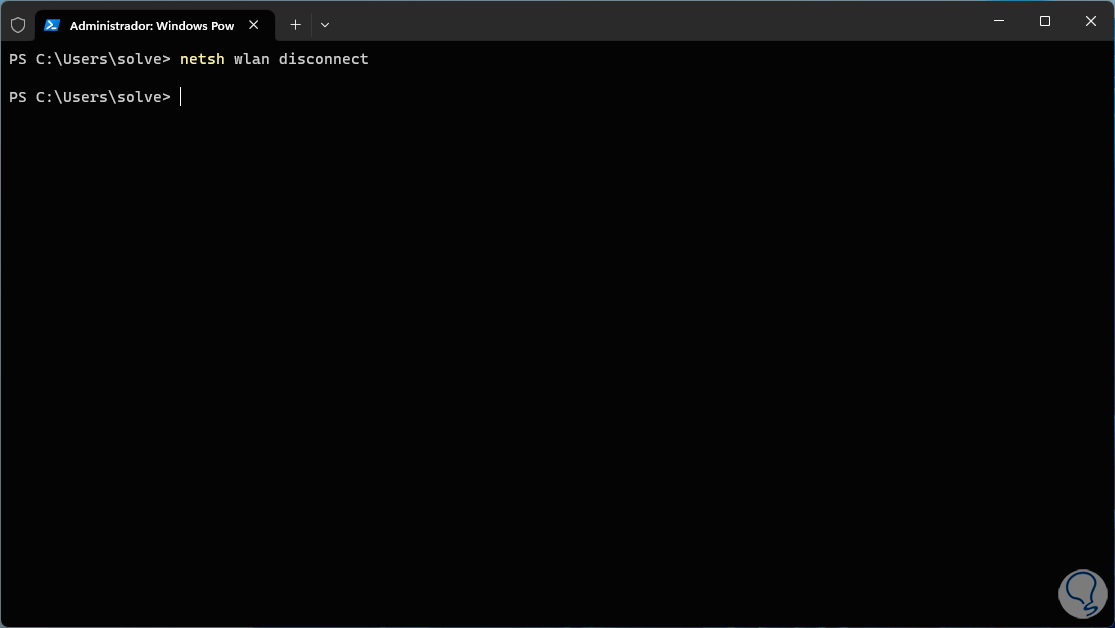
Finally we can manually connect to the Wi-Fi network, from the console we execute the following command to disconnect:
netsh wlan disconnect
Step 27
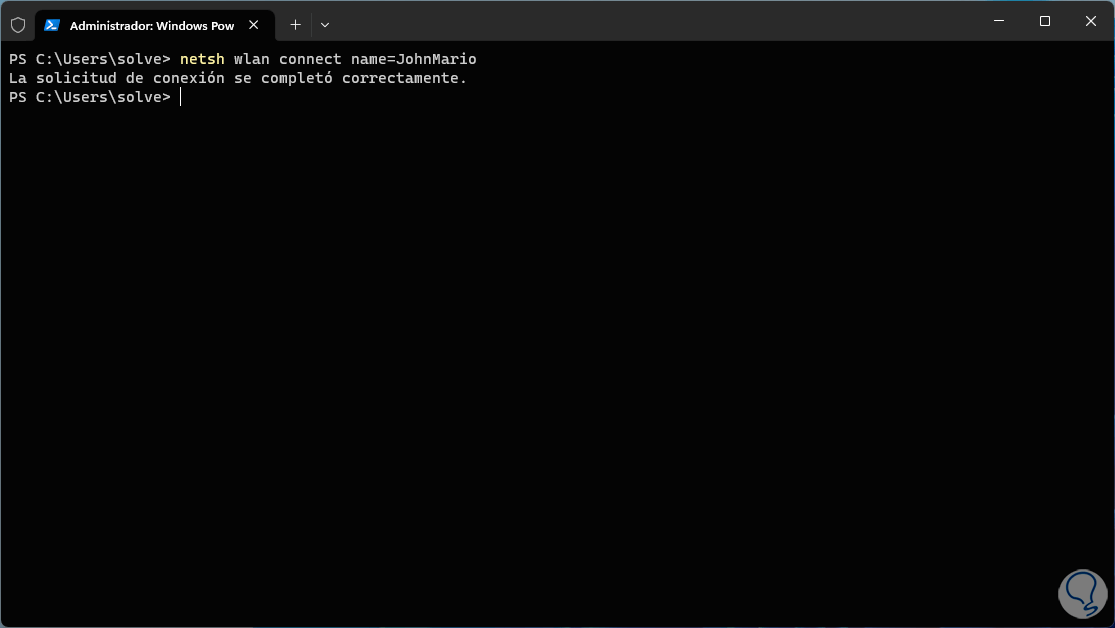
Now with the following command we are going to connect indicating the name of the Wi-Fi network:
netsh wlan connect name=Profile
We can see how the management options are varied and useful for various situations that we can find when using WiFi networks in Windows..