Managing networks and all the processes associated with it can become a complex task due to the number of services, processes and resources that come into play when using any network service. As administrators we must be aware of factors such as:
NMAP factors
- Open and closed ports with their respective service
- Protocols that interact in a network process
- Times for sending and receiving packages
- Percentage of packets sent and received correctly and much more
To help optimize this, it is possible to make use of Nmap which is a well known utility.
Nmap, Network Mapper, has been developed as a tool to detect networks and carry out security audit processes, Nmap makes use of raw IP packets in order to indicate which computers or hosts are available on the network, the services with the name and version of the application active there, the operating system, with its version used, the firewall filters configured and more options that can be configured during the analysis process..
NMAP utilities
Nmap can be used on Linux, Windows and Mac OS operating systems and at the time of its installation it is possible to access utilities such as:
- Zenmap which is an advanced GUI to access the results
- Ncat which is a flexible tool for data transfer, redirection and debugging tasks
- Ndiff with which it is possible to compare scan results
- Nping which, as its name indicates, is a PING packet generation and response analysis tool
NMAP Features
Among its outstanding features we find:
- Available for various modern operating systems
- It supports more advanced utilities and techniques for mapping networks including IP filters, firewalls, routers and more.
- Can scan large numbers of networks
TechnoWikis will explain how to use Nmap in Windows 11 to basically scan the network.
To stay up to date, remember to subscribe to our YouTube channel!
SUBSCRIBE ON YOUTUBE
How to install and use Nmap on Windows
Step 1
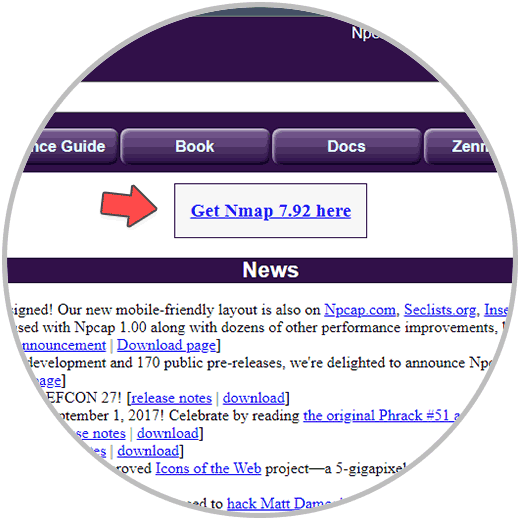
We go to the Nmap URL for download:
nmap
Step 2
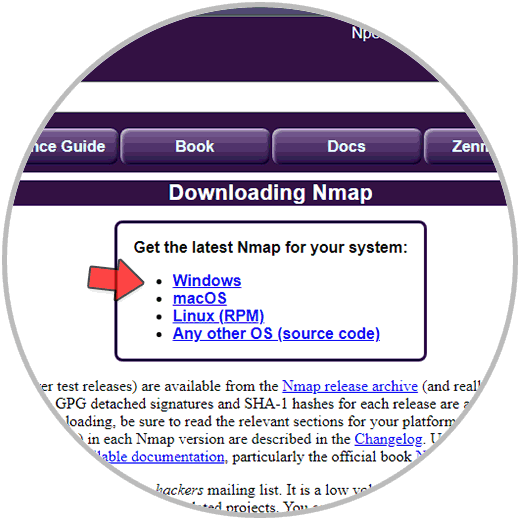
We click on "Get Nmap" to see the following:
Step 3
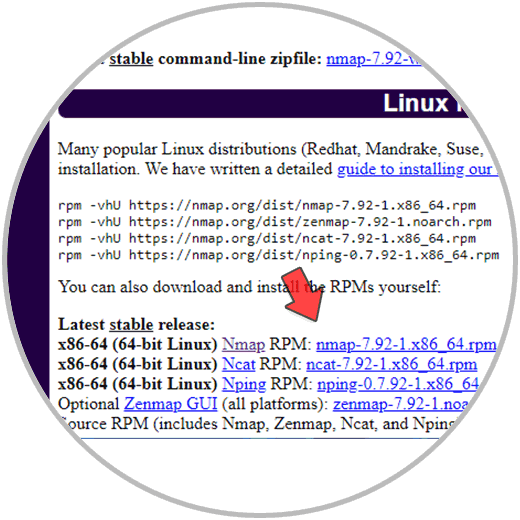
We download the stable version of Windows:
Step 4
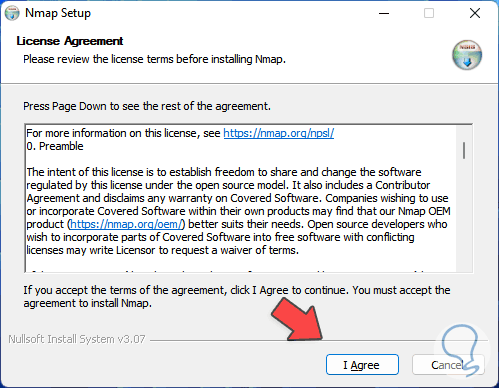
Once downloaded, we run the installer, the following will open:
step 5
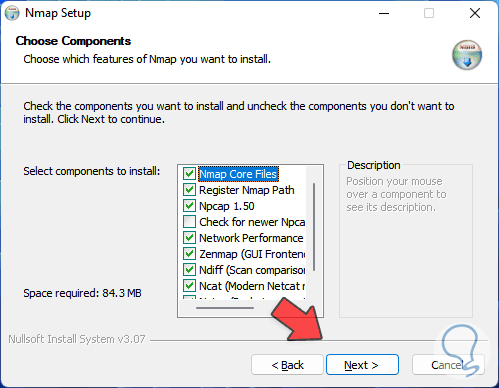
We accept the license terms and in the following window we select the components to install:
step 6
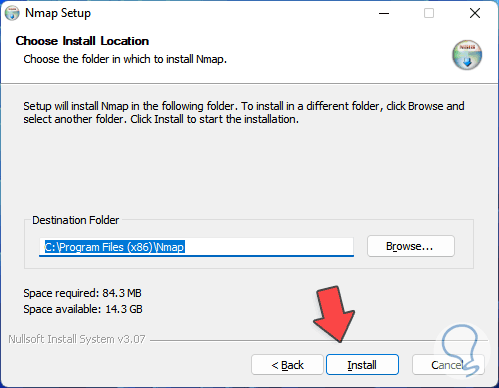
In the next window we define the path where Nmap will be installed:
step 7
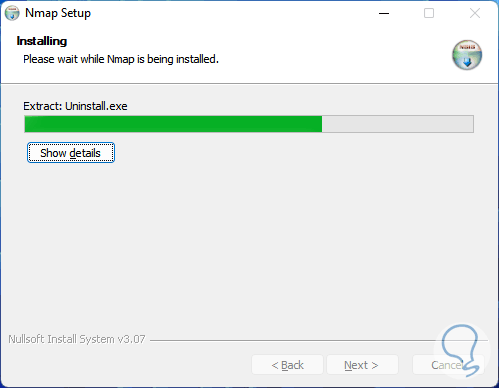
We click on "Install" to start the Nmap installation process:
step 8
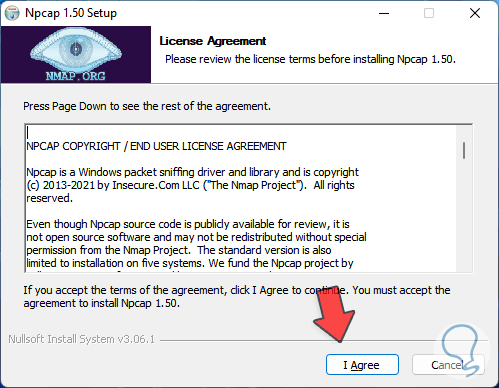
During the process, the Zenmap graphic analysis tool installation wizard will open:
step 9
We accept the license and then we define the components to install:
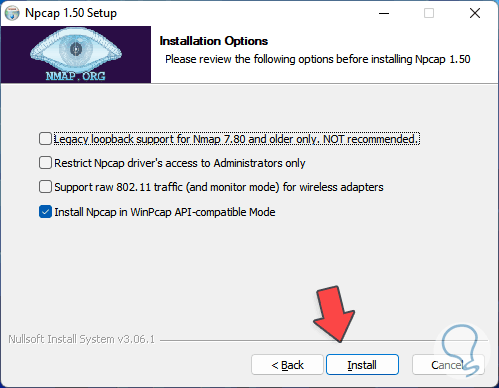
step 10
There it is possible to have support for analysis of Wi-Fi networks, we click on "Install" to install them:
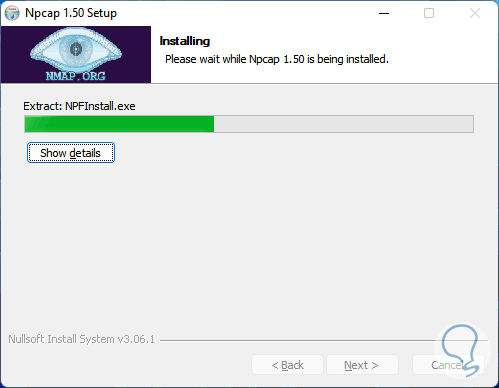
step 11
We wait for the process to finish:
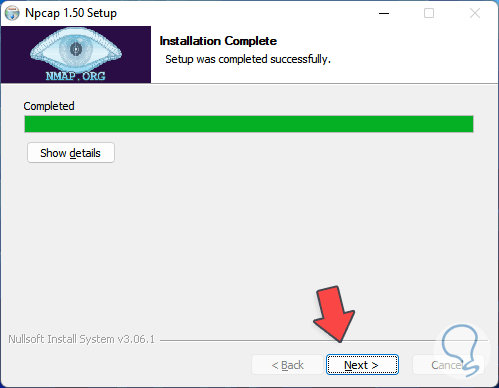
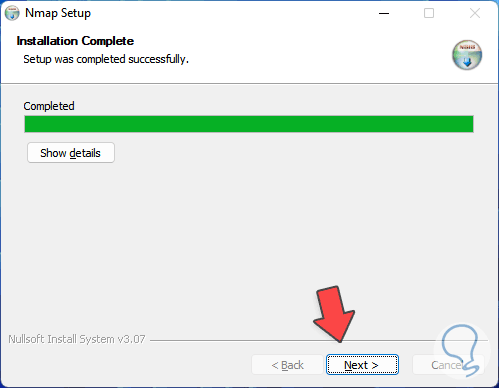
step 12
We click Next to see the following:
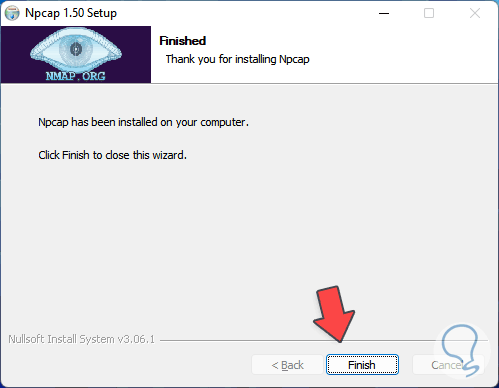
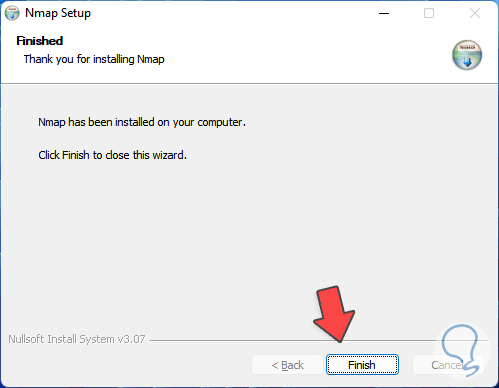
step 13
We click on "Finish" and finish the initial installation:
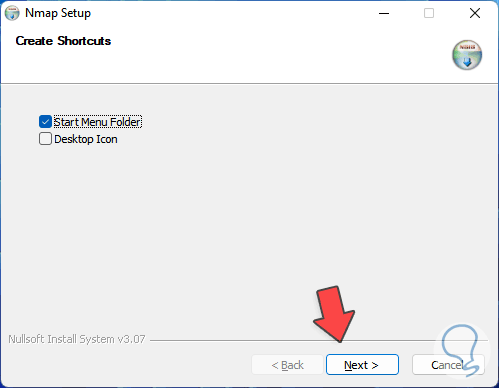
step 14
We define if the shortcuts will be created:
step 15
We will complete the installation of Nmap in Windows:
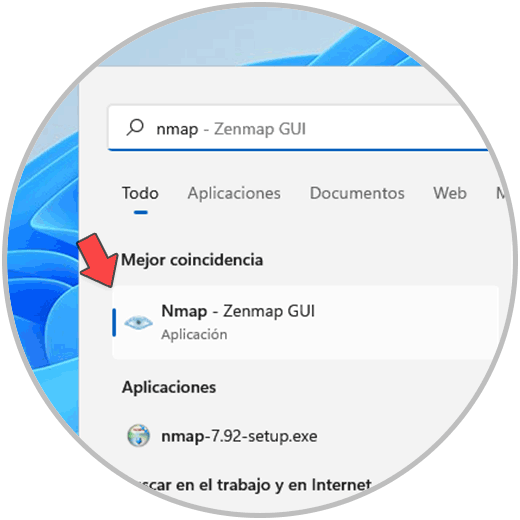
step 16
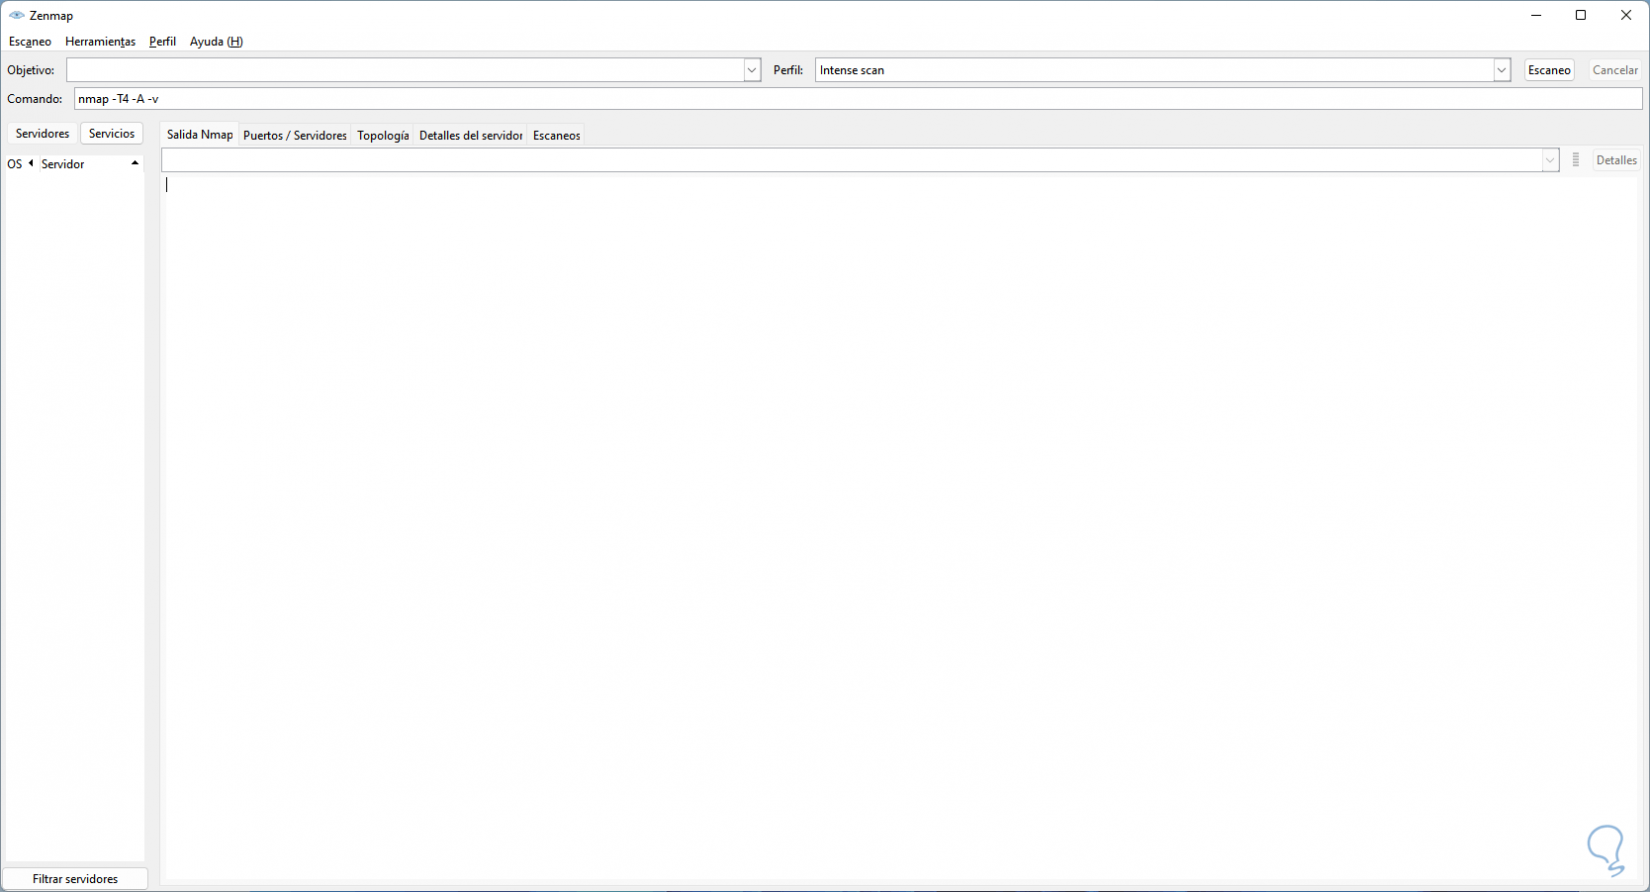
We open Nmap to see its environment:
step 17
This will be the working scenario of Nmap:
step 18
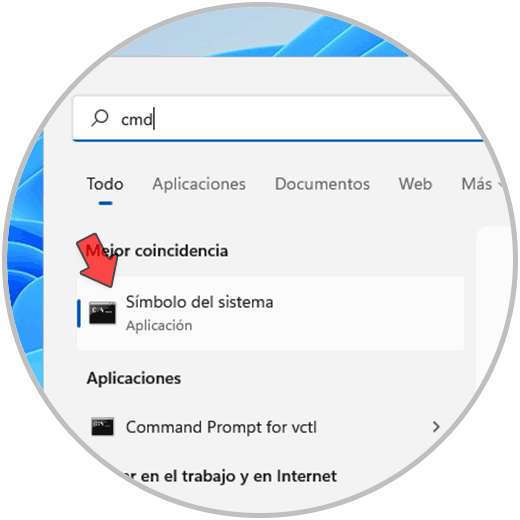
To continue, we open CMD:
step 19
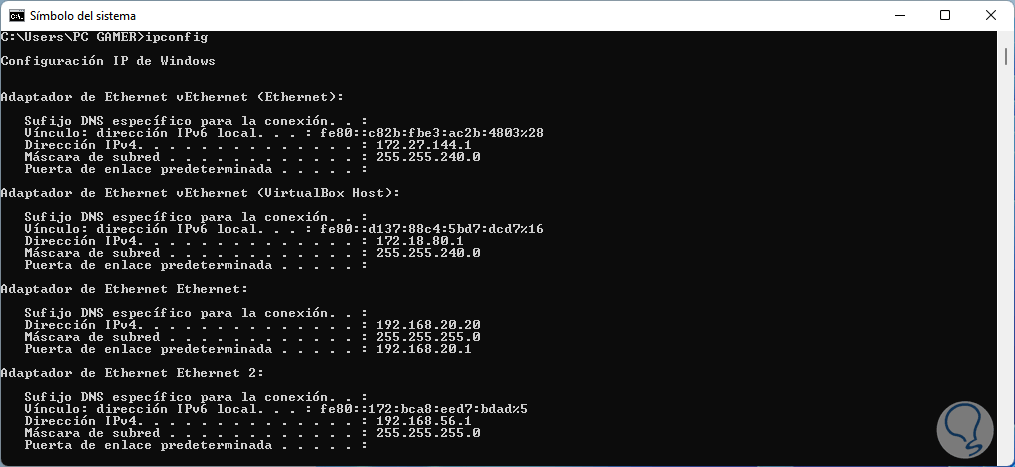
We run "ipconfig" to see the Windows IP:
step 20
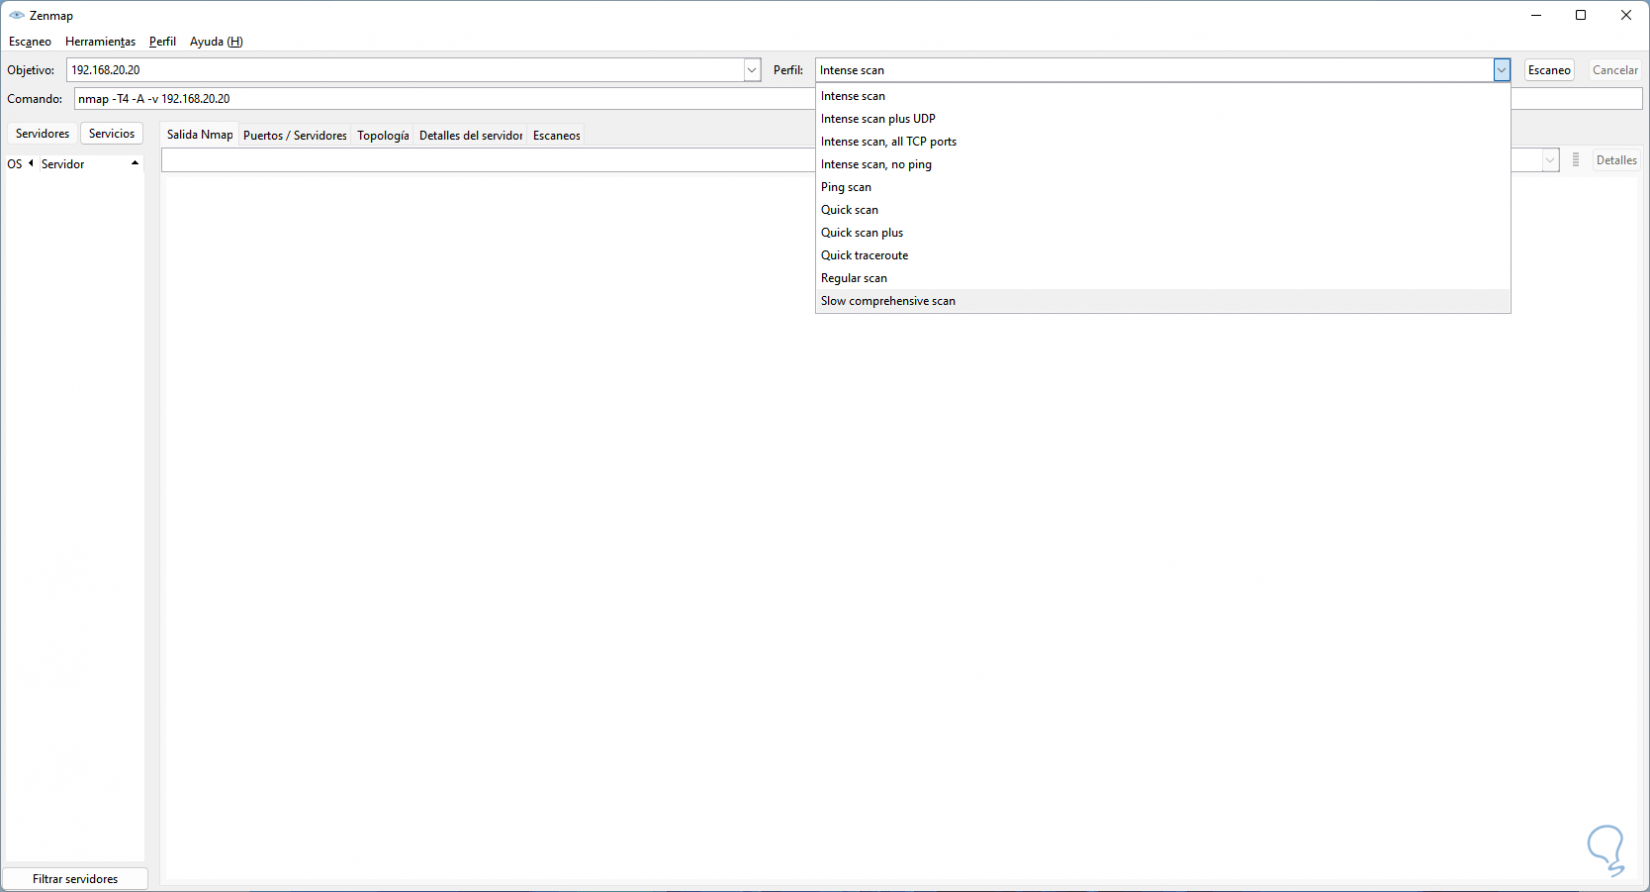
In the Nmap console, in "Target" we enter the Windows IP and in "Profile" select the type of analysis to use:
We can select any of the options available at both basic, intermediate and advanced levels..
step 21
We click on "Scan" to start the process and wait for it to finish:
There we find the various detected objects such as used ports, associated protocols, closed ports, latency and more.
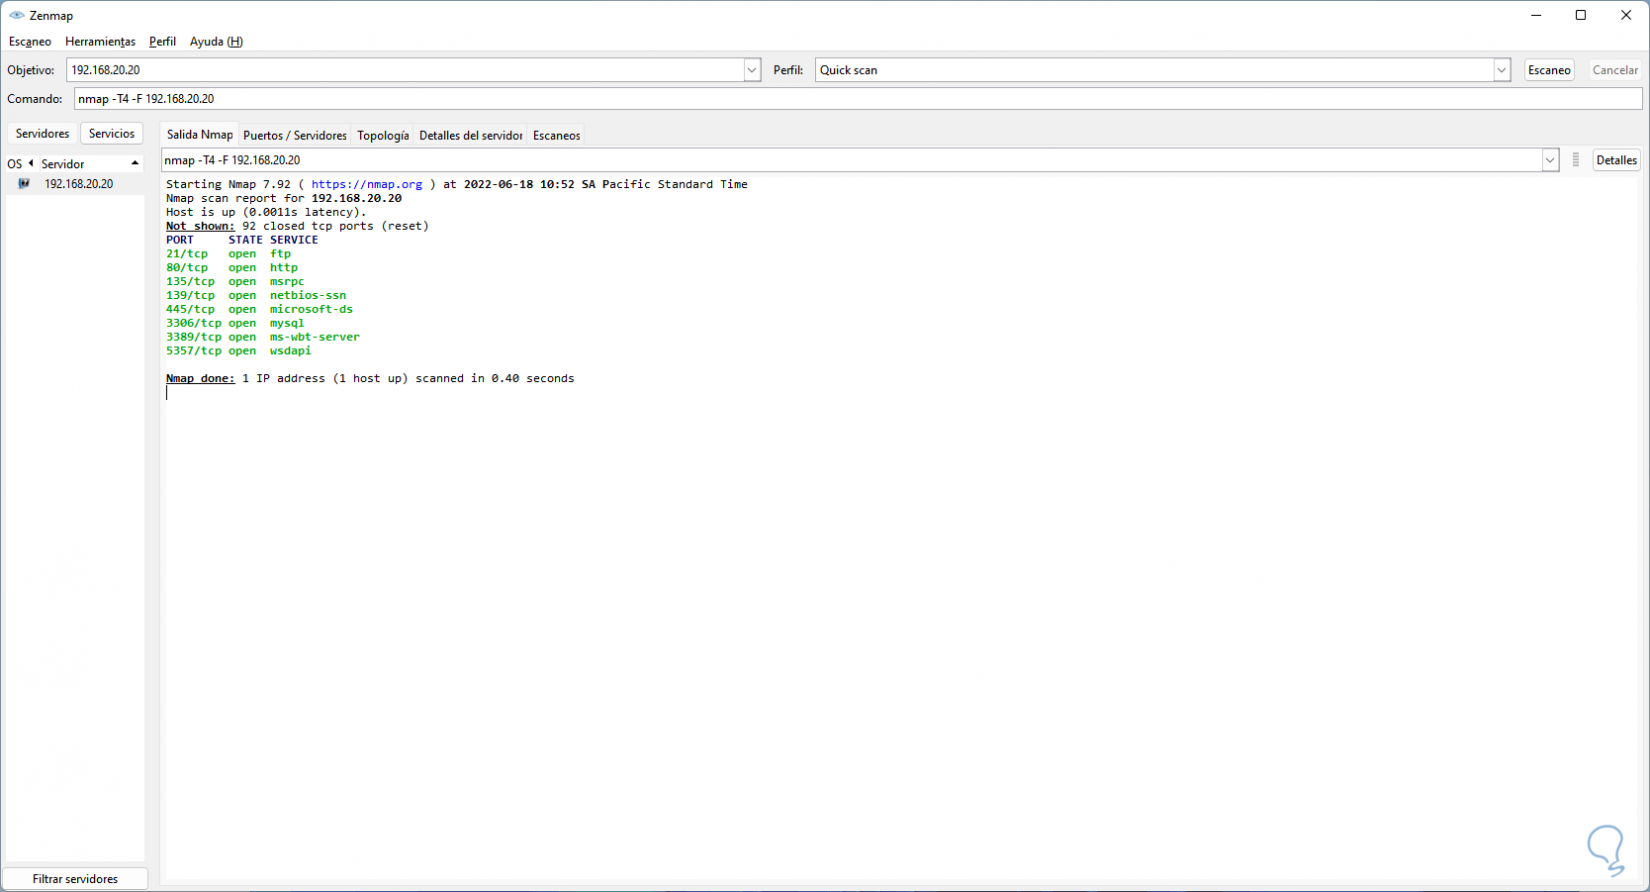
With Nmap it is possible to have a complete administration of the network parameters in Windows and thus manage each one of them in an integral way..