To stay up to date, remember to subscribe to our YouTube channel!
SUBSCRIBE ON YOUTUBE
In Linux we have hundreds of commands that help us perform administrative tasks in a much more centralized and complete way, and it is no secret to anyone that ifconfig is one of these commands. In addition, with this type of command we can configure Linux networks completely..
The ifconfig command gives us the opportunity to configure and see the parameters of the network interface for networks that use TCP/IP, these network interfaces are resident in the Linux kernel, thanks to this command it will be possible to perform tasks such as Assign addresses to a network interface or configure that interface's configuration information as needed, the ifconfig command will interpret the IFF_MULTICAST flag and then print its value if it has been set.
We must understand a term when using ifconfig and it is the address family, these are used to decode and display all protocol addresses, the address families we can work with ifconfig are inet (TCP/IP, default), inet6 ( IPv6), ax25 (AMPR Packet Radio), ddp (Appletalk Phase 2), ipx (Novell IPX), and netrom (AMPR Packet radio)..
Syntax
Some of the syntaxes when using ifconfig are:
ifconfig [-a] [-v] [-s] <interface> [[<AF>] <address>] [add <address>[/<prefixlen>]] [del <address>[/<prefixlen>]] [[-]broadcast [<address>]] [[-]pointopoint [<address>]] [netmask <address>] [dstaddr <address>] [tunnel <address>]
parameters
The parameters to use with ifconfig are:
- -a: Tells ifconfig to give us information about which system type interfaces are available.
- -d – Show interfaces that are down.
- -l – Allows you to list all available interfaces on the system without any extra information.
- -u – Allows you to see which interfaces are up.
- interface: is the name of the interface to use.
- up: will activate the indicated interface.
- down: it will deactivate the interface that we specify.
- promisc: enables the promiscuous mode of the interface.
- allmulti: Allows you to enable or disable all multicast mode.
- mtu #: allows us to set the Maximum Transfer Unit (MTU) of an interface in Linux.
- dstaddr addr – Allows you to configure the remote IP address for a point-to-point link.
- netmask addr: allows us to configure the IP netmask for the interface.
- add addr/prefixlen – Adds an IPv6 address to an interface.
- del addr/prefixlen: Removes the IPv6 address of an interface.
- address – Assigns an IP address to the interface.
- alias – Sets an additional network address for the interface in use.
- arp – Enables the ifconfig command to use ARP to assign network layer addresses and link layer addresses.
- -arp: Disables the use of ARP on the interface.
- -debug: Disables driver-dependent debugging code.
- delete: deletes the network address that we indicate.
- detach – Removes an interface from the list of network interfaces.
- first – Assigns an IPv6 address first on the interface to select it as the socket source. not linked.
- group ID – Adds a group ID to the group ID list for the indicated interface.
- hwloop – Enables hardware loopback.
- -hwloop – Disables hardware loopback.
- monitor: Enables the secondary adapter to notify the interface layer of link state changes.
TechnoWikis will explain in more detail how to get the most out of this IFCONFIG command in Linux.
How to use ifconfig on Linux
Step 1
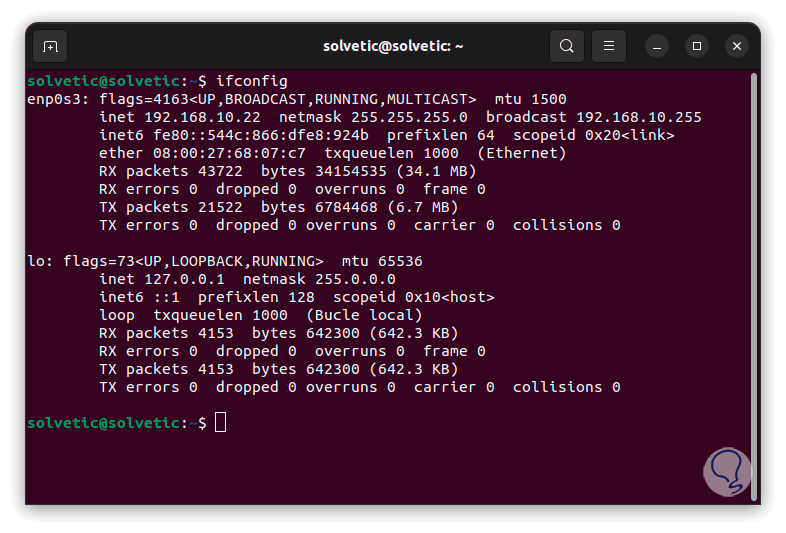
To start we open the terminal and execute the following command to list all the characteristics of the network interface:
ifconfig
Step 2
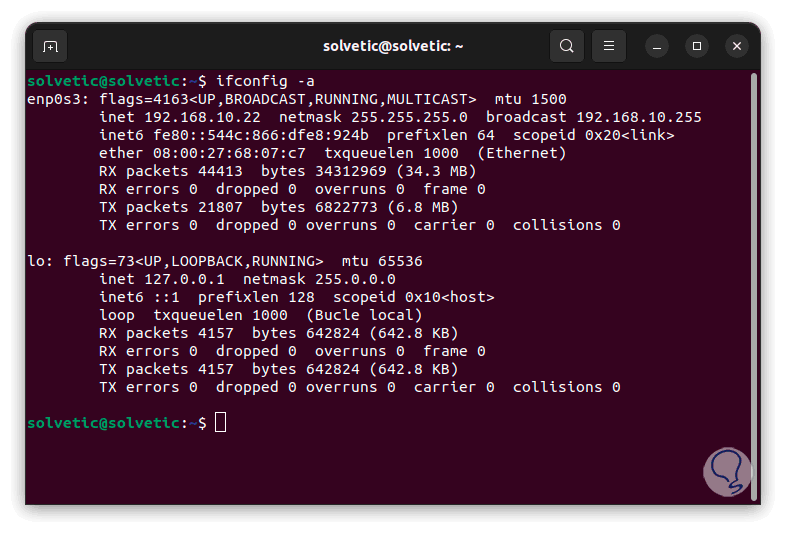
There we find each network interface with details such as:
- MAC address of the adapter
- Packets sent and received
- Failed and redirected packets
Step 3
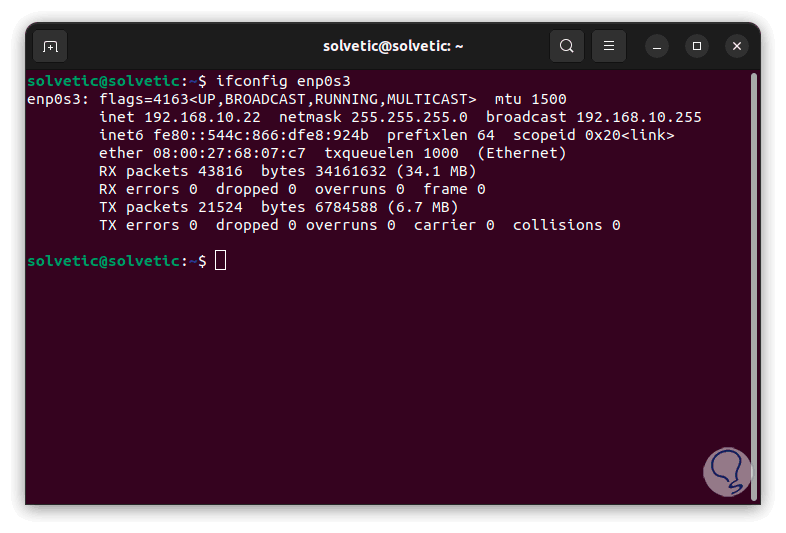
If we want to see the details of a specific interface we will execute the following command indicating the interface to use:
ifconfig(interface)
Step 4
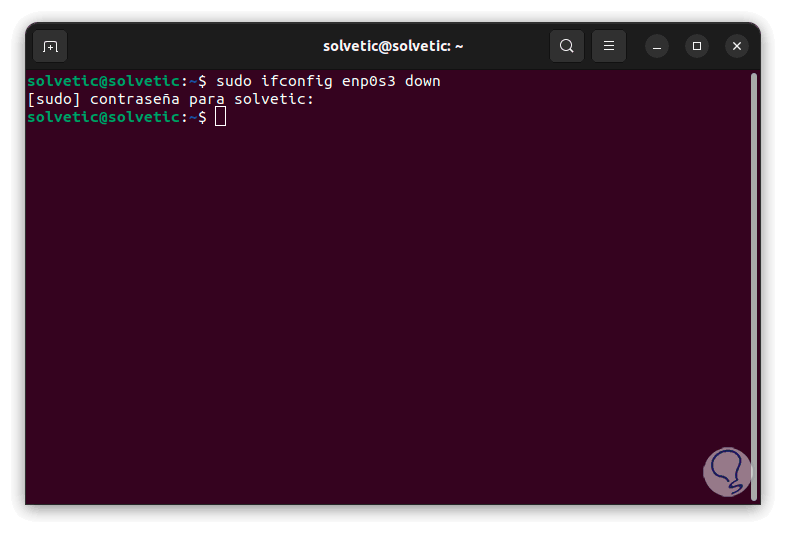
To disable a network interface we are going to use the following command with the name of the interface. Alternatively you can use the “ifdown (interface)” command.
Note
You should use sudo for permissions issue.
step 5
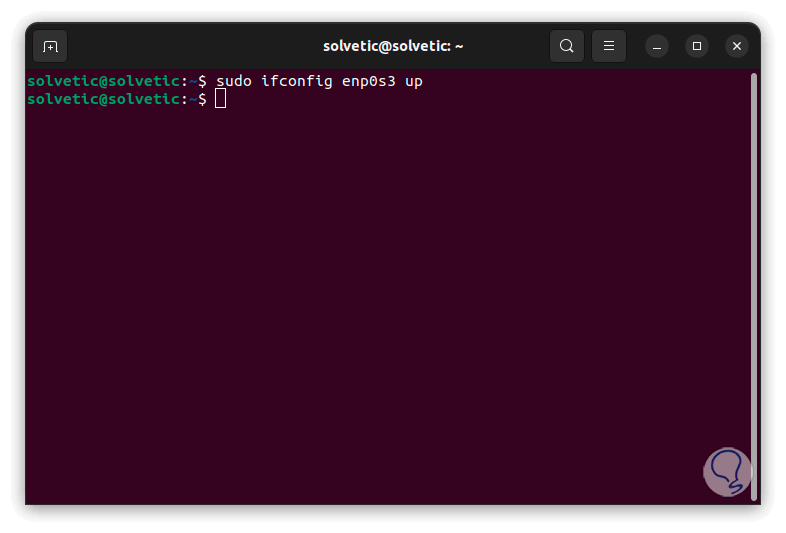
Now, if we want to enable the interface we will use the following command:
sudo ifconfig (interface) up
step 6
In order to see the information of all the available interfaces we execute:
sudo ifconfig -a
step 7
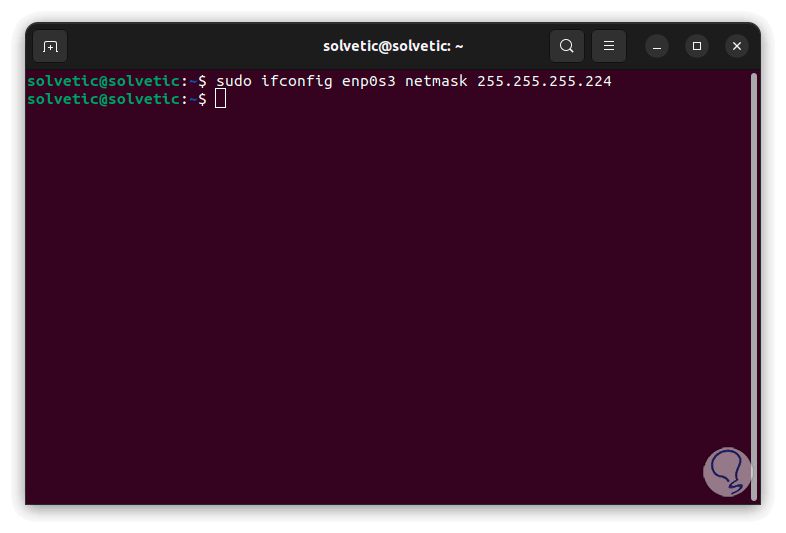
It is possible to set a netmask to the interface, for this we are going to use the following command:
sudo ifconfig (interface) netmask 255.255.255.***
step 8
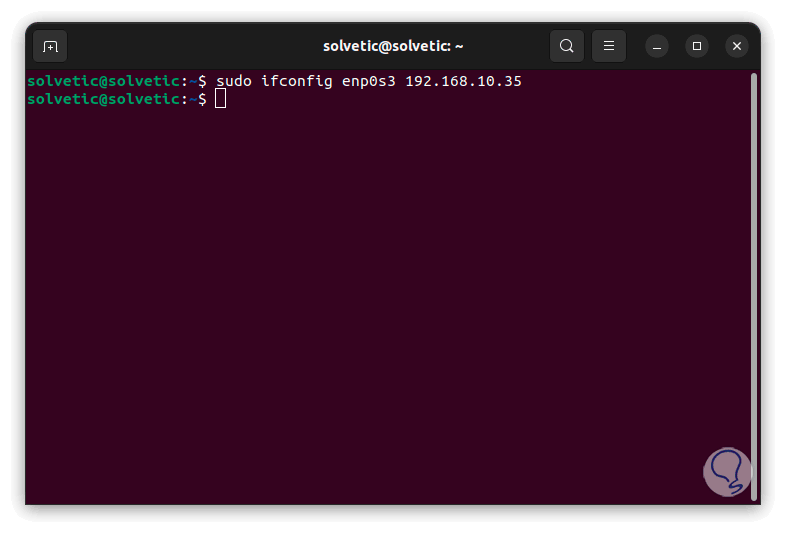
It will also be possible to use the following command to establish a new IP address and make it available:
sudo ifconfig (interface) (IP address)
step 9
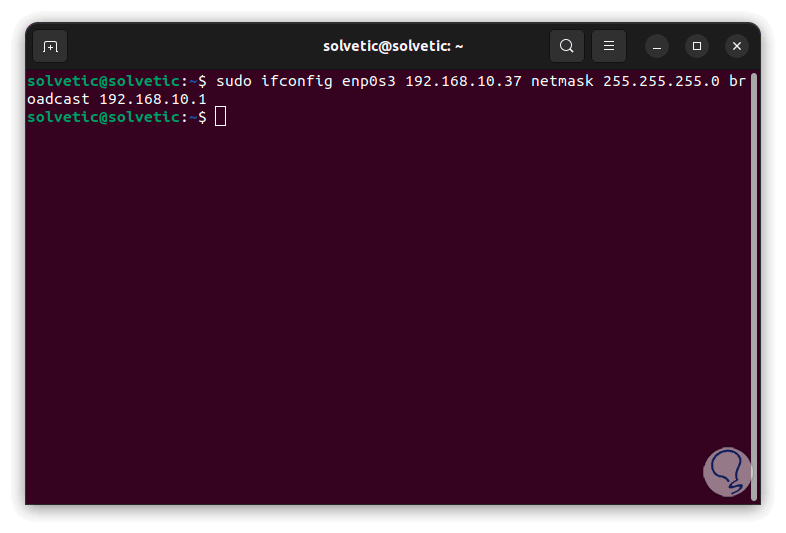
With the following syntax TechnoWikis tells you that it will be possible to assign all the values to the selected interface, these values are the IP address, network mask and broadcast:
sudo ifconfig (interface) (IP Address) netmask 255.255.255.*** broadcast (IP Address)
step 10
If we want to change the maximum transmission unit (UMT) we will execute the following with the desired value:
ifconfig (interface) mtu ###

step 11
In this case the values that we can assign are:
- Ethernet (IEEE 802.3): up to 1500
- Gigabit Ethernet (GbE): up to 9000
- 10 Gigabit Ethernet (10GbE): up to 9,000
- PPP (Point-to-Point Protocol): 1500
step 12
We can enable promiscuous mode with the command:
sudo ifconfig (interface) promisc
step 13
Remember that promiscuous mode accepts all packets that travel through the network card.

step 14
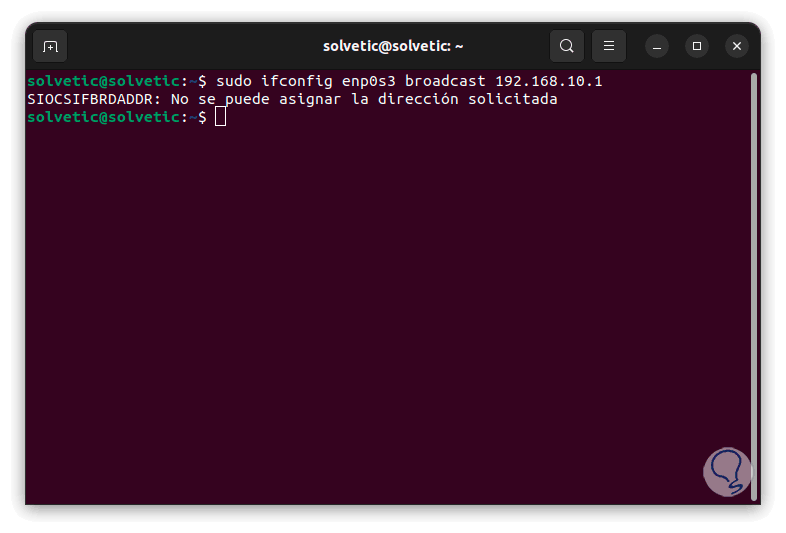
It is possible to assign a gateway or broadcast to the interface indicating the address using the following command. There we must check the availability of this address.
sudo ifconfig (interface) broadcast (IP Address)
step 15
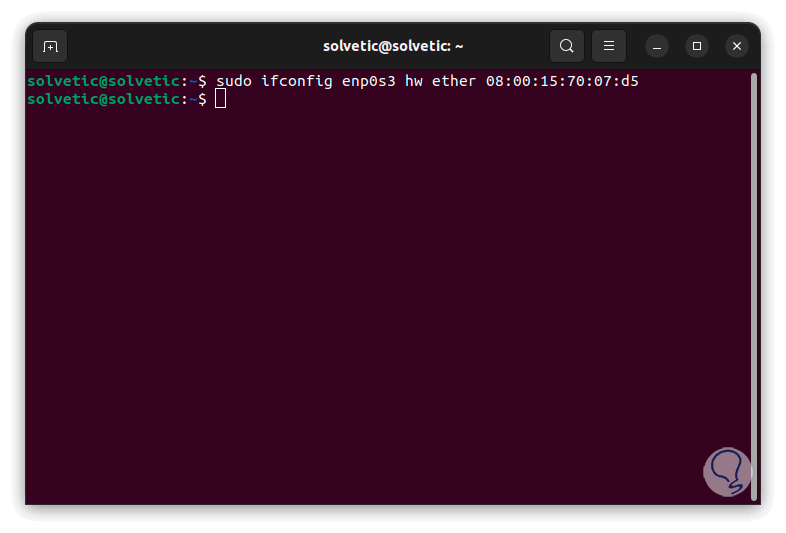
Another use of this command is to change the MAC address, remember that this is a unique identifier for each device, if you want to change it, we will use the following command with their respective values:
sudo ifconfig (interface) hw ether AA:BB:CC:DD:EE:FF
step 16
If we want to disable promiscuous mode, we execute the following:
sudo ifconfig(interface) -promisc

step 17
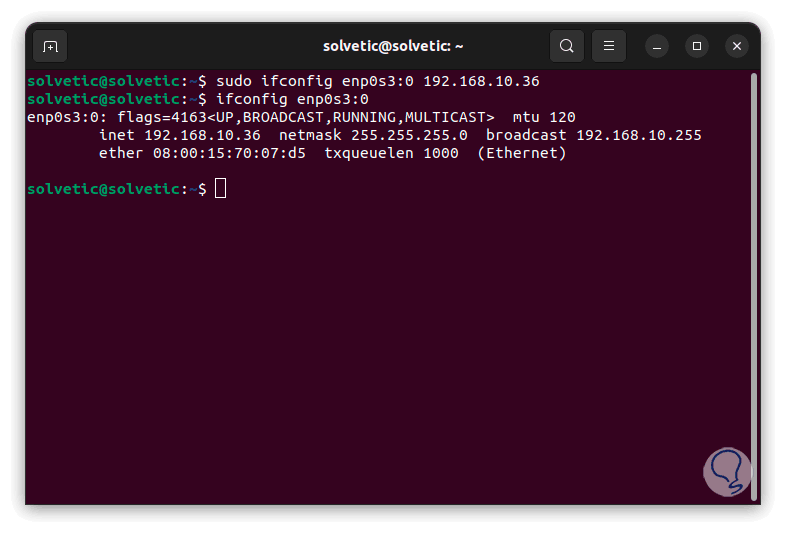
A functional option is to add an alias to the interface, this is ideal for additional network interfaces, in this case we must remember that the network address of the alias must be in the same subnet mask, we will use the following syntax:
sudo ifconfig (Interface):0 (IP Address)

step 18
Let's check that it was created correctly:
sudo ifconfig(interface):0
step 19
If we want to remove this alias we will use the command:
sudo ifconfig(interface):0 down

step 20
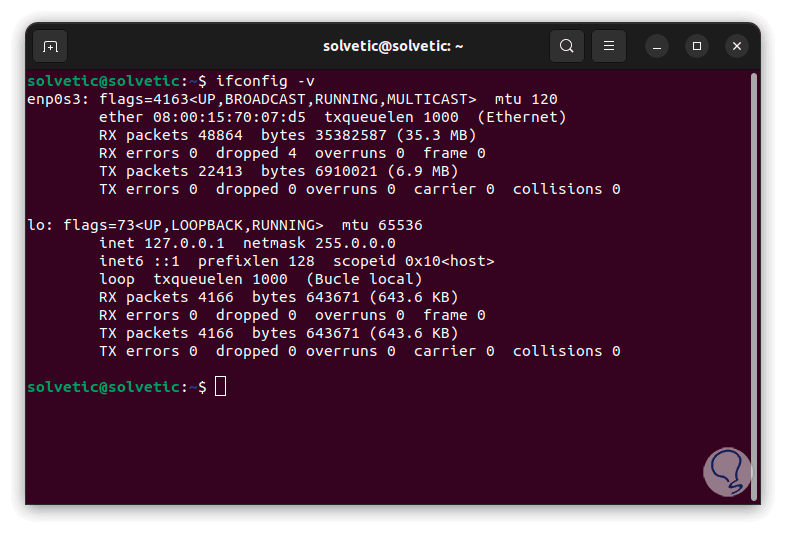
To see full details of the interface we will use the following command:
sudo ifconfig -v
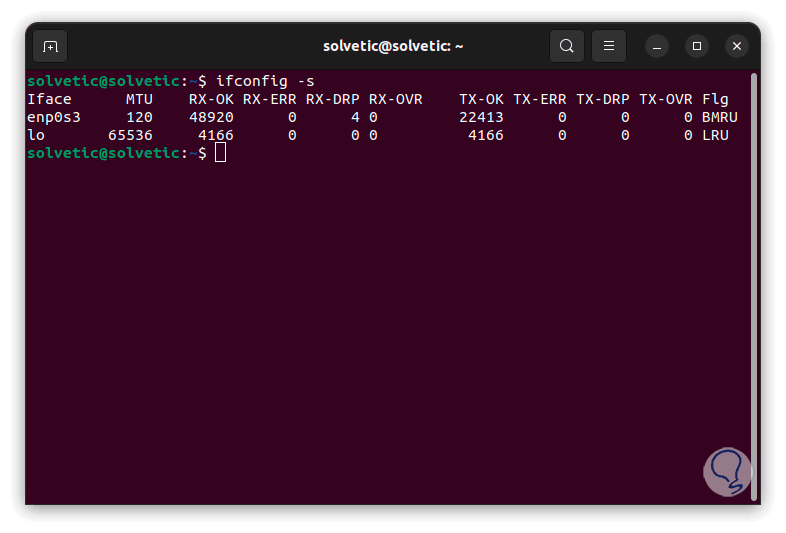
step 21
If we want to obtain a summary of the interface we will use the command:
sudo ifconfig -s
interfaces
TechnoWikis will show you how the interfaces can start so that you know the type of device used:
- at for Asynchronous Transfer Mode (ATM)
- en for standard Ethernet (inet)
- et for IEEE 802.3 Ethernet (inet)
- gre for generic routing encapsulation tunnel (inet) pseudointerface
- gif for IPv4 over IPv6 tunnel pseudo-interface (inet)
- tr for token-ring (inet)
- xt for X.25 (inet)
- sl for IP serial line (inet)
- lo for loopback (inet)
- op for serial (inet)
- vi for virtual IP address (inet)
- ib for IP over InfiniBand (inet)
- tap for TAP pseudo-Ethernet
We see how this ifconfig command is ideal for carrying out numerous tasks directly associated with the network adapter or interface and thus allowing an improvement in performance and stability issues of all the processes that involve the use and operation of the local and external network..