To stay up to date, remember to subscribe to our YouTube channel!
SUBSCRIBE ON YOUTUBE
The world has changed substantially in new technologies that perhaps years ago were not possible but we see how artificial intelligence IA is taking giant steps to be number one in thousands of companies and for millions of users thanks to all its mechanism of neural functions and design that practically has an answer to everything and manages to provide information that we could spend hours, days or months looking for in just a few seconds. We have heard about various platforms such as bard or ChatGPT but today TechnoWikis will teach you how to install GPT4ALL on Linux and Windows systems..
GPT4ALL is an open source software environment with which as users we will have the possibility to train and implement extensive language models (LLM) with extensive capabilities and that can be customized as necessary, GPT4ALL is supervised by Nomic AI which preserves the quality, security and permanence of this platform.
To get an idea of its scope, GPT4All is optimized to run an inference of 3 to 13 billion parameter language models on mobile, desktop or server CPUs but logically this level is achieved with the hardware resources required especially RAM and CPU memory..
Structure
The structure of GPT4ALL is the following:
- gpt4all-backend: GPT4All backend is centered on a C API which is optimized in order to improve performance when executing queries and this C API can be linked to any known higher level programming language as is the case with C++, Python, Go and more.
- gpt4all-bindings: they are GPT4All links where various high-level programming languages that implement the C API are hosted, each directory there is a bound programming language.
- gpt4all-api – The GPT4All API generates the endpoints of the REST API which collects everything related to large-scale language models.
- gpt4all-chat: GPT4All Chat is the native chat application of the operating system running on macOS, Windows and Linux.
Compatibility
GPT4ALL supports the following architectures:
- FLAME (including OpenLLAMA)
Characteristics
Now, within the characteristics that we find of GPT4ALL we highlight:
- It is cross-platform (Linux, Windows, macOS)
- It is multimodal as you can load more than one model and switch between them with ease
- Supports llama.cpp and gptj.cpp style models
- Fast CPU-based queries via ggml for GPT-J based models
- Allows you to check for updates to have the latest GUI
- Text to speech function with which we can have the AI response with voice
- Syntax highlighting support for programming languages
- We can write code in a simple way
Without further ado, let's see how to install GPT4ALL on both Linux and Windows.
1 Install GPT4All on Linux
Step 1
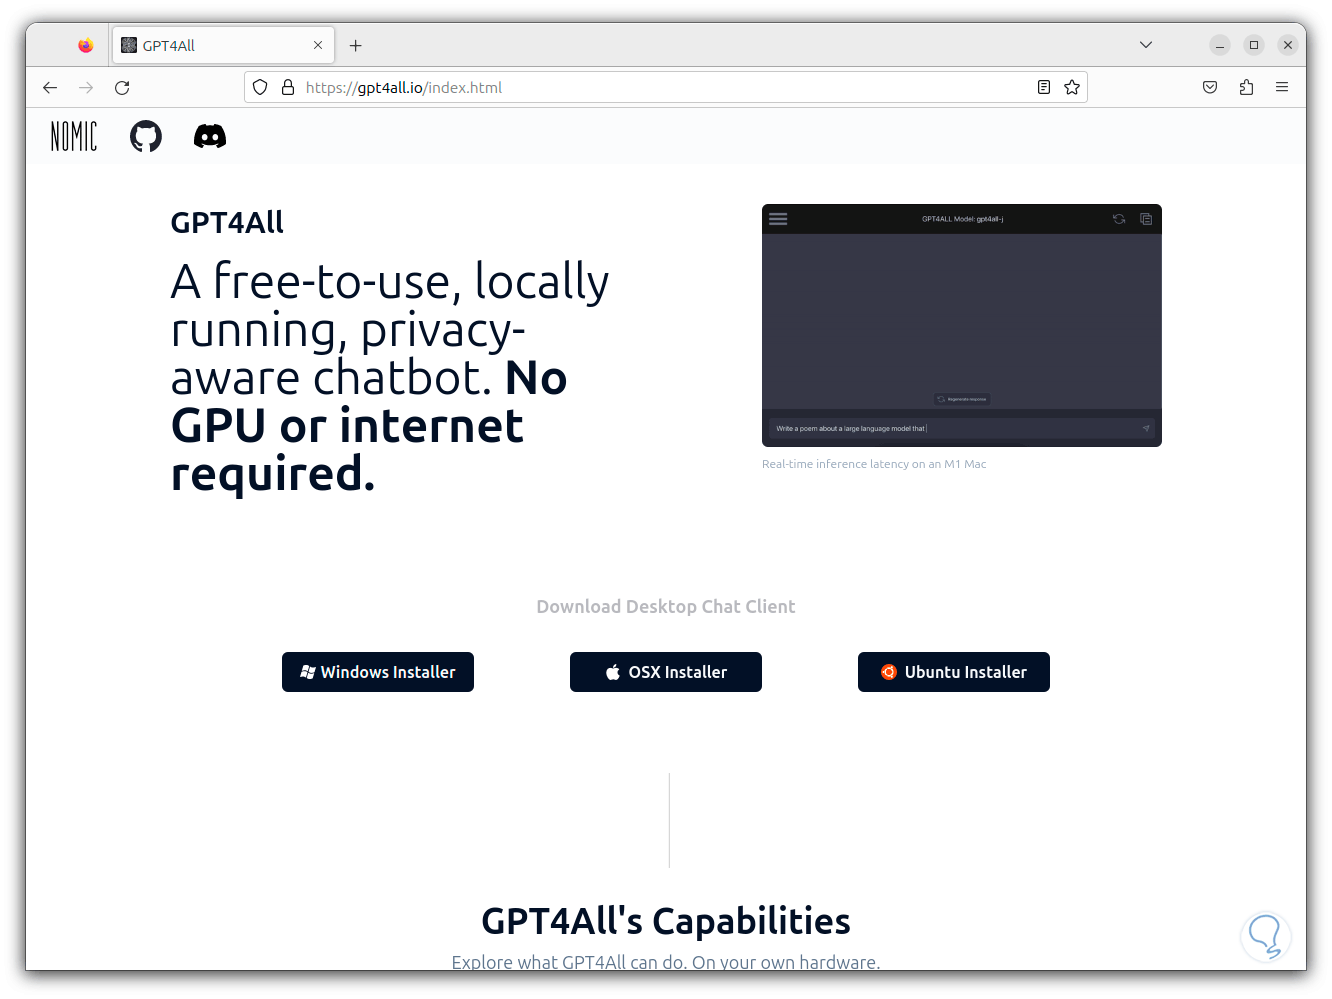
We are going to start with Linux and in this case we will use Ubuntu, first of all we go to the following official link:
GPT4ALL
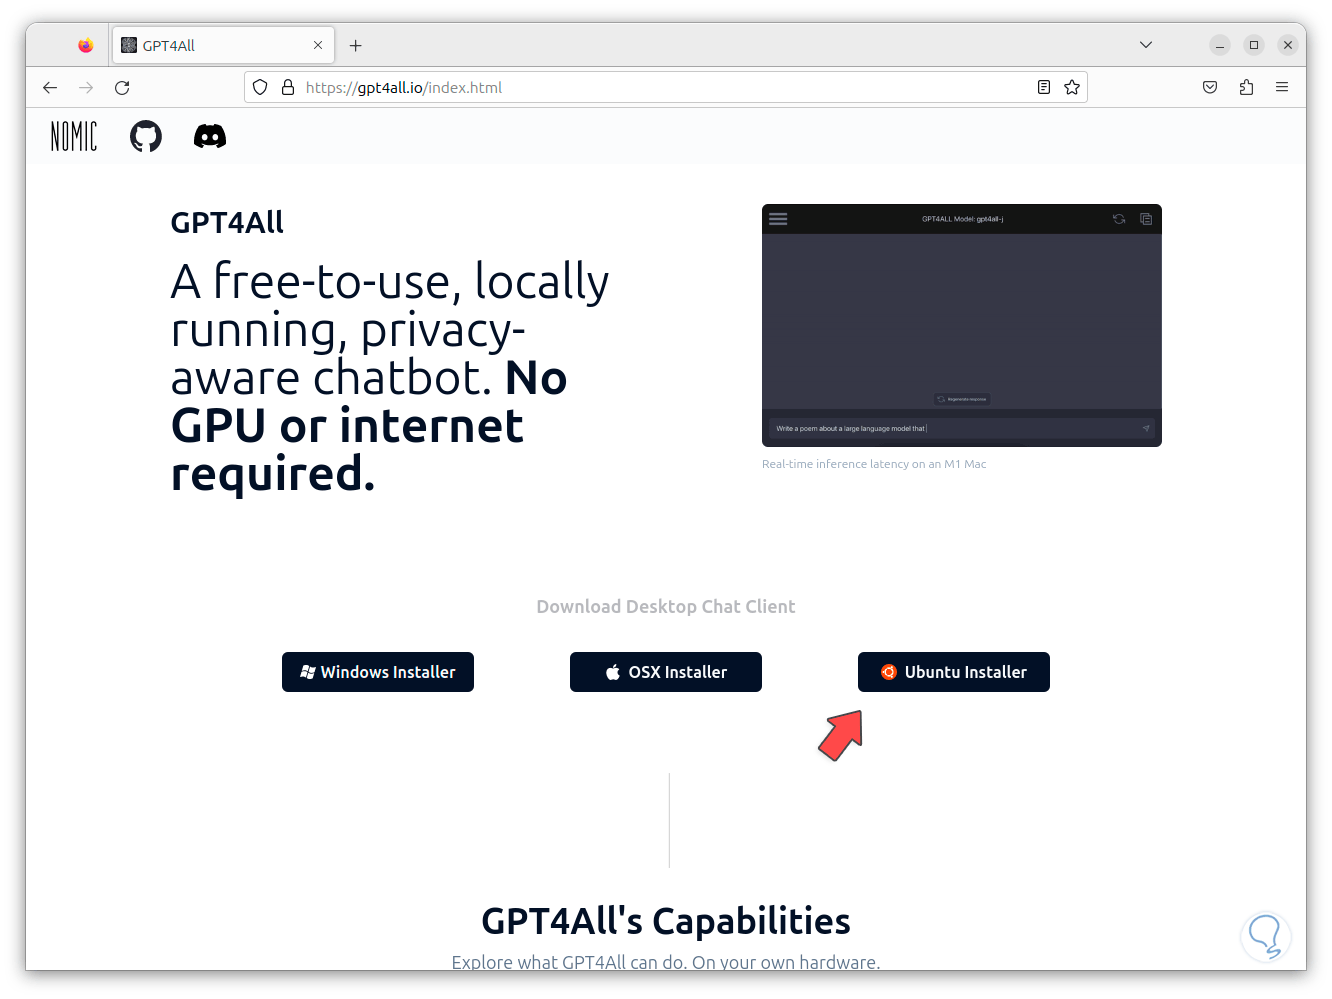
Step 2
We download the installer for Ubuntu by clicking on "Ubuntu Installer", we wait for it to be downloaded:
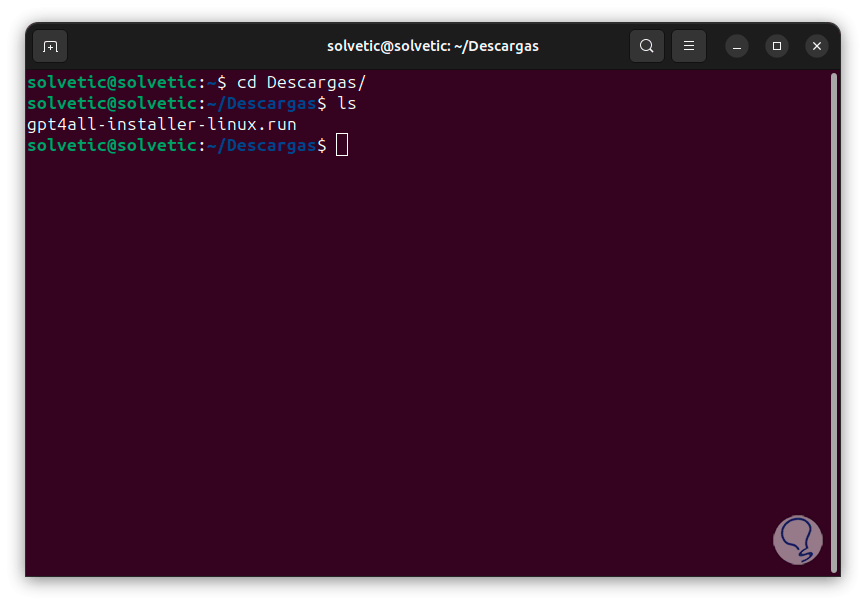
Step 3
Now we open the terminal, we access the path where it was downloaded and with the "ls" command we check the file:
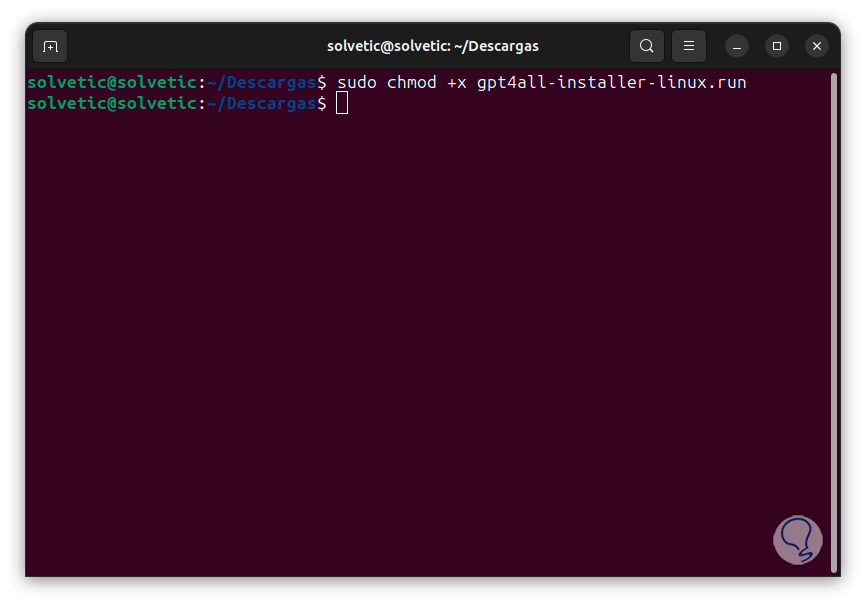
Step 4
Now we are going to grant permissions on that file by executing the following command:
sudo chmod +x file.run
step 5
With the following command we are going to try to install the utility:
sudo ./file.run
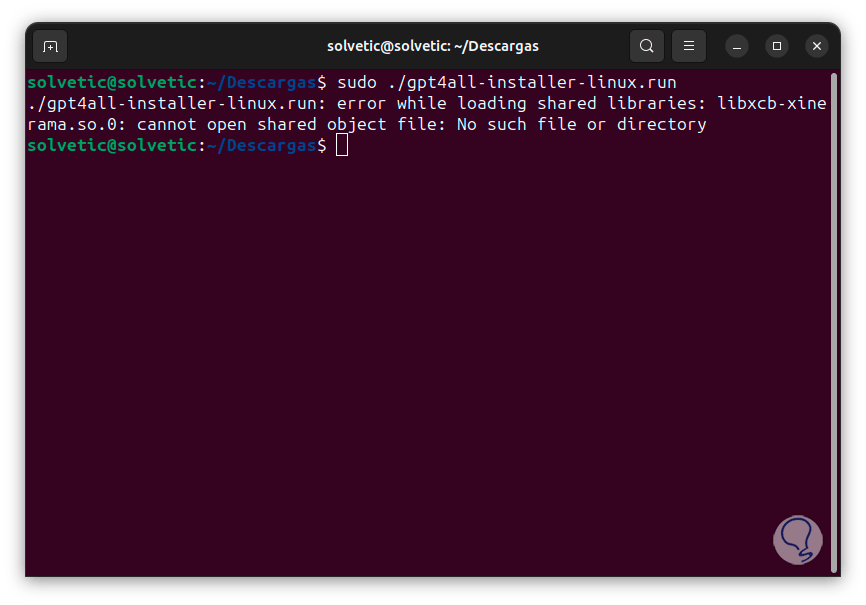
step 6
It is likely that we will see the error generated and the reason for this is due to the lack of some libraries.
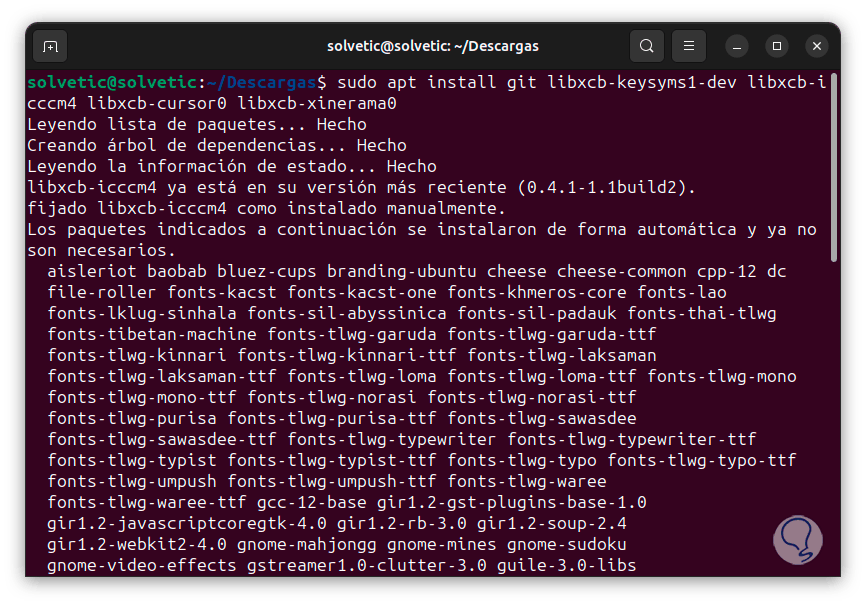
To correct this error we are going to install the necessary libraries with the following command:
sudo apt install git libxcb-keysyms1 libxcb-icccm4 libxcb-cursor0 libxcb-xinerama0
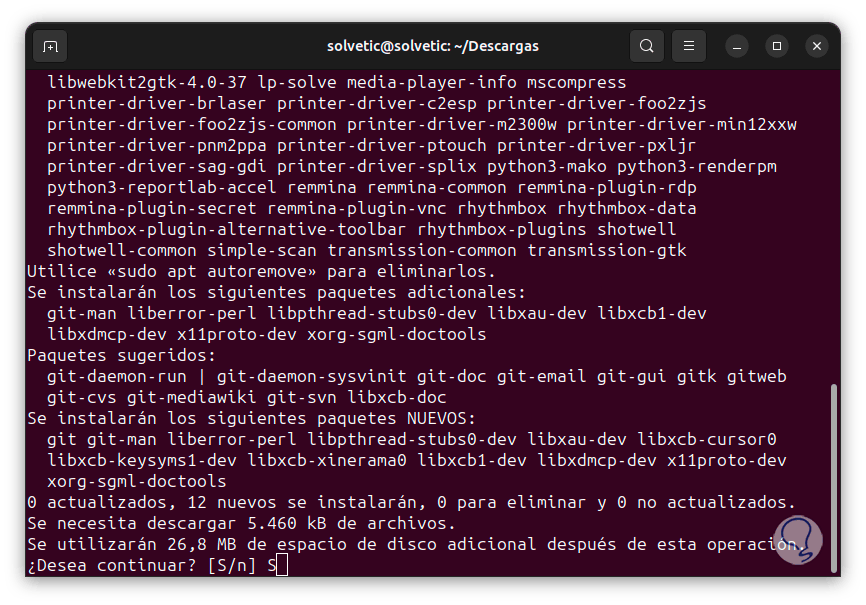
step 7
We will see the following: There we enter the letter "S" to confirm this process
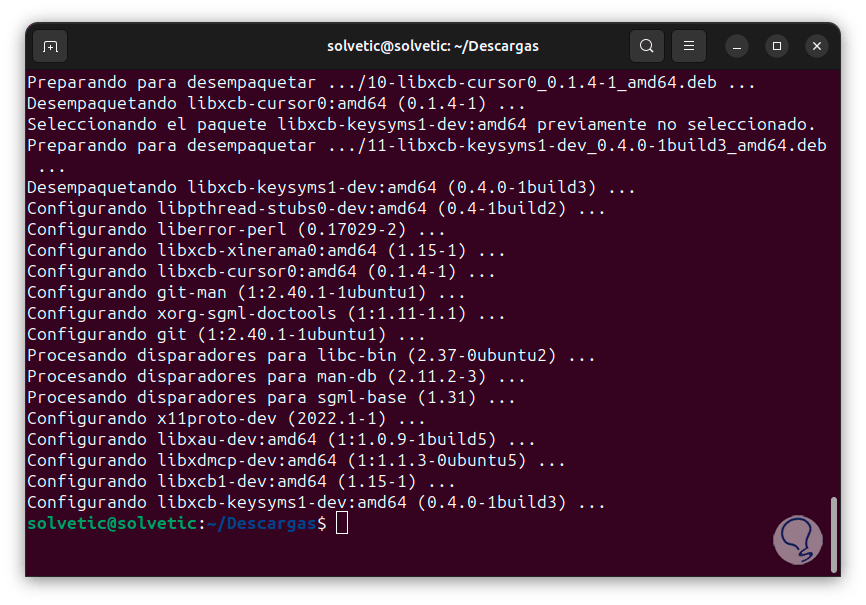
step 8
and we wait for everything to be downloaded and installed:
step 9
Now we run the command again to install the utility:
sudo ./file.run
step 10
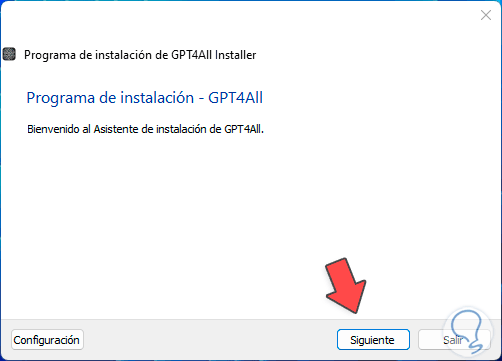
This time the installation wizard will open:
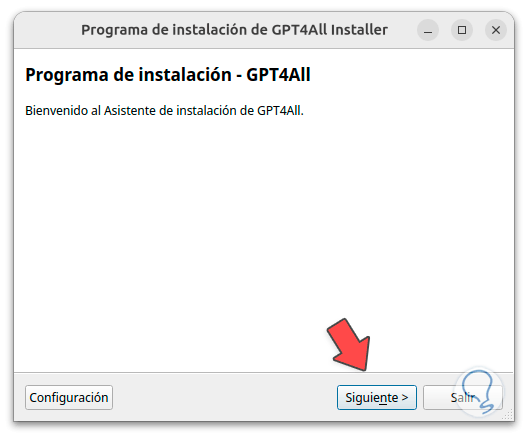
step 11
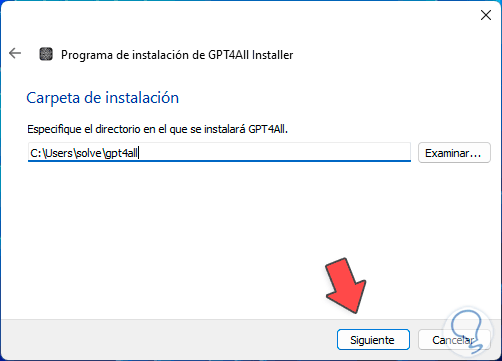
We click on "Next" to define where GPT4ALL will be installed:
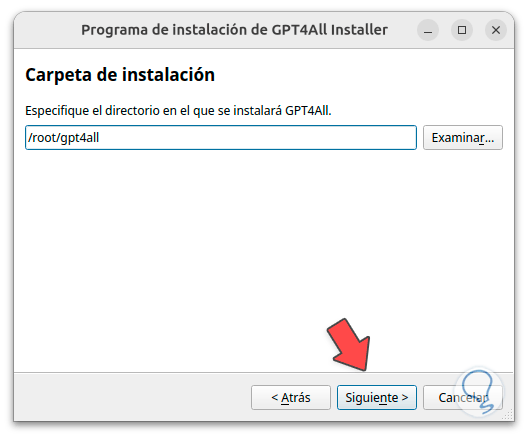
Note
If we leave the root option it will only be available to us, so that it is available to everyone we must use opt.
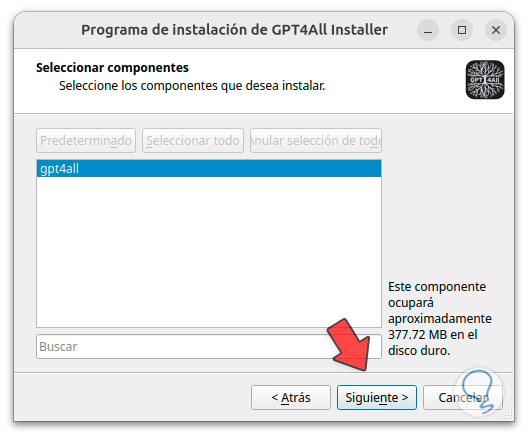
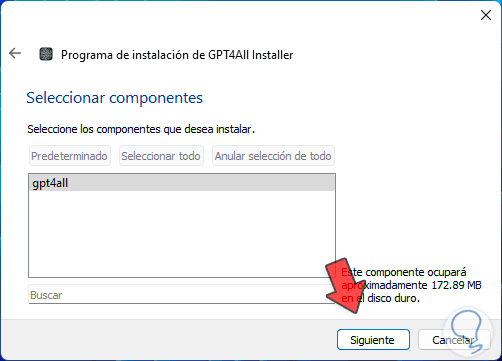
step 12
In the next window we see the components:
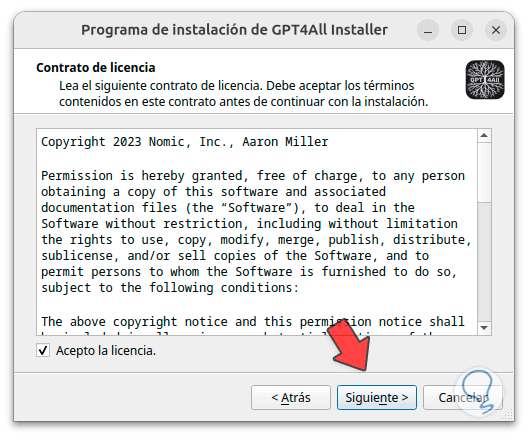
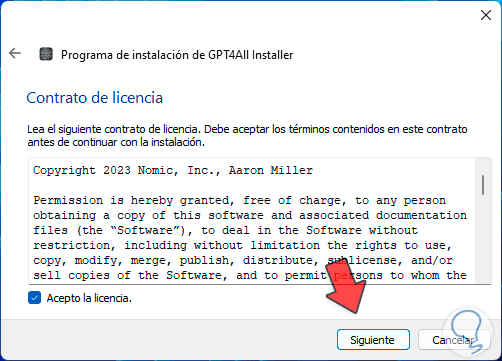
step 13
Now we must accept the license terms:
step 14
We click Next to see the following:
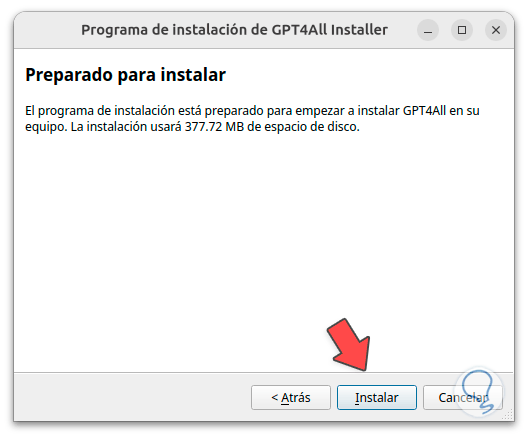
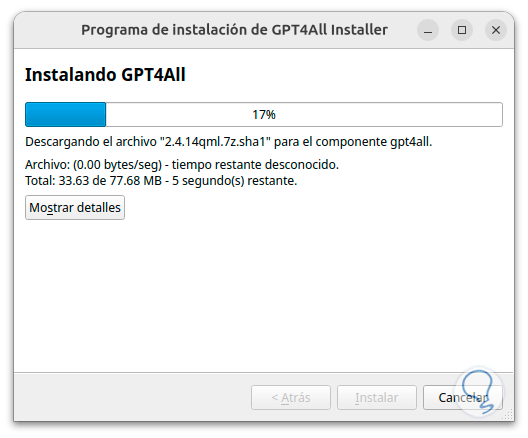
step 15
There we click on "Install" to start the process:
step 16
At the end we see the following error:
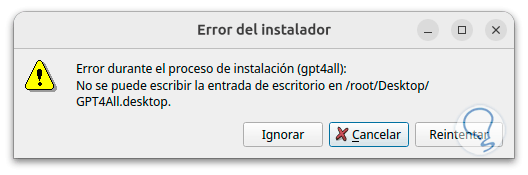
step 17
This is a bug that the platform has but it does not affect its use, we will click on "Ignore" to finish the installation process:
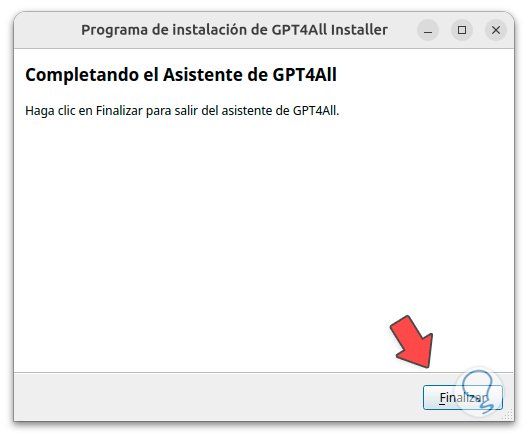
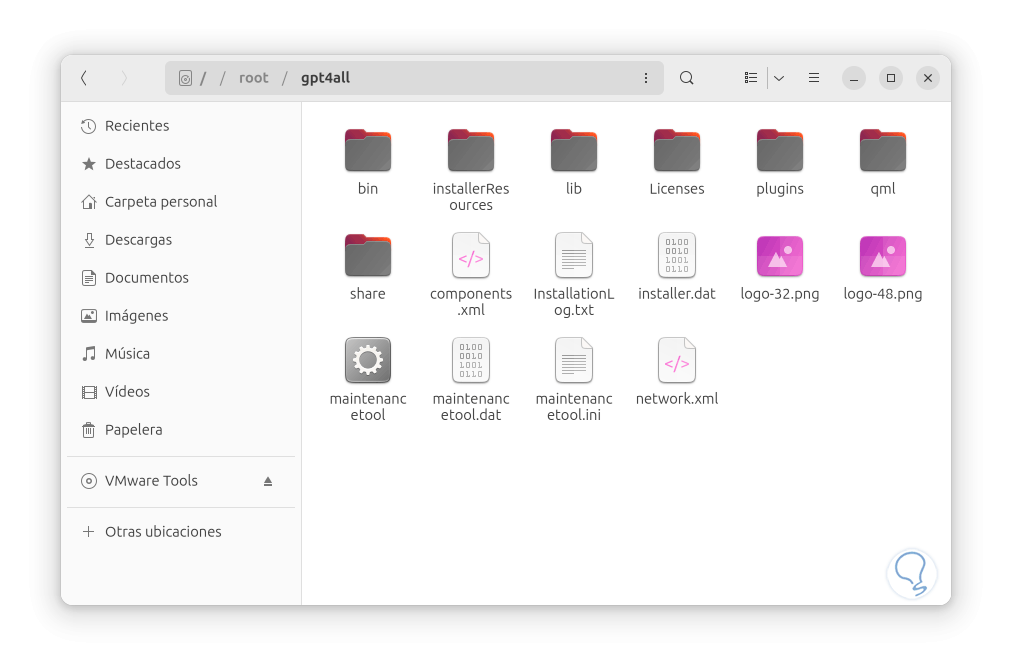
step 18
It is possible to access the path where it was installed to see the respective files:
step 19
Now we access as root user if necessary with the "su" command, then we go to the path where the utility has been installed and there we access the "bin" folder where we will see the "chat" option:
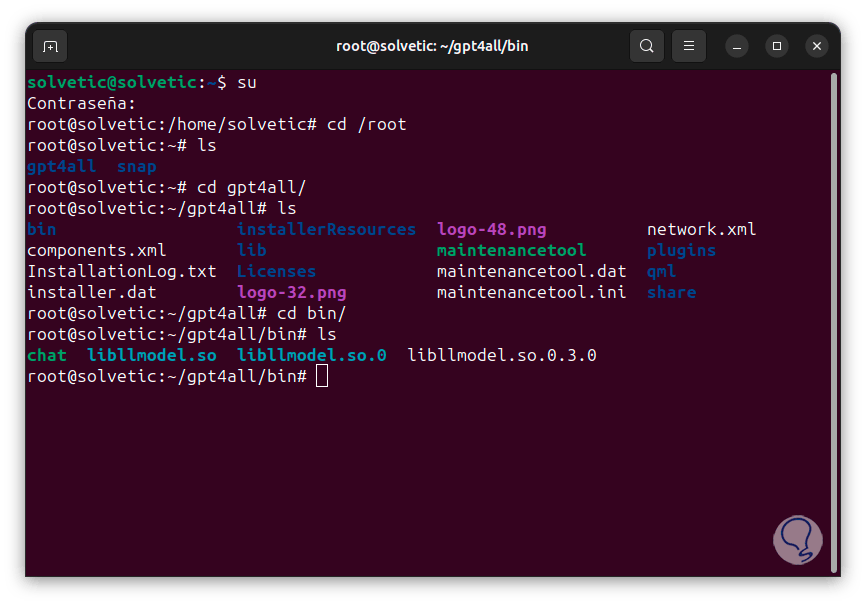
step 20
Now we execute the word "chat" to open the utility in Linux:
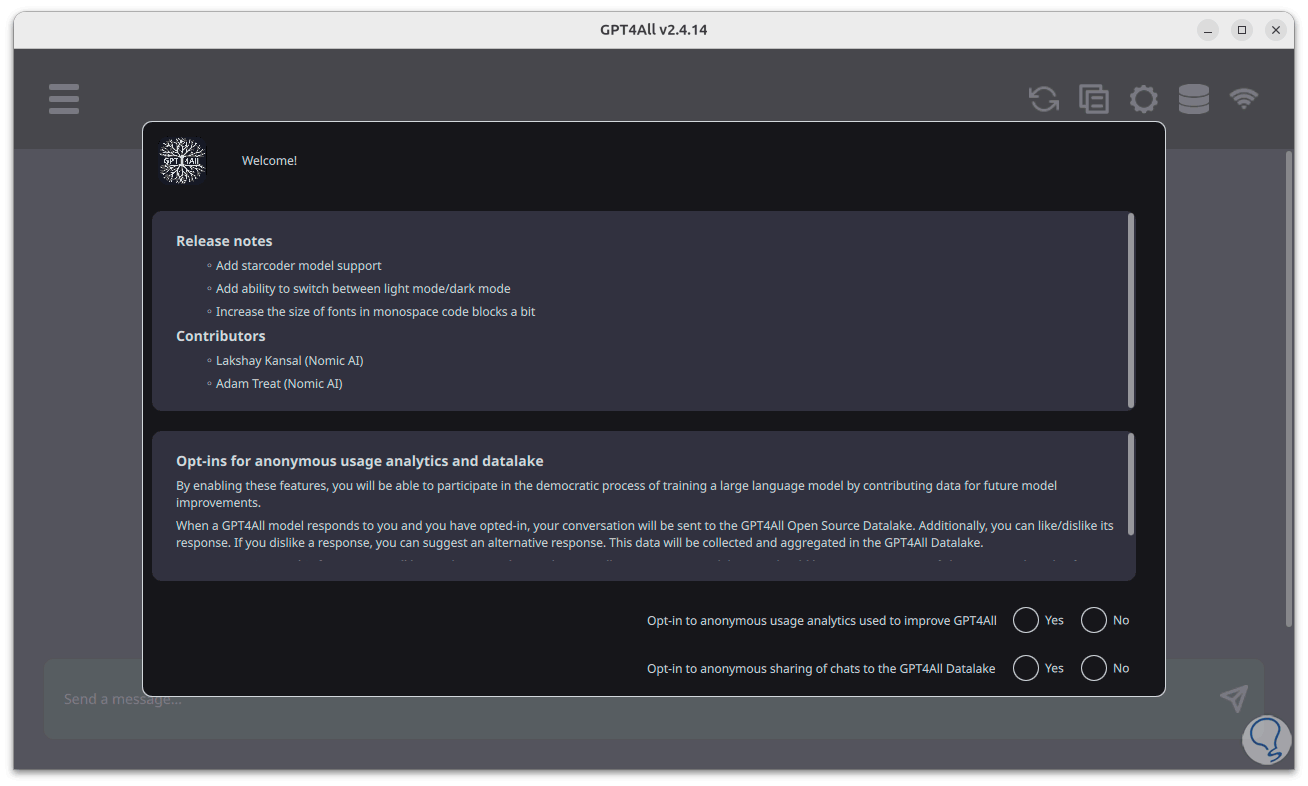
step 21
There we will activate the available boxes and we will see the following:
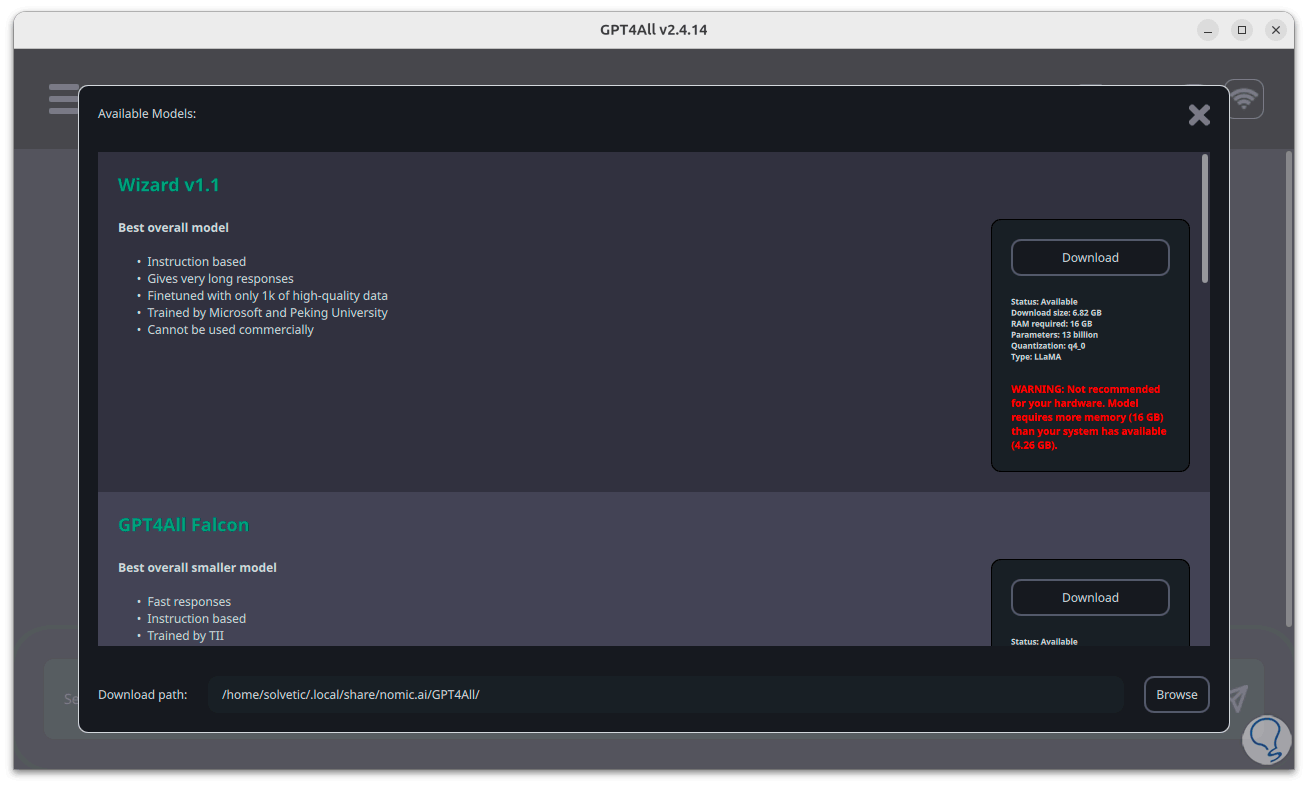
step 22
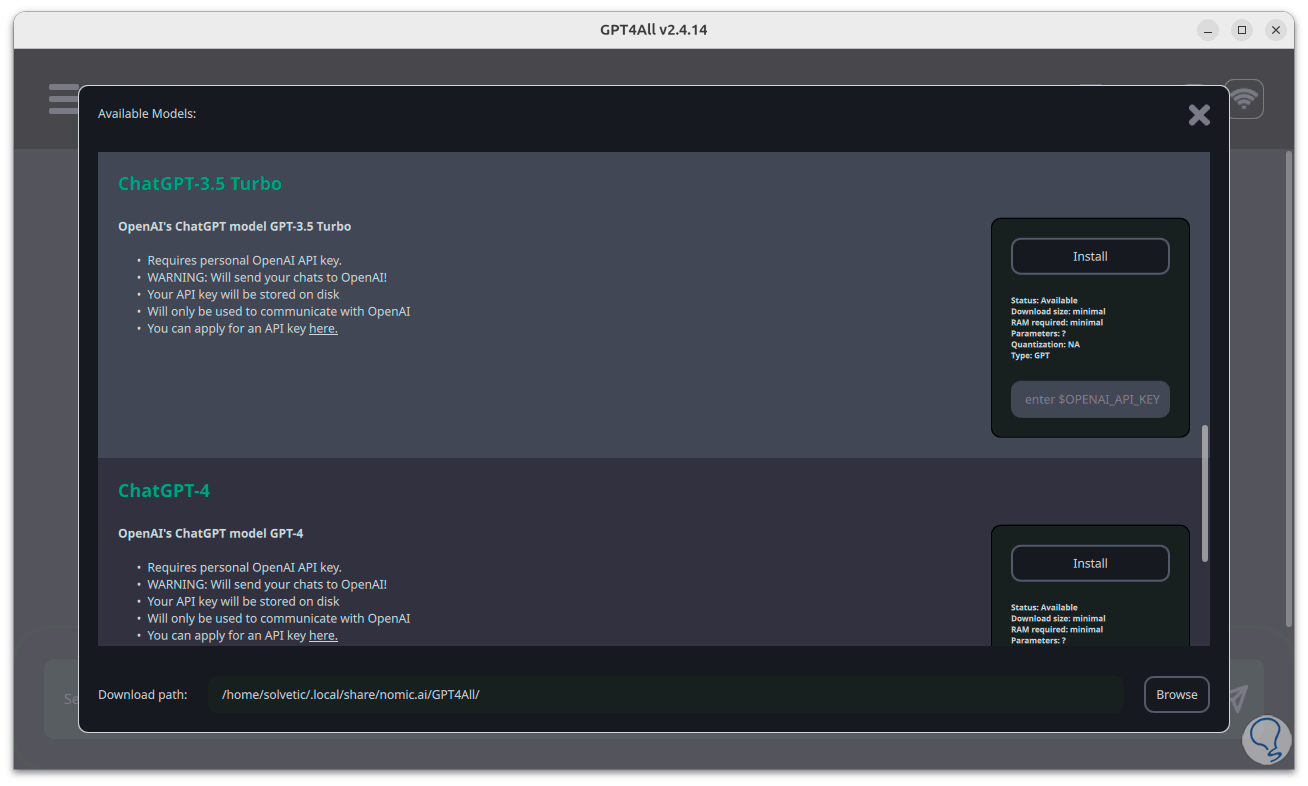
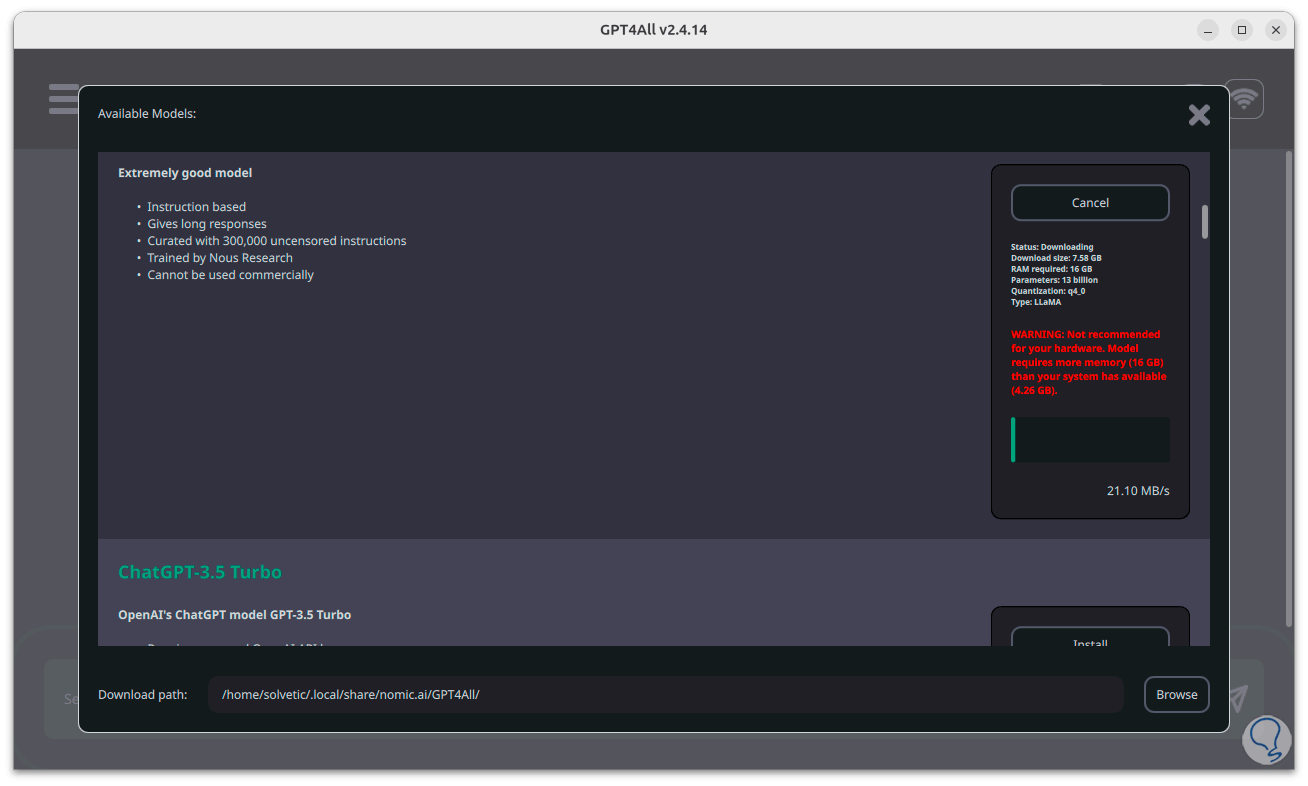
Now it is possible to have access to the different chat models compatible with GPT4ALL, we can see that in some cases a resource warning is thrown, in this case it is possible to install it but the response times will be slower, in other cases it will be necessary to enter the key associated with OpenAI:
Step 23
We hope that the selected models will be downloaded:
step 24
Then the checks will be made:

step 25
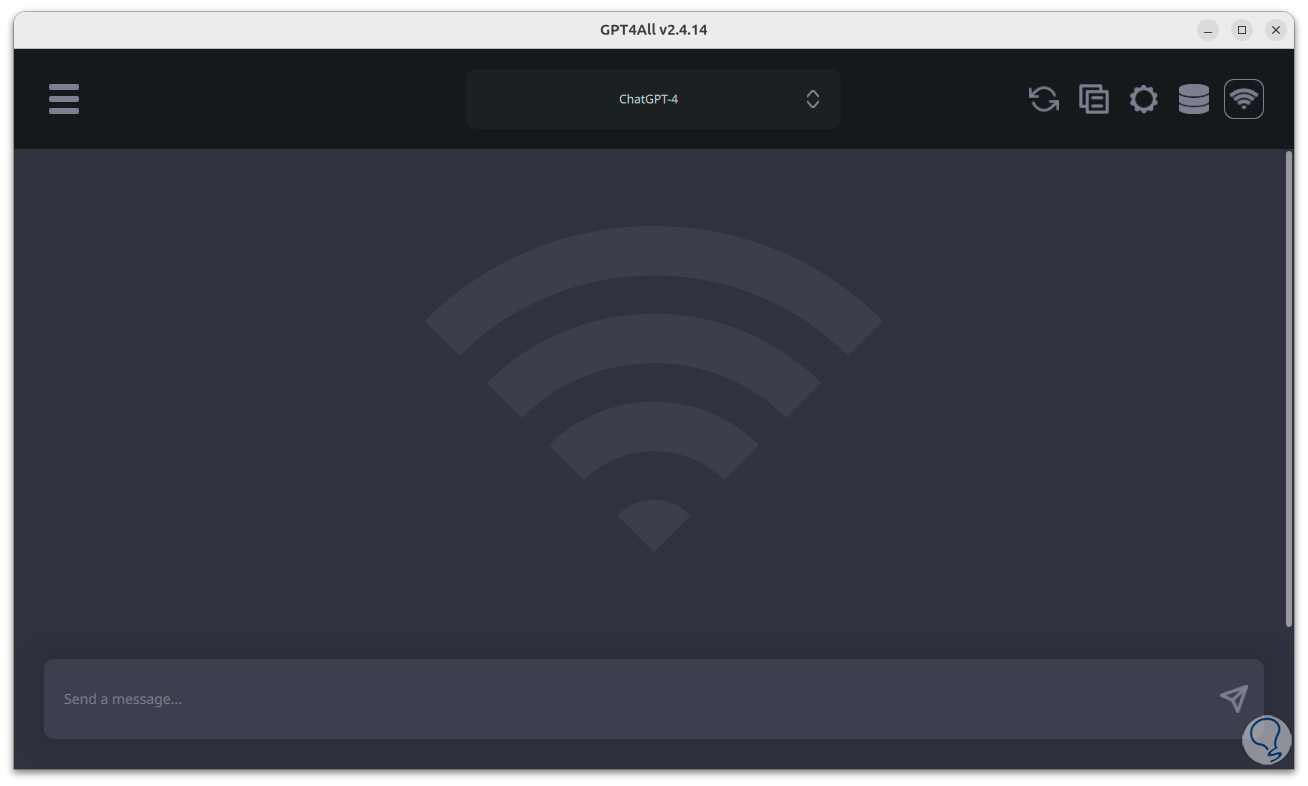
Once the download is finished we can close this window to access the console and there it is possible to select the model to use at the top:
step 26
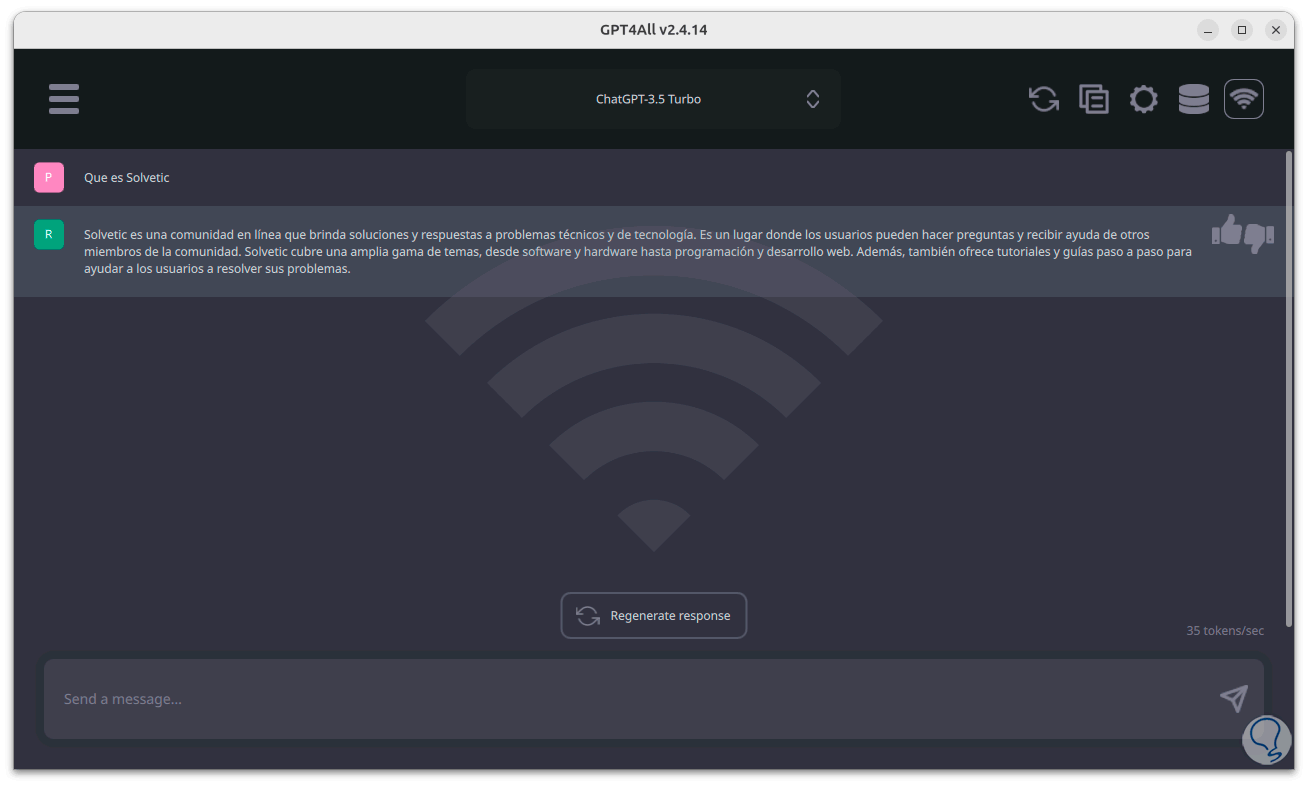
Now it is possible to interact with the chat to use its technology based on the selected model:
step 27
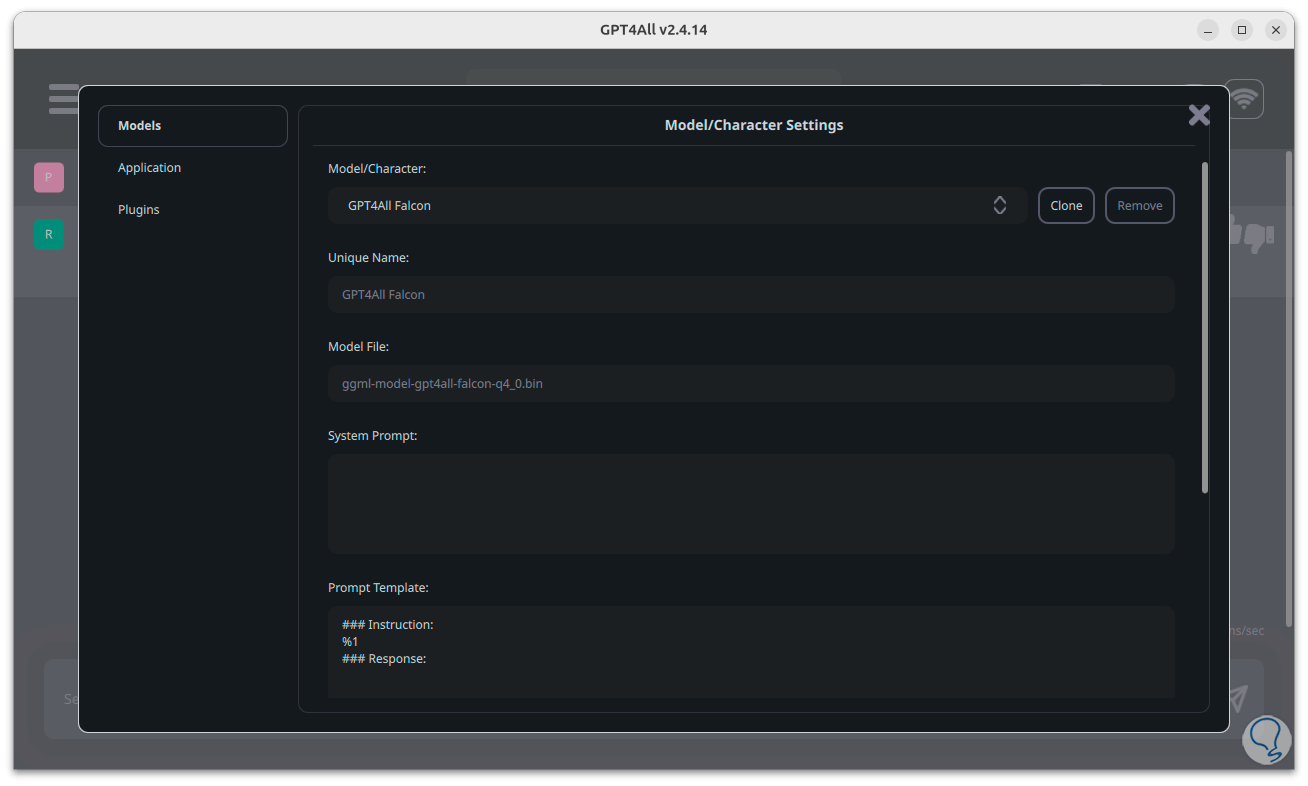
We can see some configuration options, these are the same for both systems, it will be possible to select the different models to use:
Step 28
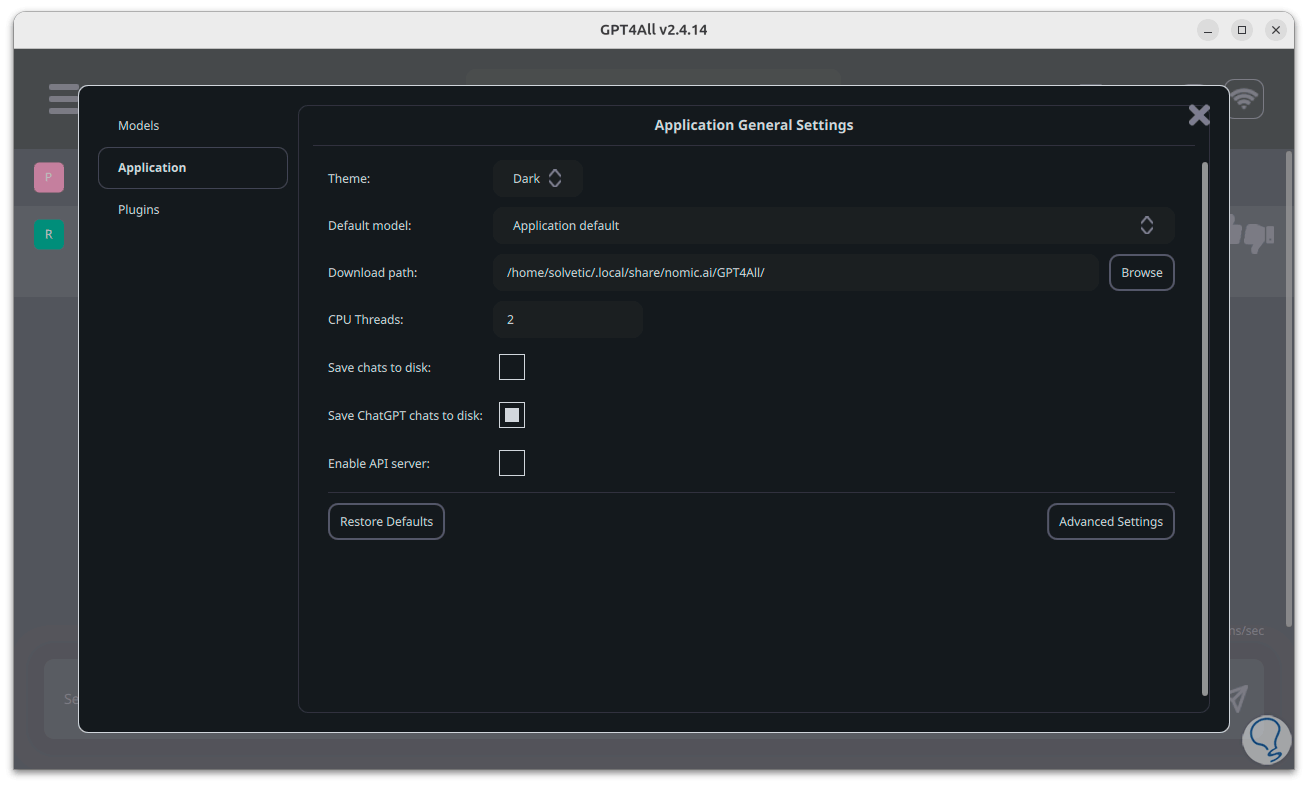
It is possible to configure the applications to use:
Step 29
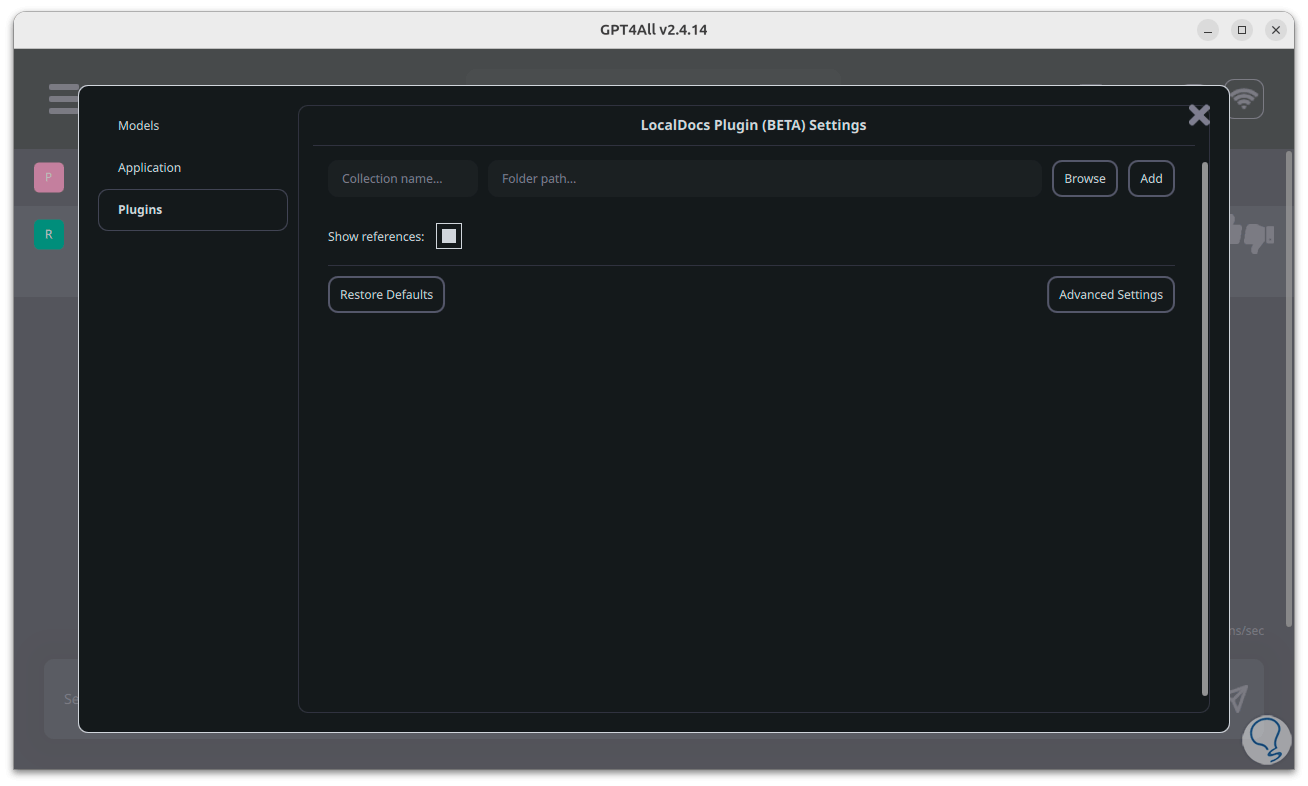
We can see and manage the plugins:
step 30
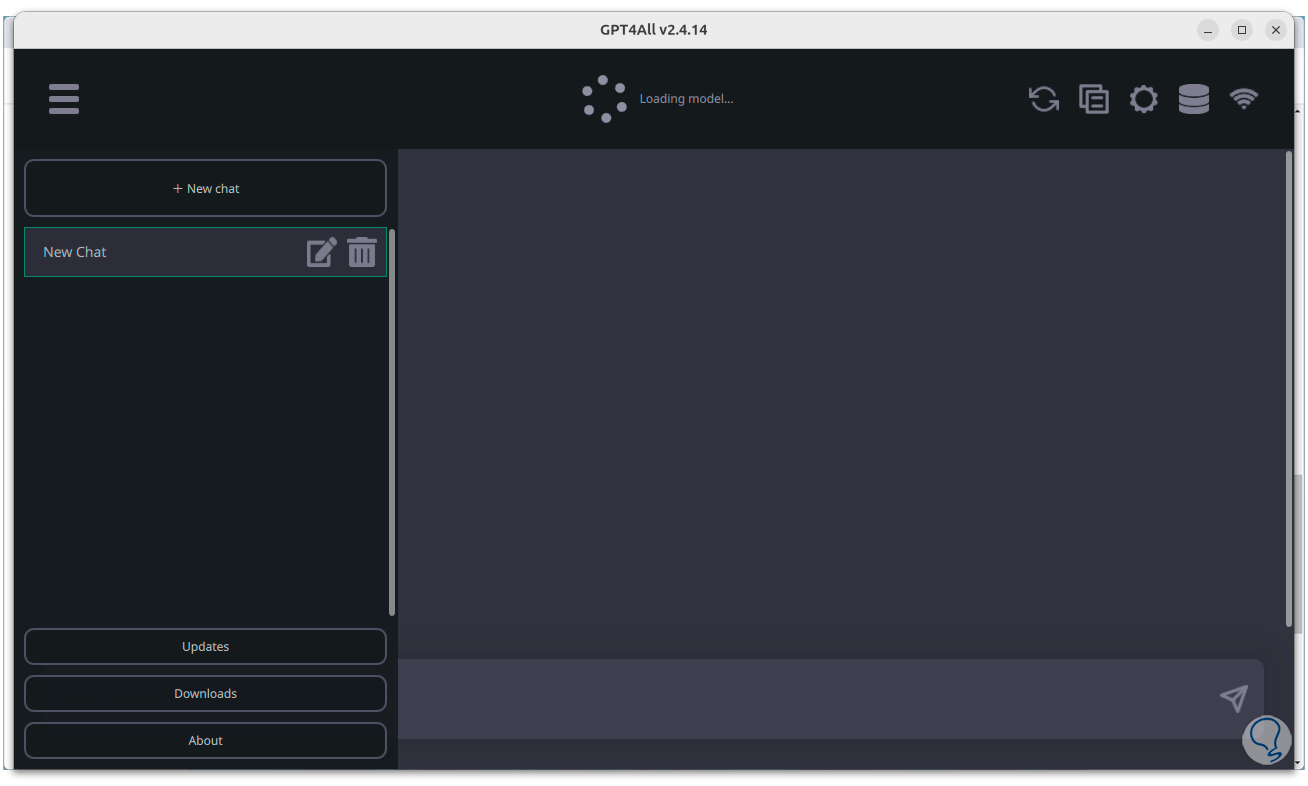
From the side menu we can check updates and review the chat history.
This is how GPT4ALL will be installed on Linux..
2 Install GPT4All on Windows
Step 1
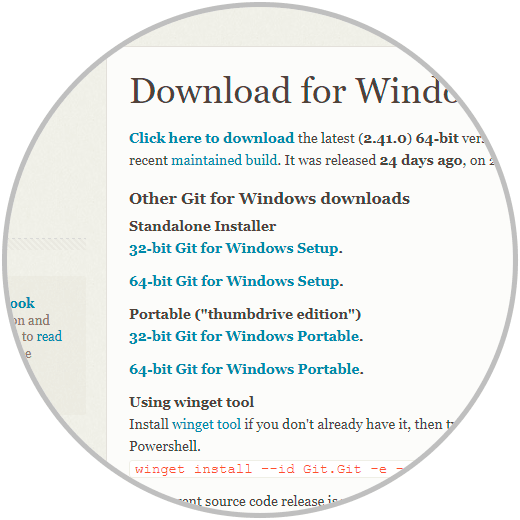
Now we are going to see how to install this valuable platform on Windows, first of all we are going to download Git from the following link:
Git

Step 2
There we click on the download button of the Windows version and the following will open:
We downloaded the latest version.
Step 2
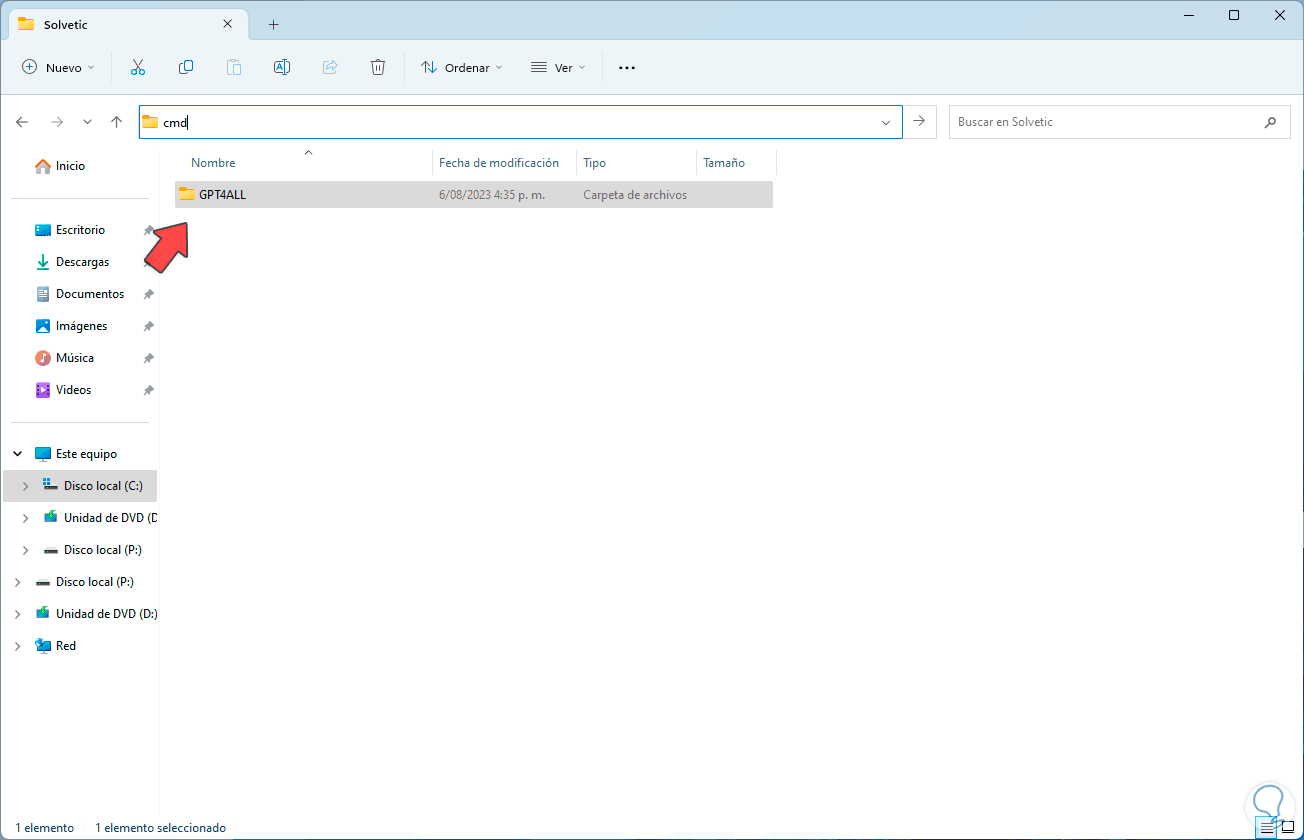
Now we open the File Explorer and create a new folder where the files will be stored, then click on the name bar and enter the word "cmd" there:
Step 3
Pressing Enter will open the terminal in this path, on the download page we have the command at the bottom:

Step 4
Running that command in the terminal will give an error:

step 5
To correct this we are going to execute the downloaded file and the following will open:
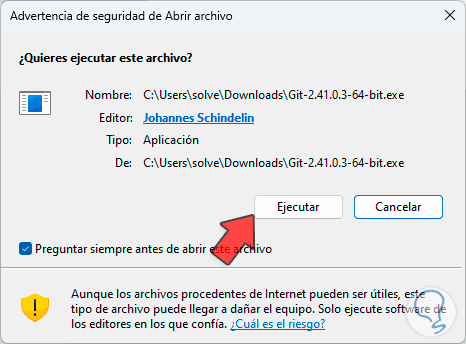
step 6
We click on "Run" and we will see the following:
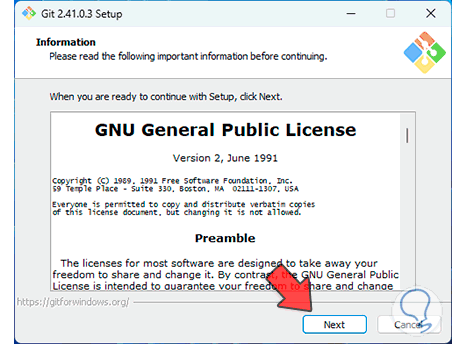
step 7
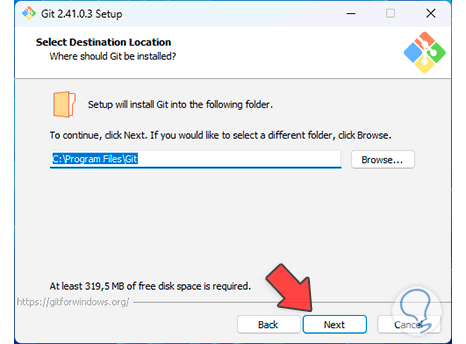
We define where it will be installed:
step 8
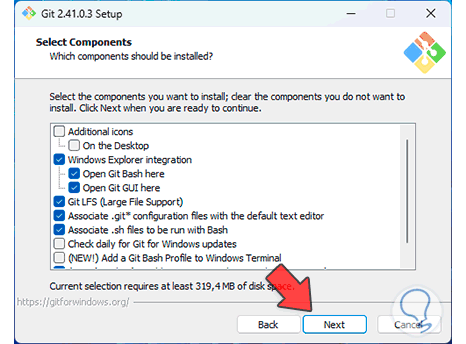
Then we will see the components that we can install:
step 9
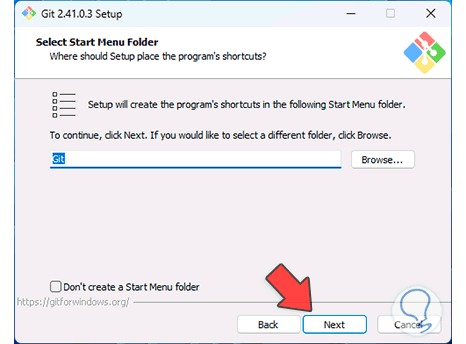
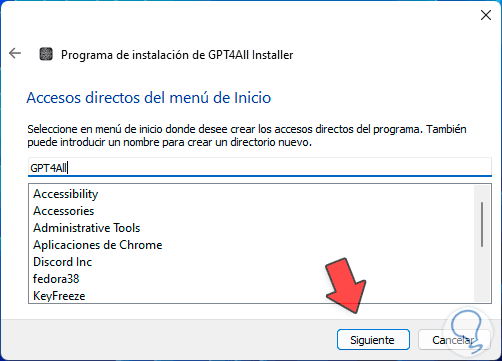
We can define the name for the Start menu:
step 10
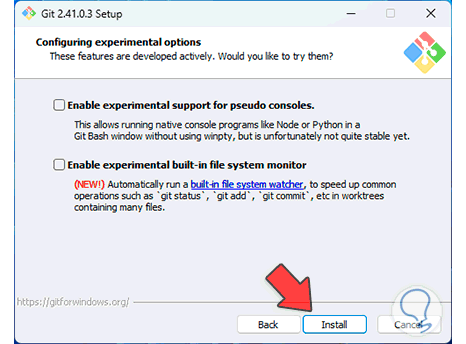
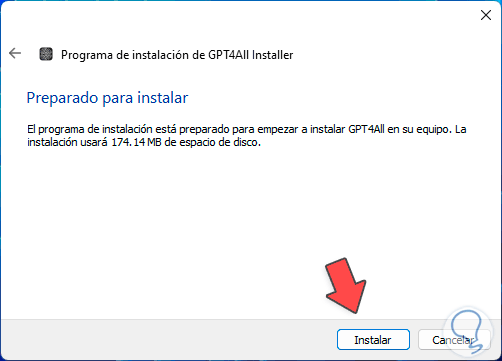
After another series of configurations of the utility we will see the following:
step 11
We click on the "Install" button to start the installation of this utility.
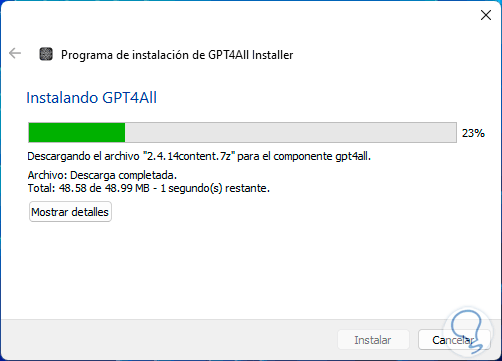
step 12
At the end of this process we will see the following:
step 13
Now we open the terminal again and try to execute the command seen on the official site:
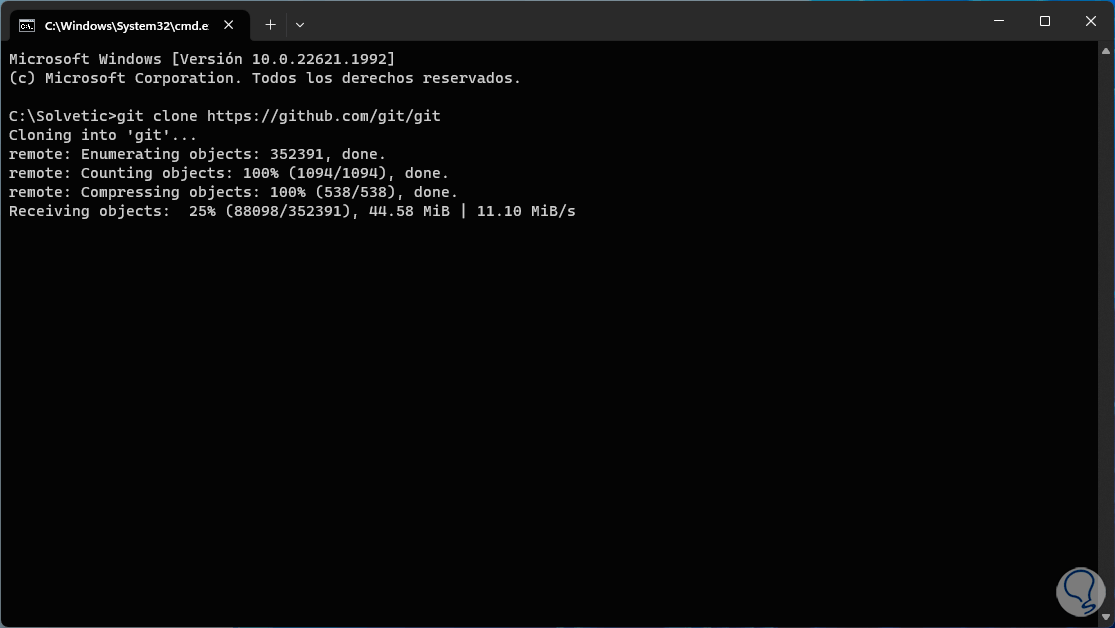
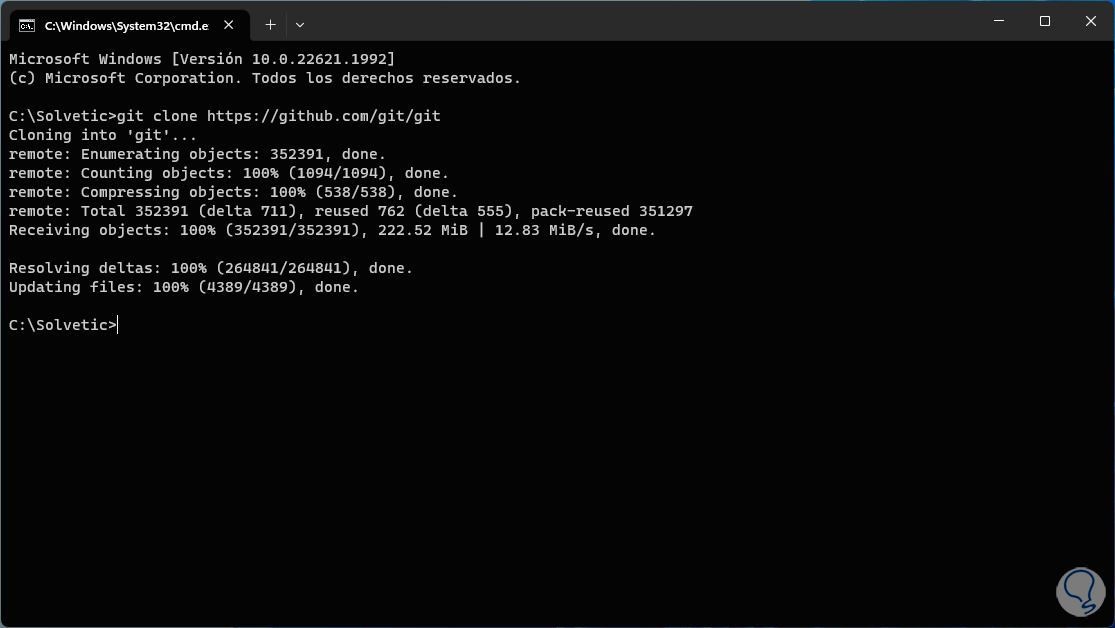
step 14
This time we will see that it is executed correctly:
step 15
In the File Explorer we verify that the folder with the files has been created:
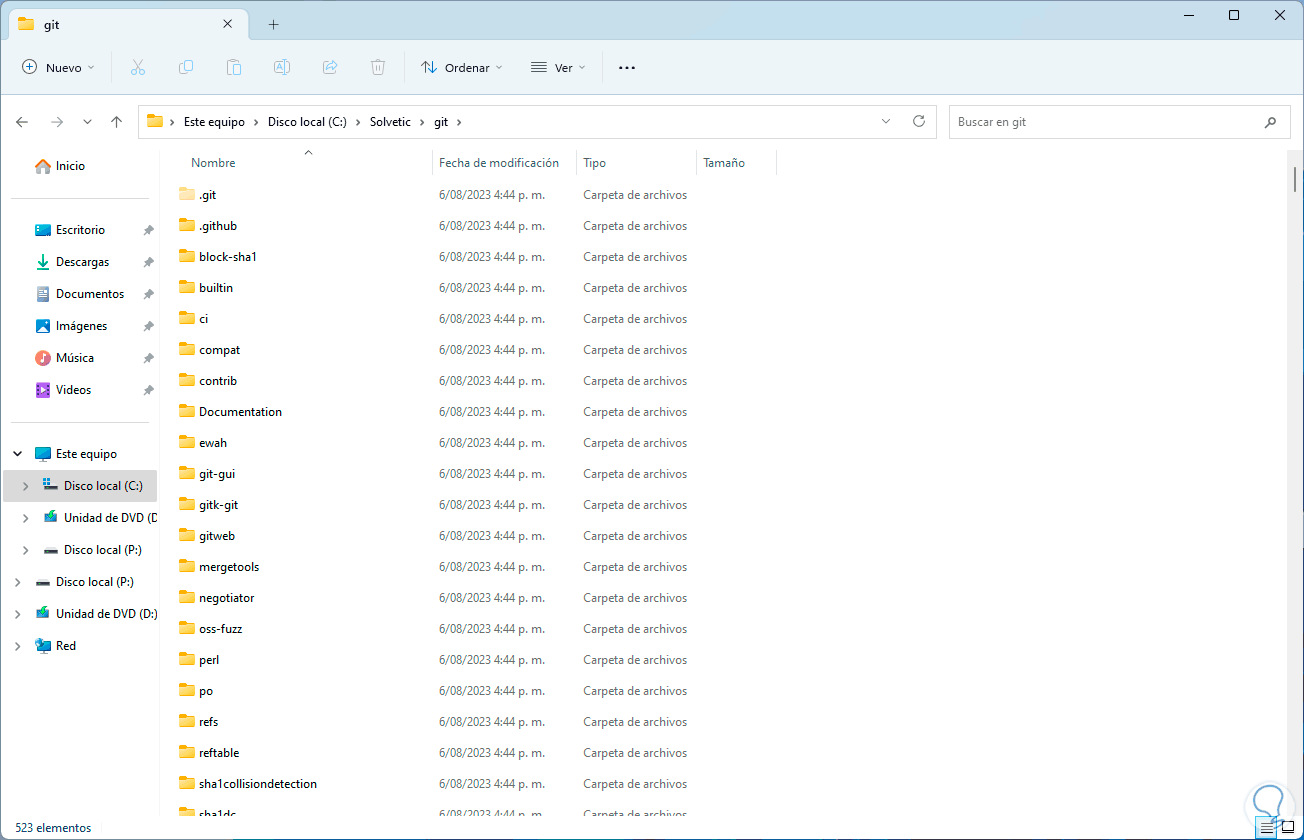
step 16
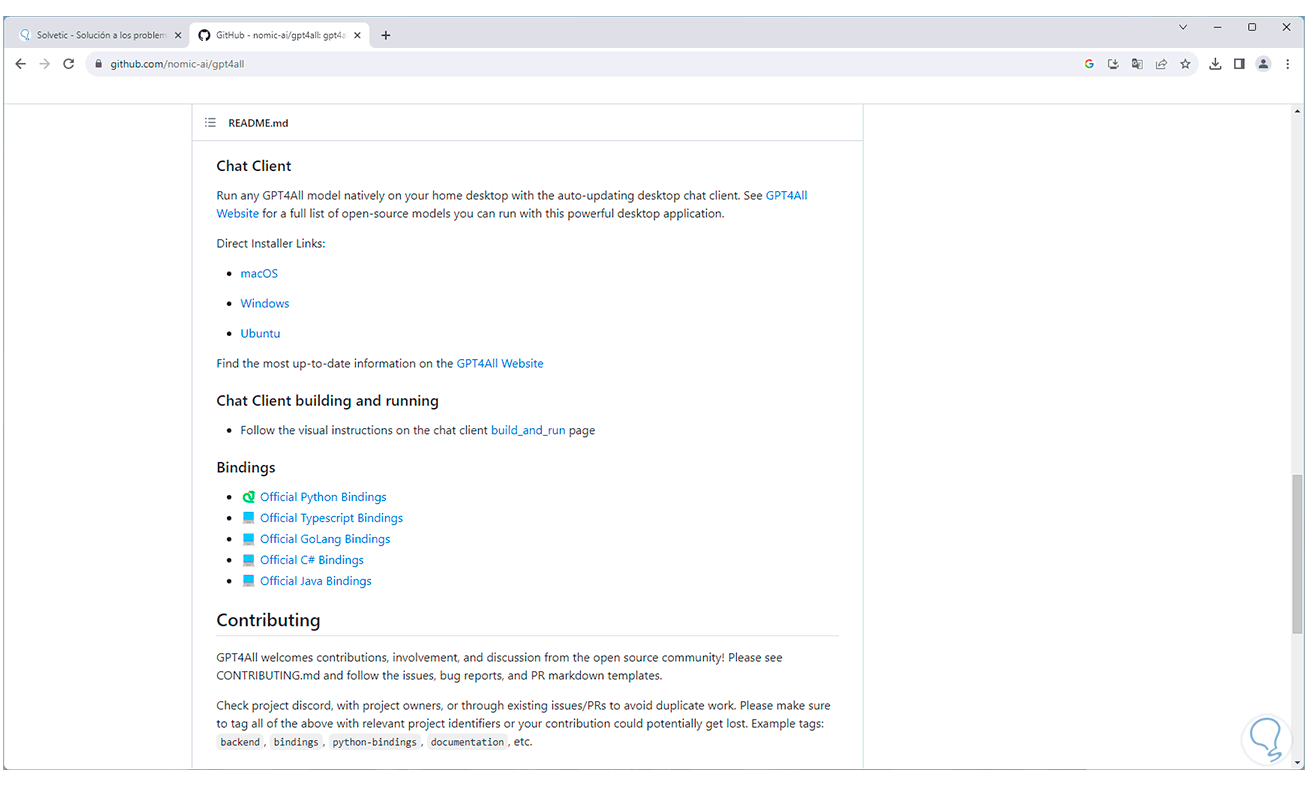
After this we are going to download the chat client from the following link:
GPT4ALL Chat
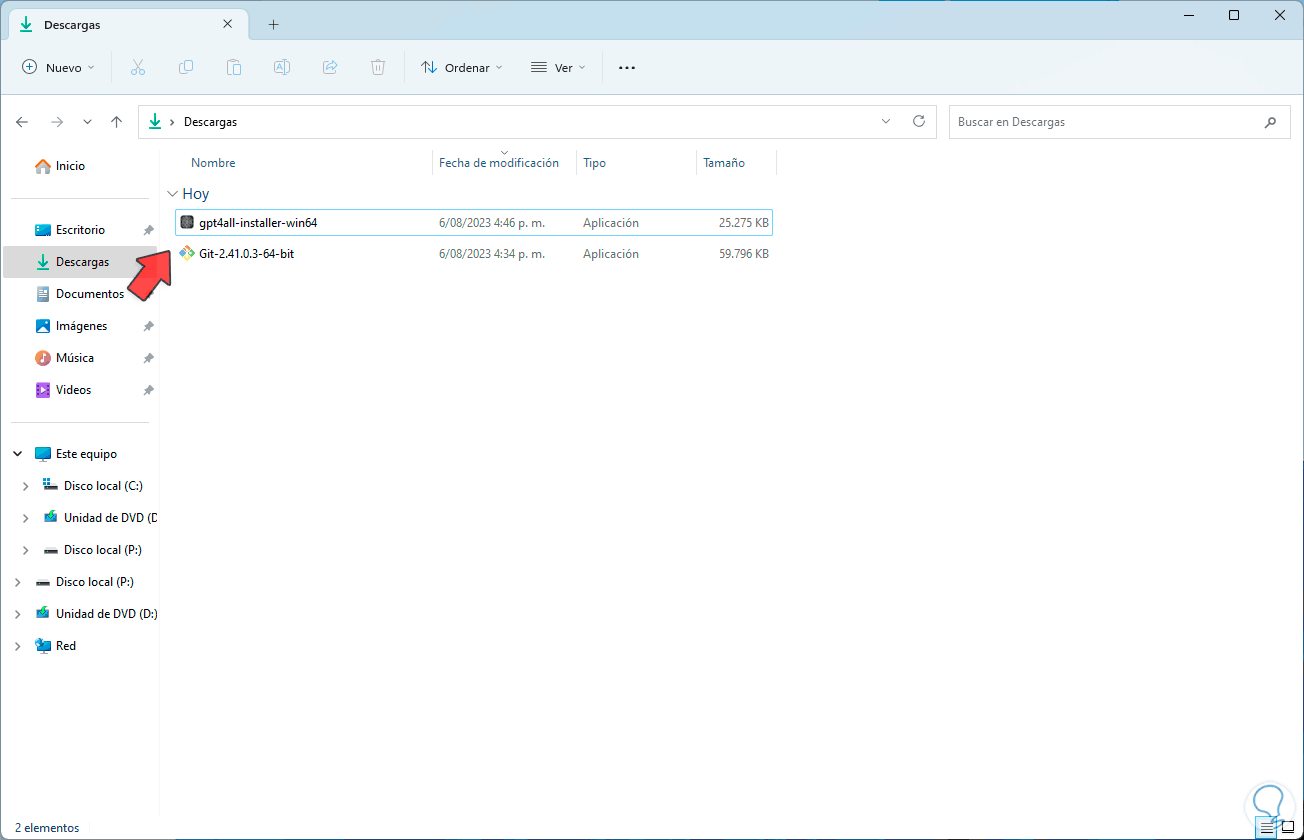
step 17
We execute the file that you have downloaded:
step 18
We will see the following message:
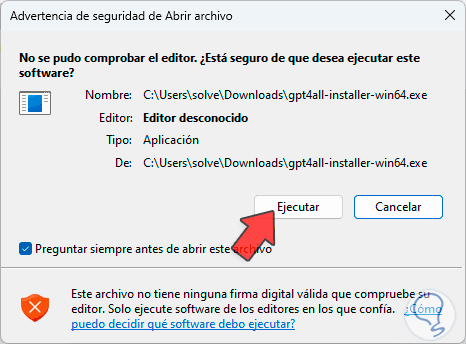
step 18
The installation wizard opens:
step 19
We define the path where it will be installed:
step 20
We select the component to install:
step 21
We accept the license terms:
step 22
We configure the direct access:
Step 23
We will see the following:
step 24
We click on "Install" to start the process:
step 25
At the end of the installation we will see the following:
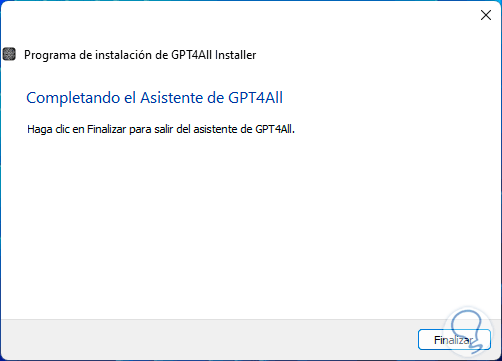
step 26
From the Start search engine we open the utility:
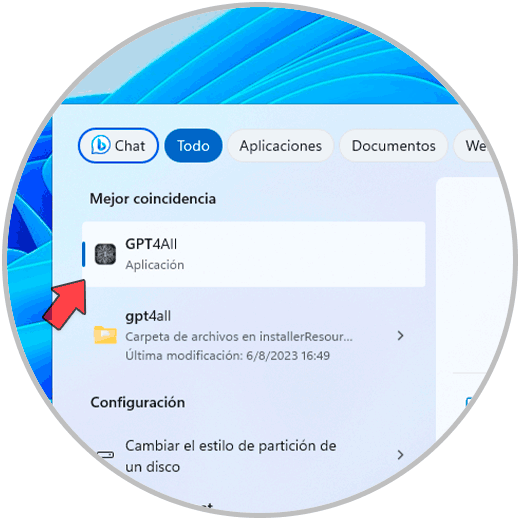
step 27
We will see the following window:
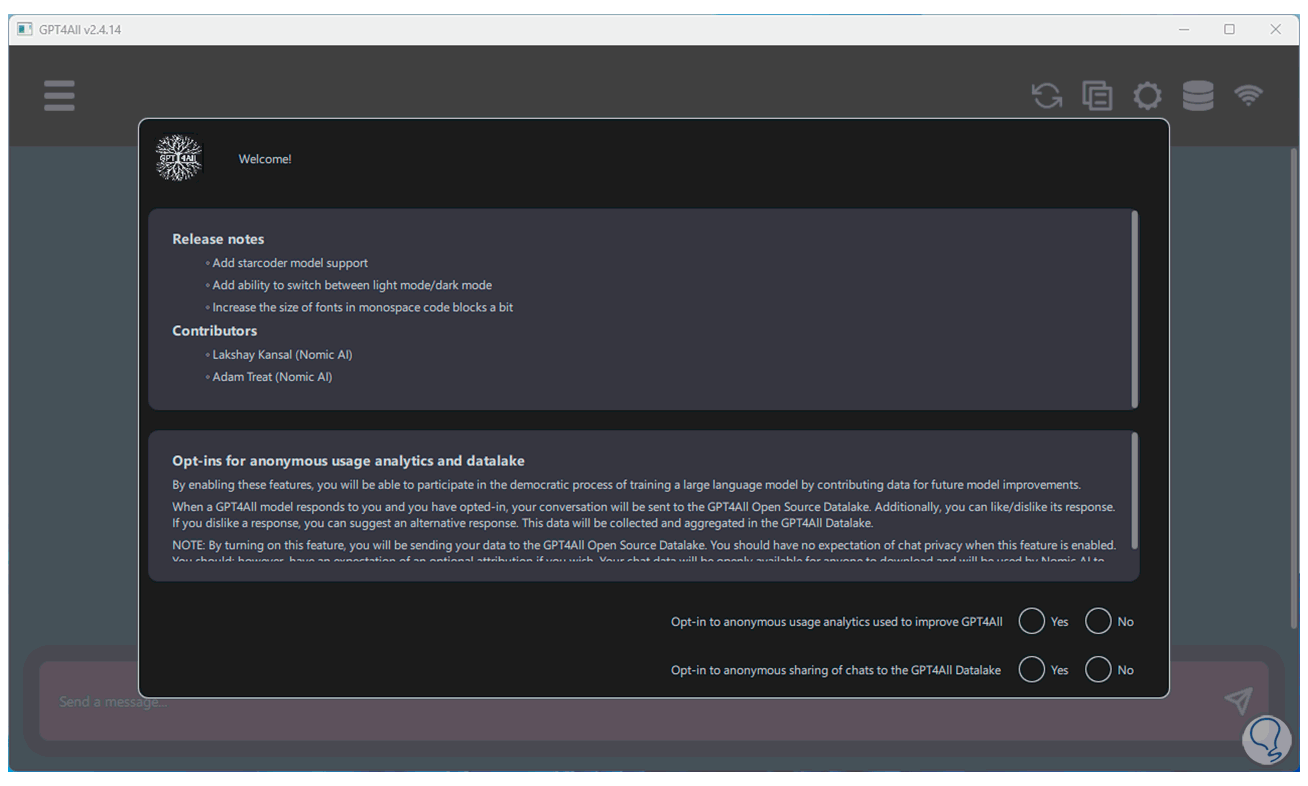
Step 28
There we will activate the available boxes to see the following:
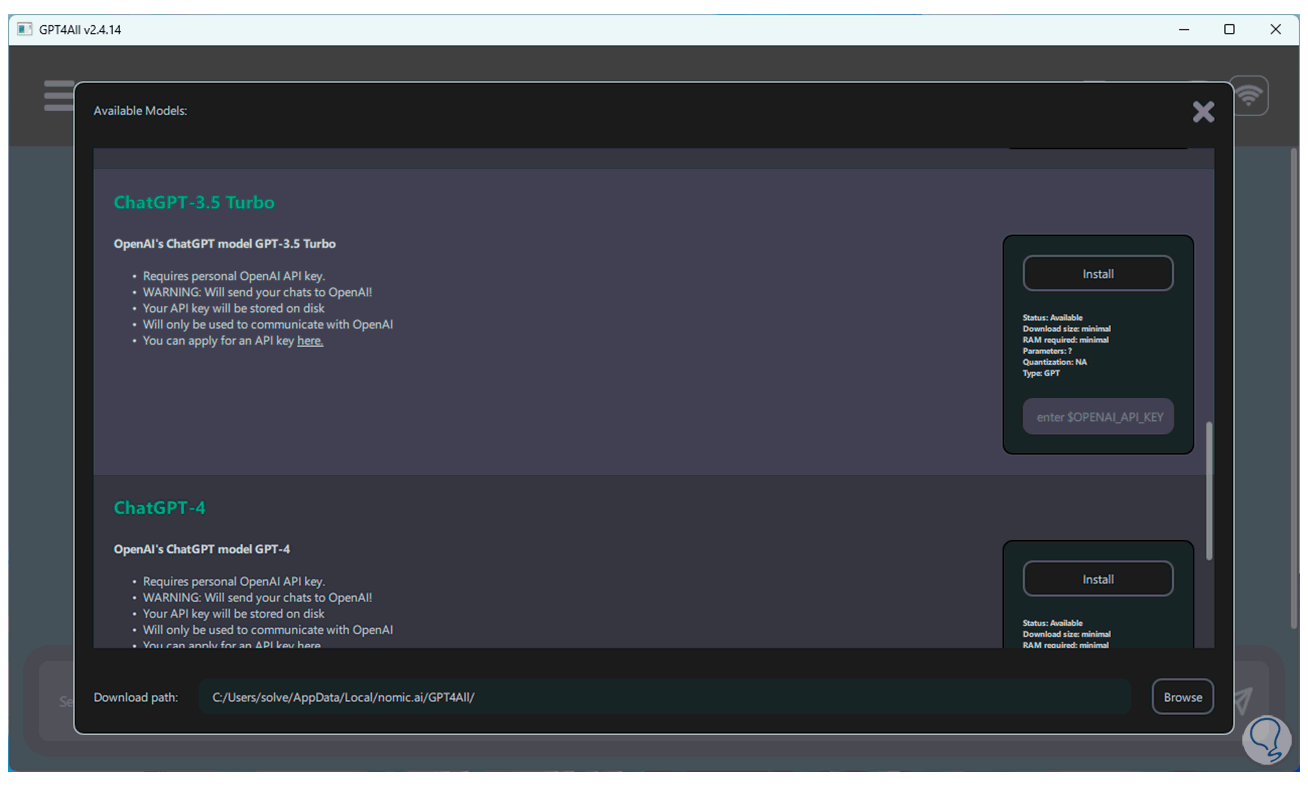
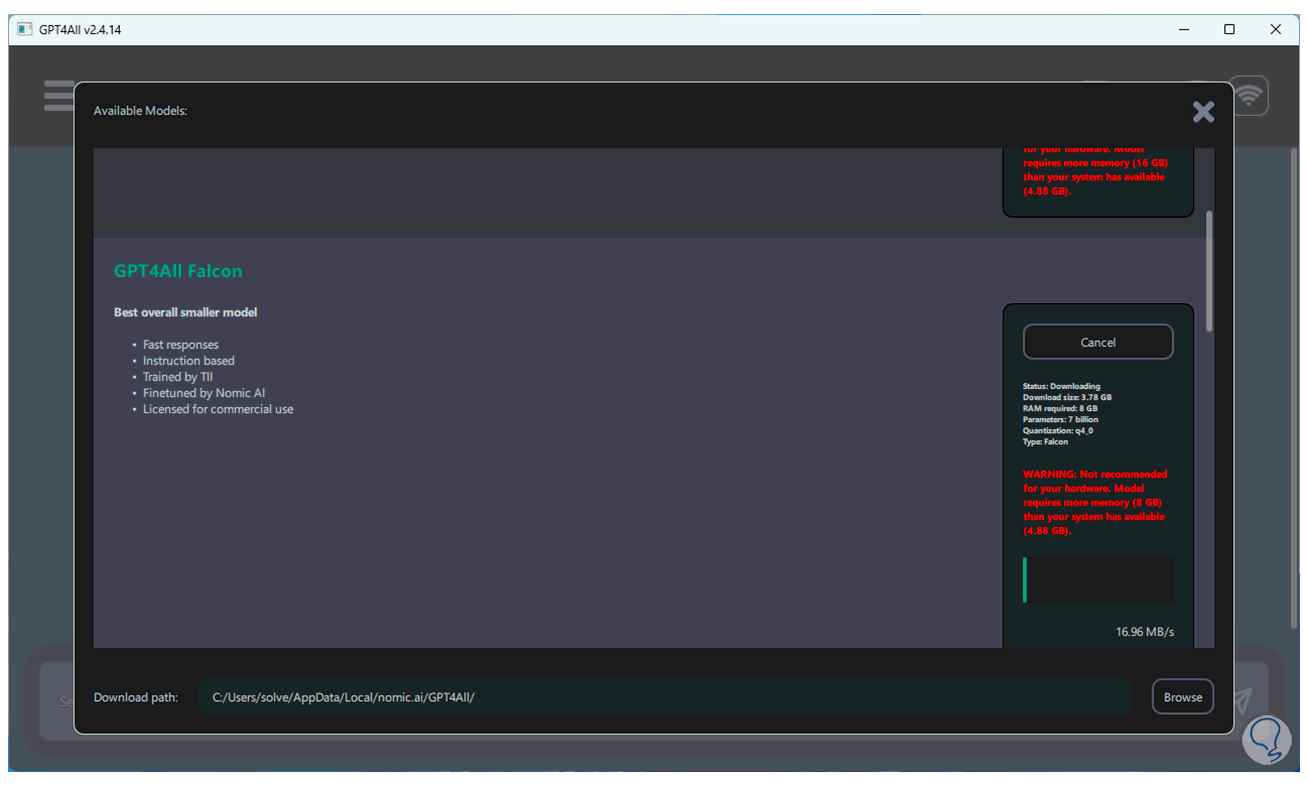
Step 29
It is possible to have access to the different chat models in GPT4ALL, it is possible to download the desired ones or in some cases enter the associated key which we generate in our account, we hope that the selected ones will be downloaded:
step 30
Now from the File Explorer we go to the utility folder, there we are going to double click on "chat":
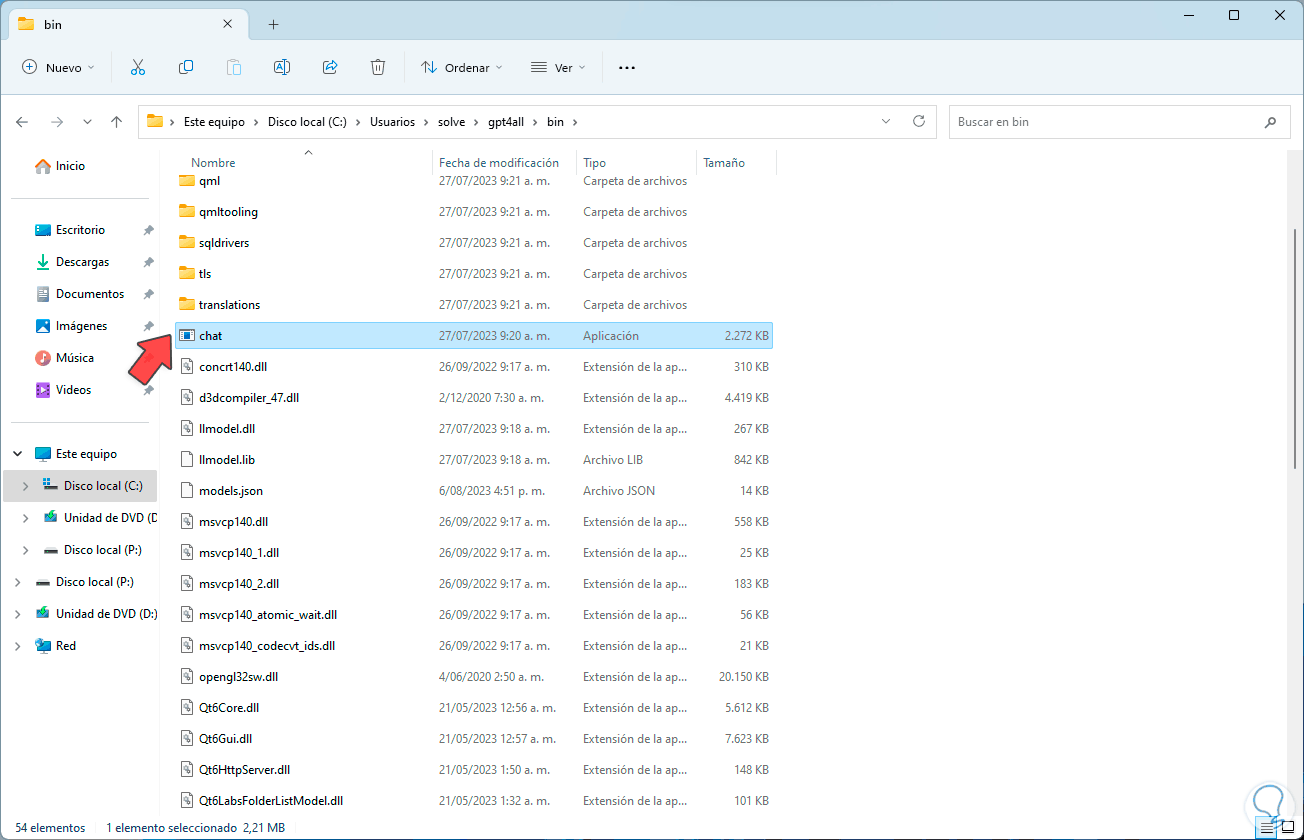
step 31
Now we can select the model to use:
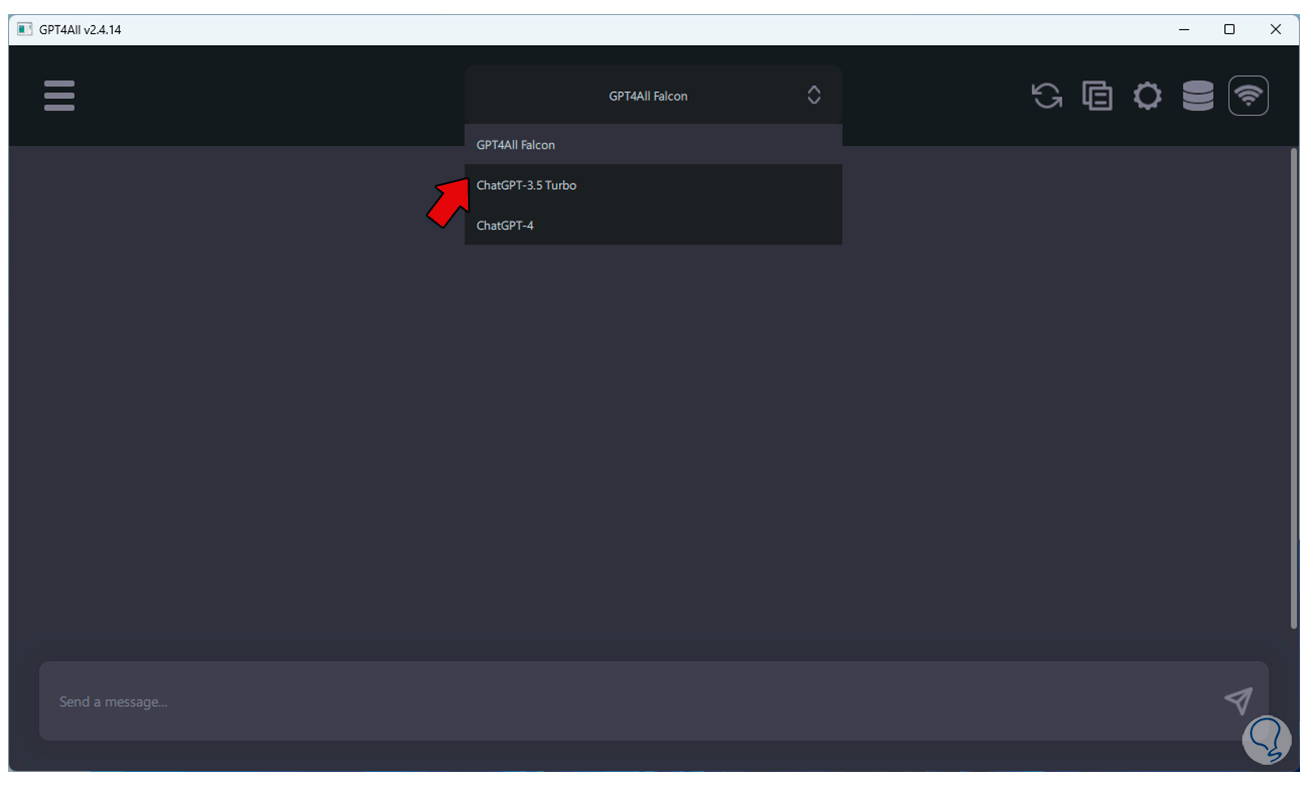
step 32
We execute the query so that we can see how the chat works:

This is how we have GPT4ALL to be with the latest that IT offers us in an online world.