Google has been characterized as a company that offers us a series of benefits and news constantly, and it is not for less, being the largest company at the IT level which buys multiple companies and offers services such as Gmail , YouTube , etc., it is almost mandatory that it allows its millions of users to access multiple types of communication and account, data and other management..
Now, two interesting technologies are combined, such as virtual assistants, Cortana on Windows , Siri on macOS , and all the potential of Google to offer us the Google assistant or also known as Assistant Google. It comes in most Android 6.0 or higher devices but now it is possible to have it on our desktops or laptops, with Windows, Linux or macOS and thus make the most of each of its advantages.
The Google assistant has been designed as a practical tool to access all kinds of information on the computer and thus facilitate the daily tasks that we carry out as users..
By using the Google assistant we can carry out tasks such as
- Receive instructions to go to specific sites
- Add one or more events to a calendar
- Get information about the current weather
- Search nearby sites based on certain parameters and much more
Today TechnoWikis will teach how to install this interesting utility on the best known operating systems.
1. How to install Python on Windows 10
The first fundamental requirement for the installation of the Google assistant is to have Python installed in the system and we will teach first of all how to install it correctly.
Step 1
For Windows 10 we can go to the following link to download the most recent version of Python, 3.6.3:
Python
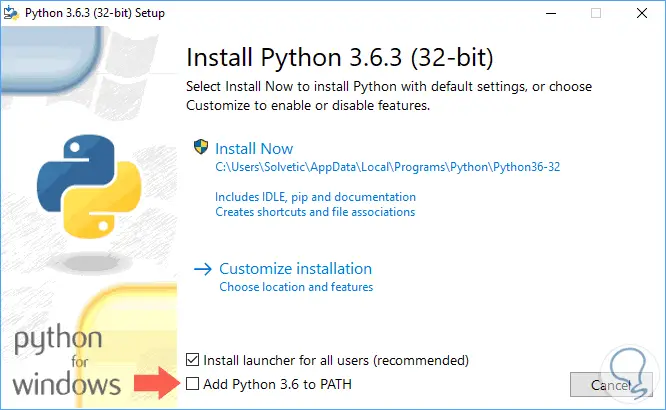
Once we download the executable we proceed to its execution and we will see the following:
Step 2
There we must activate the Add Python 3.6 to PATH box so that it is added to the Windows environment variables. Click on Install Now to start the installation process:
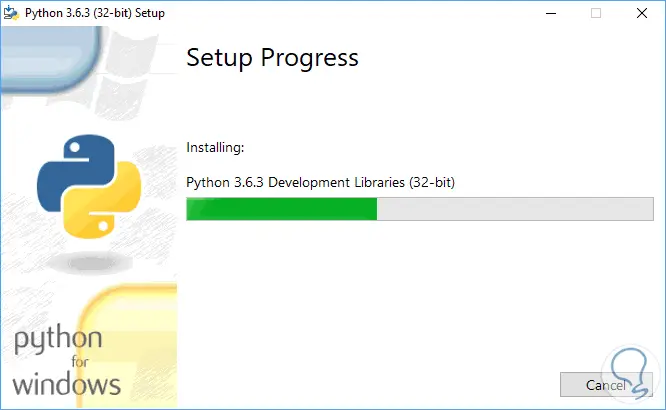
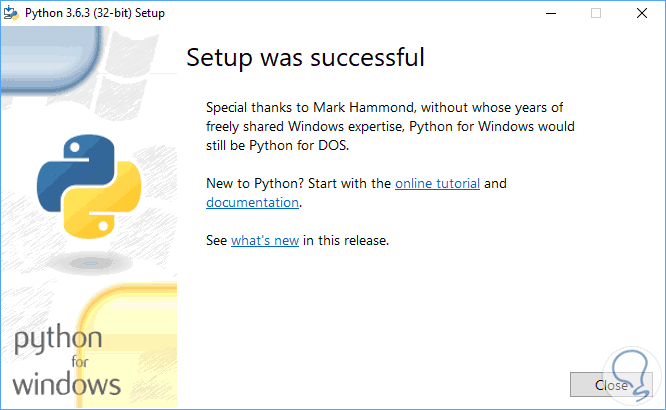
Once the installation process is finished we will see the following:
Step 3
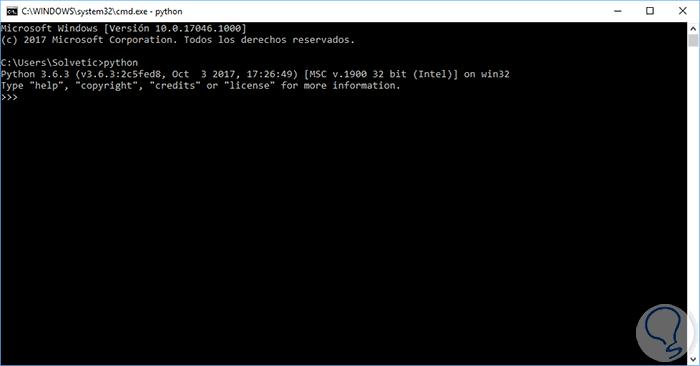
We can verify that Python has been installed correctly by accessing a command prompt console and executing the following:
python
Login Join up!