Windows Server 2019 is the next release that Microsoft will offer for thousands of organizations based on their services, security and stability and like all new Microsoft products , Windows Server 2019 will have a great participation in the hybrid and cloud field..
For all system and IT administrators, it is very important to understand that Windows Server 2019 offers us two work environments each with its own characteristics , these environments are:
Desktop environment or GUI
It is the typical installation of Windows Server and everything is managed and managed from the typical Windows windows.
Core
It is a lightweight version that does not consume too many system resources, such as the GUI, and all administration will be done through commands.
In this tutorial we will learn to install and perform the basic configuration of Windows Server 2019 Core .
What is Server 2019 Core
The Windows Server 2019 Core installation option is a minimal installation alternative that is available when we have to implement either the Standard or Datacenter edition of Windows Server.
When installing this version, Server Core includes most but not all server roles already known to everyone. One of the main advantages of using Windows Server 2019 Core is that it has a smaller disk footprint and, this results in a smaller attack surface because its code base is minimal..
The installation of Windows Server 2019 Core eliminates all services and certain features that are not vital for the support of certain server functions or tasks within the organization. A punctual case is the Hyper-V server which does not require a graphical user interface to be implemented, since it is possible to administer it virtually through Windows PowerShell or remotely through Hyper-V Manager. This results in more disk space and better hardware performance such as CPU or RAM.
features
When we install this version of Windows Server 2019 Core, the following GUI shell packages are not included:
- Microsoft-Windows-Server-Shell-Package
- Microsoft-Windows-Server-Gui-Mgmt-Package
- Microsoft-Windows-Server-Gui-RSAT-Package
- Microsoft-Windows-Cortana-PAL-Desktop-Package
Apart from these packages we have other differences in Server Core such as:
- Windows Server 2019 Core does not have any accessibility tool
- No OOBE (out of box experience) to configure the Server Core
- It does not have audio support
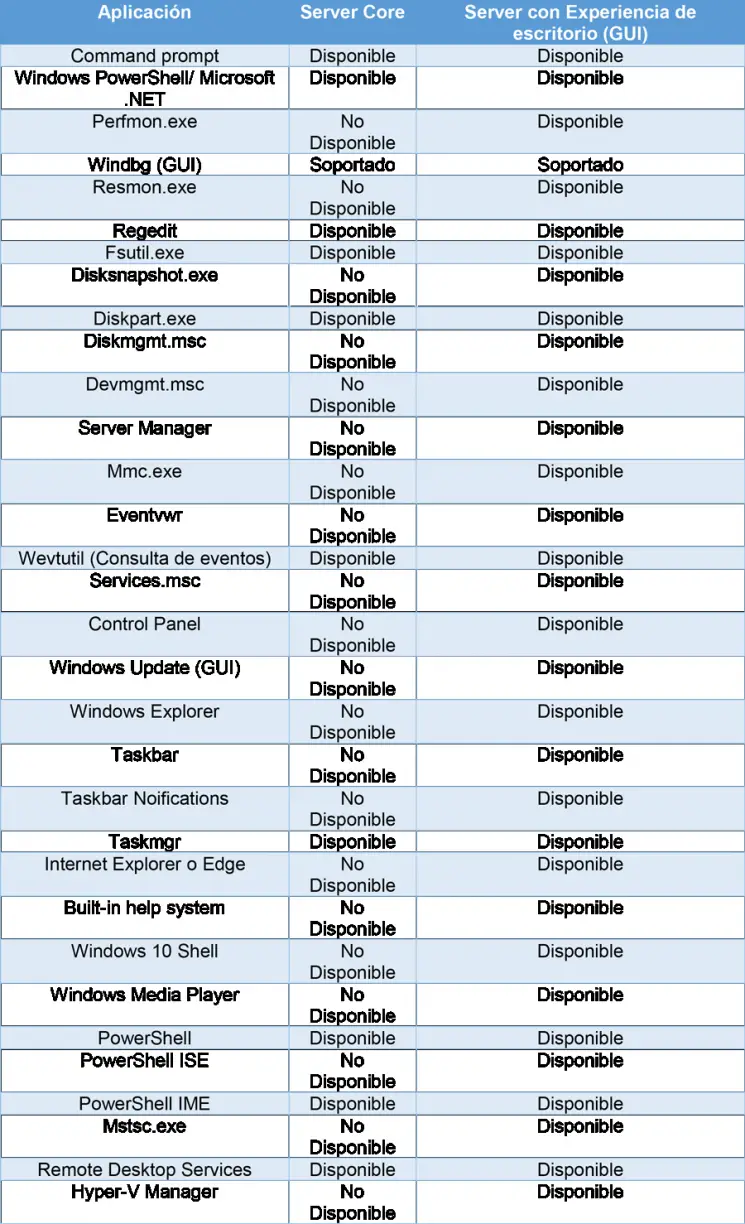
Within the roles or services that are or are not available in the Core version of Windows Server 2019 we have the following comparative table:
1. Install Windows Server 2019 Core
Step 1
To begin the installation process we will go to the following link to download the ISO image of Windows Server 2019. There we must be registered in the Windows Insider program which is free and it will only be necessary to use our email account.
Windows Server 2019
Step 2
Once the ISO image is downloaded, we burn it to a bootable DVD or USB and it will be necessary to configure the computer in the BIOS to boot from there, once this is done, we will see the following Windows Server 2019 window:
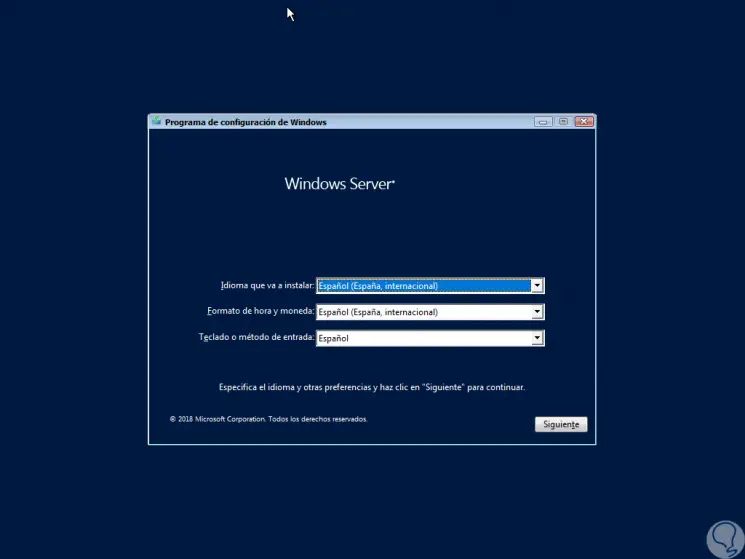
Step 3
There we select the language, time format and keyboard based on the language downloaded with the ISO. Click on Next and we will see the following window:
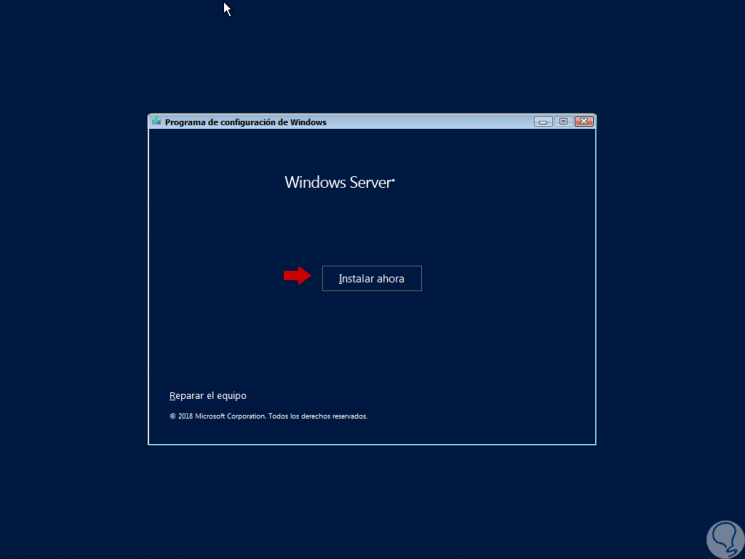
Step 4
There we click on the “Install now†button and we will see that the basic installation process begins:

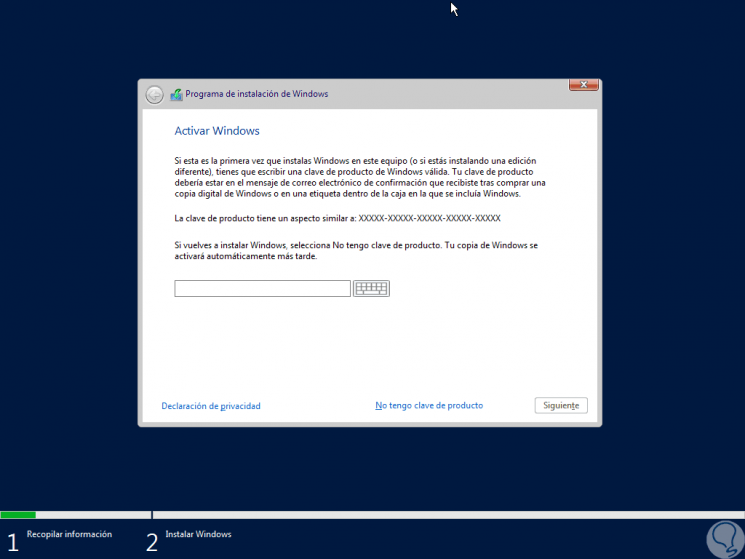
Step 5
The following window will be displayed where we can assign the product key if we have it or click on the “I don't have a product key†line to register it later:
Step 6
In the next window we will see the following:
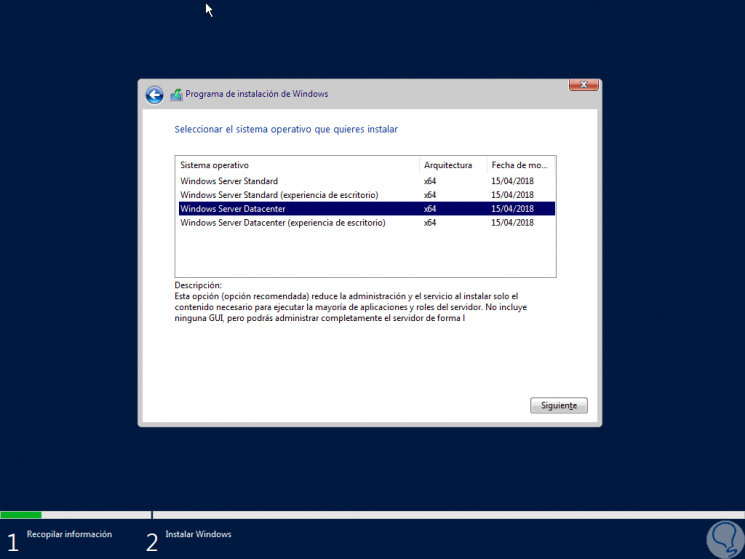
Step 7
There we have two basic, but completely different options that are:
Windows Server Edition (desktop experience)
This option installs Windows Server 2019 in the graphic version already known to all.
Windows Server Edition
The Core version of Windows Server 2019 will be installed.
Step 8
We have selected “Windows Server Datacenter†because it is one of the most robust and with more features we select it and press Enter and then we must accept the license terms:
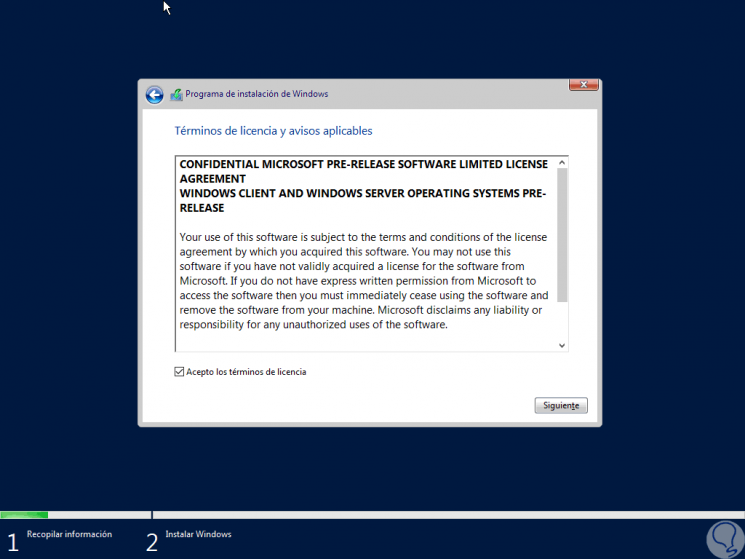
Step 9
Once we accept them we will see the following:
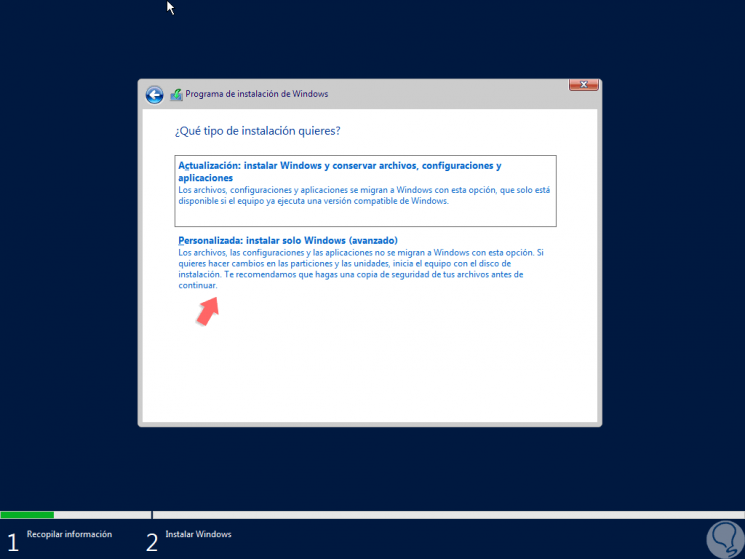
Step 10
There we can update, in case we are on an earlier version of Windows or, as in this case, select the “Customize†option to install from scratch. By selecting this option we will see the following:
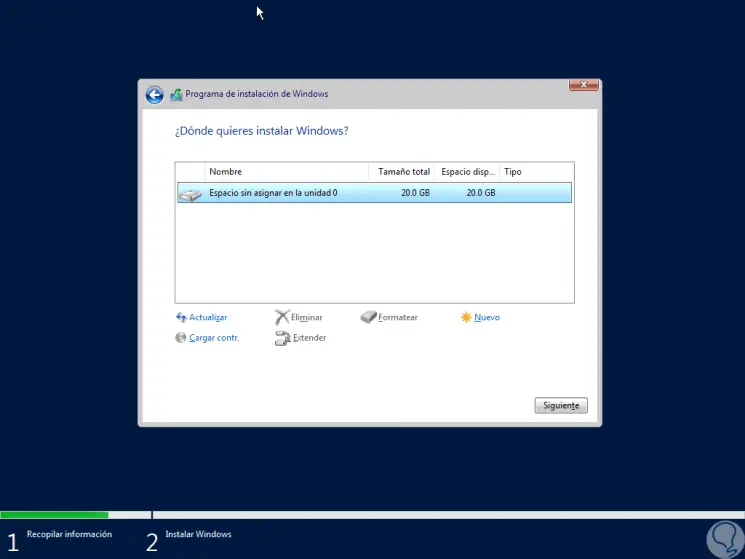
Step 11
There we find the hard disk available for installation and we can execute tasks such as:
Step 12
Once defined that Windows Server 2019 Core must be installed on this disk, press Enter and we will see that the installation process begins:
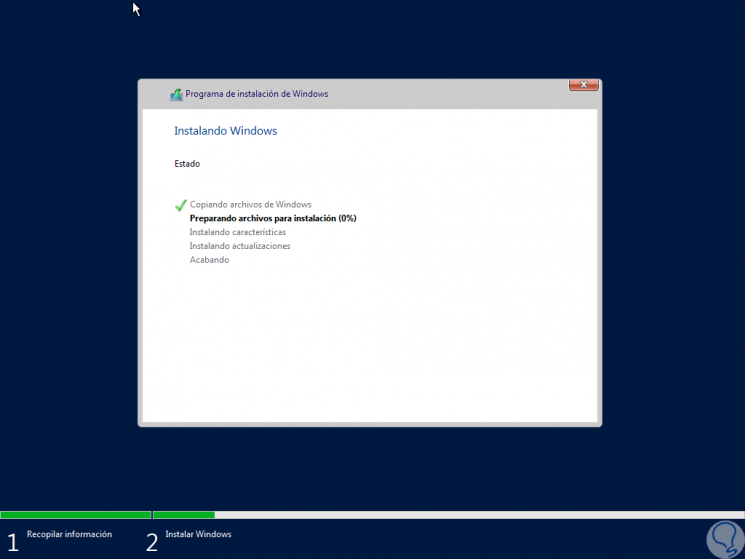
Step 13
Once this process is finished the devices will be configured:
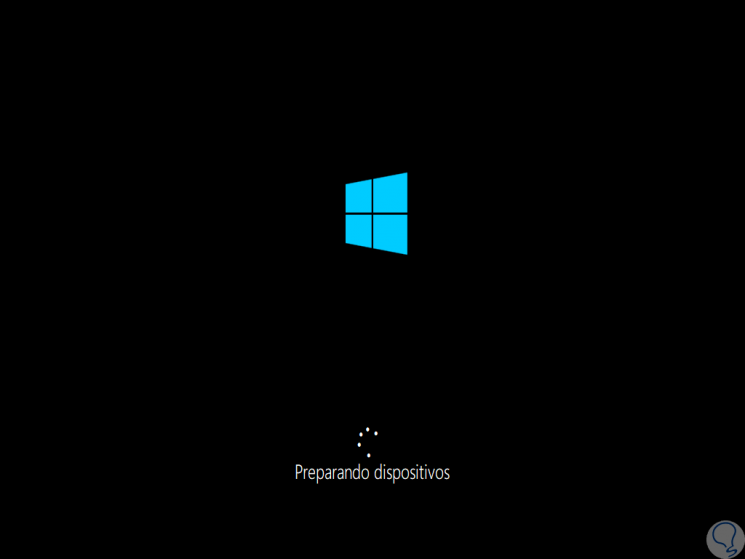
Step 14
This takes between 5 to 10 minutes and then we will see the following window:
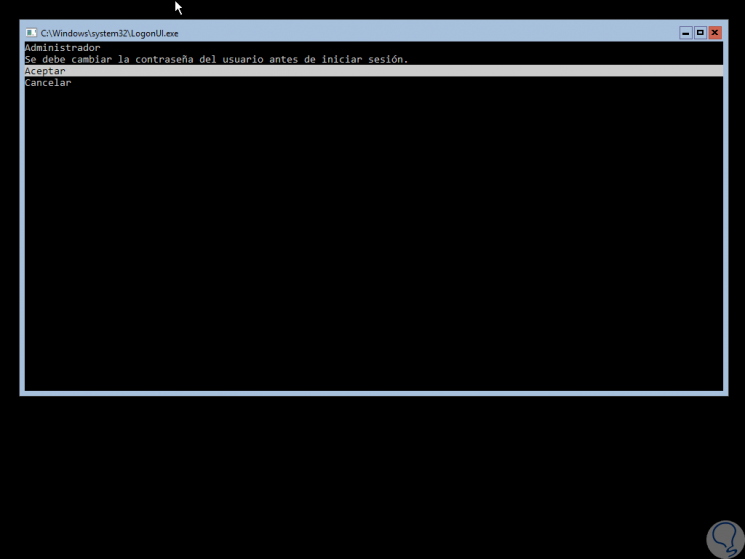
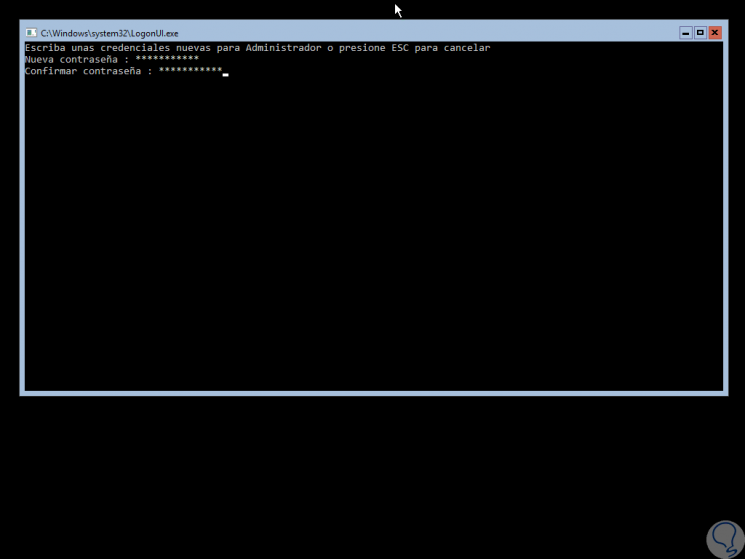
Step 15
There we see that it is suggested that we assign the administrator password, for this we select the Accept option with the arrow keys and press Enter and it will be necessary to enter and confirm the password:
Step 16
Once we press Enter we will see that the change was applied correctly:

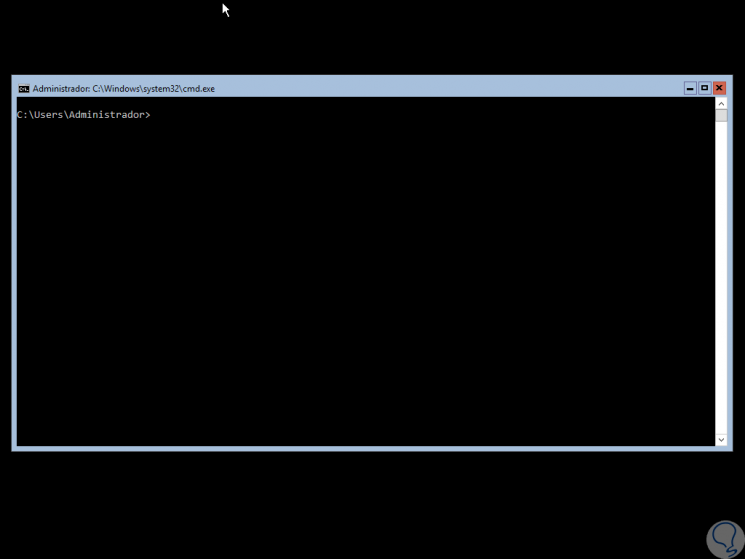
Step 17
Pressing Enter again will access Windows Server 2019 Core. It's that simple to install Windows Server 2019 Core.

Login Join up!