Windows Server 2019 is the new edition of operating systems for organizations that Microsoft offers us to centrally manage all options for roles and services and manage both users and computers. Windows Server 2019 gives us multiple functionalities and one of the most striking, and in fact practical, it is the ability to act as a file server thanks to which users can access a central resource and as administrators we can define the level of permissions to be granted for each user segment..
Through this tutorial we will see how to create and configure a file server in the new Windows Server 2019.
What is a file server?
This type of server is a server that is configured to offer a central location in the local network with the aim of storing files and sharing them with domain users.
Thus, thanks to the file server, if users need access to these files and applications, or if centralized administration of files and backups becomes a vital factor in the architecture to be controlled, the file server becomes in the simplest solution, but at the same time more effective.
This role, also known as File and Storage Services, gives us the opportunity as administrators or IT personnel to configure and manage various storage capacities where we can manage items such as:
Work folders
These may be created and configured in order to allow users to store and access work files on personal computers and devices, as well as corporate computers. With these folders, administrators will have full control over the data since this storage is given on a single central computer
Data deduplication
It is ideal to reduce the hard disk space requirements of the files and thus invest less resources in external storage.
ISCSI target server
This server gives us the possibility to create independent hardware and software-based centralized iSCSI disk subsystems in storage area networks (SAN).
Server administrator
It is a function of Windows Server 2019 to remotely manage several file servers from a single window facilitating administrative tasks.
Storage spaces
They have been created to implement high availability storage so that they are robust and scalable using efficient and standard disks.
Windows PowerShell
The Windows Server management console can be used to automate the administration of most administration tasks related to file servers and thus have management alternatives through command lines.
One issue in which Microsoft has put more dedication, both for desktop and corporate systems, is storage which plays a vital role in many organizations since daily disk spaces are being occupied which, if the disk becomes full, It may have a negative impact on the performance and usability of many services.
Therefore, in Windows Server 2019, storage aspects are treated as:
Storage Spaces Direct
This function gives the possibility of creating a new level of available and scalable storage using local storage servers
Storage Replica (Storage Replica)
With this function, it will be possible to synchronously replicate the storage on servers and clusters and thus always have availability in case of some error or type of disaster on the main computer.
Storage Quality of Service
This function, called QoS, has been developed to centrally monitor the storage performance in the system.
Now let's see how to enable the file server in Windows Server 2019..
1. How to create Windows Server 2019 shared folder
Step 1
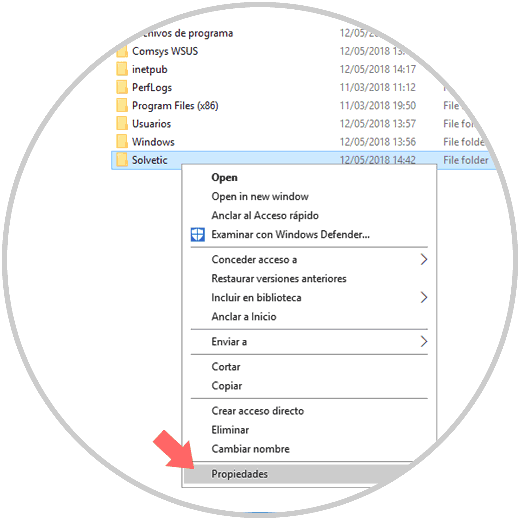
The first step to take is to create a folder on the server which will act as the file server, for this we create it and then we will right click on it and select Properties:
Step 2
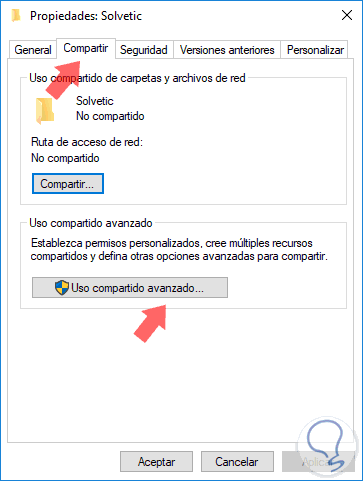
We do this to assign the respective permissions, when pressing this option the following window will be displayed where we go to the Share tab:
Step 3
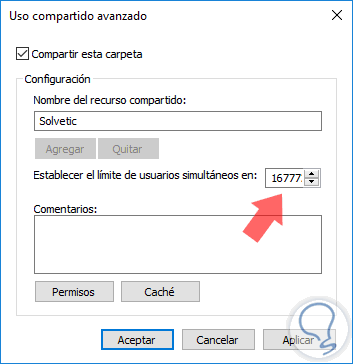
There we click on the button Advanced sharing and in the new window displayed we activate the Share this folder box, we will assign a name for the shared resource and we can define the limit of users with access if it is the case:
Step 4
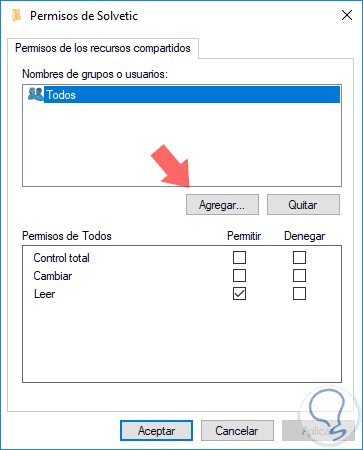
Now, we will define the permissions, for this we click on the Permissions button and in the new window that we see we select All and click on the Remove button, we do this for security, although it is not necessary, to define which users must have access to the server of files:
Step 5
Now, click on the Add button and we will look for the group of users that we want to have access to the file server:
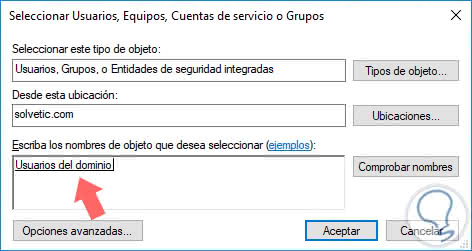
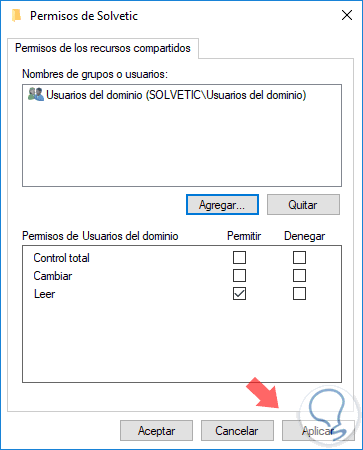
Step 6
In this case we have selected the Domain Users and once we select them we will give them a read-only permission to cook how the file server security works in Windows Server 2019:
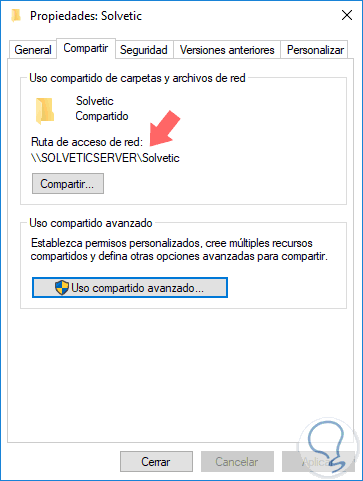
Step 7
Click on Apply and Accept to save the changes and we can see that the selected folder has been shared correctly, keep in mind that there is indicated the path for client computers:
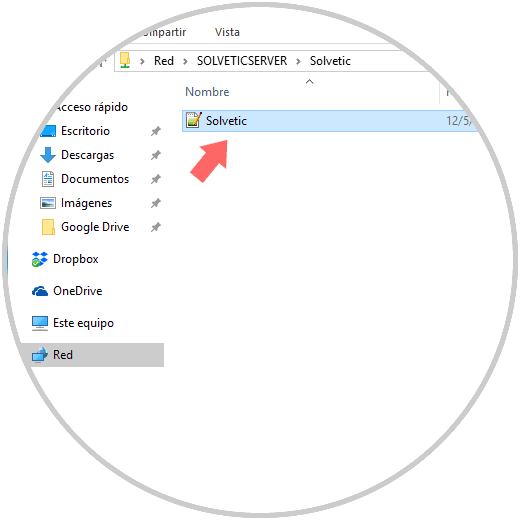
Step 8
When accessing from a client computer in the domain, we can see that the folder we have shared is shown there:

Step 9
When accessing it and creating any element we will receive the following warning:
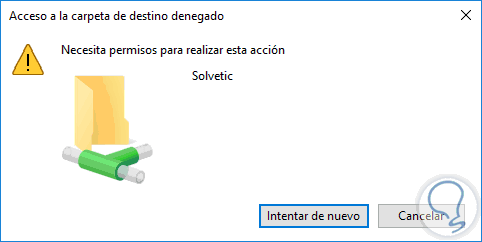
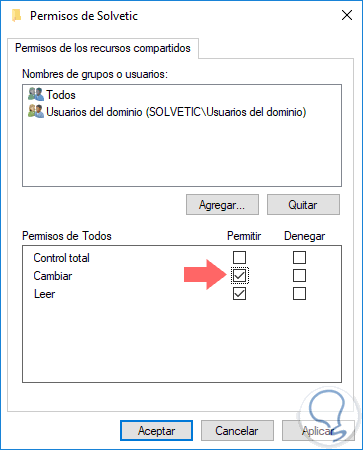
Step 10
This is because we only have read permissions, if we go back to the properties of the shared folder we can assign the Change permission:
Step 11
We apply the changes and now the client user can create items in the shared folder without problems:
2. How to configure parameters for the Windows Server 2019 file server
Step 1
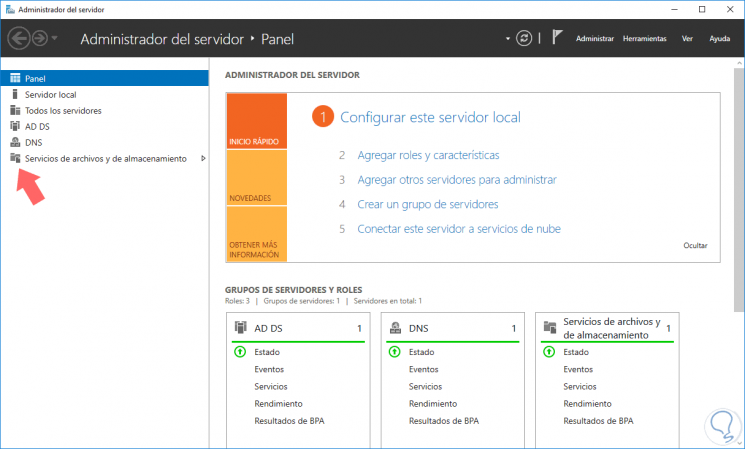
The file server is configured by default in Windows Server 2019 and for its administration, we go to the Server Manager and there we click on the File and storage services section located on the left side:
Step 2
In the option displayed we click on the Shared Resources category and we can see the folder that we have previously shared:
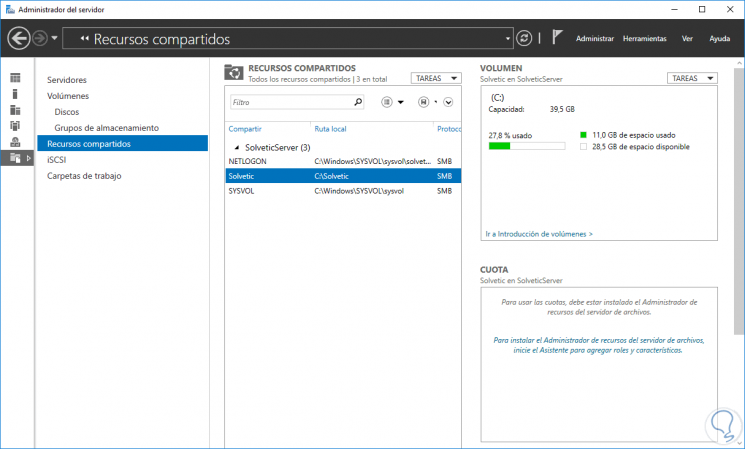
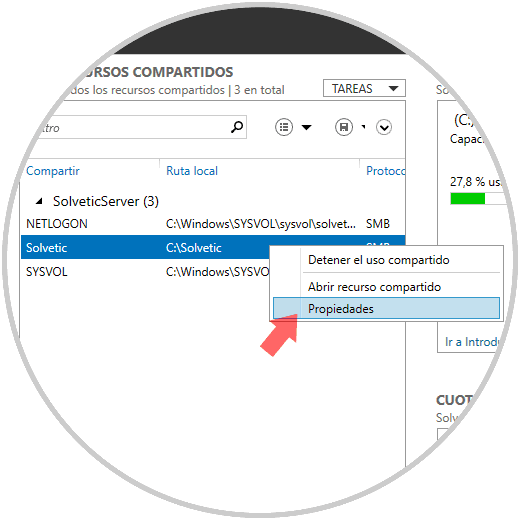
Step 3
On the right side we will see details of it as its capacity and free space. Now we will right click on the shared folder and select the Properties option:
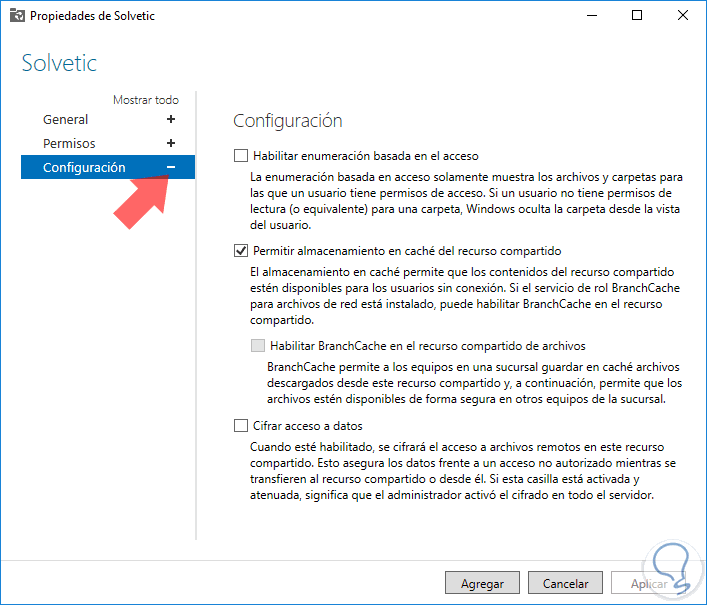
Step 4
The following window will be displayed where we go to the Configuration section:
Options
There we found some options such as:
- Enable access-based enumeration: this option allows users to see only the folders that are allowed to be edited, those that are read-only will be hidden
- Allow caching of the share: This option enables sharing are connection
- Enable BranchCache on the file share: This option caches resources for later access
- Encrypt data access: This option encrypts file access for added security.
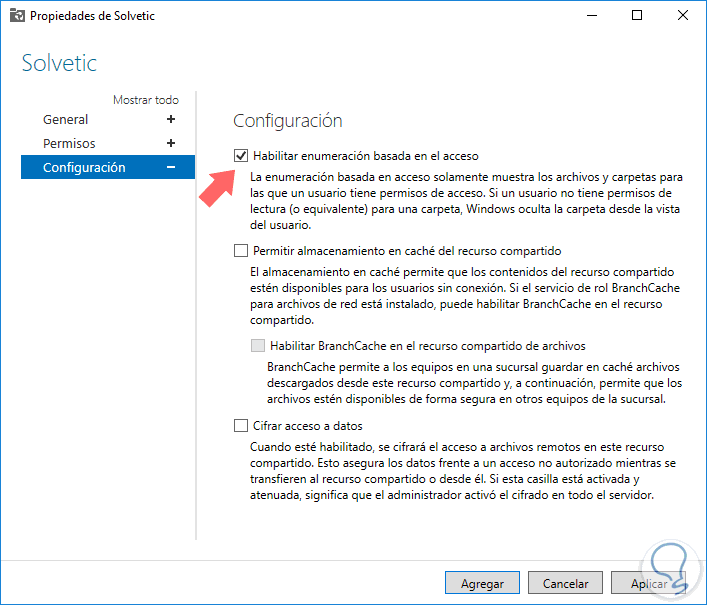
Step 5
In this case, we enable the Enable enumeration based on access check box. Click on Apply and Accept to save the changes.
Step 6
To verify it, we will create a new folder within the shared folder:
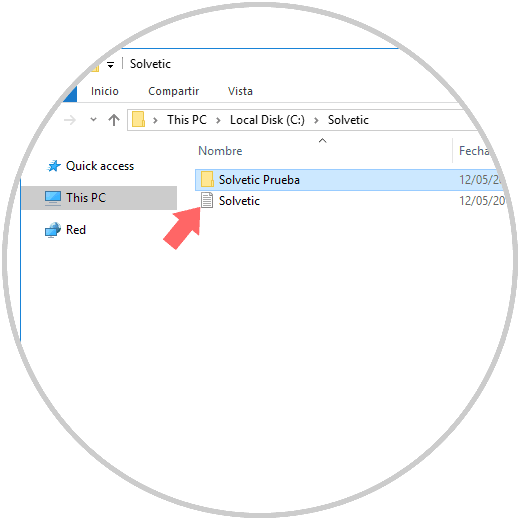
Step 7
This new folder is assigned with read-only permissions and when the client computer has access to said shared folder, it will not be able to see the folder that we have created inside it:

This is useful for security or privacy.
3. How to add the file server administrator console in Windows Server 2019
Step 1
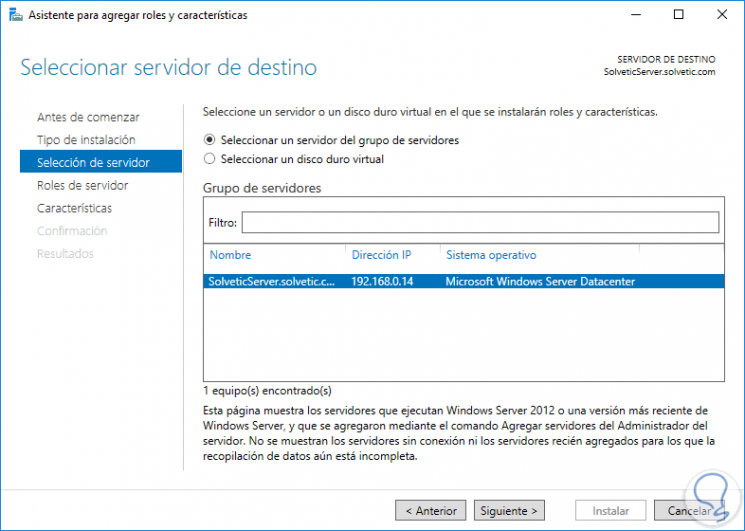
For this option, we go to the server administrator and select the option Add roles and features and skip the welcome window and in the following we select the option Installation based on features or roles and then we will select our server with Windows Server 2019:
Step 2
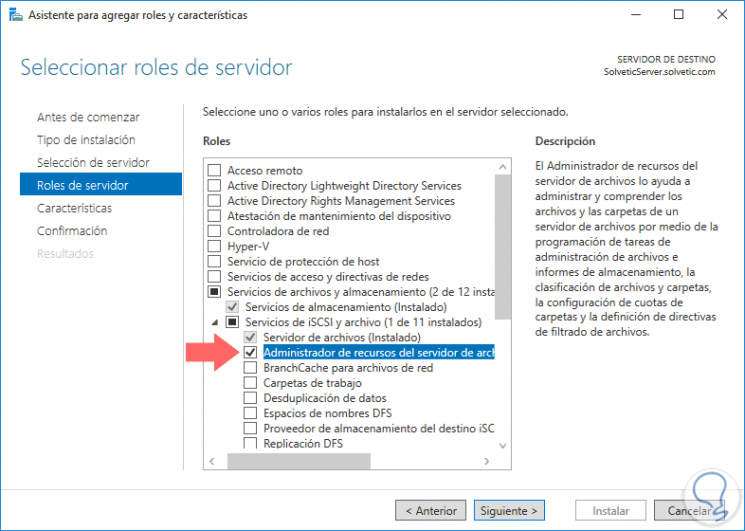
By clicking Next we will see the Server Roles window where we will locate the line called File and Storage Services, we will expand it and go to the iSCSI and file Services route and we will activate the File Manager Resource Manager box:
Step 3
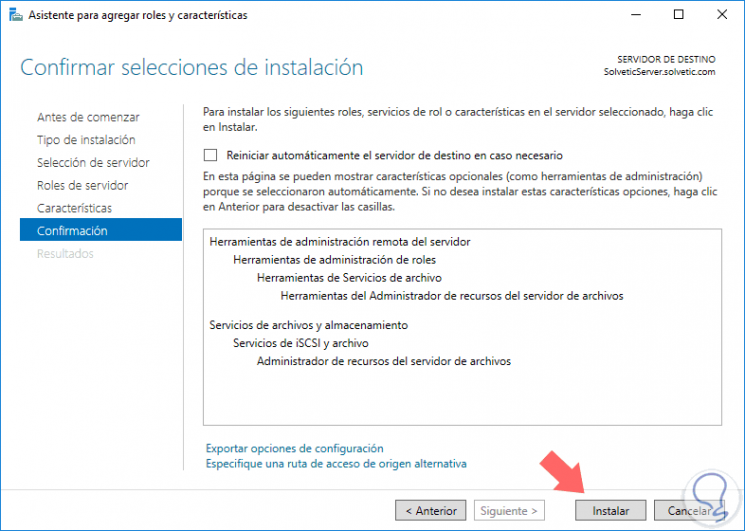
Click on Next and the following will be displayed:
Step 4
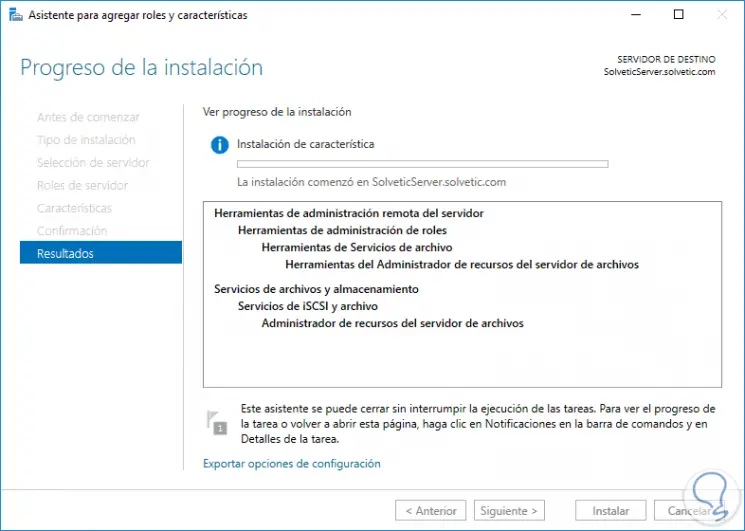
Click on the Install button to start the configuration process:
Administrator
The purpose of this administrator is to perform tasks such as:
- Manage quotas for selected folders
- Execute tasks associated with file management
- Manage remote storage resources
4. How to access the file server resource manager in Windows Server 2019
Step 1
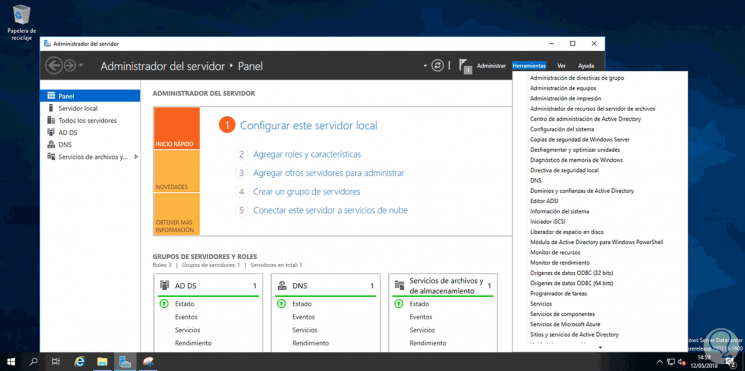
Once we have installed the administrator, we will go to the following route to access this:
- Server administrator
- Tools
- File Server Resource Manager:
Step 2
The following will be displayed:

We can see that we have several options to manage the files..
Some of the useful and practical options to use are:
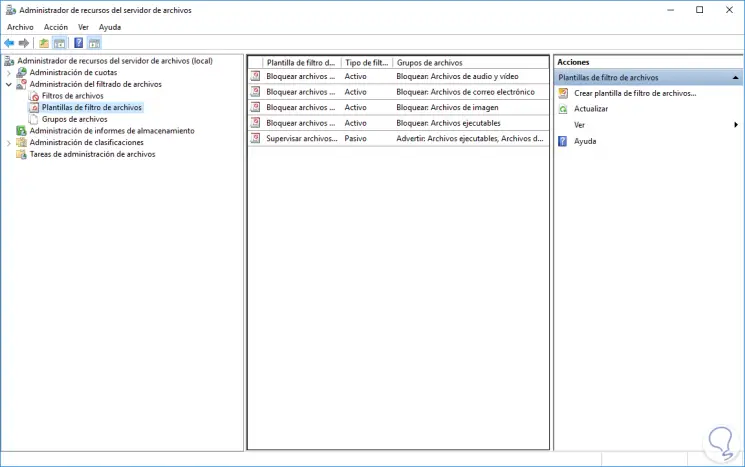
File Filtering Management
This option allows us to access a series of templates where it will be possible to carry out the blocking of certain elements such as executable files, video, audio, etc.
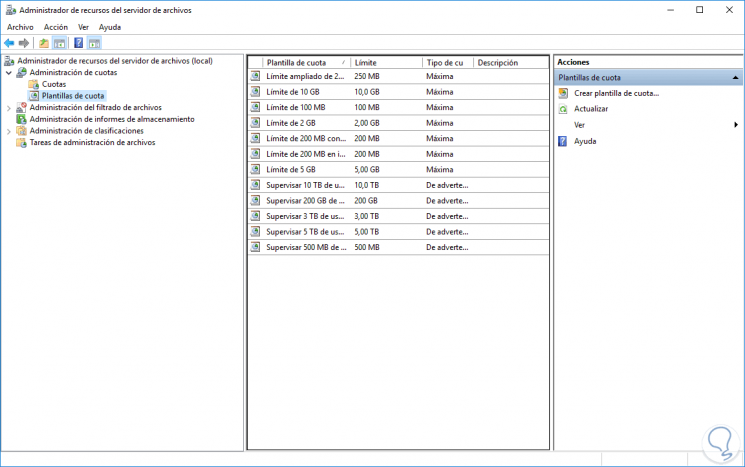
Quota Administration
This option allows us to define a space limit so that users can add files to the shared folder and thus not affect the capacity of the disk on the server
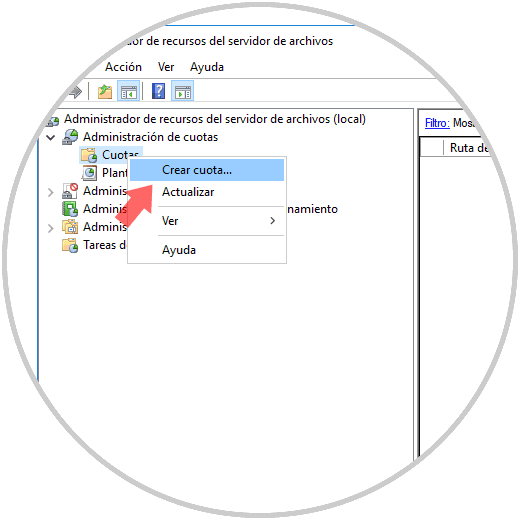
Step 3
To create a quota we will right click on the Quotas folder and select the Create quota option:
Step 4
In the next window we will define parameters such as:
- Template selection to use
- If we want to set the limit in a personalized way
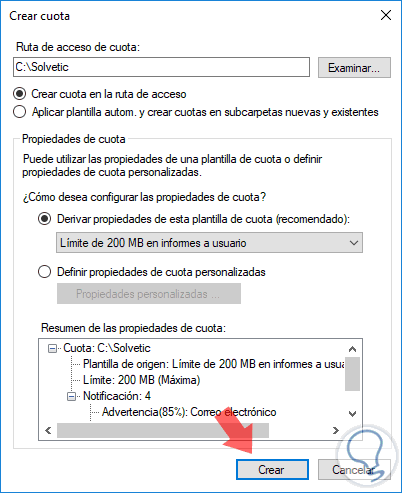
Step 5
Once these values ​​have been defined, click on Create to apply this quota.
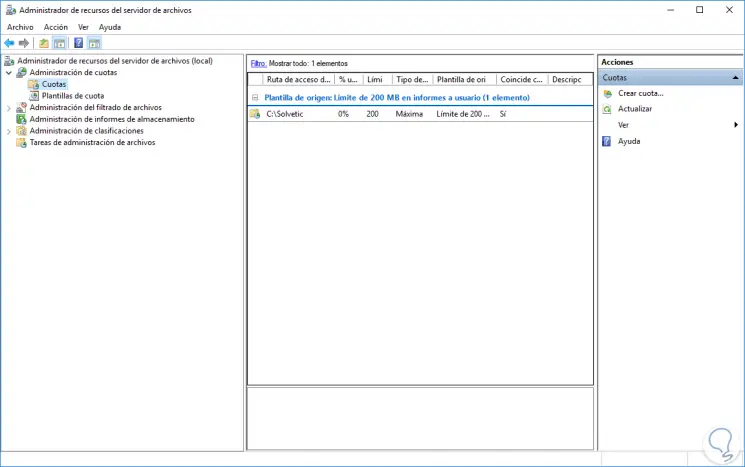
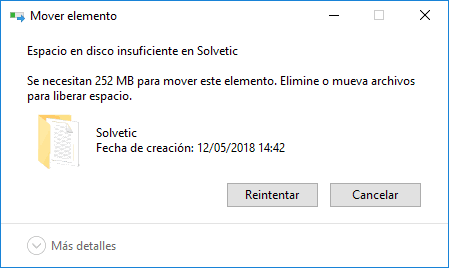
Step 6
There we will have a central console for the management of the quota, so if the user tries to copy an item that goes beyond the established limit, the following message will appear:
Additional we will have functionalities for other file server tasks.
5. How to share a folder using Server Manager in Windows Server 2019
Step 1
The file manager gives us the opportunity to share a folder directly from it, for this we select the File and storage services line and in the new window we go to the Shared resources section. There we display the options in the Tasks field and select New share:
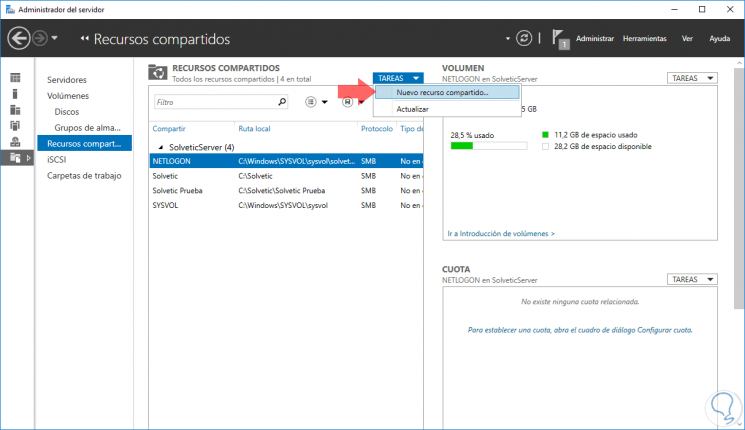
Step 2
The following wizard will be displayed where we select the type of profile desired:
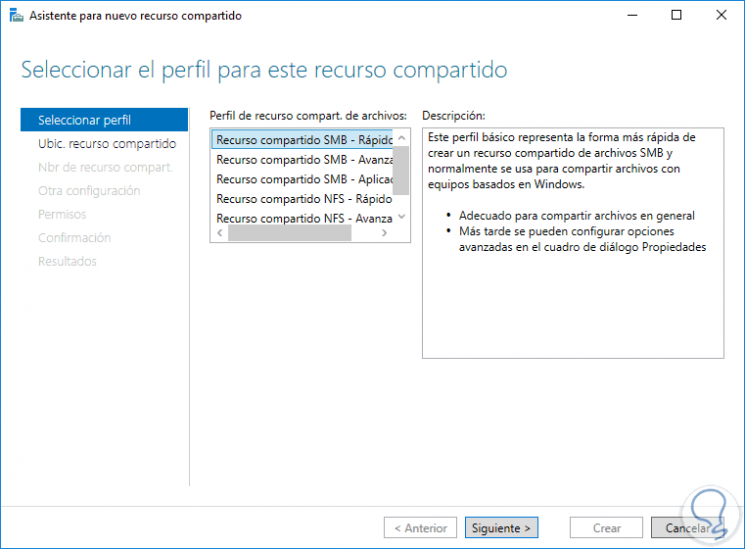
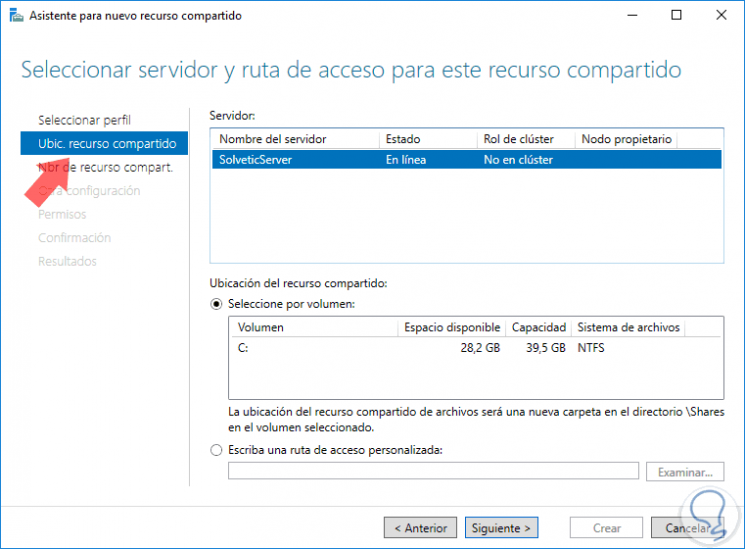
Step 3
Click Next and follow the steps indicated to create the share:
We have seen how these functions of Windows Server 2019 will be of great help to manage not only completely but also practice various elements required for the organization to function as expected and thus we will make the most of everything that Windows Server 2019 offers us.