Ubuntu Server is a Linux operating system that offers a wide range of possibilities when it comes to carrying out management, control or support tasks for users thanks to its various functions. The vast majority of you know him, if not, we recommend you try it. We have seen in the past a complete manual on how to install Ubuntu minimal Server in version 17 . We leave you here to take it into account also in version 18..
As we know, by default its environment is monochrome (black and white) and it is not often that we install Ubuntu Server with a graphical environment for performance and efficiency issues.
In some cases we want to have a more special environment and therefore we will learn to
change the default font of the Ubuntu Server terminal ..
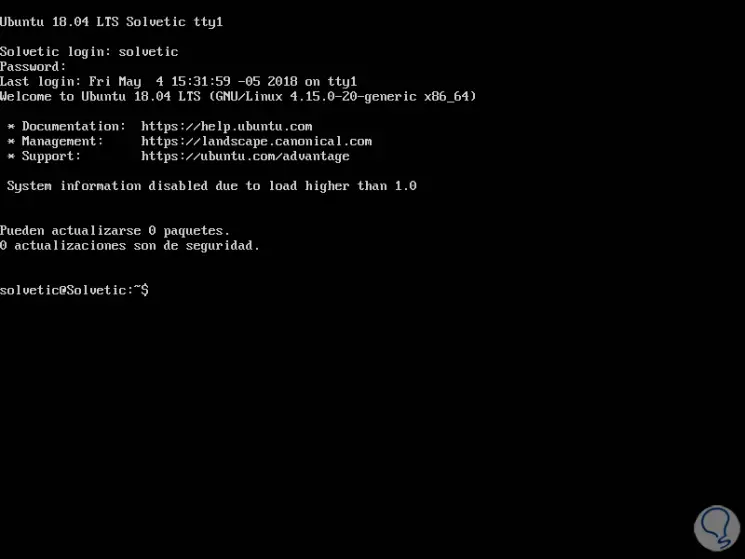
Ubuntu Server has a file called "console-setup" which specifies the encoding, font and font size that will be implemented through the setupcon program. Setupcon is a program that configures the font and keyboard on the Ubuntu server console.
The default font and font size in the Ubuntu server console are usually VGA and 8X16 respectively..
Step 1
To change the source of the Ubuntu server console, in this case 18.04, we will execute the following command in order to reconfigure the console configuration file that many professionals use daily:
sudo dpkg-reconfigure console-setup
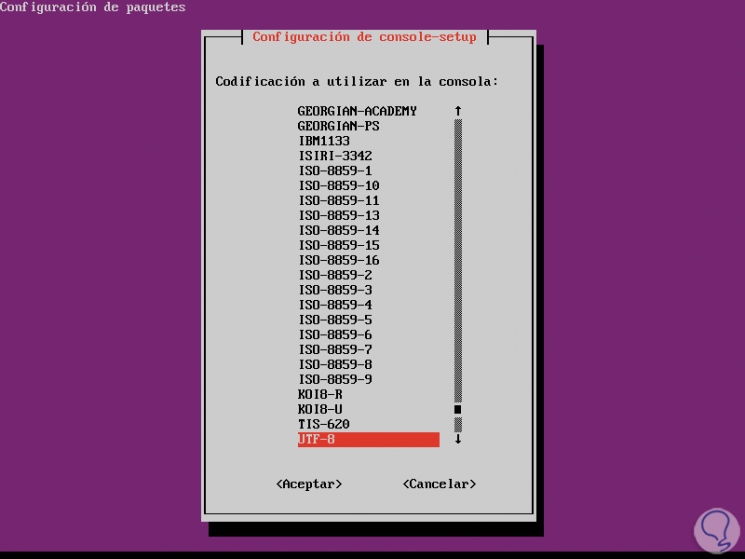
By pressing "Enter" and entering our administration password, we will see the following:
Step 2
There we must select the coding that will be implemented in the console and it is possible to leave the default option UTF-8 and press "Enter", now we will see the following:
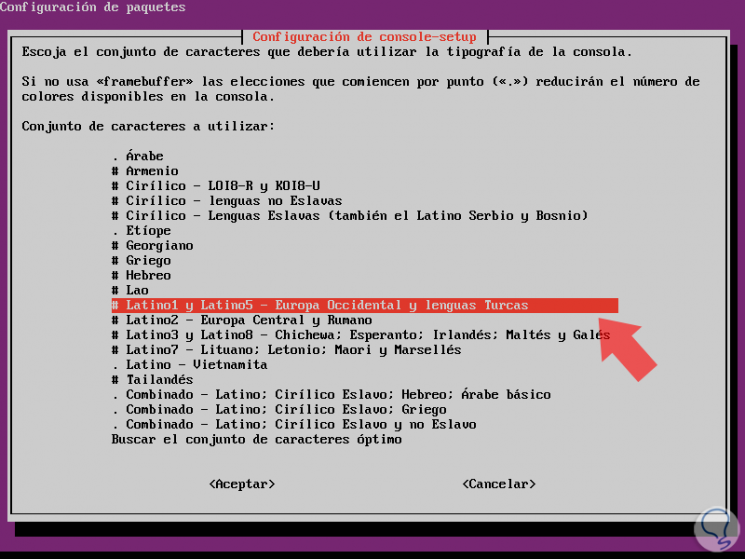
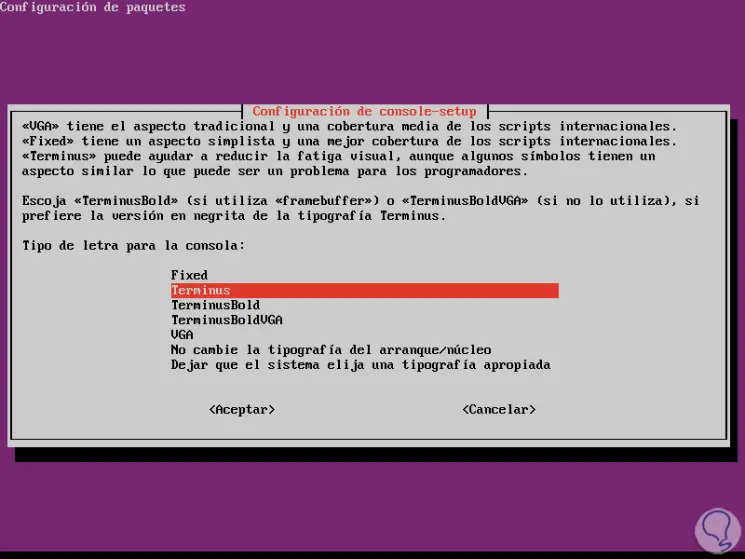
In this new window we will select the character set for the typography that we want to put, in this case we can leave the default option and press "Enter" again. By pressing "Enter" again, we will select the type of source and at the top we will see a brief summary of these options as you can see in the following image:
Step 3
Press "Enter" and now we will define the font size:
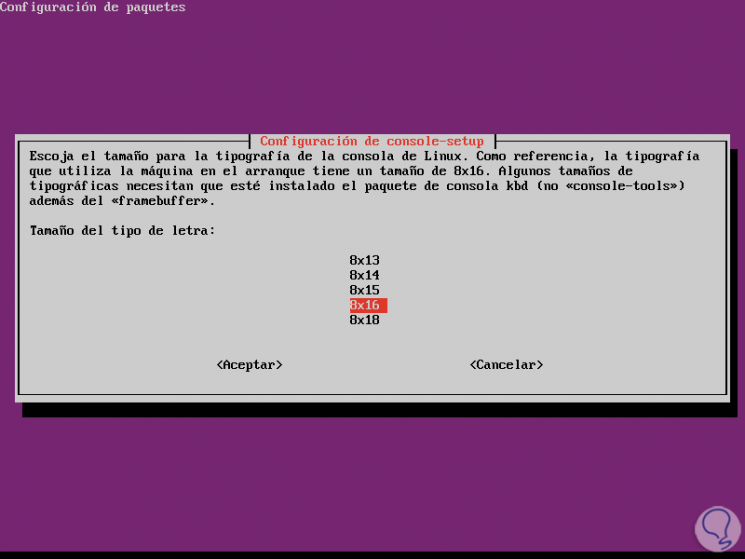
Step 4
By pressing "Enter" the console source will be modified and the system will apply the changes automatically:
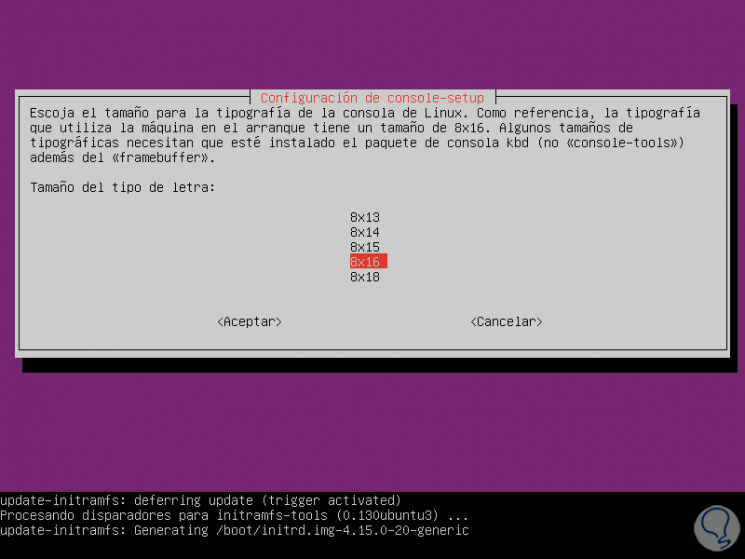
Step 5
Once the changes are finished, we can use the console with the new type of source selected and configured with the steps described:
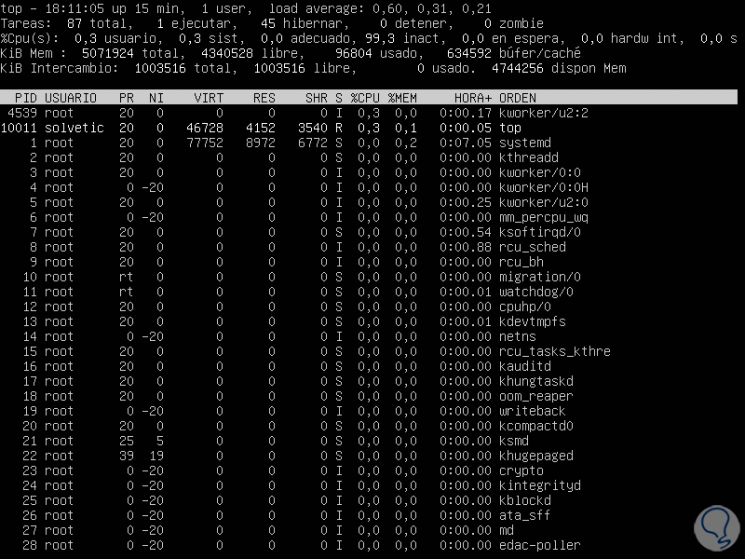
If we want to know more about these commands that we have used in this tutorial, we can execute the following man command lines and you will see all the available options.
man console-setup man setupcon
We leave you to finish another interesting tutorial that more than one will be good to have on hand.
To keep up, remember to subscribe to our YouTube channel! SUBSCRIBE