Today we find different ways to connect to our servers safely to perform maintenance and support tasks or to check the status of it. Because we cannot always be directly in the physical location of this the most practical and common way to access the server, it is remotely possible through the SSH protocol..
SSH (Secure SHell) has been developed as a protocol that allows establishing connections between two systems based on the client / server architecture facilitating that as administrators or users we can connect remotely to the server or computer, one of the most notable advantages of SSH is that it responsible for encrypting the connection session to increase security by preventing attackers from accessing unencrypted passwords.
Now, each login or attempt to access the server using SSH is registered and stored in a log file by the rsyslog daemon in Linux so that it will be possible to access it and validate in detail who, when and the status of the start of session allowing a much more complete audit and control task..
TechnoWikis will explain in this tutorial the way to view this file and determine who has tried or logged in to the computer.
1. Install SSH on Linux
For this example we have used Ubuntu 19 and CentOS 8, remember that by accessing through SSH we can work integrally on the computer:
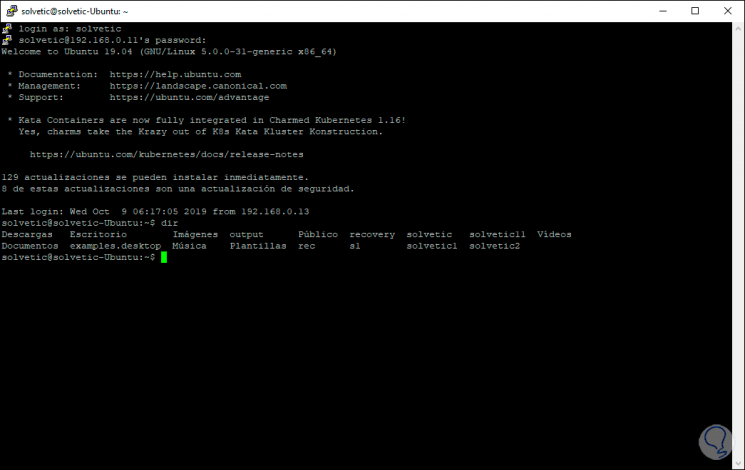
Install SSH on CentOS 8
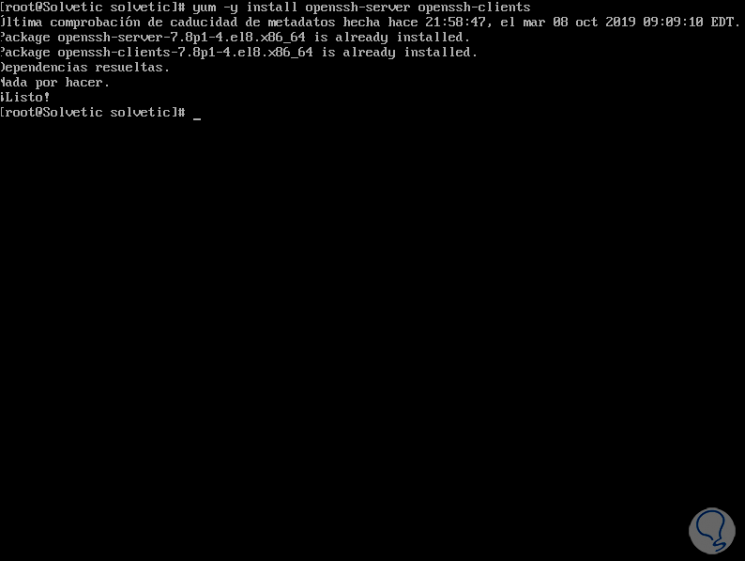
If you want to install SSH on CentOS 8 you must run the following:
yum -y install openssh-server openssh-clients
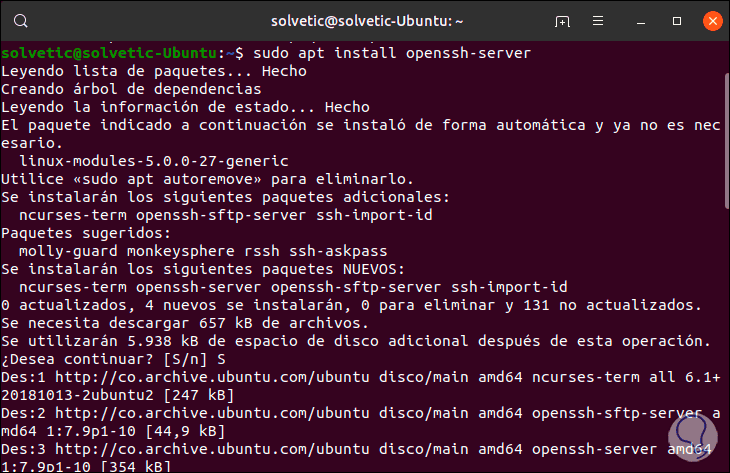
Install SSH in Ubuntu
If you want to do it in Ubuntu 19 you must run the following:
sudo apt install openssh-server
2. Use the grep command to see failed logins in Linux
Step 1
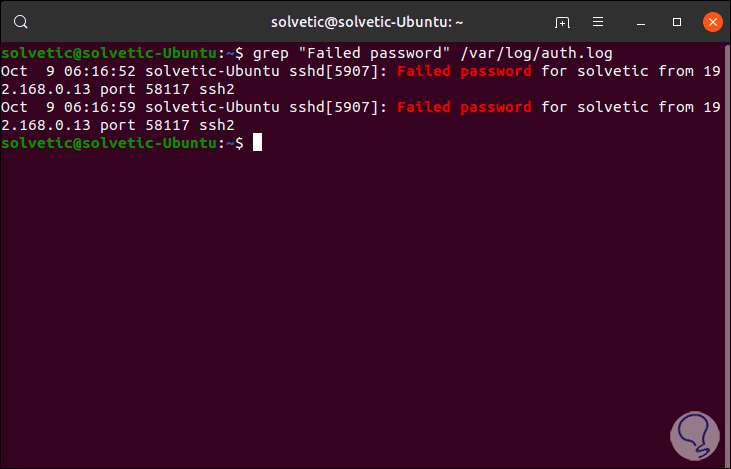
The simplest way to determine and visualize login attempts is to execute the following:
grep "Failed password" /var/log/auth.log
Step 2
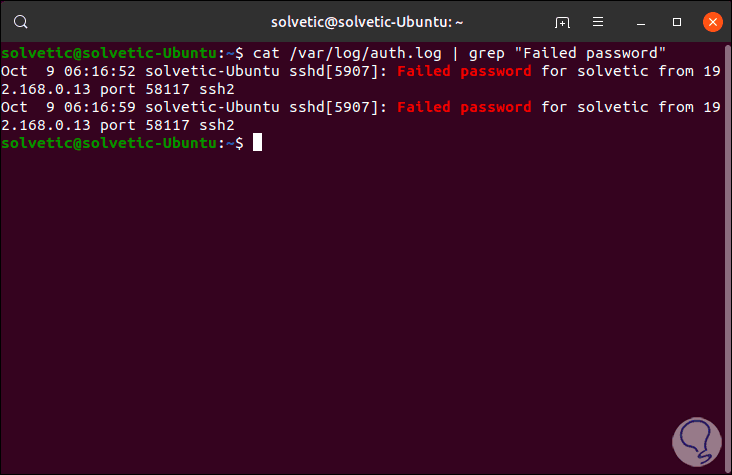
We can see details like:
- Port used for the login attempt
Step 3
This same result is found with the cat command:
cat /var/log/auth.log | grep "Failed password"
Step 4
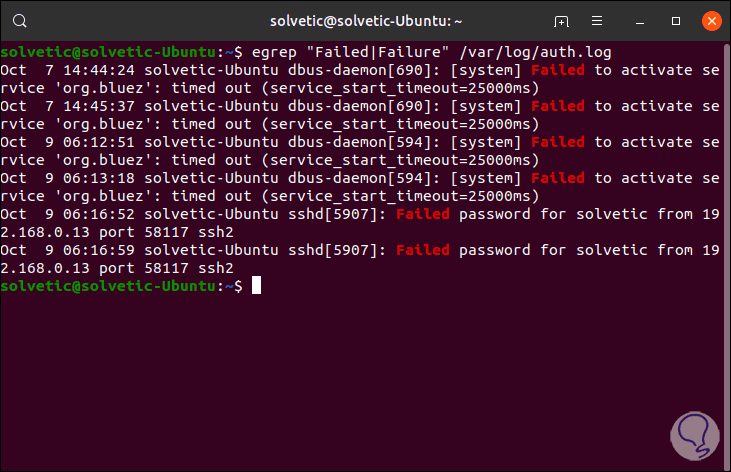
If you wish to obtain additional information about failed SSH logins in Linux, we must execute the following. As we see the details are much more complete.
egrep "Failed | Failure" /var/log/auth.log
View records in RHEL or CentOS 8
In the case of RHEL or CentOS 8, all records are stored in the file / var / log / secure, for display we will execute the following:
egrep "Failed | Failure" / var / log / secure
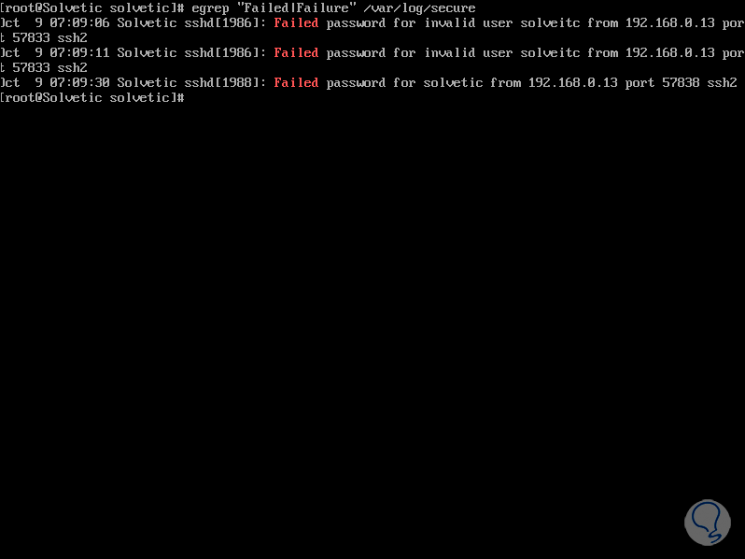
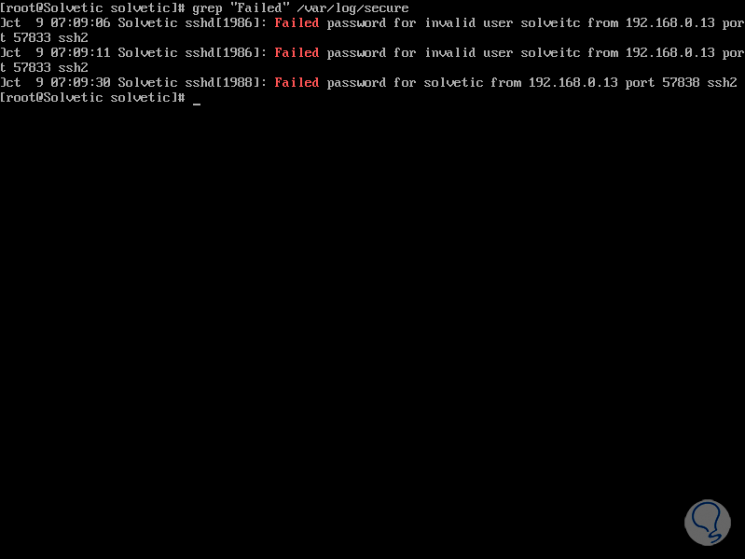
We see that records are saved with full details including registered session names (correct or not). Another option to view failed SSH logins in CentOS is using one of the following lines:
grep "Failed" / var / log / secure grep "authentication failure" / var / log / secure
Step 5
To display the list of IP addresses that tried to access, but were failed attempts, we must use the following command:
grep "Failed password" /var/log/auth.log | awk '{print $ 11}' | uniq -c | sort -nr Step 6
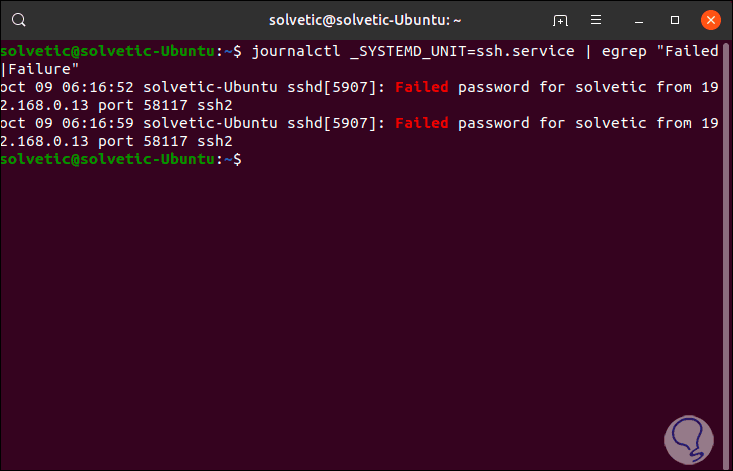
In the most current Linux distributions (such as Ubuntu 19), it is possible to access the runtime log file which is managed by Systemd with the journalctl command, if we want to see the failed SSH login logs, we will use the grep command to filter the results like this:
journalctl _SYSTEMD_UNIT = ssh.service | egrep "Failed | Failure" (Ubuntu) journalctl _SYSTEMD_UNIT = sshd.service | egrep "Failed | Failure" (RHEL, CentOS)
In CentOS
In CentOS we can also use the following:
journalctl _SYSTEMD_UNIT = sshd.service | grep "failure" journalctl _SYSTEMD_UNIT = sshd.service | grep "Failed"
We can see the way to visualize each failed SSH login attempt and based on this take the appropriate security measures to preserve the availability of services..