Linux distributions offer us a number of benefits whether we use them as private users or at a corporate level and one of them is the ability to increase all its features in a comprehensive way thanks to free code..
We currently have different distributions of Linux and today in TechnoWikis we will concentrate on a special one that has been developed thinking about the corporate environment which requires solid, secure, broad systems that can be scaled based on the increasingly growing market needs .
Today we will analyze how to install SUSE Linux SP3 dynamically and thus make the most of each of its benefits..
What is SUSE?
SUSE Linux Enterprise Server 12 SP3 is a server operating system that differs from its competition because it is a reliable, scalable and secure system for all efficient implementation tasks of business class IT services, which may be available in physical environments , virtual or in the cloud.
SUSE Linux, has been designed for mixed IT environments, offering the best performance with a lower risk of technological obsolescence or vendor blocking which is an added bonus for corporate environments where information availability is always required.
SUSE Linux features
SUSE Linux Enterprise Server 12 SP3 offers a series of benefits where we highlight:
- Robustness in administrative errors and improved administration capabilities with the complete system reversion based on the btrfs file system and it has SUSE snapper technology, including the service package reversion, that means that when we implement SUSE Linux we are making use of a reliable system and totally capable of managing and correcting possible failures in the course of its useful life.
- Wide scalability, since it has been shown that SUSE Linux is capable of supporting up to 8192 CPU cores and 64 TB of RAM, these are major words where it will be possible to manage thousands of servers without losing speed or performance, and additional support for the XFS file system for more than 10 consecutive years.
- SUSE Linux has the only integrated stack of local systems administration in Linux: for interactive use (YaST), scripting (AutoYaST) and integration into multi-machine system administration environments such as SUSE Manager.
- SUSE Linux has the Advanced Systems Management and KIWI technology, which is an open source system that allows you to create images of operating systems whose objective are physical implementations and provisioning in virtual hypervisor environments, container frameworks (Linux Containers, Docker) and public and private clouds.
- The modern management of the open source network gives us the possibility of using the network configuration as a service and also has software-defined network capabilities thus facilitating the administration of these.
- Compatibility with open source hypervisors such as Xen and KVM, and virtualized open source controllers for all major hypervisors that currently exist.
- Support for Linux Containers integrated in the virtualization management infrastructure which gives us the opportunity for better management of virtual environments.
- Interactive and unattended update from the latest version of SUSE Linux Enterprise 11 to SUSE Linux Enterprise 12 SP1 in all 32-bit and 64-bit architectures.
- Integration with the new SUSE Customer Service Center, the central SUSE web portal to manage subscriptions, rights and provide access to the Support since it is necessary to have a subscription for the use of the operating system.
Hardware requirements
In order to effectively use SUSE Linux it will be necessary to have the following minimum requirements:
- Local installation: 512 MB of RAM and 512 MB of recommended Swap memory
- 2 GB free hard disk space and recommended 8.5 GB
- 16 GB of free space for all snapshot processes and / or operating system recoil
Now, the following requirements are required for specific users..
- 512 MB to 4 GB of RAM, at least 256 MB per active CPU
- 4 GB of free hard disk space, 16 GB for snapshots or operating system recoil
- Network interface (Ethernet, wireless or modem)
- For the Xen virtual host server: at least 512 MB RAM for each virtual host server
- For the KVM virtual host server: KVM limits are the same as those of SUSE Linux Enterprise Server
- For Xen or KVM virtual machines: at least 256 MB of additional RAM for each virtual machine
- For print servers: a faster processor or additional processors to improve server-based printing
- For web servers: additional RAM to improve caching and additional processors to improve web application performance
- For database servers: additional RAM to improve caching and multiple disks for parallel I / O
- For file servers: additional memory and disks, or a low-cost redundant disk array (RAID) system to improve I / O performance
Download SUSE
SUSE Linux 12 SP1 can be downloaded for free for a period of 60 days at the following link:
SUSE Linux 12 SP1
There it will be necessary for us to register in order to download the ISO image. SUSE Linux Enterprise Server is available to download for each available platform as two DVD ISO images where DVD1 contains the binary packages and DVD2 the source code as follows:
- Files with "x86_64" in the name are for the 64-bit AMD64 and Intel platforms.
- Files with "s390x" in the name are for IBM System z.
- Files with "ppc64le" in the name are for the IBM Power LE platform.
Install SUSE Linux 12 SP1
When downloading the ISO image, we must burn it to a DVD and configure the boot of the device from there through the UEFI or BIOS.
Step 1
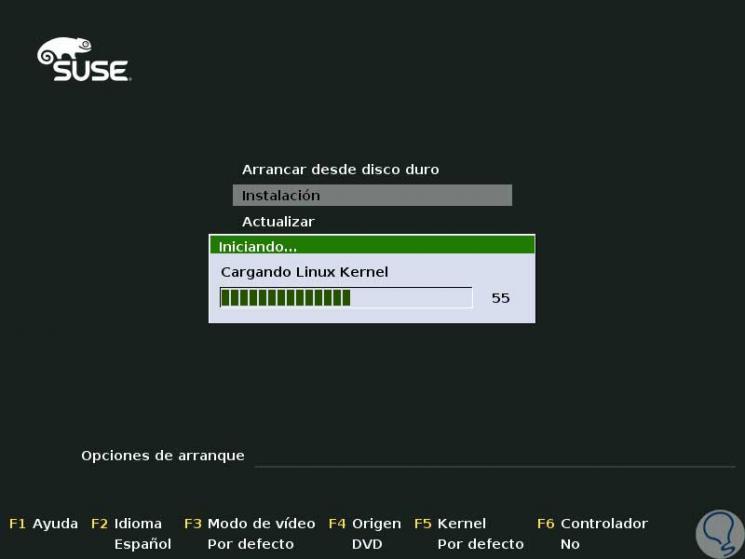
Once we configure this, this will be the welcome screen of SUSE Linux 12:
Step 2
This will last about 3 seconds and then we will be redirected to the following:
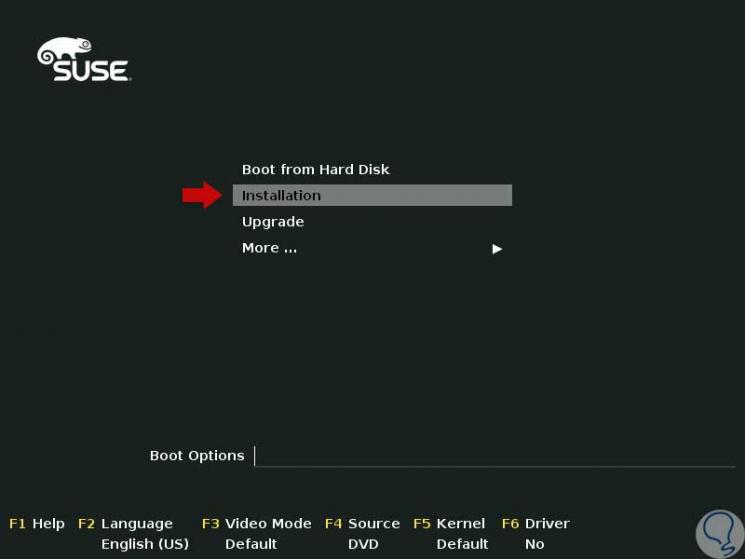
Step 3
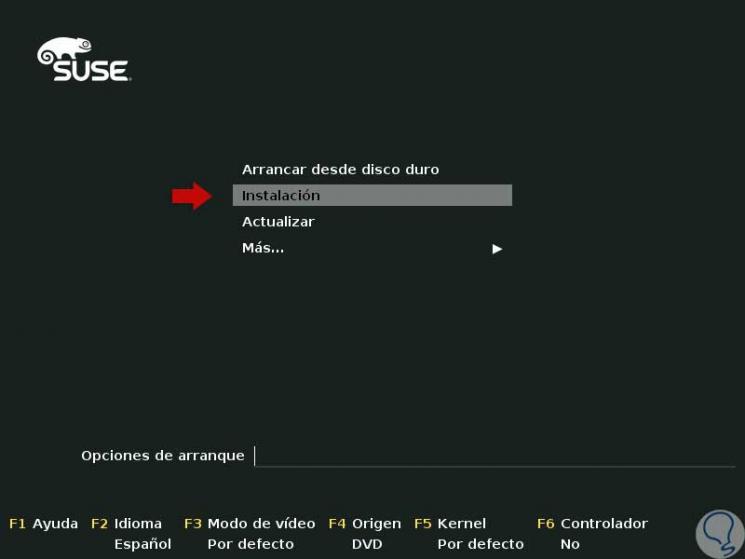
There, in the first place, we can modify the installation language by pressing the F2 key and in the pop-up window select the desired language:

Step 4
Select the language and press Enter to confirm:
Step 5
As we see, at the top we have the following options:
Boot from hard drive
This option allows us to run SUSE Linux when it has already been installed locally.
Installation
It allows us to make a system installation from scratch.
To update
Applies for when we want to update packages of the already installed system.
Step 6
There, we can click on the Mas line and we will see the following options:
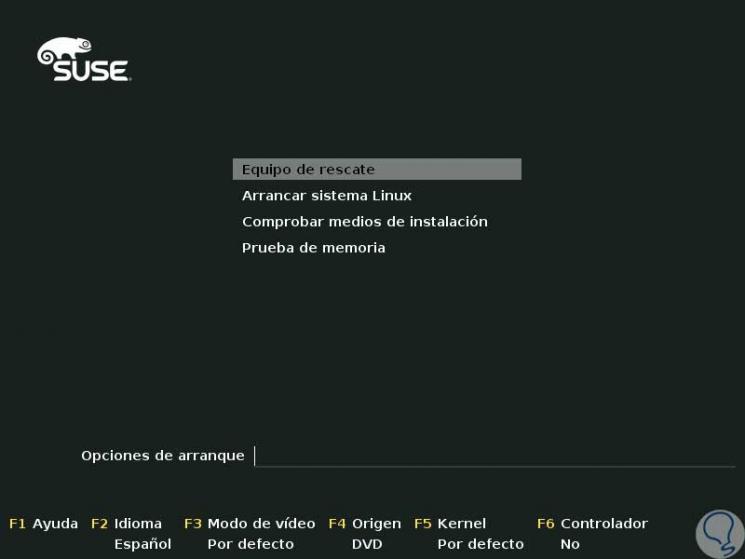
Step 7
There we have the following possibilities:
Rescue team
This option allows us to make use of system recovery tools.
Boot Linux system
It allows us to run the operating system.
Check installation media
Through this line, we can choose the source where the SUSE ISO image is located such as CD, DVD, Hard Disk, etc.
Memory test
This option allows us to check the RAM before installation to verify that it meets the minimum requirements.
At the bottom we can see some function keys that carry out various hardware configuration or checking tasks.
Step 8
In our example, we must select the “Installation†option and we will see the following:
Step 9
Once this option is loaded we will see the following:
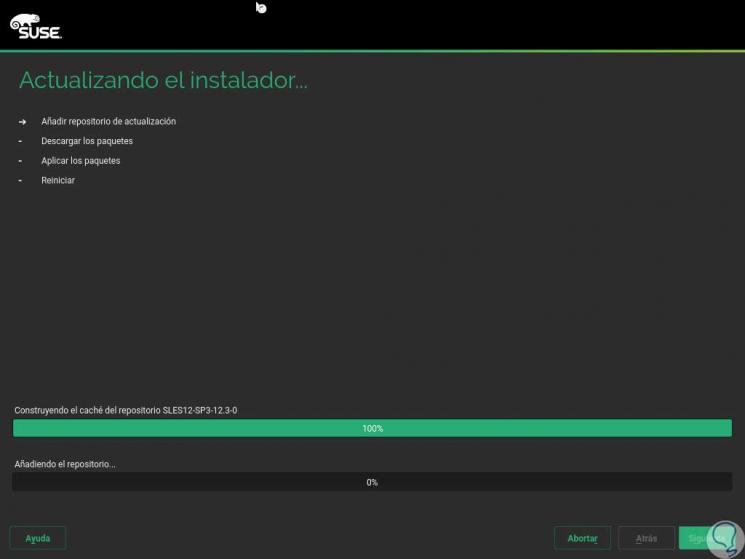
Step 10
There we can see in detail each of the tasks that are being executed in real time. Once this is completed, we can configure the keyboard language, accept the license terms and configure the SUSE Linux language through the drop-down list:
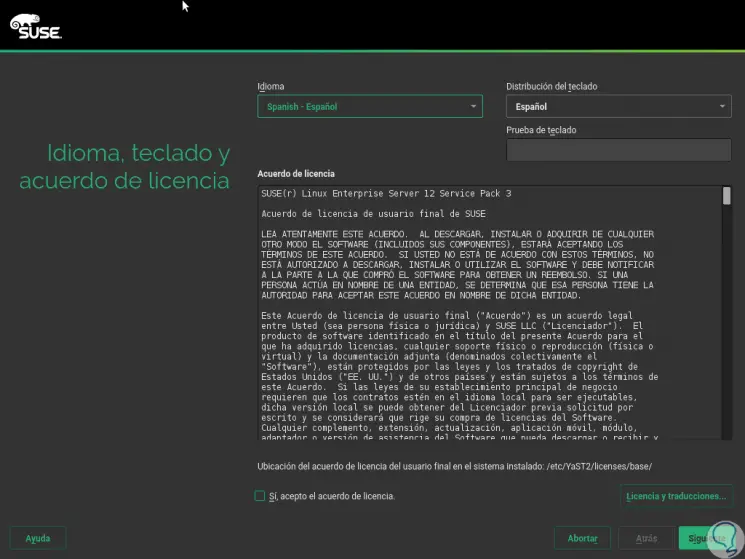
Step 11
There we must activate the “Yes, I accept the license agreement†box and click on the “Next†button. Now we will see the following:
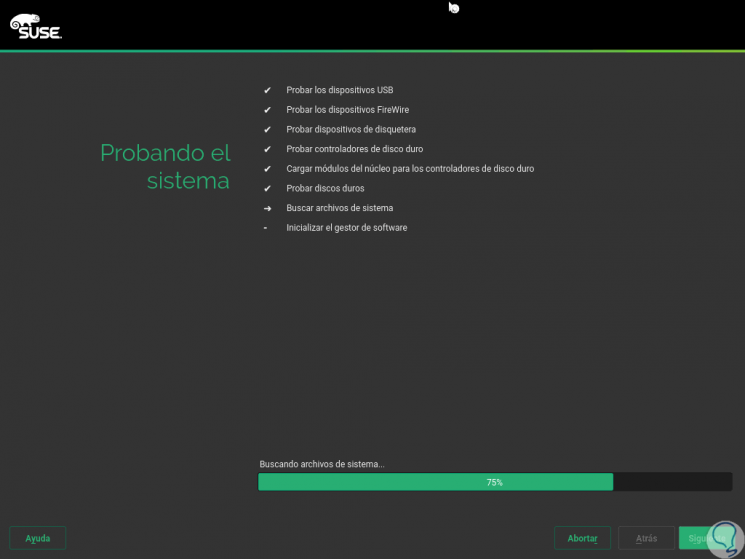
Step 12
There the validation of minimum requirements is carried out, which, if correct, will display the following:
Step 13
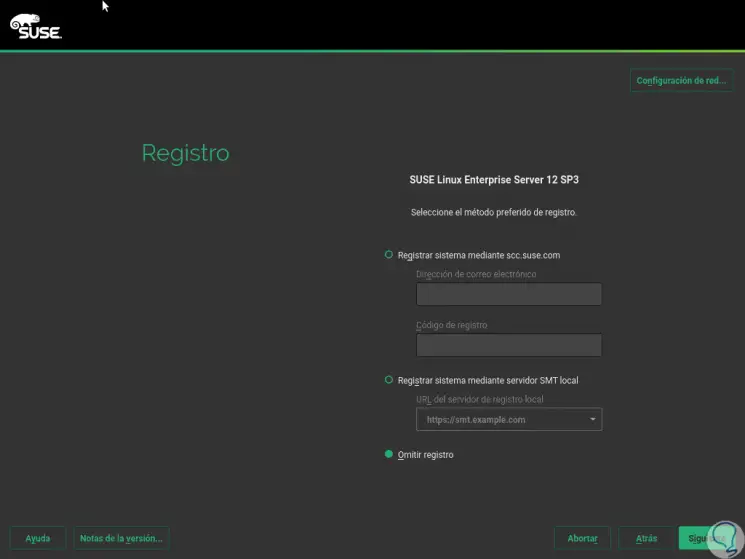
There we can define the preferred method of registration by which we will receive all available updates for SUSE Linux.
Once the ideal is defined, click on “Next†and we will have the possibility of installing additional products to the new SUSE Linux installation:
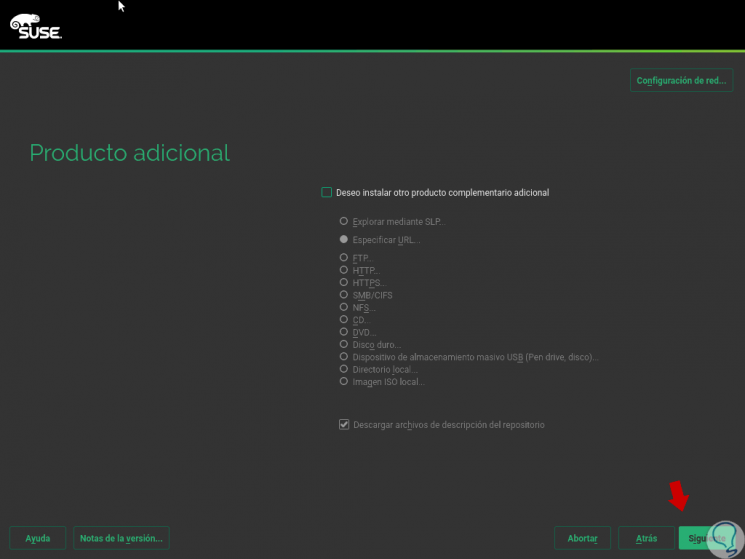
Step 14
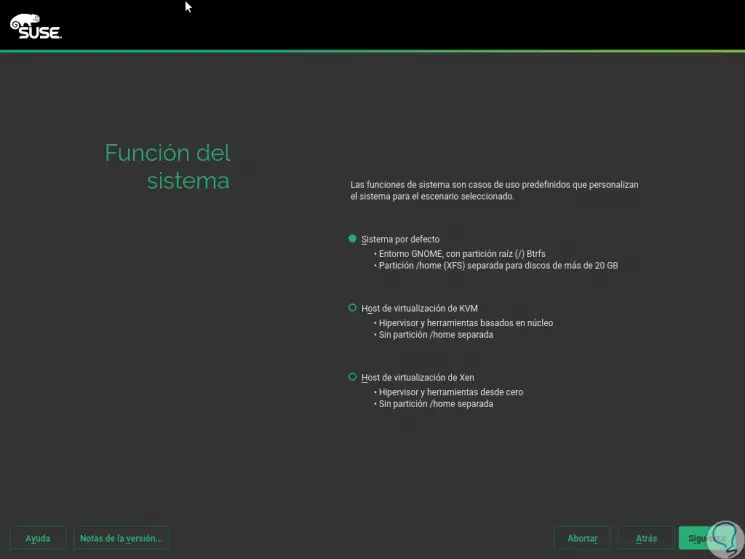
When we configure this, click on “Next†and now it will be necessary to specify the functionality that we will give to SUSE where we have the following options:
- Virtualization host for KVM
- Virtualization host for XEN
Step 11
There we activate the respective box and click on “Next†again
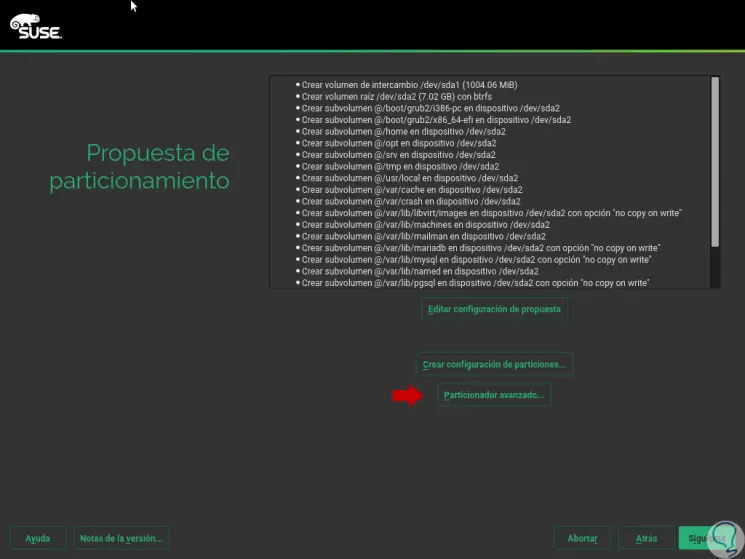
. In the following window we can see a proposal at the partition level generated by the system automatically:
Step 12
We can see in the central panel, each of the subvolumes that will be created and we will have the following options:
Edit proposal settings
This option allows us to edit the default values ​​of SUSE Linux.
Create partition configuration
Through this option we will create the partition system for the operating system.
Advanced partitioner
This option gives us the opportunity to access an advanced partition manager.
Step 13
If we select the option “Advanced Partitioner†we will see the following:
Step 14
There we can see the current disk and partition tree. If we choose to choose the option “Create partition configuration†we will see the following:
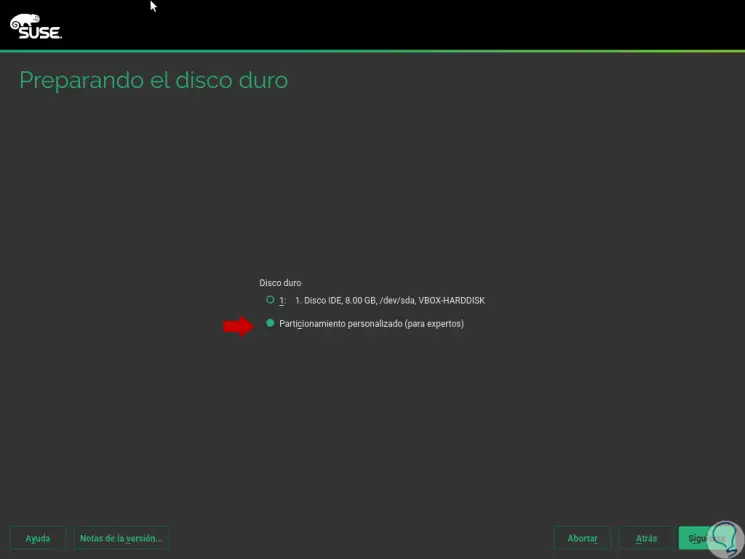
Step 15
There we can choose the current disk or activate the box, which we will perform, “Customized partitioning (for experts)†and click on “Nextâ€. Now, in the displayed window we will select the disk to partition:
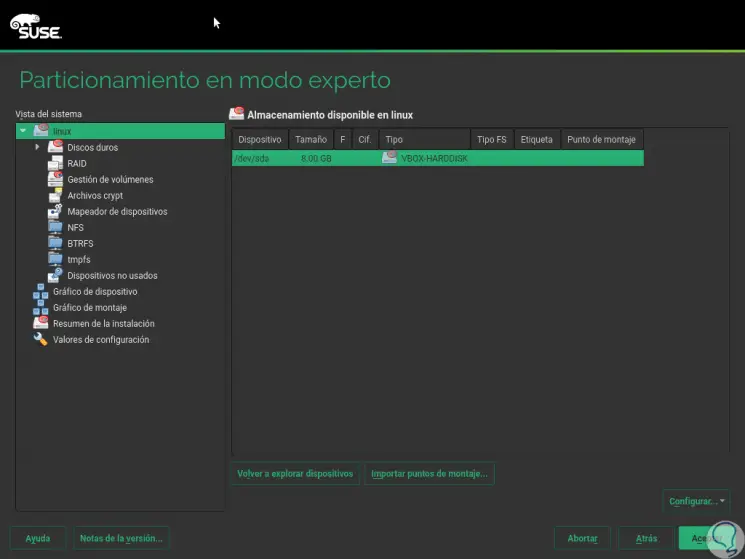
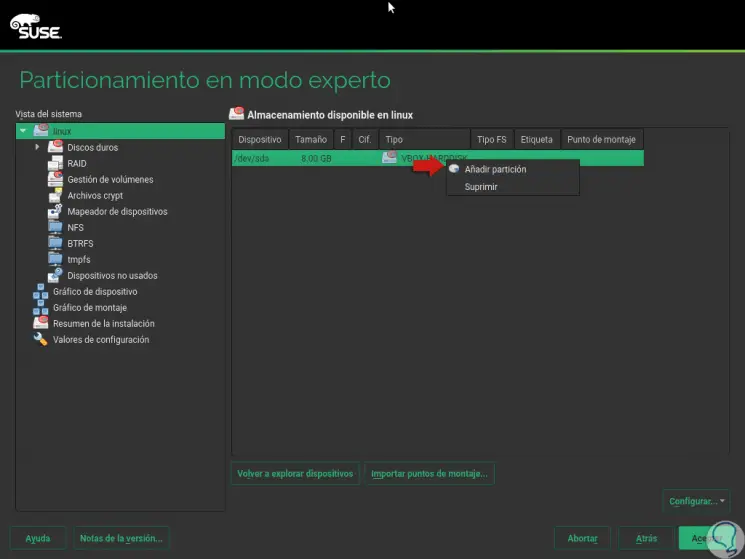
Step 16
We will right click on this disk and select the option “Add partitionâ€:
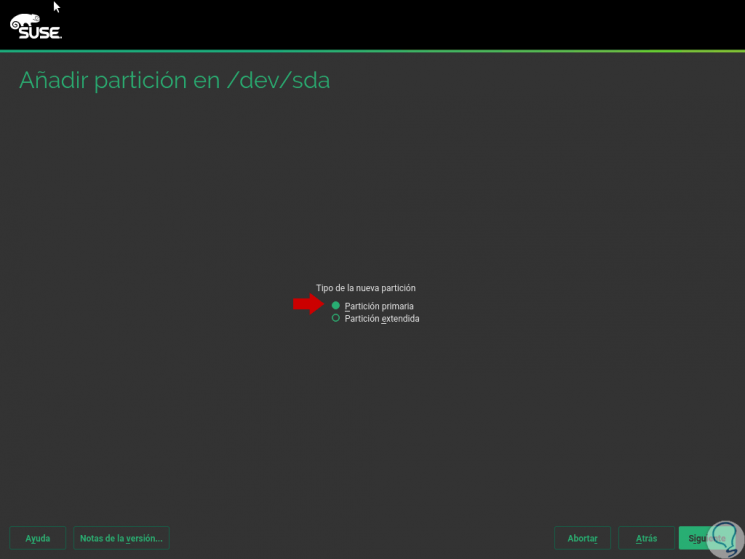
Step 17
In the displayed window we activate the “Primary partition†box:
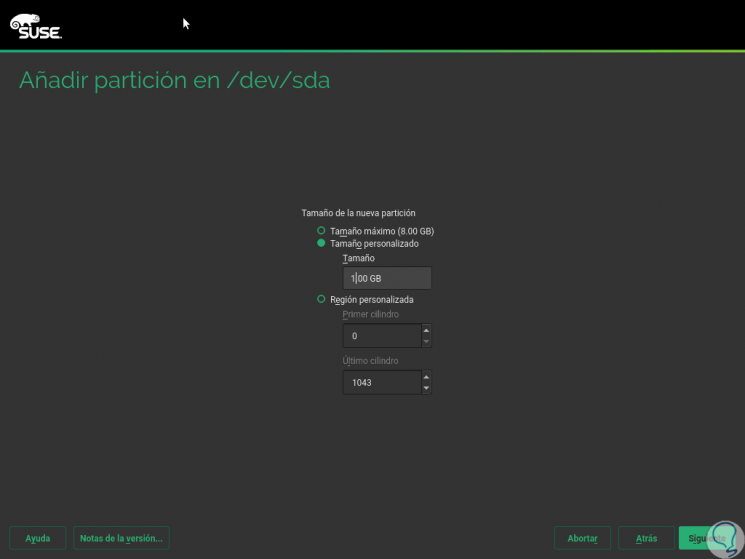
Step 18
Click on "Next" and define the size of this partition:
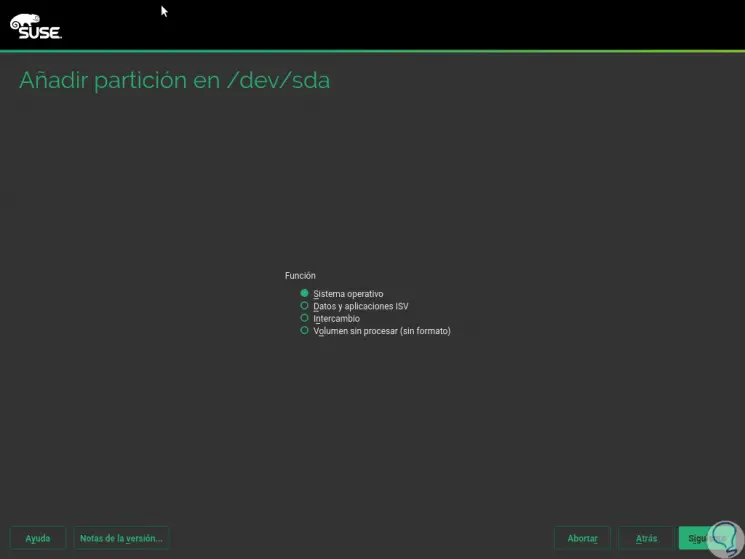
Step 19
Again click on "Next" and there we must define the role of this partition:
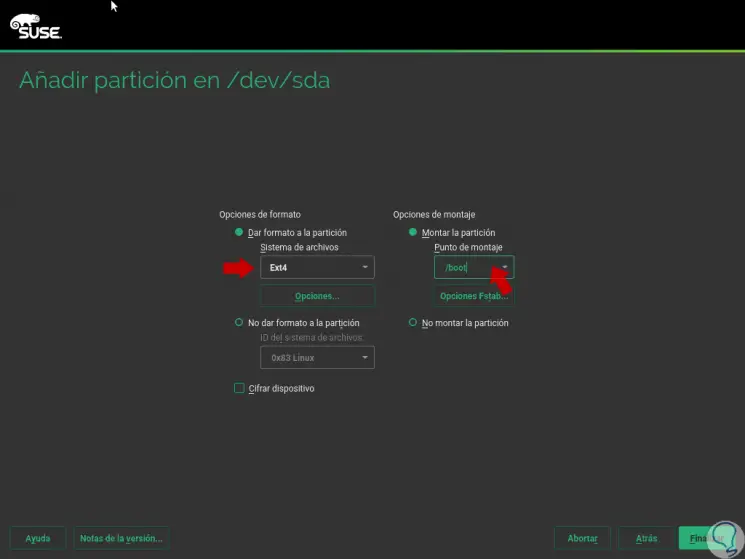
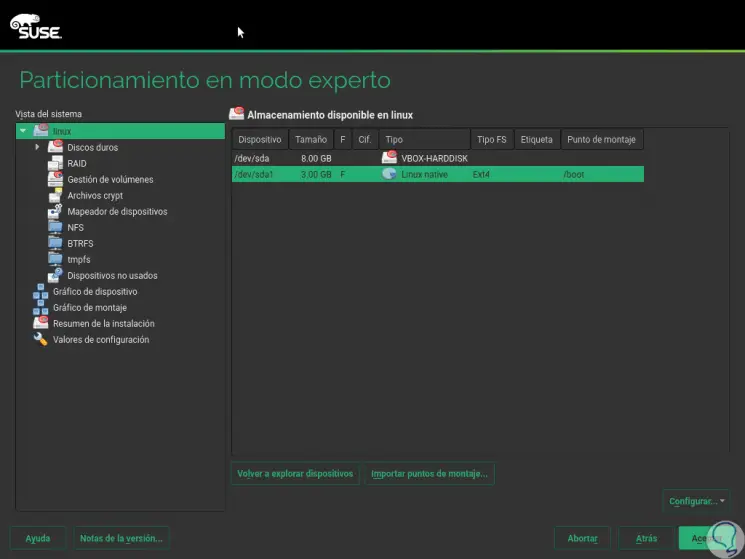
Step 20
By clicking on “Nextâ€, we will establish the Ext4 file system and define the mount / boot point due to the type of function selected:
Step 21
If we wish, we can encrypt the device, click on Finish to apply the changes and we will see the following:
Step 22
We have created the boot / boot partition, now we can create two more partitions namely root and Swap according to the steps indicated above.
There we must keep in mind some modifications, for example, when the swap partition will be created in the last window we will see the following:

Step 23
And when the root partition is created we will see this:

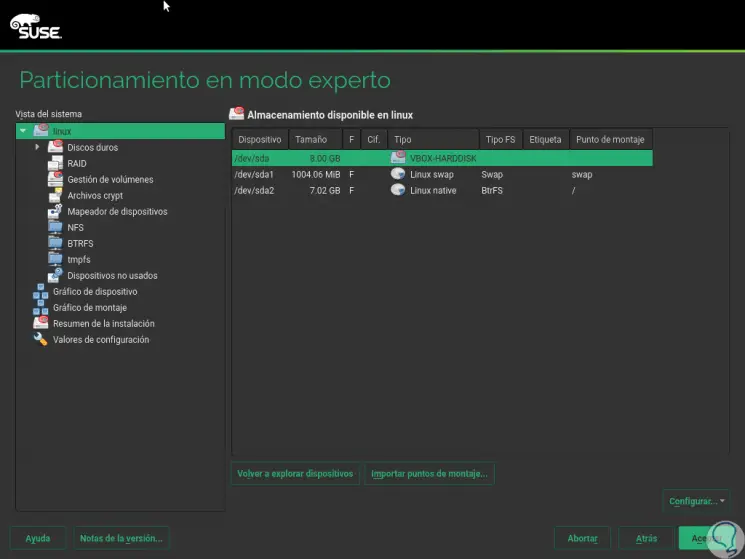
Step 24
Once we complete the partitioning process, it will be deployed as follows:
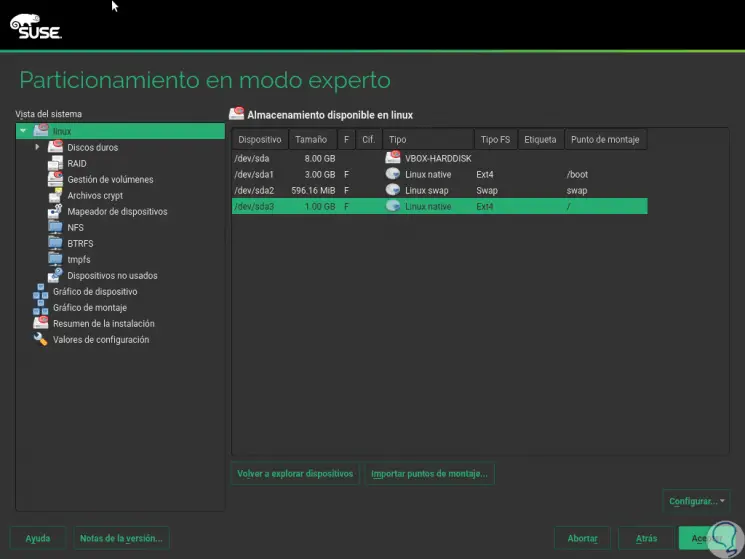
Step 25
Click on Accept and this will be what we will see:

Step 26
We can click on the Next button and now we can select the appropriate time zone:
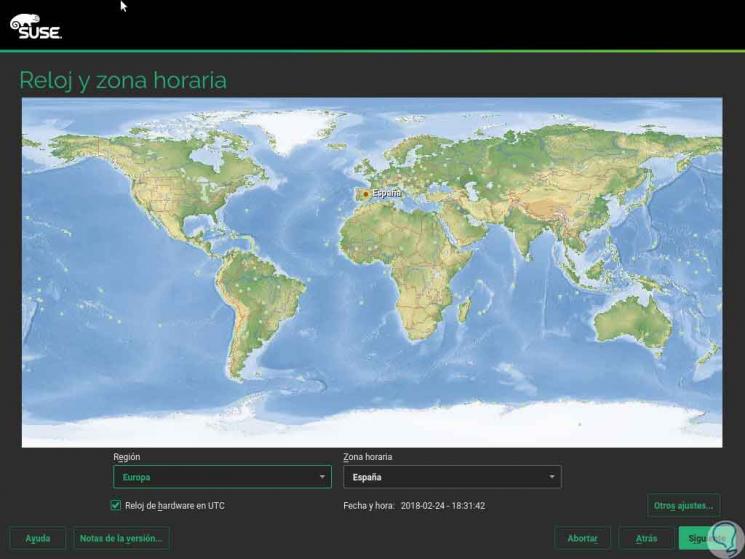
Step 27
We can activate the “Hardware clock in UTC†box to perform automatic synchronization with UTC.
If we click on the “Other settings†option it will be possible to set the date and time manually or use an NTP server:
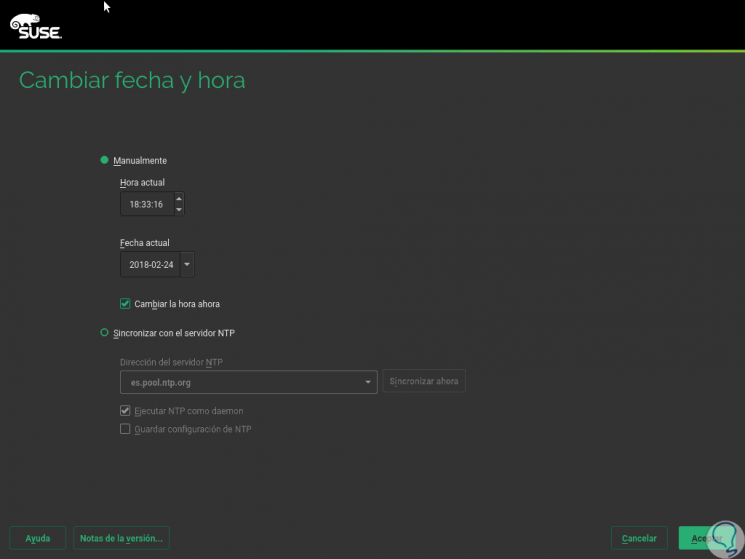
Step 28
Click on Next and it will be time to create the SUSE system user:
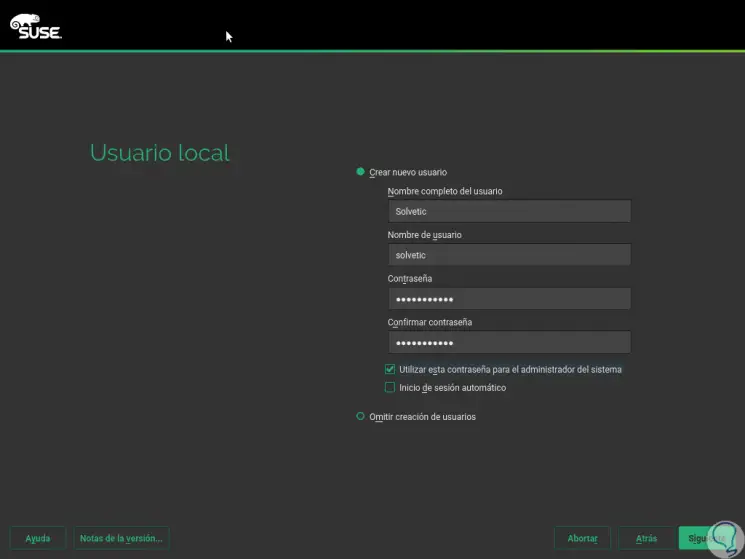
Step 29
There we can establish an automatic login, skip user creation or use this user as administrator. With this defined, click Next and we will see a summary of what has to be installed:
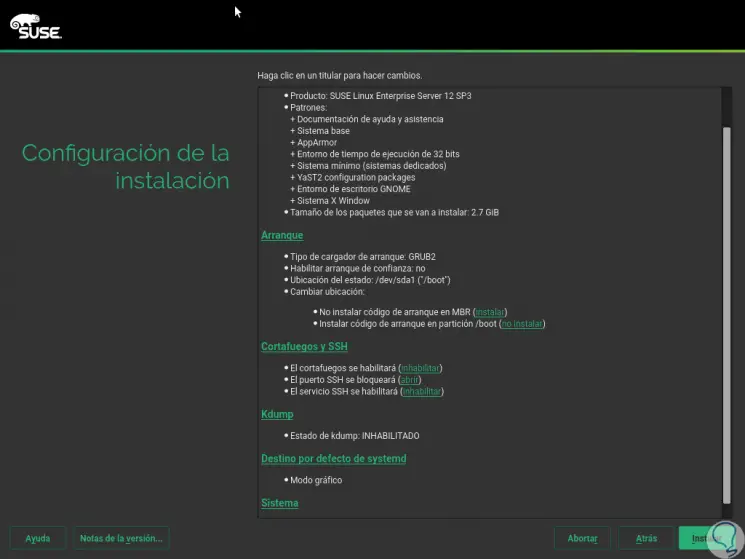
Step 30
There we click on the Install button and the following will be displayed:
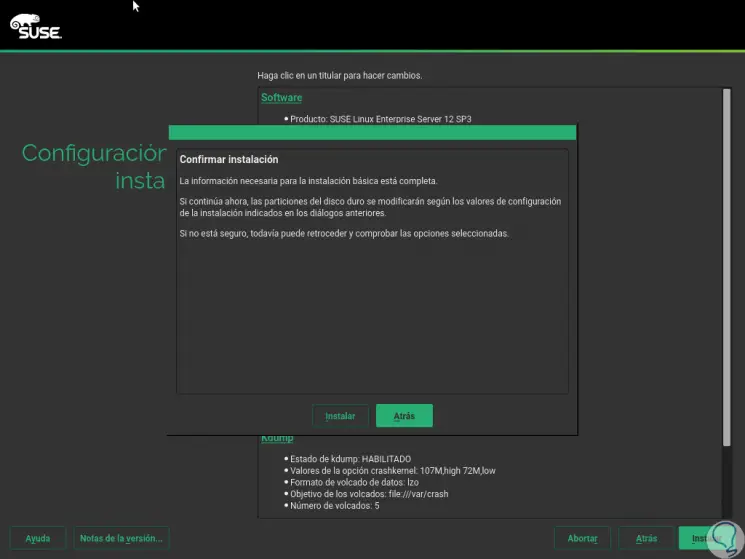
Step 31
Click on Install and the installation process of SUSE Linux Enterprise Server 12 SP3 will begin:
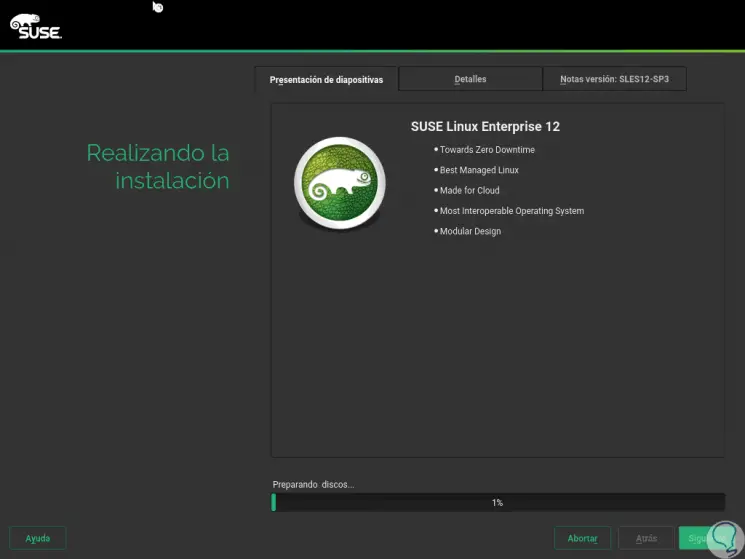
Step 32
Once the installation process is completed we will see the following:
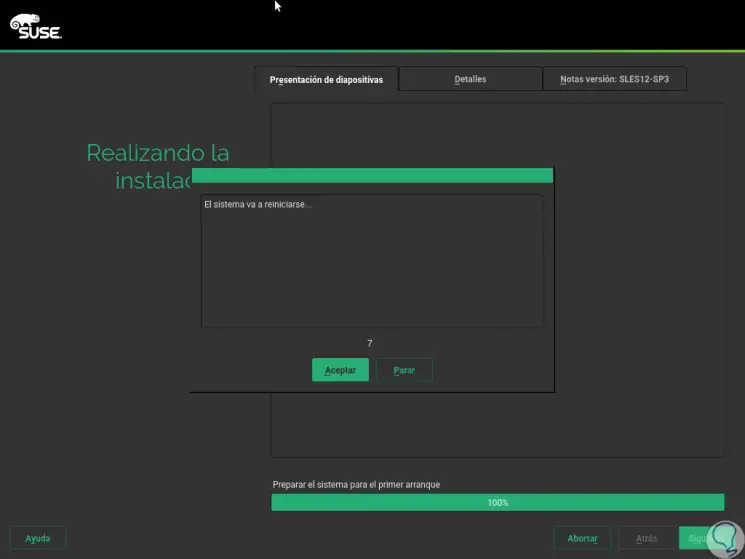
Step 33
There it will be necessary to restart the server. Once it is restarted, we select the “Boot from Hard Disk†option:
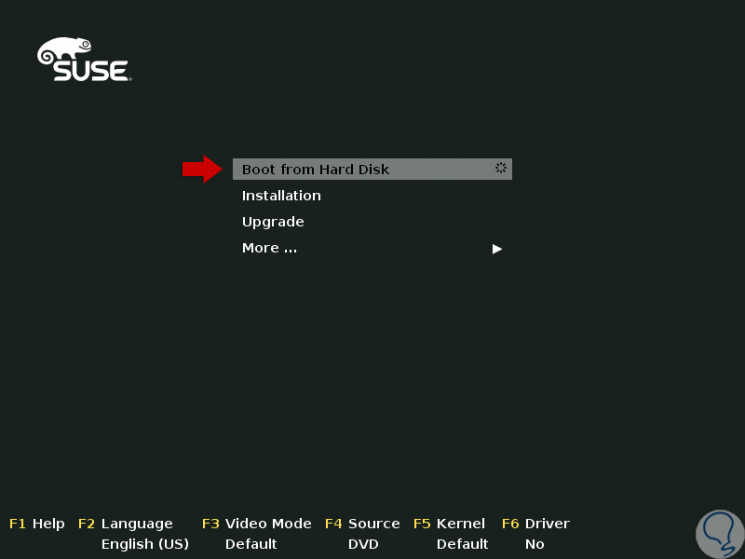
Step 34
There the following will be displayed:
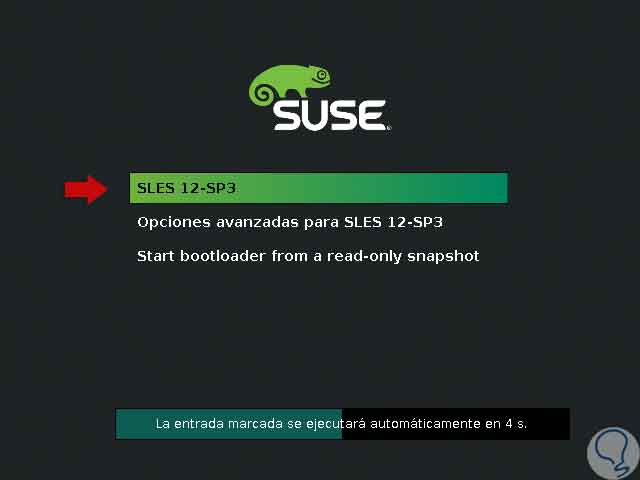
Step 35
There we select the first option and once we load we will see our user created and there we must enter the access password:
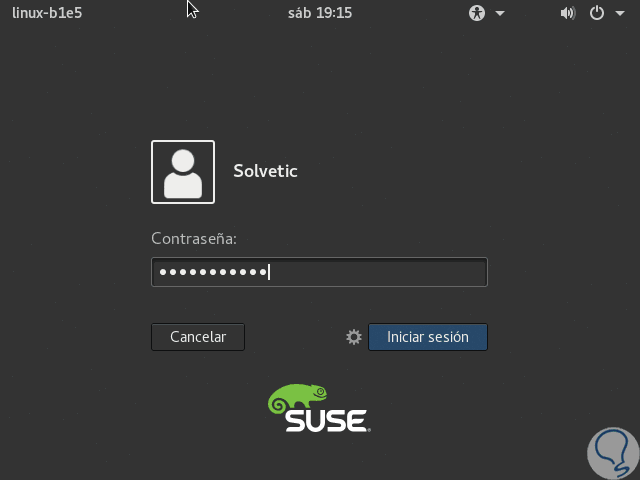
Step 36
Once we log in, this will be the SUSE Linux environment:

Step 37
There we can check the version of SUSE Linux installed:
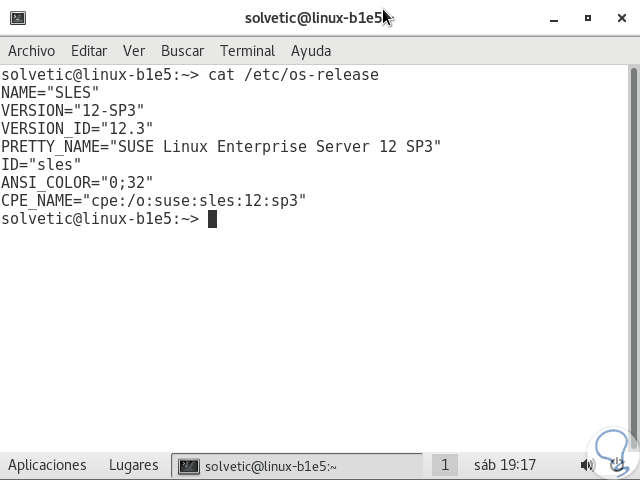
We have seen how to install and configure SUSE Linux Enterprise Server 12 SP3 in a simple way and thus make the most of this great operating system.