The services in Windows 10 are an essential part of its core, since thanks to them it is allowed that the system components both at the hardware and software level function properly. For example, if the Windows Update service is stopped you simply will not receive new updates , so each service has an important role within the system..
One of the most necessary services is the WLAN (Wireless LAN) service , which provides the way to connect to wireless networks and from there work correctly all the tasks that involve the use of the network. In Windows 10 this is something crucial since since the computer is turned on we are connected to the network. In Windows 10, the WLAN service allows you to enable the automatic wireless WLAN configuration service, as well as configure the WLAN service for automatic startup, which is vital to be enabled with each login.
The WLAN service in Windows 10 allows us to do the following
- Dynamically select which wireless network the device will automatically connect to.
- Configure the basic settings on the wireless network adapter.
- Automatically select and connect to a preferred wireless network as long as it is available
With this panorama, as we have mentioned, if the WLAN service should present an error, it is necessary to activate it again or restart it so that its parameters are updated, and that is why TechnoWikis will explain how to achieve this in Windows 10 step by step ..
To keep up, remember to subscribe to our YouTube channel! SUBSCRIBE
1. How to stop the WLAN service in Windows 10 in Services Console
Step 1
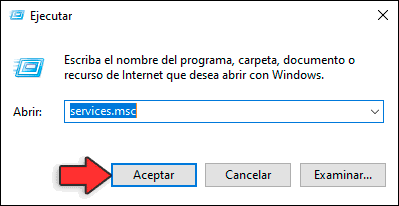
To stop the service for some reason of administrative or support order we must use the following key combination:
+ R
Then we have to execute the command:
services.msc
Press the "Enter" key or click on "OK".
Step 2
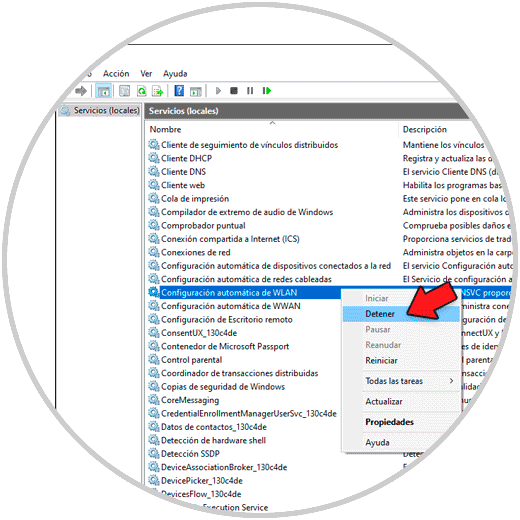
In the Windows 10 services console we will locate the service called “Automatic WLAN Configurationâ€, right click on it and select “Stopâ€:
Step 3
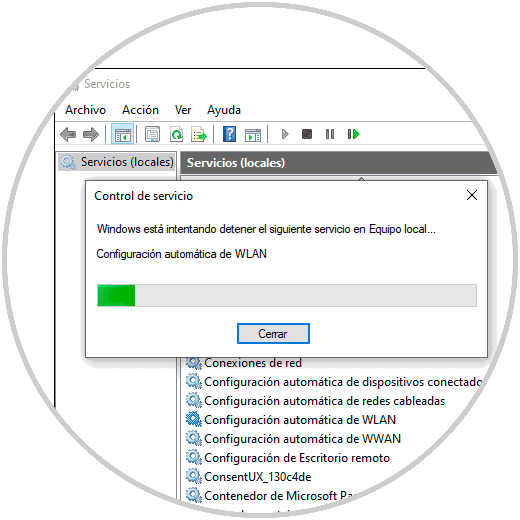
This will stop the WLAN service in Windows 10:
2. How to start the WLAN service on Windows 10 in the Services Console
To restart the WLAN service in Windows 10 to allow connection to wireless networks, we must access the service console again, right click on the WLAN service and select “Startâ€. This will activate the WLAN service settings again.

3. How to start or stop the WLAN service in Windows 10 from the command prompt
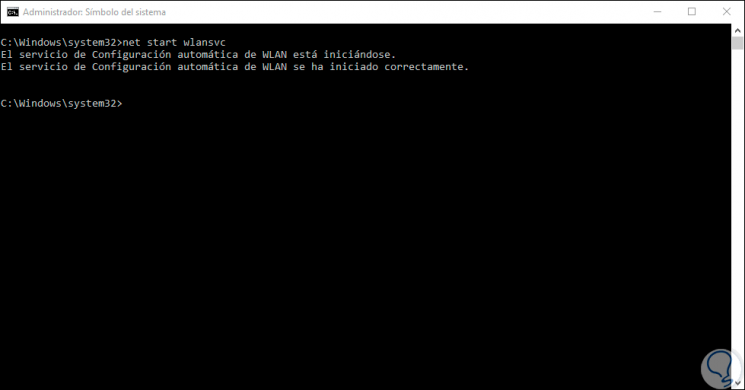
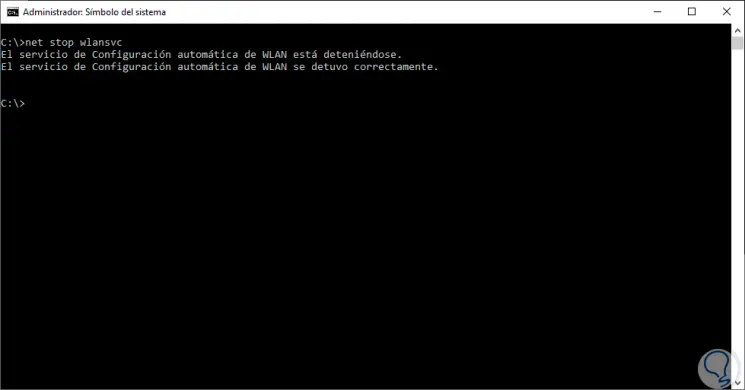
The command prompt terminal allows us to activate the WLAN service in a simple way, for this we access as administrators and there we execute the following.
This command is to start the WiFi service in Windows 10
net start wlansvc
This command is to stop the WiFi service in Windows 10
net stop wlansvc
4. How to restart the WLAN service from the service console
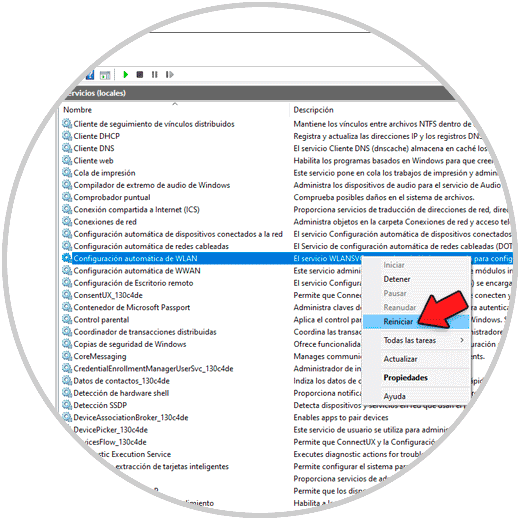
In the administration of the services in Windows 10 we will be able to restart the WLAN service in case of any failure. To do this, just right click on the “Automatic WLAN Configuration†service and select “Restartâ€. This will reload the service configuration.
5. Restart the WLAN service from Windows PowerShell
It should be noted that the command prompt console only allows you to stop (stop) or start (start) a service but not restart it, in this case Windows PowerShell comes into play which allows us to restart WLAN by executing the following as administrators:
powershell -command "Restart-Service wlansvc -Force"

6. Additional WLAN command options in Windows 10
Step 1
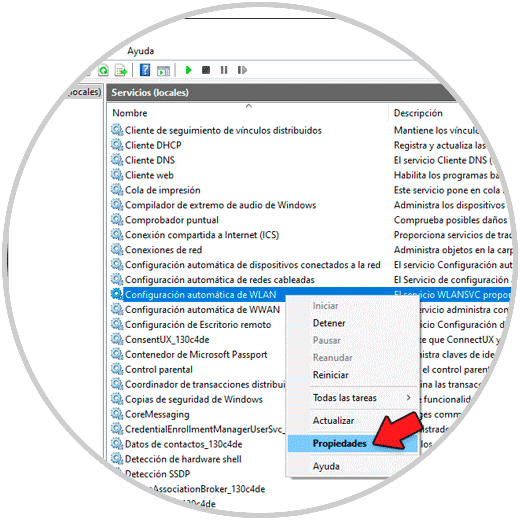
There are a number of options to use with the WLAN command from the service manager at the execution level, for this we can double-click on the “Automatic WLAN Configuration†service or right click and select “Propertiesâ€:
Step 2
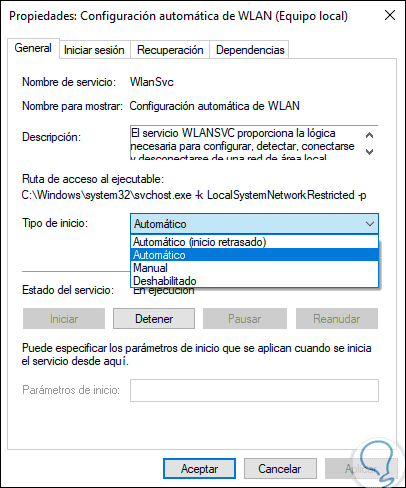
When accessing there we will go to the “Startup type†field and we will have options such as:
Automatic
This option activates the WLAN service as soon as the system boot process starts
Automatic (delayed start)
This option activates the WLAN service after boot
Manual
This option allows us to activate the service at any time manually
Disabled
As the name implies, this option disables the WLAN service.
With the option used click on "Apply" and then "Accept" to save the changes.
We have seen how to activate or restart the WLAN service in Windows 10 in a fully functional way, being clear about the use of this service in the system..