We currently have the option to download ISO images of the various editions of Windows for later installation on various computers in a simple way through CDs, DVDs or USB devices ..
As we all know, Windows is constantly launching new editions and builds, each with new functions and in all this coming and going updates we are likely to forget what type of edition or build we have downloaded and this may be necessary at specific times since some Windows 10 editions, in this case, it does not have certain features that we may need and if we know for sure these details we will save time and resources.
Today at TechnoWikis we will see how to achieve this..
To keep up, remember to subscribe to our YouTube channel! SUBSCRIBE
1. Mount ISO and know drive letter in Windows 10, 8, 7
As we mentioned, we will use Windows 10 and Windows Server but the method applies to Windows 7 and Windows 8.
First, we must know the letter that Windows has given to the medium where the ISO image of the system is located and we have two options.
Step 1
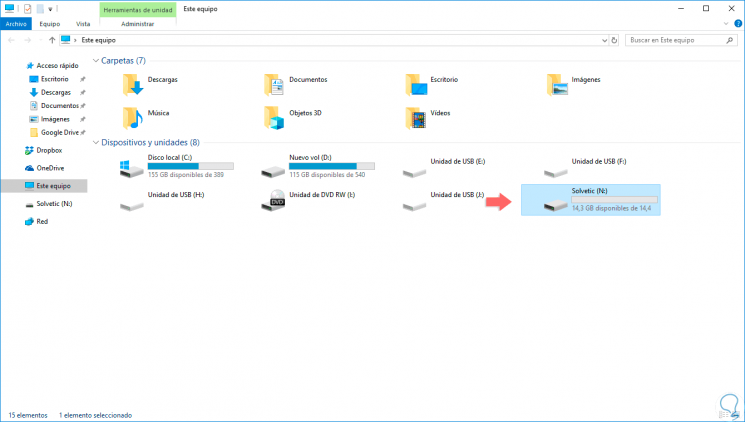
Use a CD, DVD or USB drive with the recorded image and when accessing the file browser we will see it there. In this case it is the letter "N".
Step 2
Another option, in case of not having a physical medium but with the ISO image locally, is to mount said ISO in the system, which creates a virtual unit and doing this is simple.
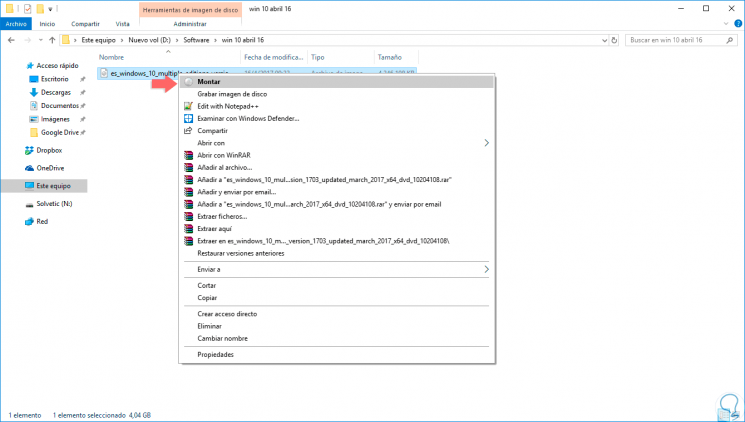
We go to the route where we have the ISO image, we will right click on it and select the option “Mountâ€:
Step 3
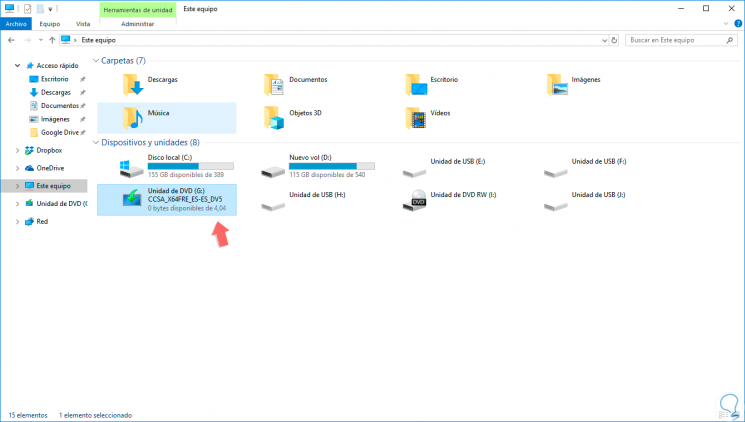
When we do this, the virtual drive will be created which we will see in the file explorer. In this case the letter "G".
2. Identify type of install file and view ISO information in Windows 10, 8, 7
Step 1
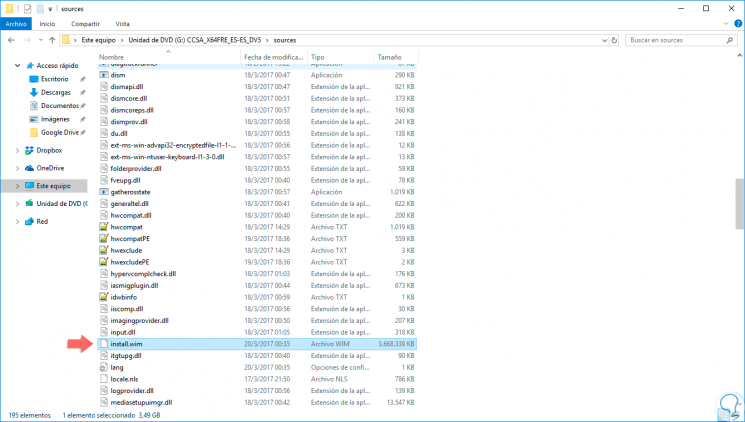
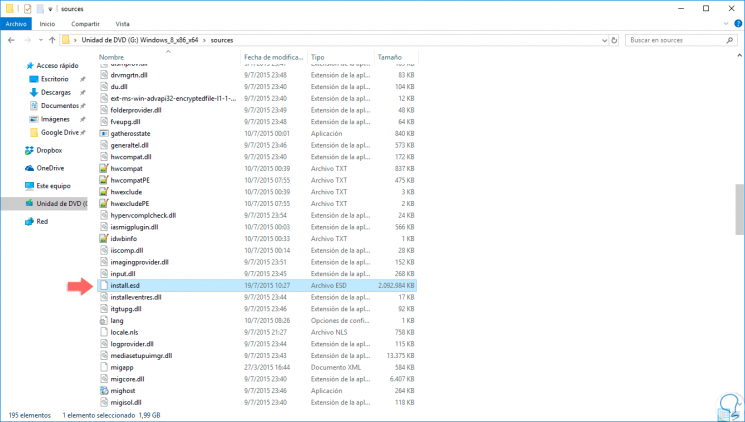
Now we must identify the type of file that has the selected ISO image, for this we must access the unit and in the Sources folder locate the install file which can be of two types:
Install.wim Install.esd
Step 2
Both have the same function, be the Windows installers and both contain the same files. The difference is in the way of compressing them, the ESD file is encrypted and with a higher compression level, so it weighs less than the wim file.
Step 3
With this defined we will execute the following syntax:
dism / Get-WimInfo /WimFile:X:\sources\install.wim / index: 1
Step 4
This must be executed at the command prompt as administrators and we must replace the letter X with the letter that Windows has assigned to our unit, in this example the G so we will execute the following:
dism / Get-WimInfo /WimFile:G:\sources\install.wim / index: 1
Step 5
The result will be as follows:
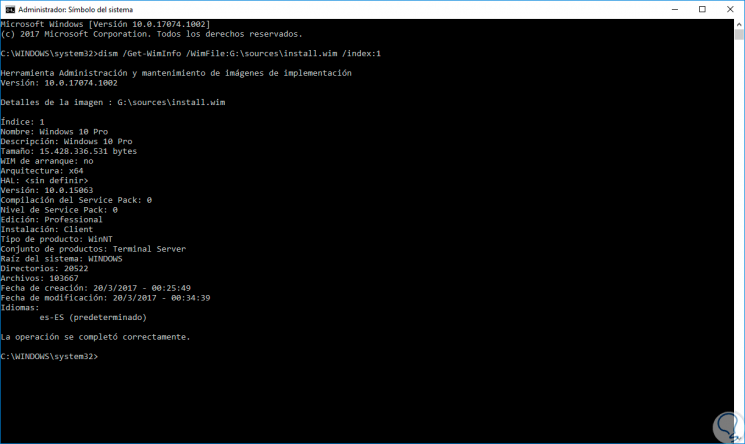
We can see details like:
Step 6
Now, if we have the install.esd file we will see the following:
Step 7
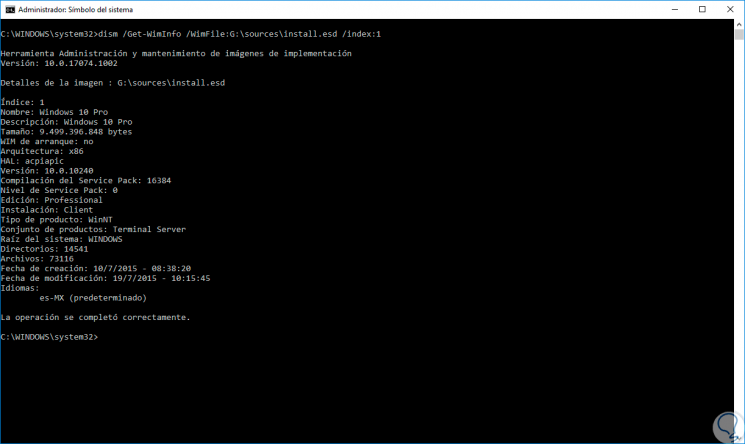
In this case we must execute the following:
dism / Get-WimInfo /WimFile:D:\sources\install.esd / index: 1
Step 8
We can see the same details of the ISO image to use. This utility applies even to editions of Windows Server 2016:
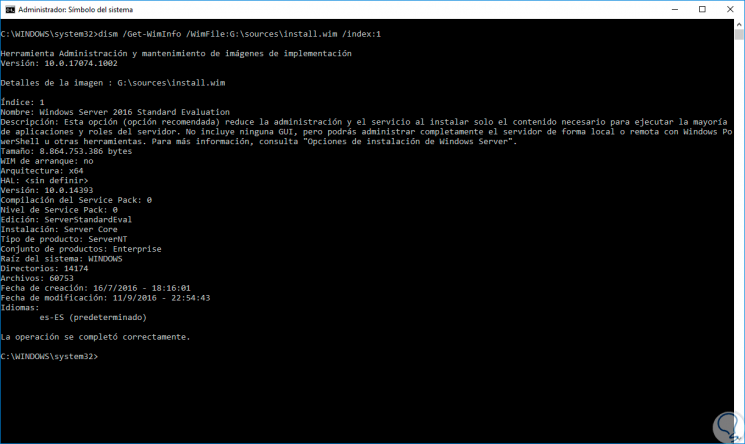
As we see, it is a simple and practical alternative to know in detail the type of Windows edition to use.