When we download an image of one of the Windows editions, we can find two types of formats that, although they fulfill the same function, have small differences at the time of processing and are the WIM and ESD formats..
WIM (Windows Image Format) is a disk image format developed by Microsoft in order to correctly implement the Windows 7, 8 or 10 operating system . With the DISM tool (Deployment Image Service Management Tool) we have the ability to execute multiple support and management tasks through a WIM file and thus preserve the integrity of the system.
ESD (Electronic Software Download) is a file format used by Microsoft to send updates to the system and other compatible software. Images in ESD are encrypted, therefore, decryption is required before proceeding to work on it..
These ESD images come by default when we use the Windows Media Creation tool which we obtain for free in the following link.
Windows Media Creation

It is ideal that we convert these ESD files to WIM in order to facilitate the tasks of support, control and administration of Windows..
Check ESD file
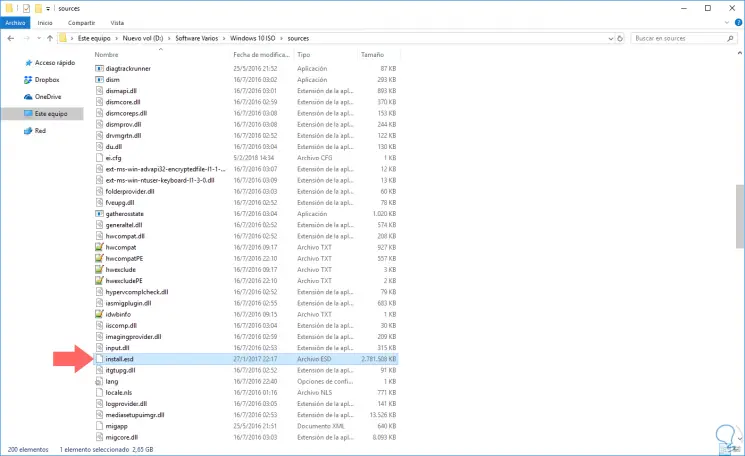
To verify that we have an .ESD file, we must access the downloaded image and verify in the SOURCES folder the file install:
Now, in TechnoWikis we will see how to carry out this conversion process in a practical way.
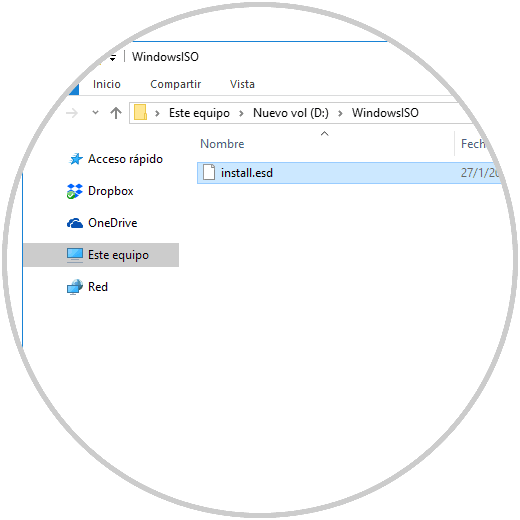
1. How to create folder and copy ESD file
The first step we will take will be to create a folder where the converted image will be hosted, in this case, we have called it WindowsISO and it is in partition D:
D: \ WindowsISO
Now, let's copy the contents of X: \ Sources \ install.esd into the folder we created where X is the path where the install.esd file is located:
2. How to verify Windows operating system version of the .ESD file
Once we have copied this file, we will validate the system edition (s) stored in the ESD file, for this, we will access the command prompt as administrators and there we will execute one of the following lines:
If the ESD file was copied from a USB drive we run:
dism / Get-WimInfo /WimFile:D:\WindowsISO\install.esd
If the ESD file was copied from an ISO image we execute:
dism / Get-WimInfo /WimFile:D:\WindowsISO\Sources\install.esd
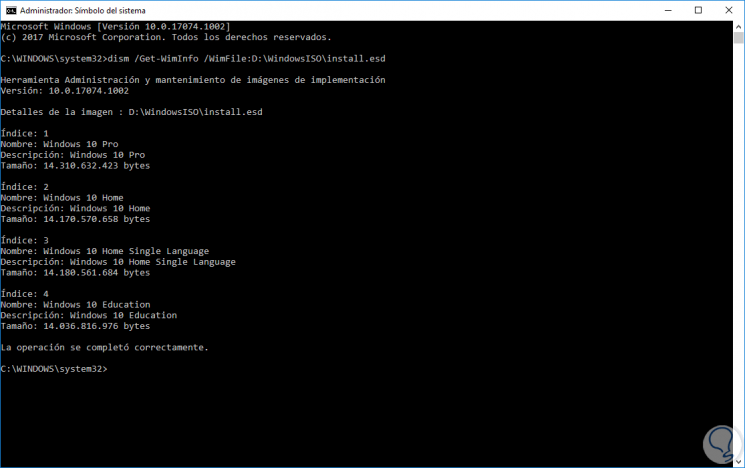
Pressing Enter we will see the following:
If the ISO uses 32-bit and 64-bit architecture it will be necessary to execute the following:
32 bit
dism / Get-WimInfo /WimFile:D:\WindowsISO\x86\Sources\install.esd
64 bits
dism / Get-WimInfo /WimFile:D:\WindowsISO\x64\Sources\install.esd
In the results generated, we must take into account the index number of the version to use, in this case we will use the Index 1 associated with Windows 10 Pro .
3. How to convert ESD to WIM with DISM command on Windows
As we mentioned before, DISM is a Windows utility for managing and maintaining images and we will use it for the conversion of ESD to WIM in a safe and functional way.
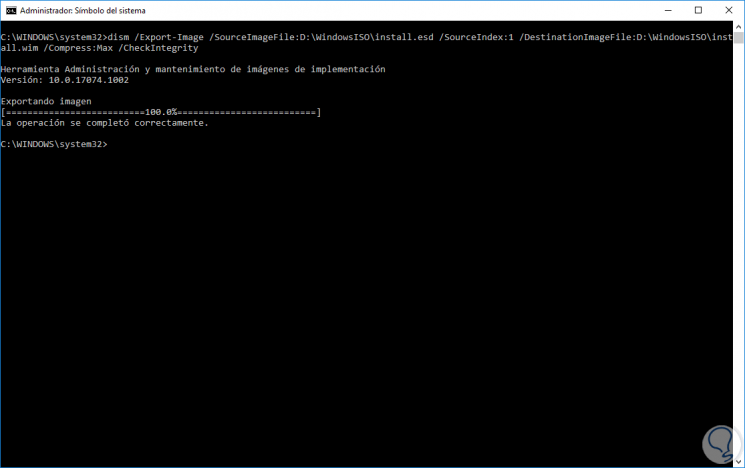
Step 1
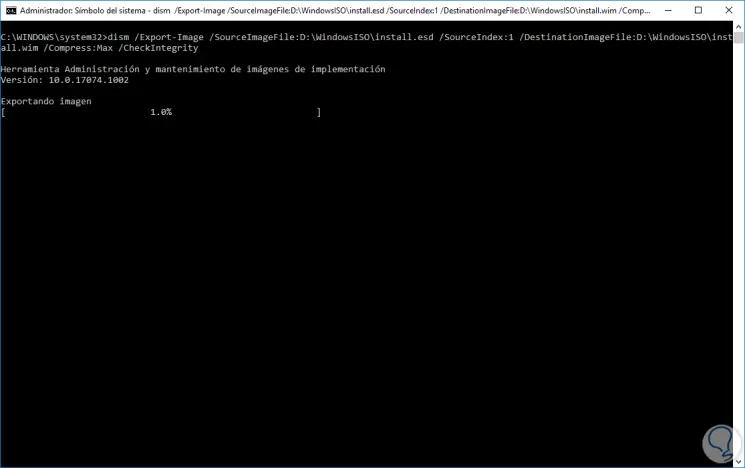
To extract the ESD image to a WIM file, we will execute the following at the command prompt:
dism / Export-Image /SourceImageFile:D:\WindowsISO\install.esd / SourceIndex: 1 /DestinationImageFile:D:\WindowsISO\install.wim / Compress: Max / CheckIntegrity
We will see the following:
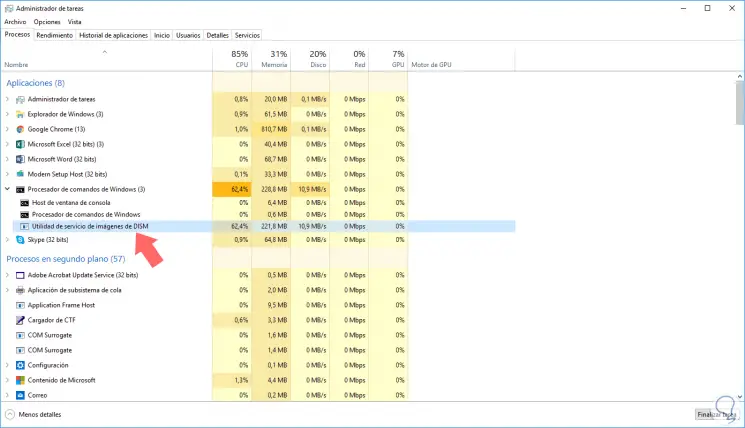
Step 2
During this process we can notice some slowness in the system and this is due to the use of resources that DISM makes in the system:
Step 3
Once the process is finished we will see the following:
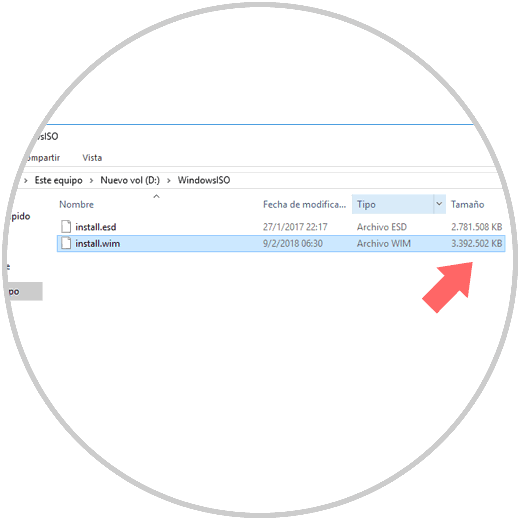
Step 4
Now, we can go to the destination folder and compare the two files:
4. How to convert ESD to ISO using Dism ++ Windows
This is a free tool which has a graphical interface for DISM and is based on CBS which simplifies its use process.
Step 1
Your download is available at the following link:
Dec ++
Some of the actions that we can carry out with this tool are:
This utility is portable, therefore, a hard disk installation is not required. Once we extract the content and execute the file, the following will be displayed:
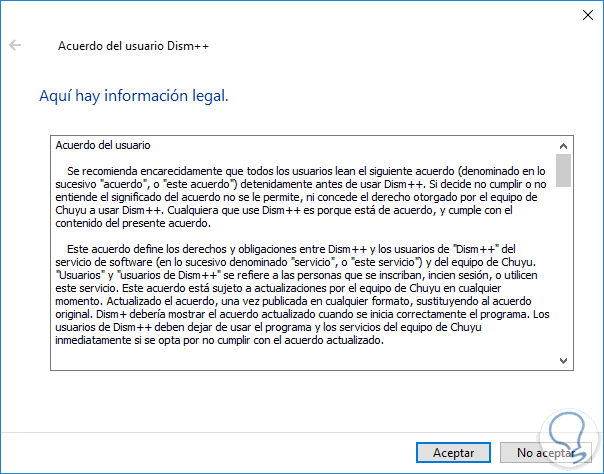
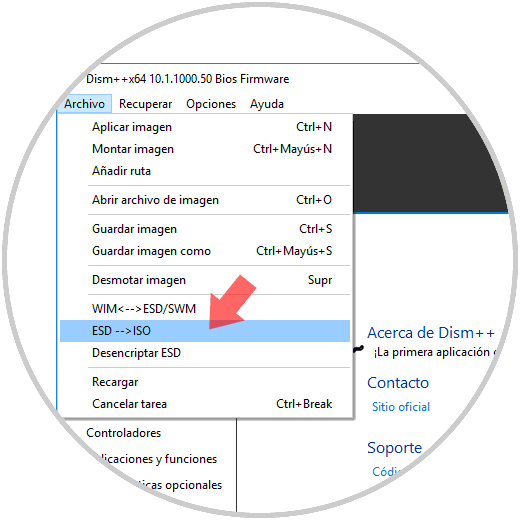
Step 2
There we accept the terms of the license and in the window displayed go to the File menu and select the option ESD to ISO:
Step 3
The following window will be displayed where we define:
- Select the file install.esd
- We define the path where the ISO file will be stored
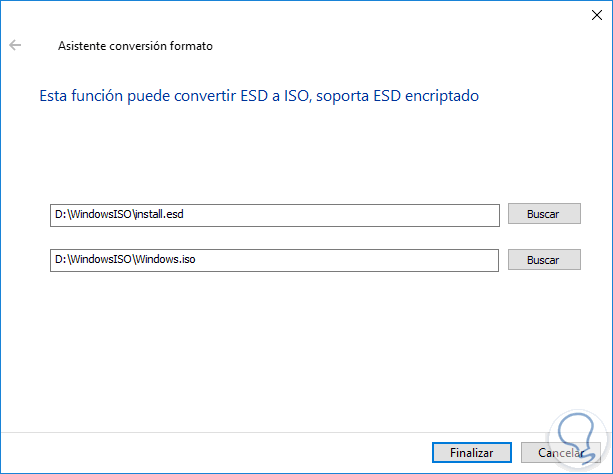
Click on Finish or we will use the following keys to start the conversion process:
+ F Ctrl + F
Thus, we have seen two options to convert ESD to WIM or ISO and take full advantage of these image formats in Windows environments, remember that this process applies to Windows 7, 8 or 10.