One of the most effective ways to obtain an ISO or ESD image of Windows 10 is to use the Media Creation Tool utility through which we can update the current computer or download directly from Microsoft either the Windows 10 image directly to a DVD or a USB, we can select details such as language, architecture and more. This utility is available for free at the following link:
For administration and control reasons, it is often required to know in detail the build number and other details of the Windows 10 ISO image as many features are available only for some special compilations ..
Microsoft makes use of a semi-annual channel, which is a feature update version that is distributed over a period of twice a year, approximately in the months of March and September. This account has a service period of 18 months for each managed version and replaces the concepts of current branch (CB) and current branch for companies (CBB), from version 1703 of Windows 10. This means that, especially if we are administrators, we must keep in mind the way these compilations are delivered in order to know with certainty what type of applications or functions will be compatible .
Microsoft currently has the following distribution of versions of Windows 10:
Windows 10 versions
Now we will know the method to determine exactly the version and number of our Windows 10 image..
To keep up, remember to subscribe to our YouTube channel! SUBSCRIBE
1. Mount the Windows 10 ISO image
Step 1
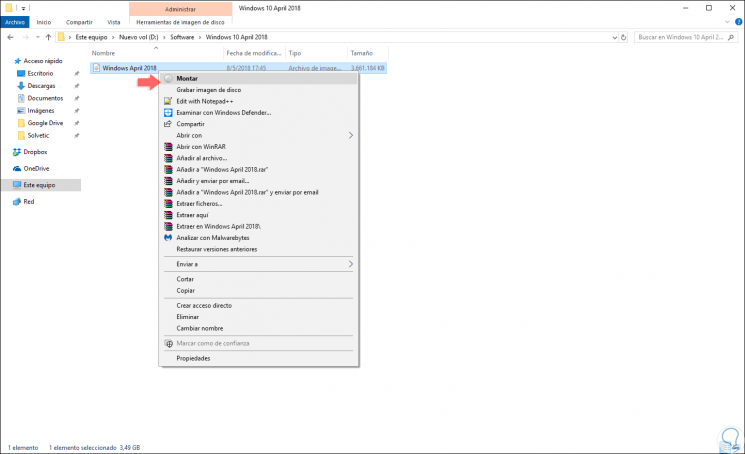
The first step to take is to mount the ISO image in Windows 10 in order to manage it in a much more centralized way, for this we will go to the route where said image is, we will right click on it and select the “Mount†option:
Step 2
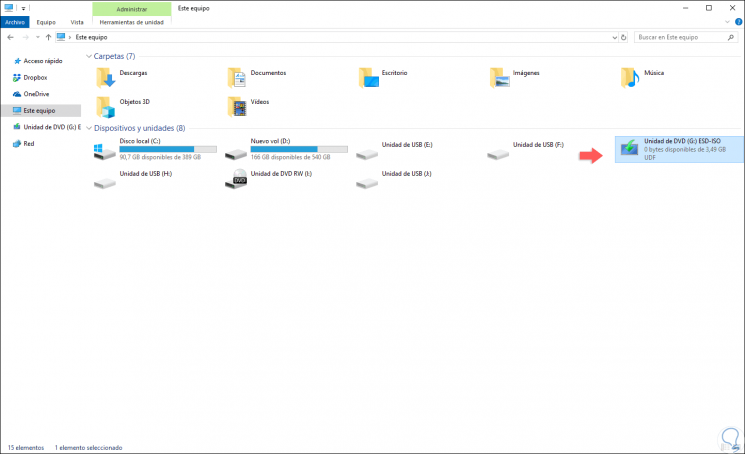
When mounting this ISO image, the system will assign a letter and we will see that it is mounted as a virtual drive in the File Explorer:
Step 3
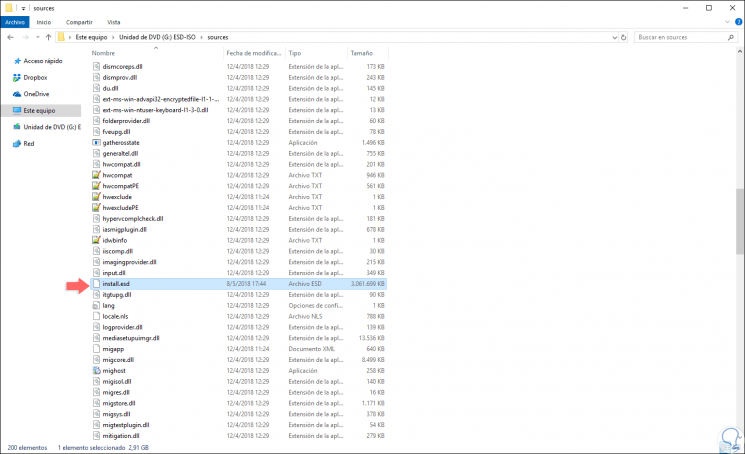
Now we will access the contents of this unit by right clicking on it and selecting “Open†and go to the “sources†folder, we must detect there a file called Install.WIM or Install.ESD:
Step 4
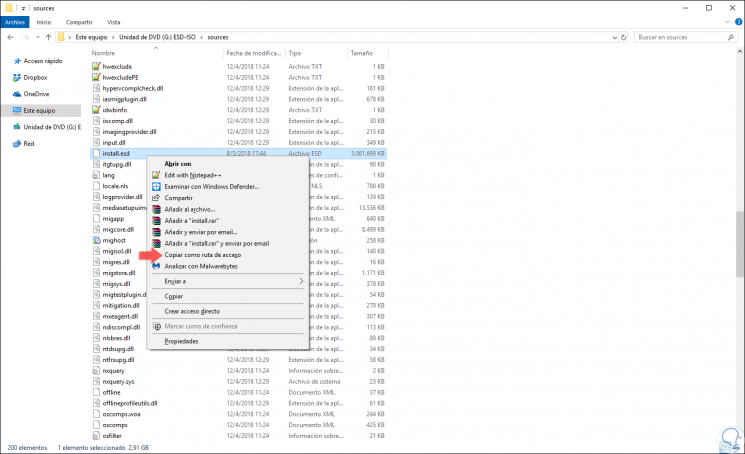
In case of not finding the sources folder in the root of the unit, we must open the x86 or x64 folder to see that folder, the ISO image contains both the 32-bit and 64-bit Windows 10 architecture, and the Install.ESD file or Install.WIM can be in the "x86 \ sources or x64 \ sources" folder. Now, we are going to copy the path of the mentioned file by pressing the Shift key and right clicking on the file and in the options displayed select “Copy as pathâ€:
2. Check the ISO image with Windows 10 commands
Step 1
Now, we are going to access the command prompt as administrators and there we execute the following line based on the type of file used:
If we have an ESD file
dism / Get-WimInfo /WimFile:G:\sources\install.esd / index: 1
If we have a WIM file
dism / Get-WimInfo /WimFile:G:\sources\install.wim / index: 1
Note
In the "G: \ sources \ install.esd" field, we must paste the path we have copied using the "Copy as path" option mentioned above.
Step 2
When executing this command we will see the following:

Step 3
There we have details like. As we have verified, thanks to this method it will be possible to obtain complete details of our ISO image.
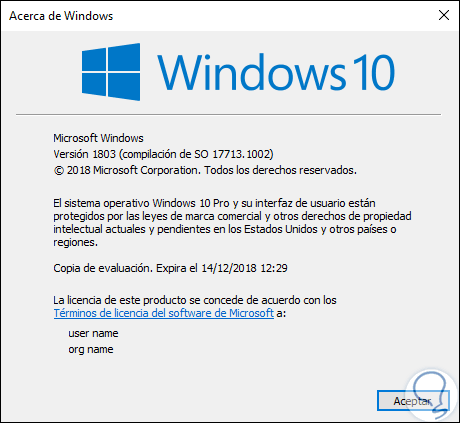
- Version, in this case 10.0.17134
Step 4
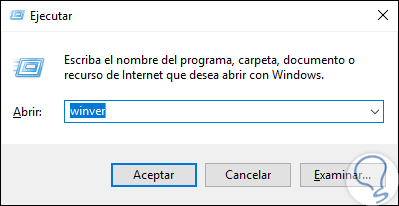
Now, a simpler method, obviously with less information, is to use the following key combination and execute the "winver" command:
+ R
Step 5
The result will be as follows. There we will see both the version and the current compilation of the system used.
Step 6
Let's use the option that best suits our needs and have this valuable information always at hand.
Note
When it is no longer necessary to use the Windows 10 ISO image, we can disassemble it by right clicking on the unit in the file explorer and then selecting the “Eject†option:
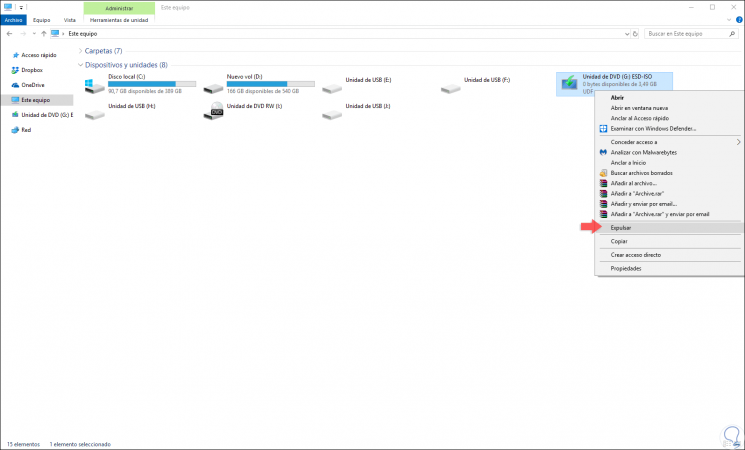
Thus, the image will be available again and we will not occupy this virtual space in Windows 10 to continue working normally.