The management of data in an operating system is essential when it comes to having the best levels of control and optimization of processes since in this way as administrators we have the facility to document any anomaly that may occur in the system..
One of the most complete tools for this is OpenNMS which has been developed as a complete monitoring tool and therefore TechnoWikis will analyze its use in Linux today.
What is OpenNMS?
OpenNMS has been created as an open source platform that is easy to integrate and developed to create solutions and support when it comes to network monitoring tasks .
We currently have two OpenNMS distributions: Meridian and Horizon. The Meridian option is special for companies and businesses where data and support must be stable and have long-term support, on the contrary, Horizon is ideal for monitoring and management of new technologies and IT environments..
OpenNMS features
Among its various characteristics we find:
- It is capable of detecting service interruptions and measuring latency in order to graph and set thresholds through automatic polling.
- Compatible with many configurable service monitor applications.
- Possibility of obtaining data and performance metrics through SNMP, JMX, WMI, NRPE, NSClient ++ and XMP by making the relevant configuration changes.
- OpenNMS has a flexible and extensible architecture in order to expand the possibilities of the service. OpenNMS has North End interfaces for alarms and ReST APIs help integrate OpenNMS into existing infrastructure.
- Ability to detect network topologies at layer 2, which are based on SNMP information. using industrial standards such as LLDP, CDP and Bridge-MIB discovery. OpenNMS supports the discovery of layer 3 routing topology based on OSPF and IS-IS.
- Possibility of executing external scripts.
- Request Tracker (RT) integration.
- Allows JMS Alarm Northbound implementation.
- Compatible with multiple operating systems such as Windows, Mac, Linux / Unix and Solaris.
- Send notifications via email.
- Able to process 125,000 syslog messages per minute.
1. Update the Ubuntu 17 system
Step 1
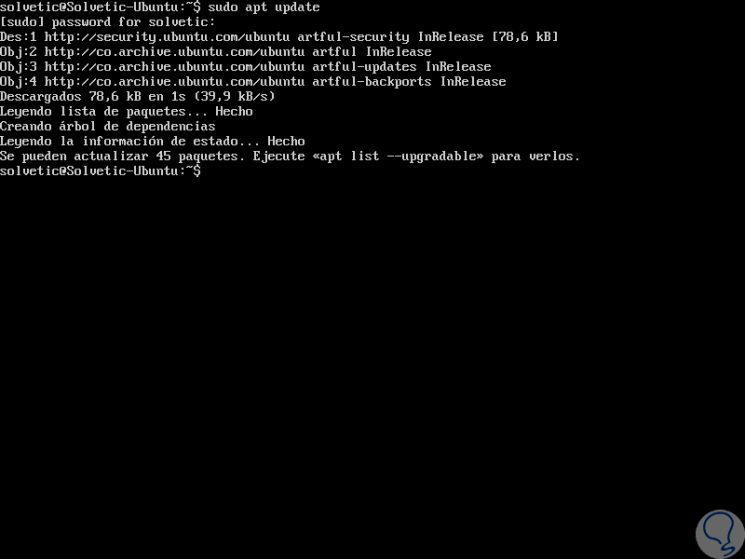
The first step to take is to update the system packages by executing the following commands:
sudo apt-get update -y sudo apt-get upgrade -y
Note
We can access as root users to avoid using the term sudo.
Step 2
After updating the operating system, it will be necessary to define the complete domain name according to the need, for this, we will edit the file / etc / hosts using the desired editor:
sudo nano / etc / hosts
Step 3
There we enter the following:
192.168.0.21 server.OpenNMS.local server
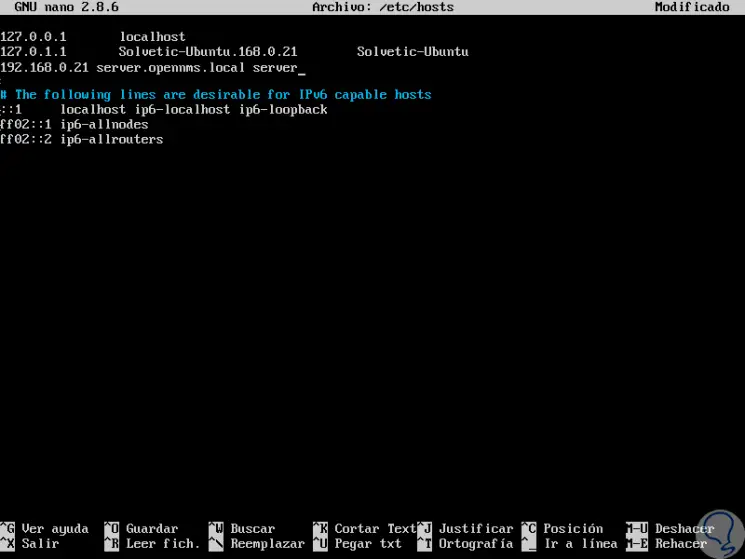
Step 4
The IP address to enter will be the IP address of the server where the application is being installed. We save the changes using the following key combination:
+ O Ctrl + O
We leave the editor using:
+ X Ctrl + X
Step 5
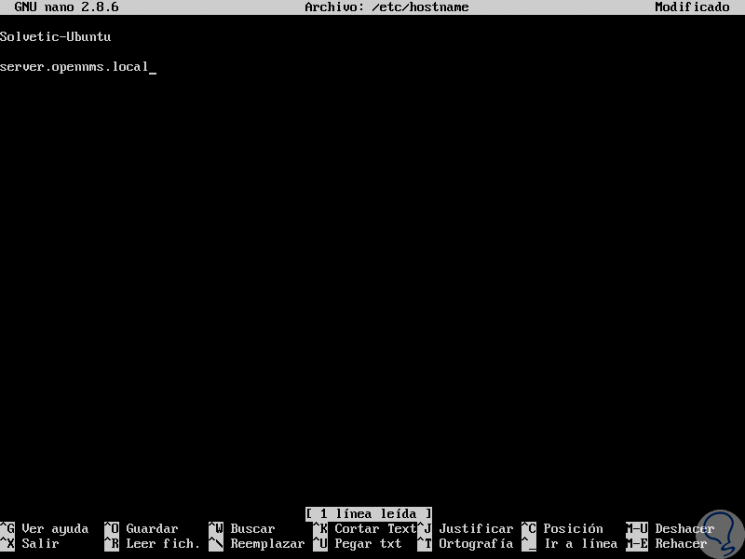
Now, we will access the file / etc / hostname:
sudo nano / etc / hostname
Step 6
There we will add the following line. Again we save the changes and leave the editor.
server.OpenNMS.local
2. Install PostgreSQL on Ubuntu 17
Step 1
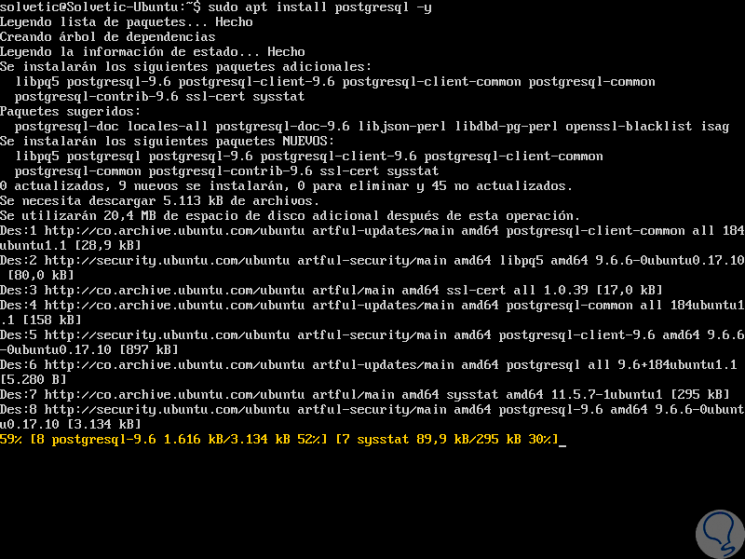
The OpenNMS application must use PostgreSQL for everything related to the database, to install PostgreSQL we will execute the following command:
sudo apt-get install postgresql -y
Step 2
After performing the PostgreSQL installation process, it will be necessary to allow users to access this database, PostgreSQL will only allow the connection if we are logged in to the name of the local account that must match the PostgreSQL user, in At this point we must mention that OpenNMS runs as root, so we must change the configuration to allow the root user to access the following directory:
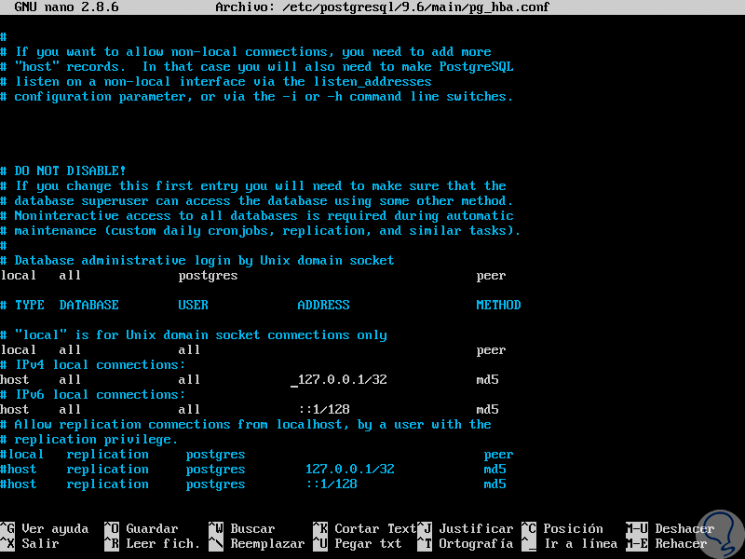
sudo nano /etc/postgresql/9.5/main/pg_hba.conf
Step 3
There we must locate the following lines:
local all all peer host all all 127.0.0.1/32 md5 host all all :: 1/128 md5
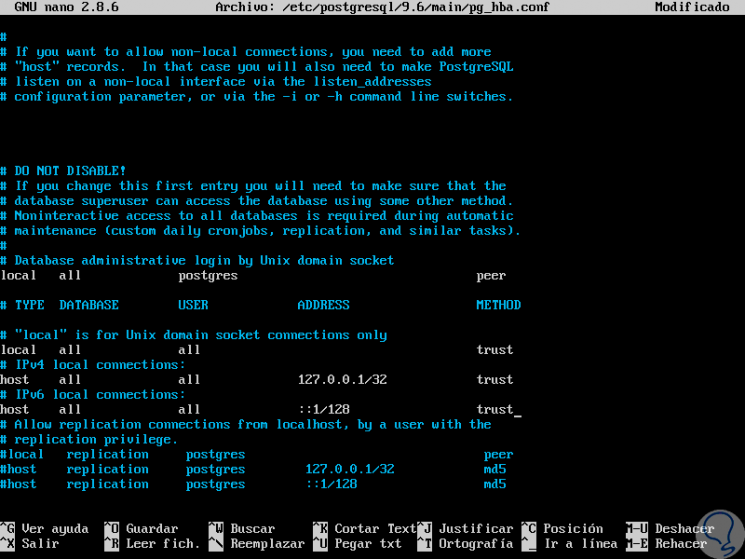
Step 4
We must change the last value as follows:
local all all trust host all all 127.0.0.1/32 trust host all all :: 1/128 trust
Step 5
We save the changes using the following key combination:
+ O Ctrl + O
We leave the editor using:
+ X Ctrl + X
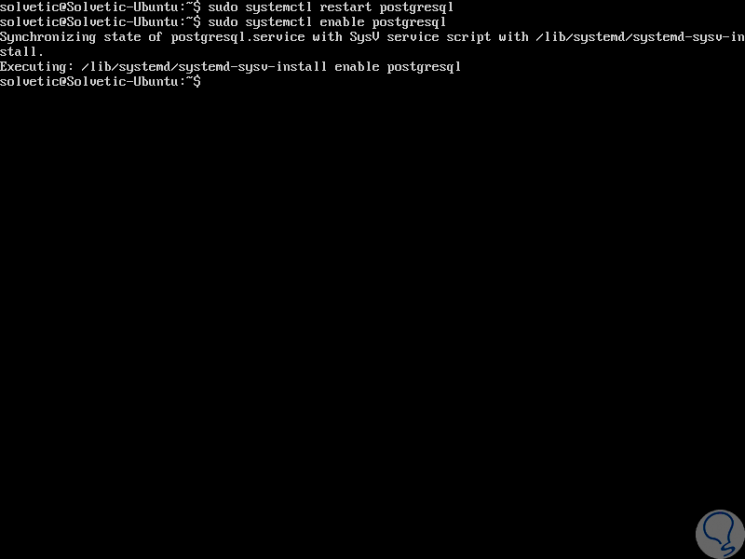
Step 6
We proceed to restart the PostgreSQL service by running the following:
sudo systemctl restart postgresql sudo systemctl enable postgresql
3. Install Java on Ubuntu 17
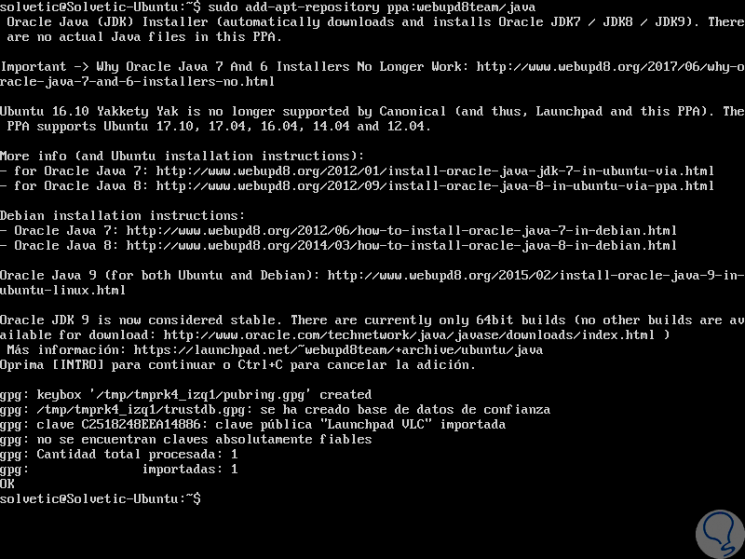
Step 1
For the installation of Java we will add the following PPA repository:
sudo add-apt-repository ppa: webupd8team / java
Step 2
Then we will update this repository by running:
sudo apt-get update -y
Step 3
Then we can install Java with the following command:
sudo apt-get install oracle-java8-installer -y
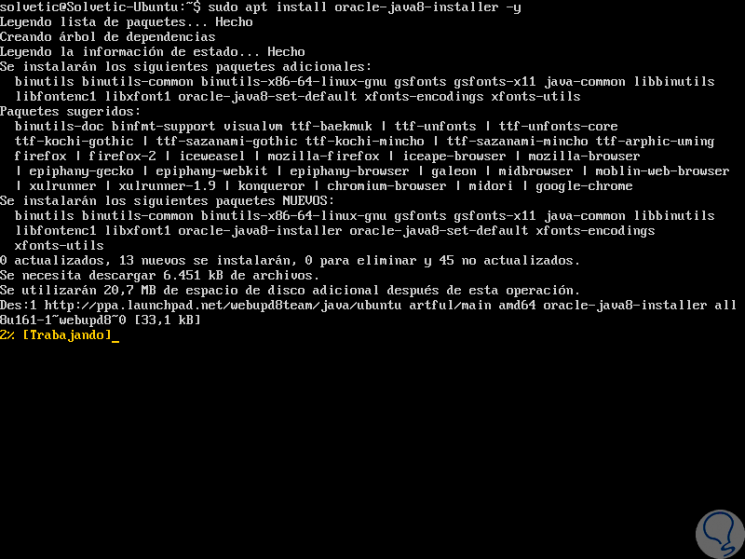
Step 4
During the installation process we will see the following:
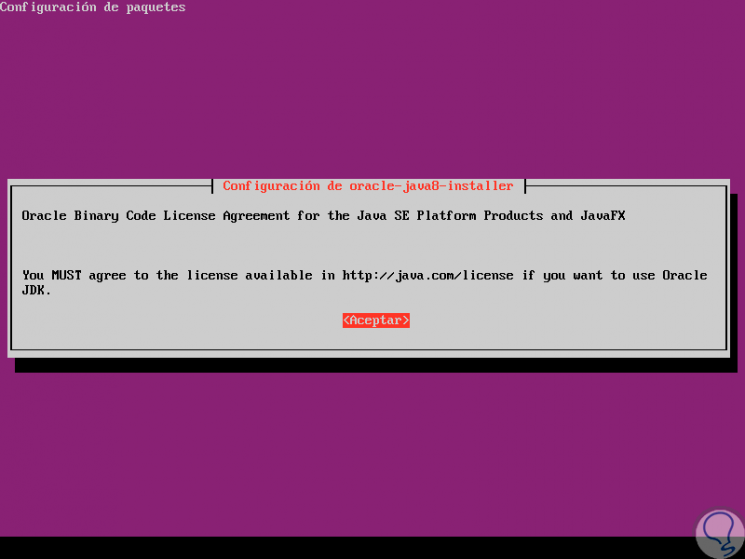
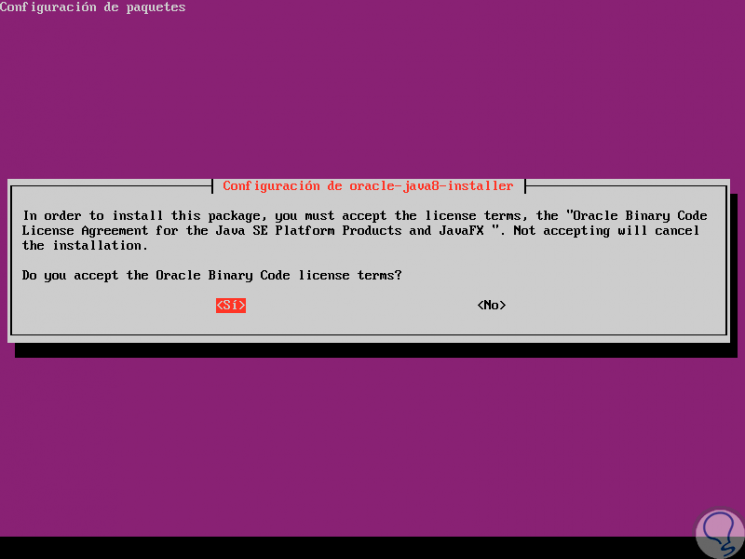
Step 5
Click on Accept and then we must accept the terms of the Java license:
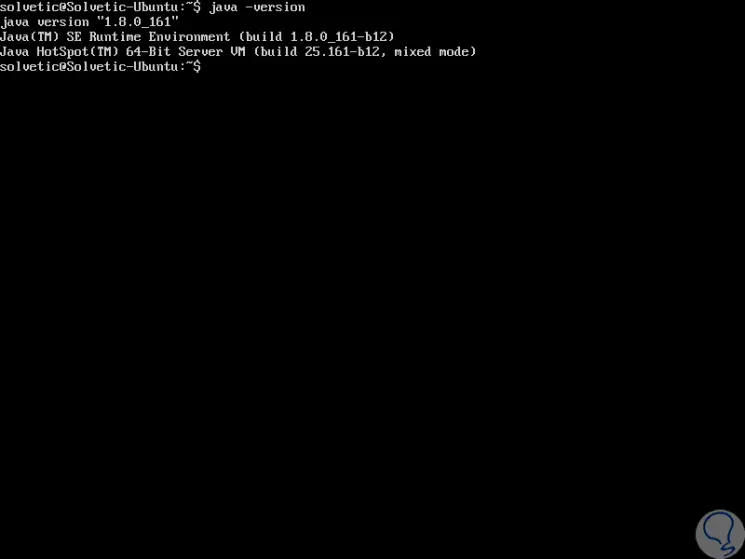
Step 6
Once this step is finished we can check the Java version by executing the following:
java -version
4. Install OpenNMS on Ubuntu 17
By default, the OpenNMS application is not available in the official Ubuntu repository, which is why we must add the OpenNMS repository to the /etc/apt/sources.list.d directory.
Step 1
We will execute the following command for this:
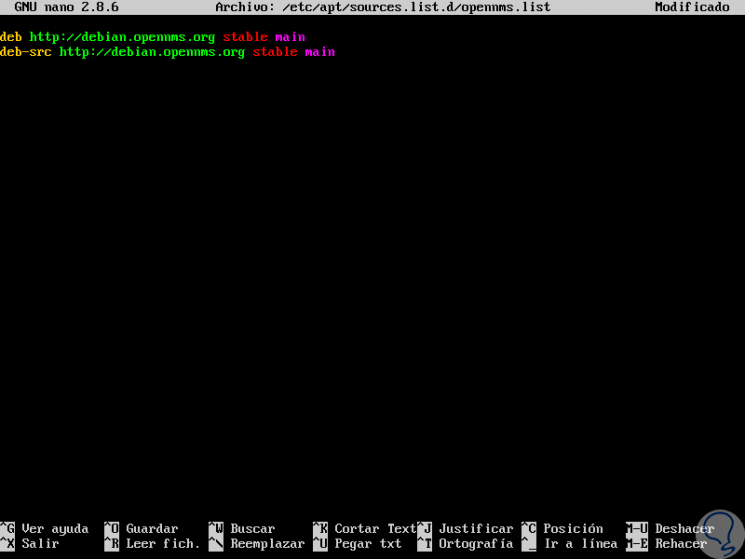
sudo nano /etc/apt/sources.list.d/OpenNMS.list
Step 2
There, we will add the following lines:
deb http://debian.OpenNMS.org stable main deb-src http://debian.OpenNMS.org stable main
Step 3
We save the changes using the following key combination:
+ O Ctrl + O
We leave the editor using:
+ X Ctrl + X
Step 4
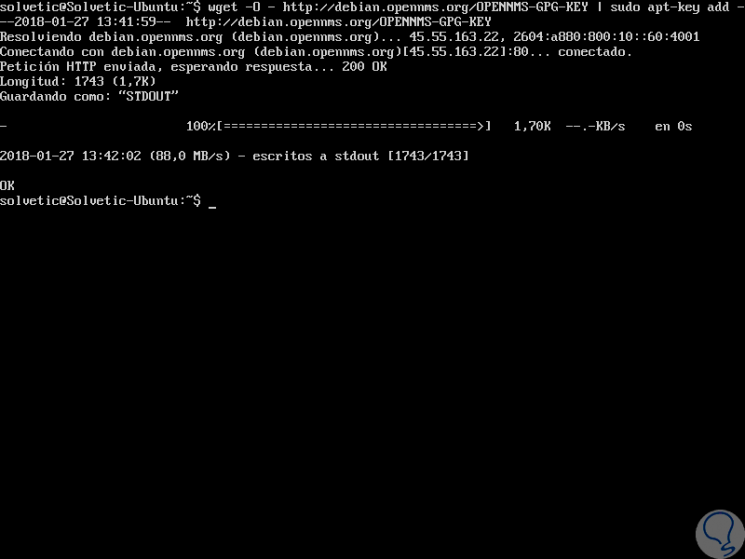
Now, we will add the OpenNMS GPG keys with the following command:
wget -O - http://debian.OpenNMS.org/OPENNMS-GPG-KEY | sudo apt-key add -
Step 5
Again we will update the repository with the execution of the following command:
sudo apt-get update -y
Step 6
Once updated this repository we proceed to execute the following for the installation of OpenNMS:
sudo apt-get install default-mta opennms -y
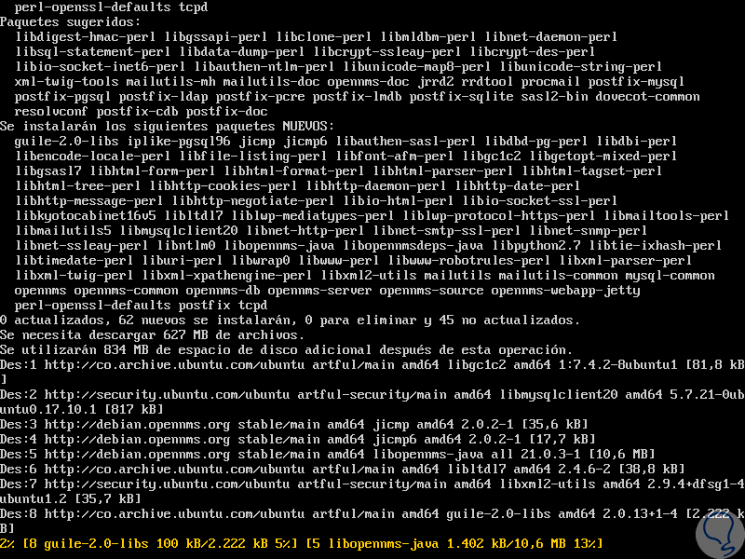
Step 7
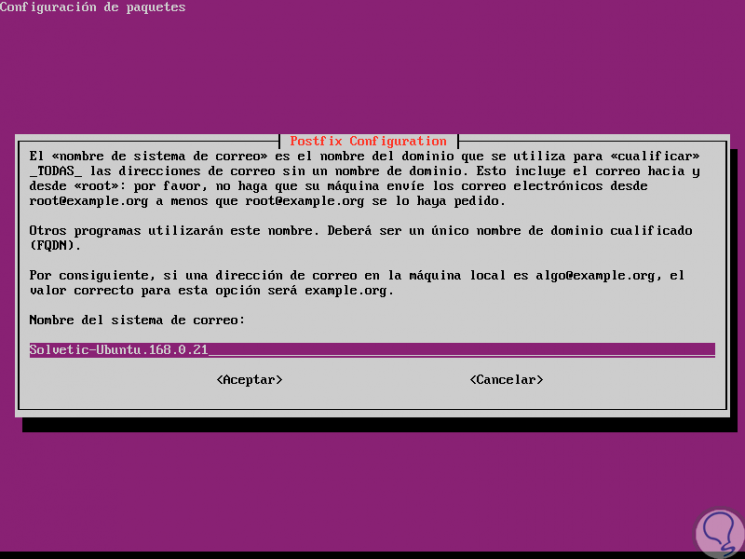
During the installation process the following messages will be displayed:
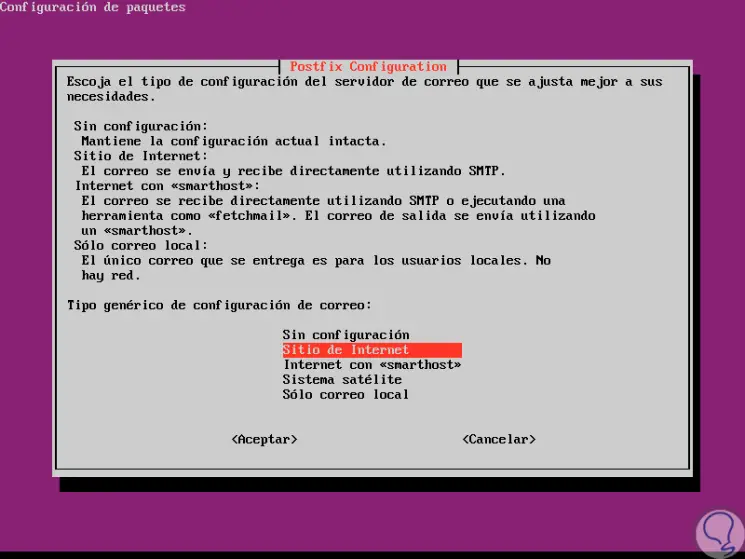
Step 8
In this case we define the form of mail configuration, click on OK, if we select Website, and we will define the name of the mail server:
Step 9
Once defined click on Accept and we will see the final message:
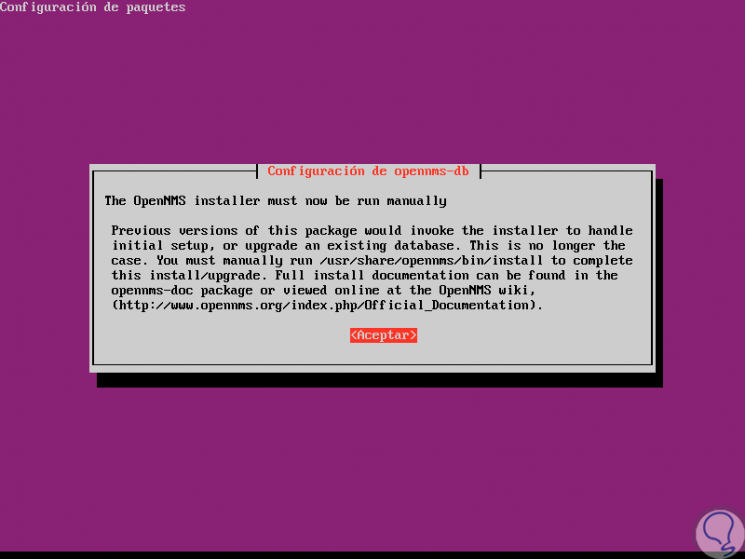
Step 10
Again, click on Accept and the OpenNMS installation process will be completed.
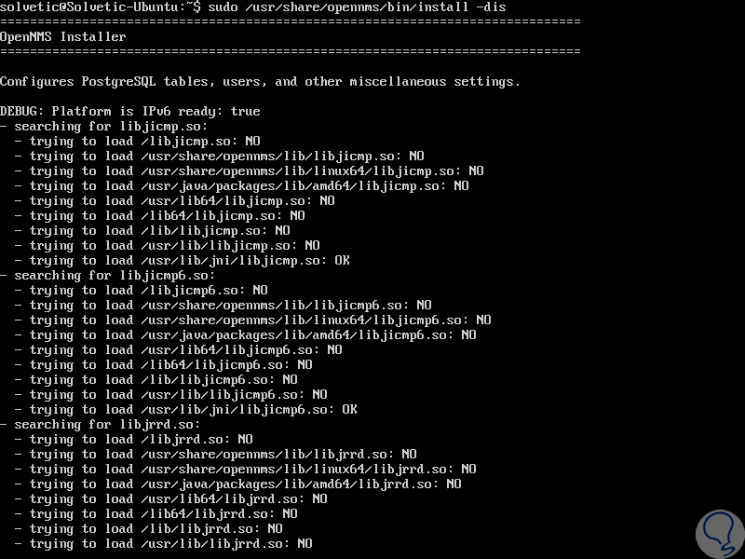
Once this step is finished, we will create a database for OpenNMS. To do this we will execute the following command:
sudo / usr / share / opennms / bin / install -dis
Step 11
We hope that the database is created. Then we will start the service by running:
sudo systemctl start opennms Firewall Settings
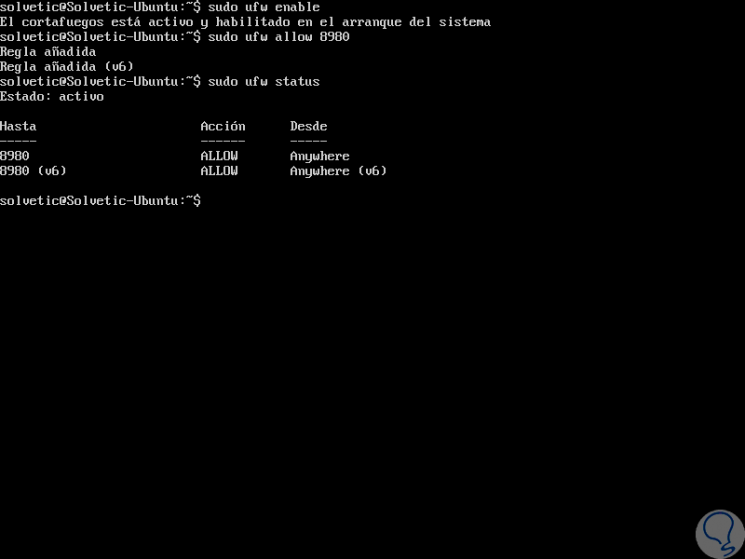
Step 12
It is necessary that we allow access through a web browser and for this we must give the necessary permissions in the firewall, we will execute the following:
sudo ufw enable (Enable the firewall) sudo ufw allow 8980 (Grant permission to port) sudo ufw reload (Reload the configuration)
5. Access OpenNMS in Ubuntu 17
Finally, to access OpenNMS we go to a browser and use the following:
http: // IP_address: 8980 / opennms

6. Access OpenNMS in Ubuntu 17
Step 1
There we will enter the following credentials:
Step 2
Once we access we can start the management of
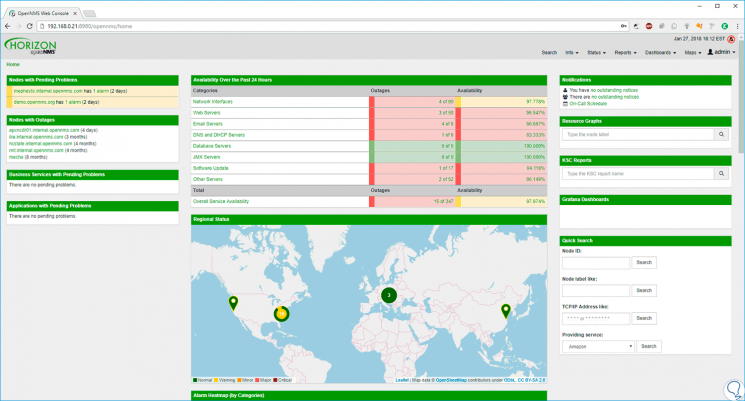
From here we can perform the tasks of management and control over multiple server parameters.