There are many tools to monitor the real-time behavior of various applications of the operating system or to analyze the entire system with its services and processes .
In the case of Linux, there are hundreds of free options but very few give us a centralized administration and one of these exceptions is Monitorix which we are going to study today in Ubuntu 18.04 Server and thus add another tool to our support tasks of management.
What is Monitorix?
Monitorix has been developed as a tool for monitoring the light system, open source and free, which aims to monitor a large number of services and resources of the operating system to have full control over everything that happens internally.
Monitorix can be implemented on productive Linux / UNIX servers and can also be used on integrated devices thanks to its features and low consumption of hardware resources. Monitorix is ​​basically built by two components that are:
- A collector, which is called monitorix, which is a Perl daemon that starts automatically just like any system service.
- Or a CGI script called monitorix.cgi.
Since version 3.0, the Monitorix utility includes its own integrated HTTP server, so it will not be necessary to install a third-party web server for use. Monitorix can be used without problem on UNIX, FreeBSD, OpenBSD and NetBSD.
1. Features of Monitorix
We are going to divide the Monitorix features by sections like this:
Average system load and use (system.rrd)
Global use of the kernel (kern.rrd)
- Includes parameters such as user, nice, system, idle, i / o wait, irq, irq software, steal and guest
Kernel use by processor (proc.rrd)
- Supports an unlimited number of processors or cores.
- Possibility of defining the number of graphics per row.
- Possibility to change the size of the graphics (there are already some predefined sizes).
- Possibility to partially or completely disable legend data
LM sensors and GPU temperatures
- Up to 16 temperature sensors compatible with cores.
- Up to 2 compatible temperature sensors for the motherboard.
- Up to 12 compatible voltages.
- Alert capabilities for each defined sensor.
- Up to 4 temperature sensors compatible with the CPU.
- Up to 9 compatible fan speeds.
- Up to 9 temperature sensors for GPU (nvidia / ati).
Generic sensor statistics (gensens.rrd)
- Up to 9 compatible temperature sensors.
- Up to 9 compatible CPU frequency sensors.
- Possibility to change the name of each sensor.
- Alert capabilities for each defined sensor.
Temperatures and status of the disk drive (disk.rrd)
- Unlimited number of compatible disk drive graphics.
- Temperatures (using smartmontools and hddtemp).
- Up to 8 disk drives per graphic.
- Reallocated sectors count.
IPMI sensor statistics (ipmi.rrd)
- Up to 9 sensors allowed for each group.
- Possibility to change the name of each sensor.
- Alert capabilities for each defined sensor.
- Additional arguments to be able to monitor remote systems.
- Temperatures, fans and voltages.
- Unlimited number of compatible sensor groups.
File system usage and I / O activity
- Use of inode for each file system.
- Disk I / O activity for each file system.
- Time spent on disk I / O for each file system.
- Disk sector activity for each file system.
- Unlimited number of compatible file system graphics.
- Up to 8 file systems per graphic
Demand for system services (serv.rrd)
- Includes (SSH, ProFTPD, Vsftpd, Pure-FTPd, Telnet, Samba, FAX, CUPS, Fail2ban, IMAP, POP3, SMTP, VirusMail and Spam).
- Supports xinetd, Sendmail, Postfix, Dovecot, UW-IMAP, Qpopper, Hylafax, MailScanner, Amavisd-new and CommuniGate records.
And many more features that we can review in the following official link:
Monitorix features
2. Add the Monitorix repository in Ubuntu 18.04
Step 1
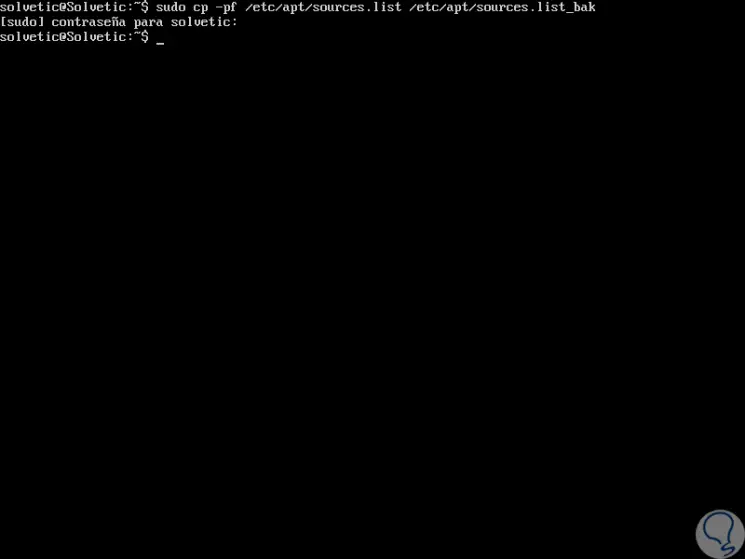
The first step is to add the Monitorix Ubuntu repository to the file /etc/apt/sources.list but first we will make a backup copy of the original.list source by executing the following:
sudo cp -pf /etc/apt/sources.list /etc/apt/sources.list_bak
Step 2
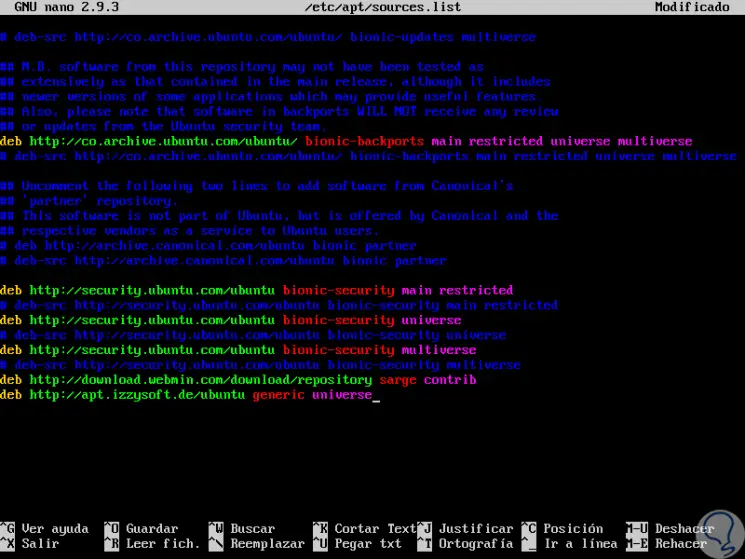
Now, we will open the sources.list file using the desired editor:
sudo nano /etc/apt/sources.list
Step 3
At the bottom we will enter the following line. This repository is available only for Debian and its derivatives as is the case of Ubuntu.
deb http://apt.izzysoft.de/ubuntu generic universe
Step 4
We save the changes using the following key combination:
+ O Ctrl + O
We leave the editor using:
+ X Ctrl + X
3. Add the PGP key in Ubuntu 18.04
When we have added the repository, it will be necessary to download or add the PGP key and install it in the operating system.
Step 1
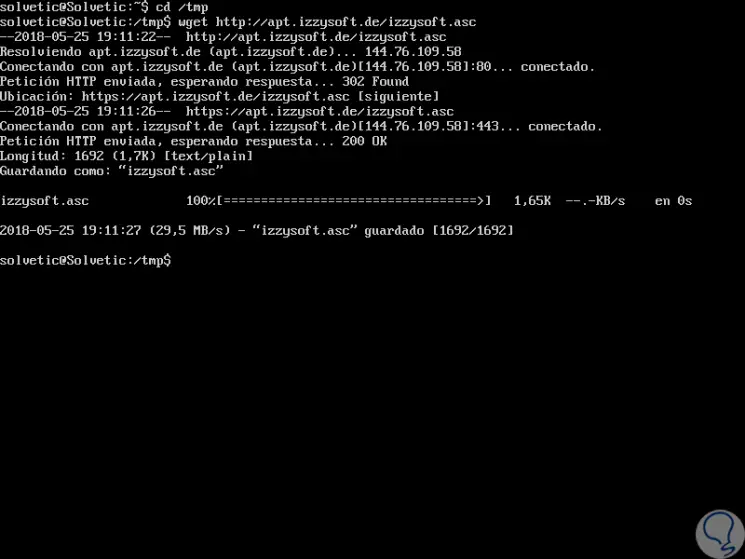
It will be possible to download the key directly from " http://apt.izzysoft.de/izzysoft.asc " using wget by running the following commands:
sudo apt-get -y install wget (In case you don't have wget installed)
cd /tmp
wget http://apt.izzysoft.de/izzysoft.asc
Step 2
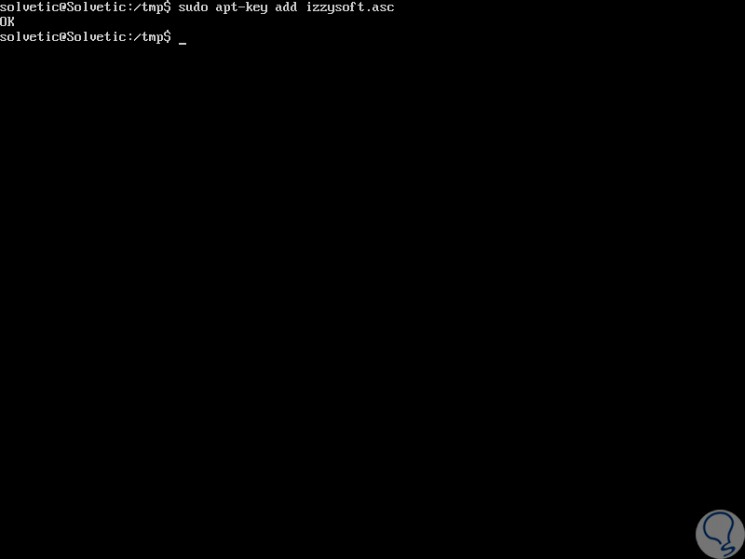
Now, we will go to the directory where the .asc file has been saved and we will execute the following command:
sudo apt-key add izzysoft.asc
Step 3
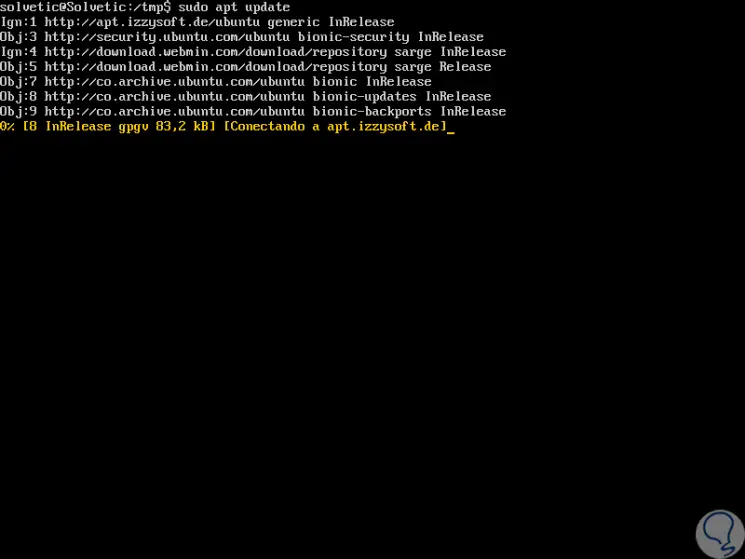
We proceed to update the packages in Ubuntu 18.04:
sudo apt update
4. Install Monitorix on Ubuntu 18.04
Step 1
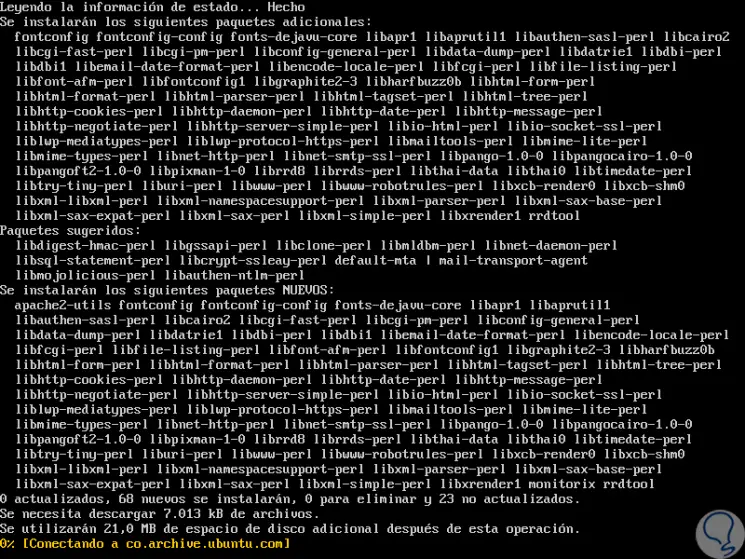
The time has come to install Monitorix on Ubuntu and for this we will run the following line:
sudo apt -y install monitorix apache2-utils
5. Configure Monitorix on Ubuntu 18.04
Step 1
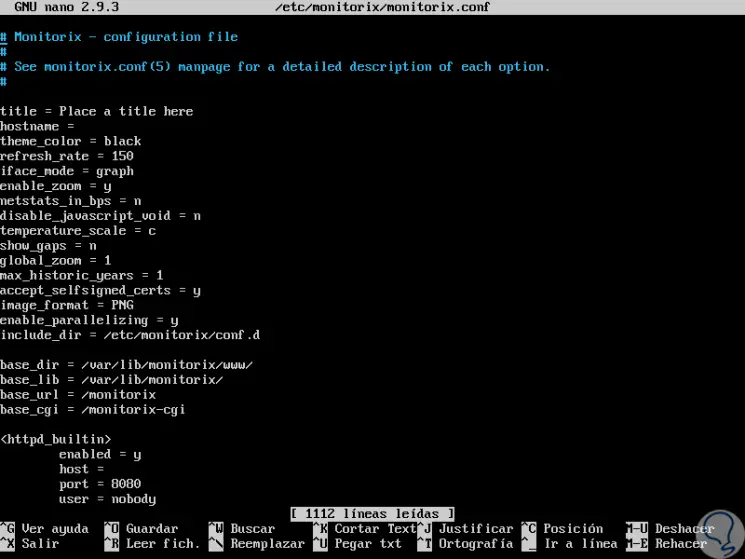
The Monitorix configuration file is in the path /etc/monitorix/monitorix.conf and we can access it using some editor like this:
sudo nano /etc/monitorix/monitorix.conf
Step 2
There we will locate the following section:
<auth> enabled = n msg = Monitorix: Restricted access htpasswd = /var/lib/monitorix/htpasswd </auth>
Step 3
We will change the line "enabled = n to enabled = y": 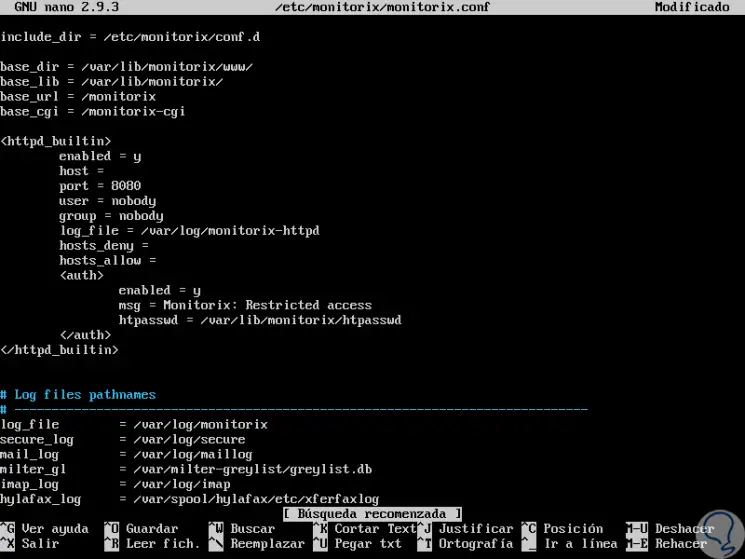
Step 4
We save the changes using the following key combination:
+ O Ctrl + O
We leave the editor using:
+ X Ctrl + X
Step 5
Once this is done we will restart the Monitorix service using:
sudo service monitorix restart
Step 6
Now, we are going to add a username and password for the Monitorix login. In this case we will use the username "admin" with its respective password: 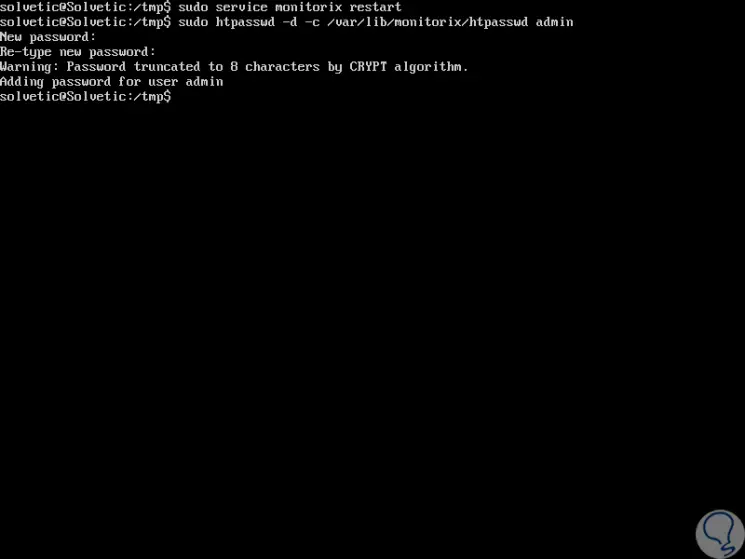
6. Access Monitorix on Ubuntu 18.04
Step 1
To access Monitorix we go to any browser and use the following syntax:
http: // IP_address: 8080 / monitorix /
Step 2
It will be necessary to enter the credentials that we created in the previous step:
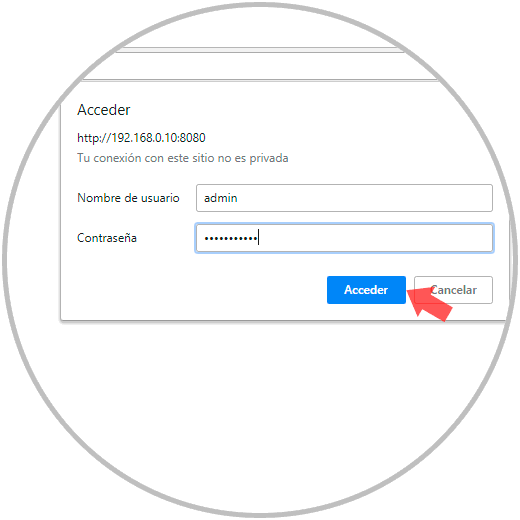
Step 3
Click on the "Access" button and this will be the initial Monitorix environment:
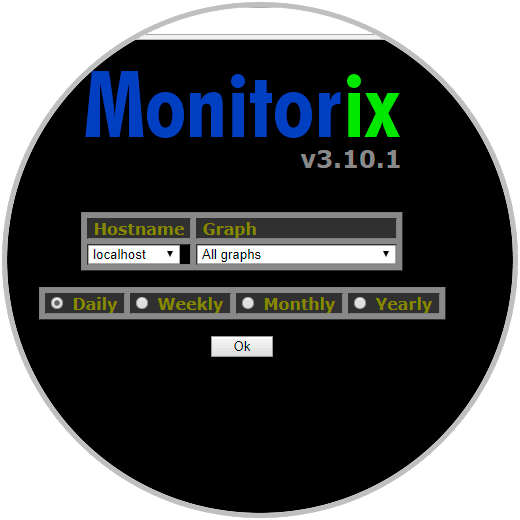
Step 4
There we can select the frequency of time to display by activating the respective box and once selected click on Ok to access the graphics: 
Step 5
There we can scroll to the bottom to obtain graphs as indicated, for example:
File systems
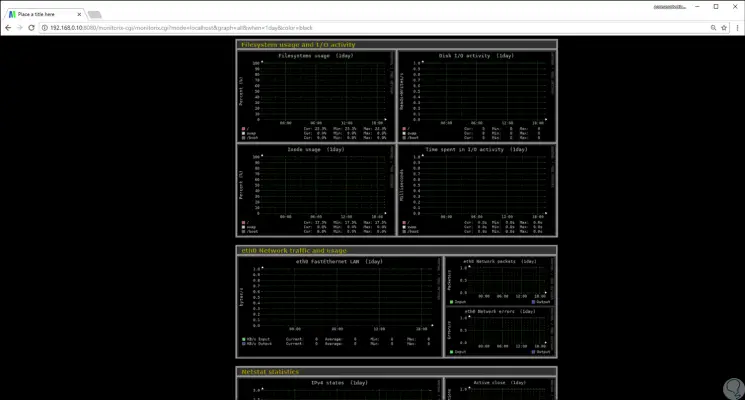
Network and services statistics
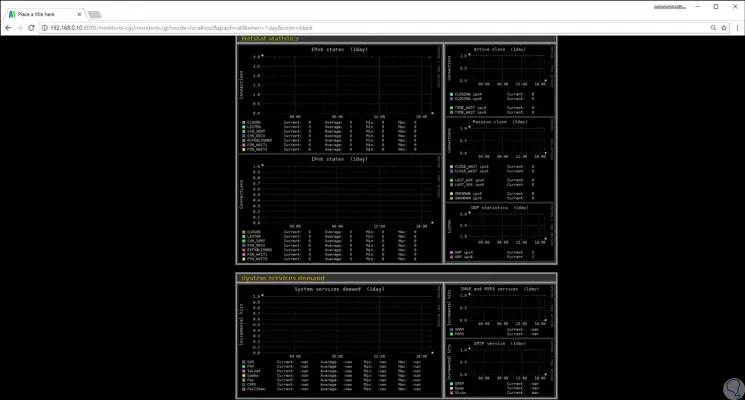
Step 6
If we want to see a particular graphic, just click on it so that it is displayed: 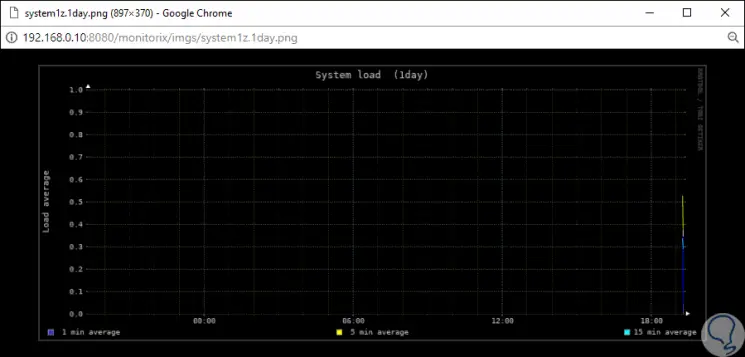
We can see how Monitorix is ​​a practical and simple tool to know in real time everything that happens within Ubuntu 18.04 and thus better manage our work.