Virtualization is one of the most useful mechanisms that as administrators we can use to implement new operating system environments, validate and test applications and check the impact that new changes will have without directly affecting the productive environment..
There are several practical utilities to perform these virtualization issues , but without a doubt that one of the most striking is Hyper-V developed by Microsoft and which is integrated as a feature of the system which we must enable. With the Hyper-V administrator , we will be able to make various changes to the virtual machines that are created with useful parameters both at the level of general configuration and development.
Among the new updates that hyper-V has suffered, we find the improved login which allows all actions of Cut (Ctrl + X), Copy (Ctrl + C) and Paste (CTRL + V) in the text and files ANSI are available on the Clipboard, and thus gives us the opportunity to use copy and paste commands for text files to and from the virtual machine improving the virtual machines experience..
Now, very recently, the Ubuntu development group, one of the most widely used distributions today, announced that an optimized image of Ubuntu Desktop is available in the Hyper-V gallery, specifically Ubuntu 18.04.01.
By making use of this optimized image of Ubuntu 18, we will have an optimal experience when running Ubuntu Desktop as a guest on a desktop host only with Windows 10 Pro edition. Because it was decided to launch and integrate this optimized image of Ubuntu 18.04 and not others, It is because about 20% of total Ubuntu users do it virtually which has a high level of impact to have an image that has been optimized for use in a system that, as we all know, is not compatible with Linux applications and commands for its file system..
The Microsoft development group have worked with XRDP upstream with the aim of adding support for the enhanced session mode, which initially aims to provide better integration between a Windows host and the Ubuntu virtual machine that must be run on Hyper -V .. For this reason, a Hyper-V boot image of Ubuntu Desktop 18.04 LTS was created which includes pre-configured XRDP and thus take advantage of the improved session mode to take full advantage of all its functionalities.
Benefits
By using this optimized image, we will have benefits like.
- Enhanced clipboard integration
- Shared folders in order to facilitate the transfer of files from host to guest and vice versa
- Improved mouse experience, with which the mouse will move much better between the host and guest desktops
Another improvement of this optimized image is that Hyper-V users will be able to use hv_sock, which is a byte-based communication mechanism between the host and the guest offering a much higher bandwidth for interconnection. among them.
Now we will see how to create and install this Ubuntu 18 machine optimized in Hyper-V.
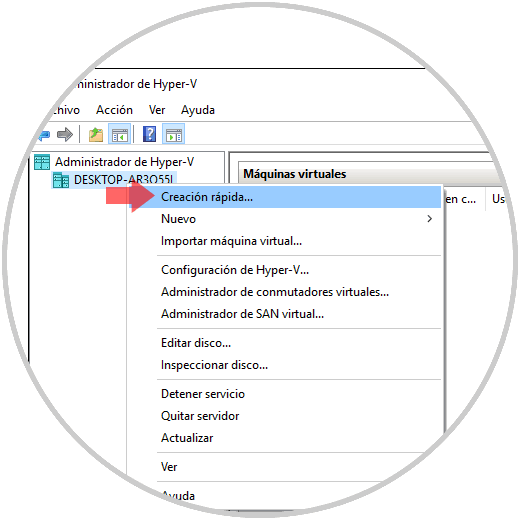
1. How to access Hyper-V Manager to create the Ubuntu image
Step 1
The first step is to access the Hyper-V Administrator and there select the Quick Creation option which can be executed in the following ways:
- By right clicking on the local computer and selecting Quick Creation
- Go to the Action / Quick Creation menu
- By clicking on the Quick creation option located on the right side
Step 2
When you do this, the following will be displayed:
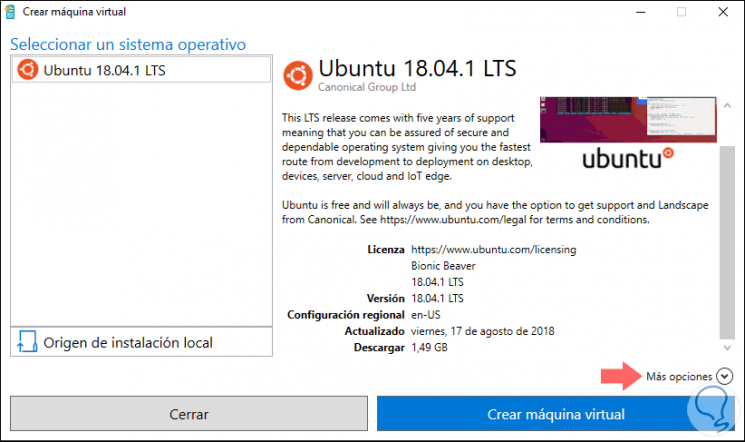
There we find the optimized image of Ubuntu 18, version 04.01 available, and we find details of this as:
Step 3
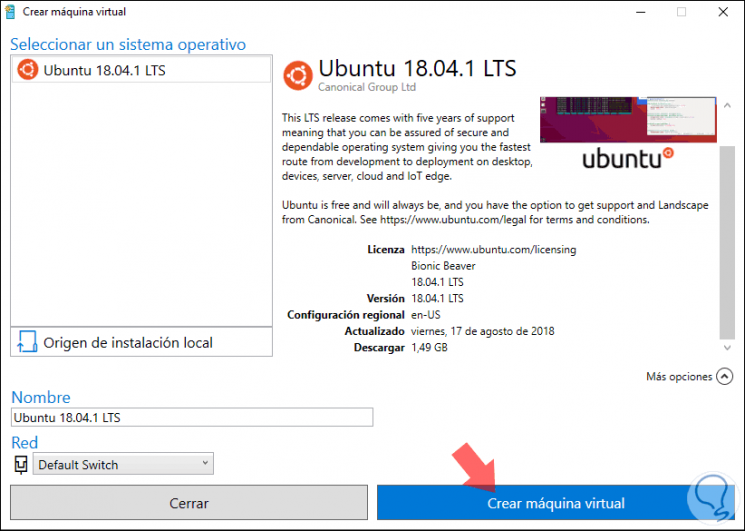
We can click on the More options line to define parameters such as:
- Network adapter where it is to be connected
Once this is defined, click on the "Create virtual machine" button
Step 4
It will start the process of downloading the image of Ubuntu 18.04.01:
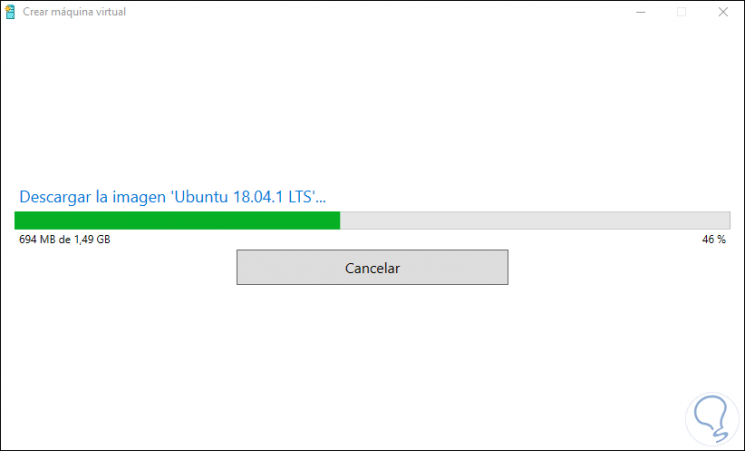
Note
This image is not available as an ISO for individual download, only through Hyper-V.
Step 5
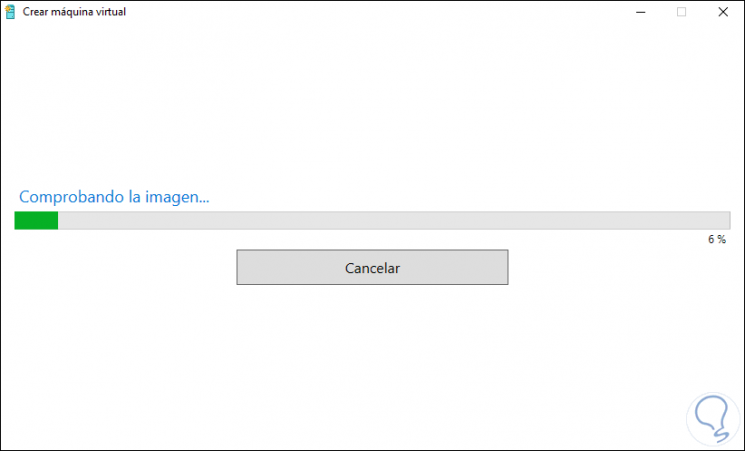
Once the download process is finished, its integrity check will be executed:
Step 6
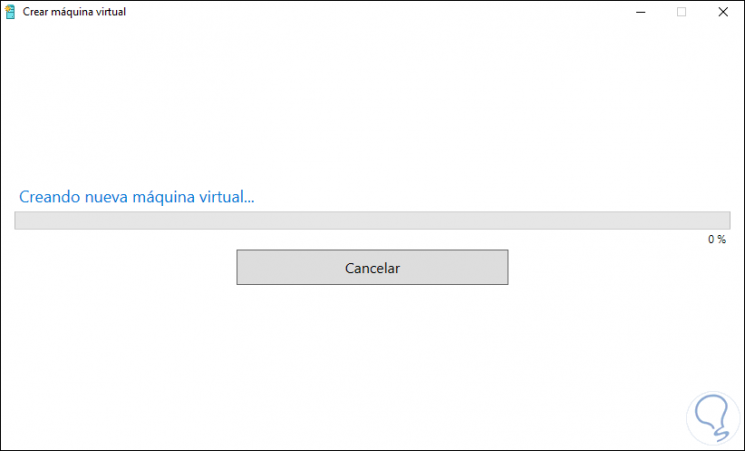
After this, the process of creating the virtual machine of Ubuntu 18.04 in Hyper-V will automatically start:
Step 7
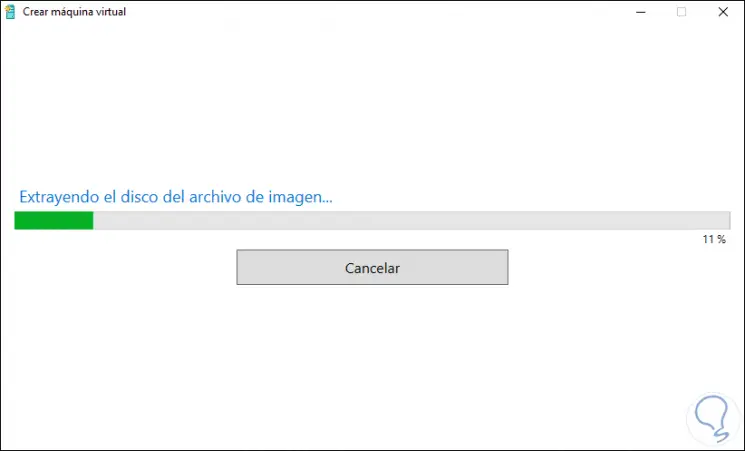
We will see that the image of the downloaded disk is extracted:
Step 8
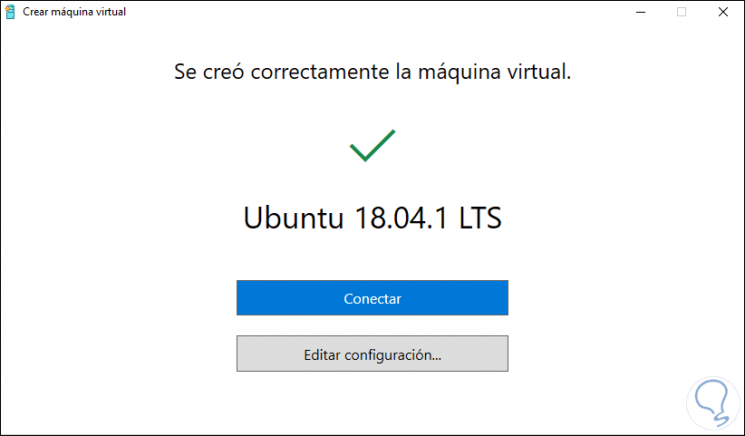
Once this is finished, the following message will be displayed:
2. How to verify that the Hyper-V virtual machine has been created Ubuntu
Step 1
We can verify that the Hyper-V virtual machine has been created correctly in Hyper-V Manager:
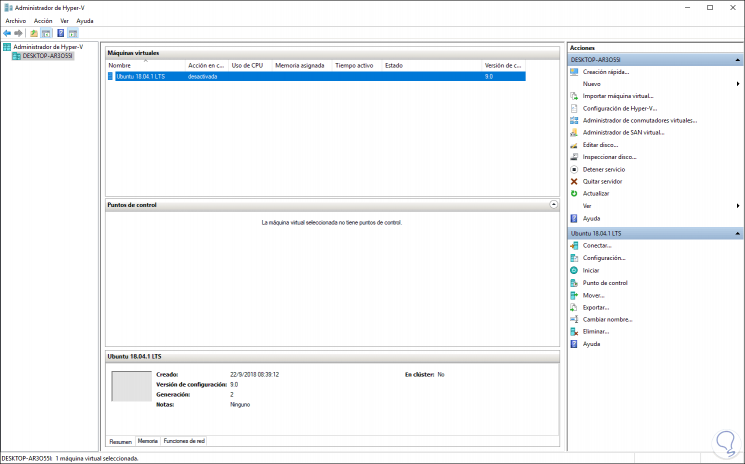
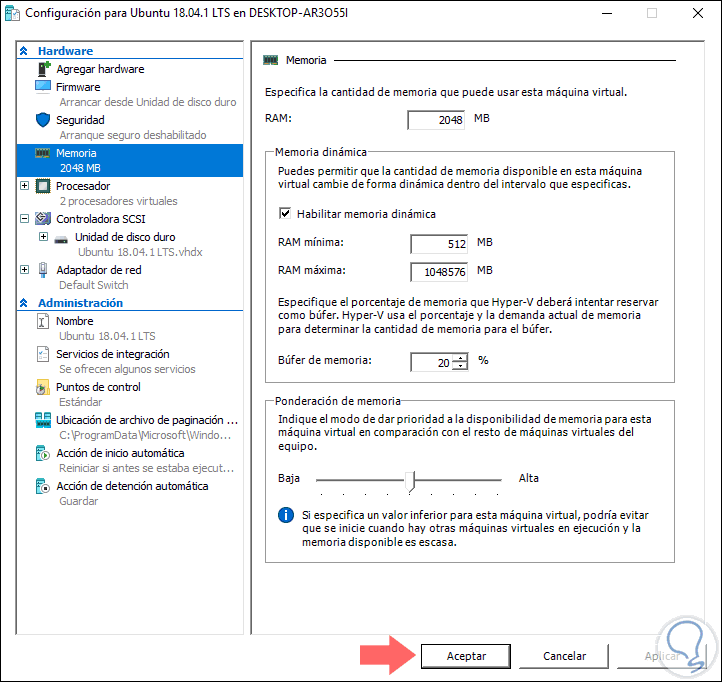
Step 2
We can click on the Edit configuration button to establish the values ​​that we consider necessary for the virtual machine such as processors, memory, disk, etc. Once these values ​​are defined, click on OK to save the changes and click on the Connect option to access our virtual machine with Ubuntu 18.04:
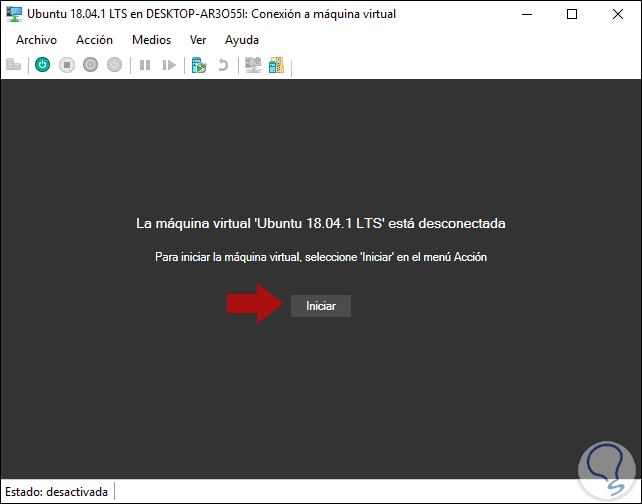
Step 3
We click on the "Start" button and the virtual machine connection process will start:
Step 4
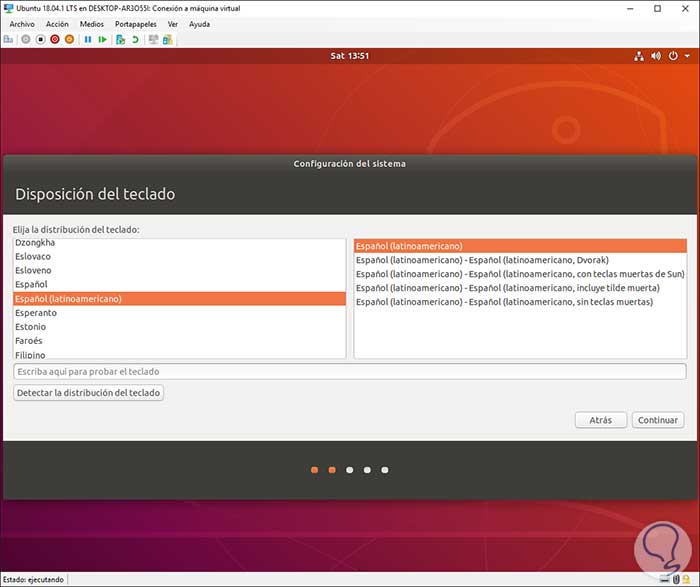
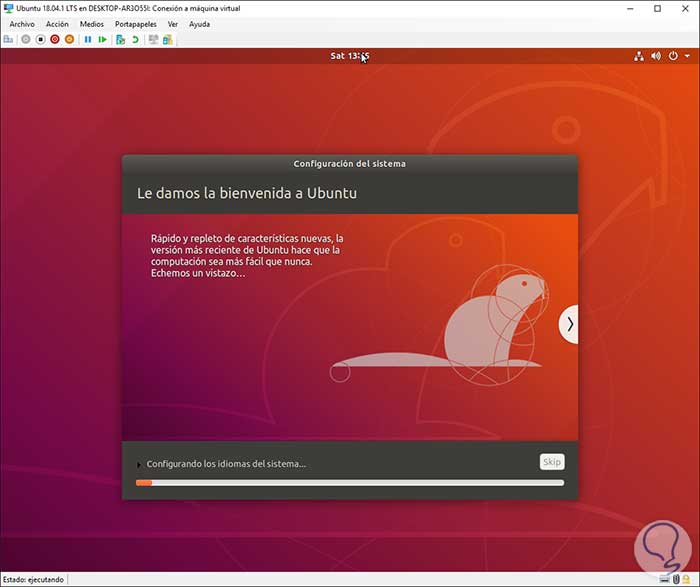
Once the machine connects we will be facing the already known initial configuration of Ubuntu 18:

Step 5
There we define the desired language and then define keyboard values:
Step 6
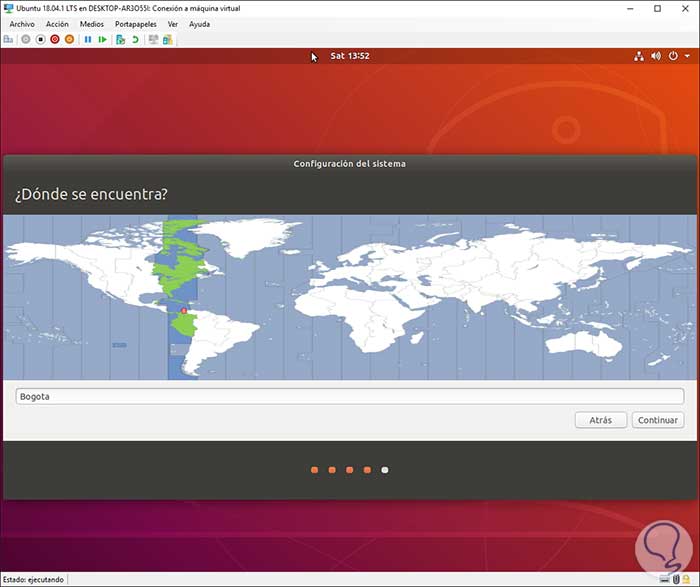
Then we define our geographical location:
Step 7
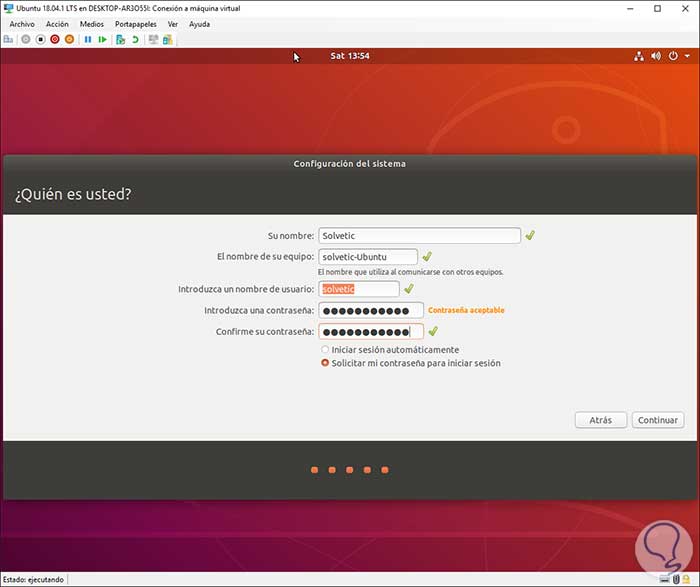
The next step is to create users and password to access the system:
Step 8
Click on Continue and the process of installing Ubuntu 18.04 optimized on Hyper-V will begin:
Step 9
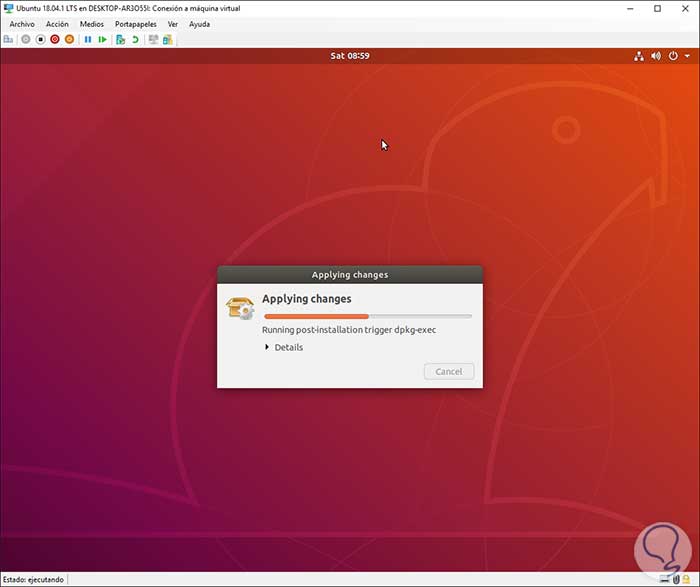
Finally we will see that the changes must be applied:
Step 10
The system must be restarted to complete the installation changes and we will verify that the enhanced login is enabled since the following window is displayed where it is possible to define screen parameters:
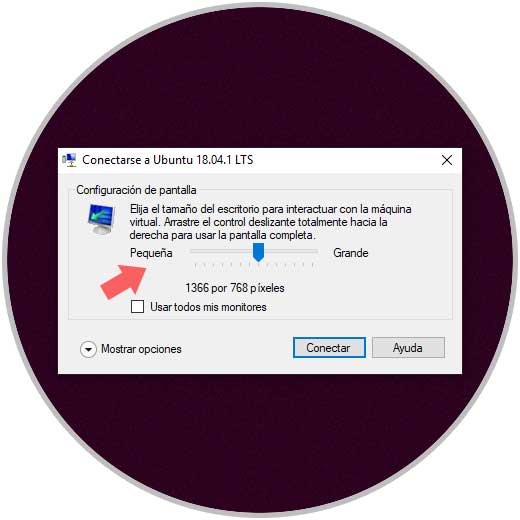
Step 11
There it is possible to resize the screen according to the criteria to be used, click on Connect and we will be redirected to XRDP and enter the credentials created in the process:
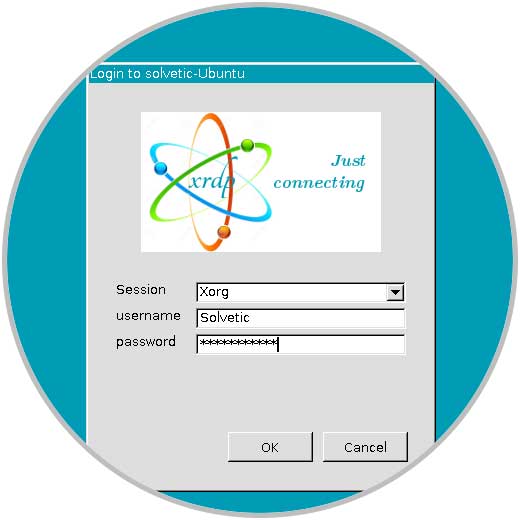
Step 12
Click on Ok and so we will access the improved session of Ubuntu 18.04 in Hyper-V:
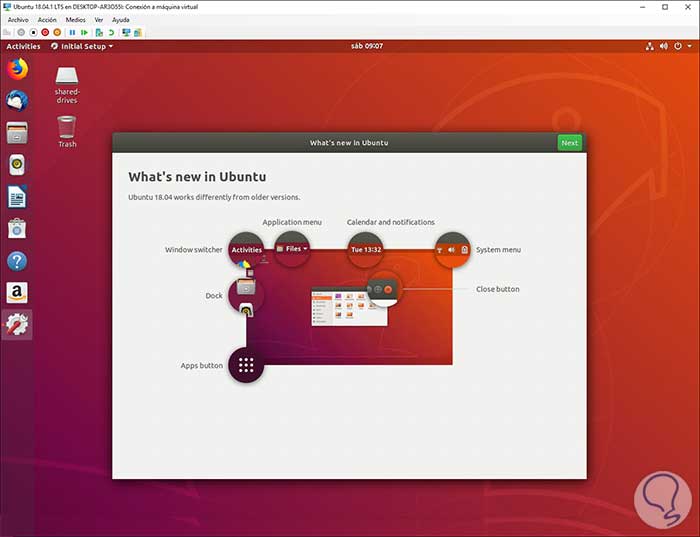
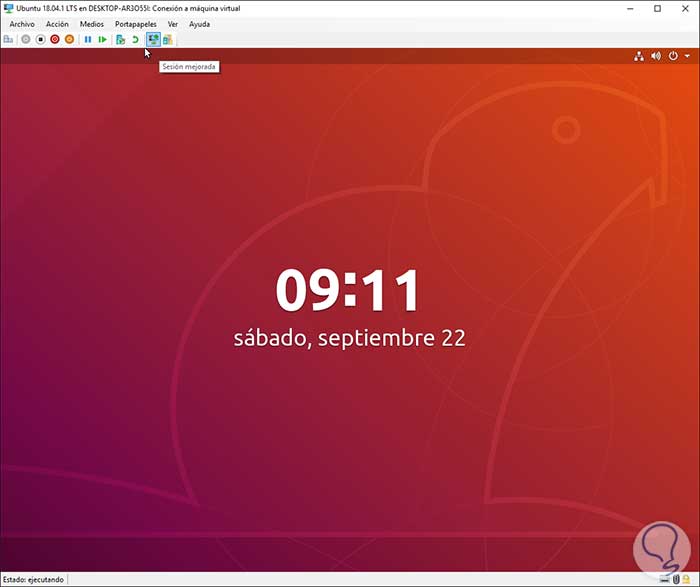
Step 13
If we click on the improved session icon, we will return to the normal virtual machine session, when we pass the mouse there we will see that we will go to the basic session:
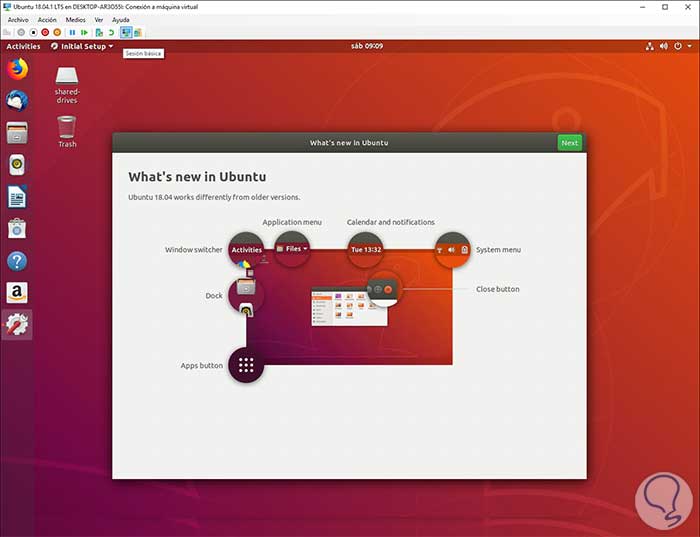
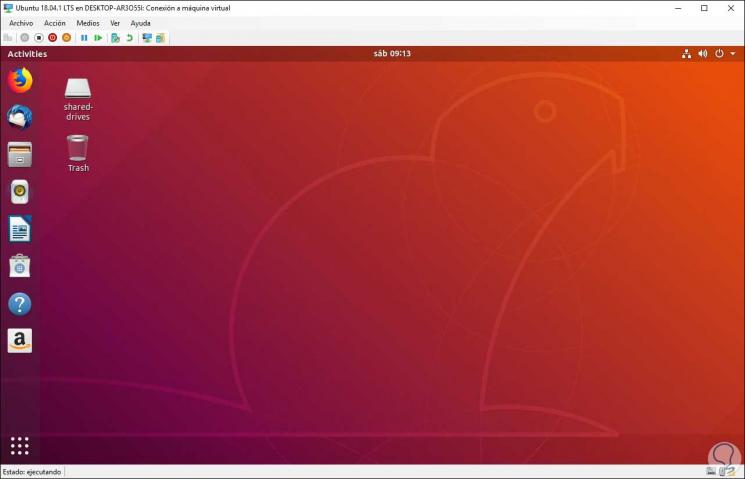
Step 14
Then it will be possible to go back to the enhanced session by clicking on the same icon:
Step 15
When accessing in enhanced session we will have improved experience options such as:
- No mouse capture by the virtual machine
- Option to resize the machine
- Possibility to copy and paste between host and guest
We have seen how it is possible to make use of this new optimized image of Ubuntu 18.04 to have the best benefits of virtual machines and thus make the most of them.