Virtualizing in Hyper-V is one of the best options we have to prevent our physical equipment from suffering errors in case we want to try a new operating system, whether it is just launched or in beta. This is because it can still be an unstable system. In addition, with virtualization we can check in real time the behavior and compatibility of the applications, either with a new system or in an architecture to be implemented..
Hyper-V is developed by Microsoft and is integrated into the features of Windows 10, to know how to enable Hyper-V you can go to the following link:
characteristics
Some of its main characteristics are:
- Ease and tools to move virtual machines between different nodes
- It allows adding or removing “hot” storage without having to turn off the virtual machine
- Run multiple machines on a single computer
- Storage Spaces Direct enhancements
- Option to use the Windows Admin Center
Ubuntu has launched its next version of Ubuntu in beta, which is Ubuntu 21.04 Hirsute Hippo, which is available for download at the following link:
Ubuntu 21.04
What better way to try Ubuntu 21.04 in Hyper-V on Windows 10 and TechnoWikis will explain how to create an Ubuntu 21.04 virtual machine there.
How to install Ubuntu 21.04 on Hyper-V
Step 1
From the Start menu we access the Hyper-V Manager:
Step 2
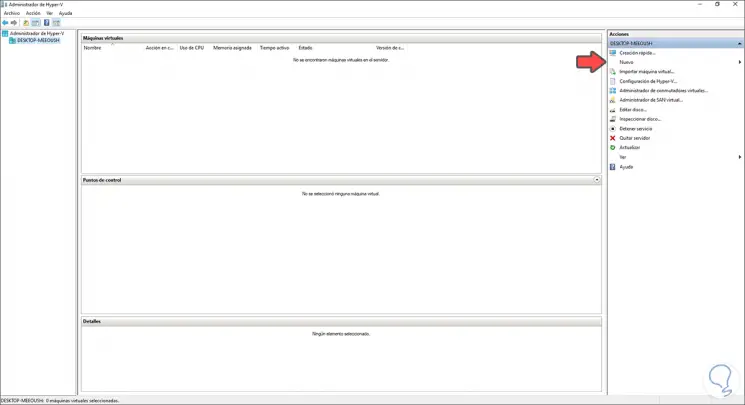
The following will open:
Step 3
We click on "New - Virtual machine" to launch the installation wizard:
Step 4
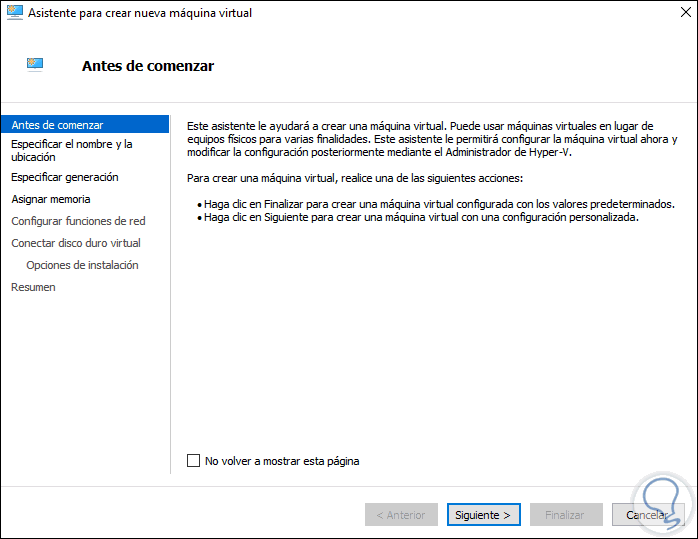
We click on Next and we will assign the name of the virtual machine and the path where it will be available:

Step 5
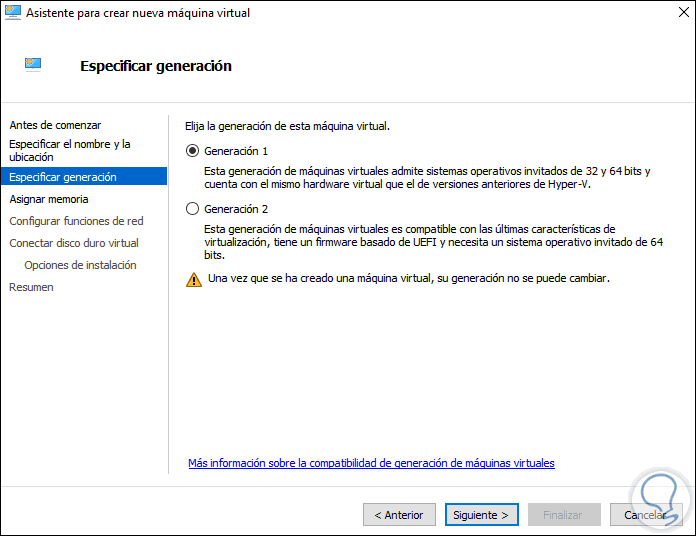
We click Next and now we select the generation to use:
- Generation 1 supports 32-bit and 64-bit systems as well as BIOS and UEFI
- Generation 2 only supports 64-bit and UEFI systems
Step 6
In the next window we assign the RAM memory to the virtual machine:

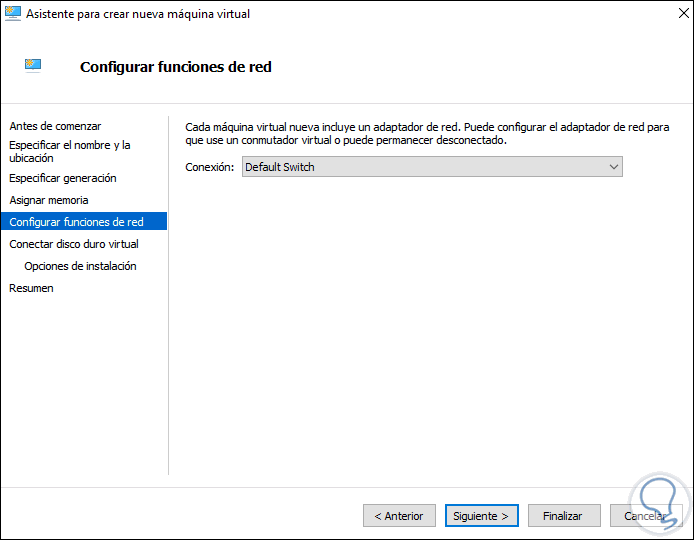
Step 7
In the next window we select the network adapter to use:
Step 8
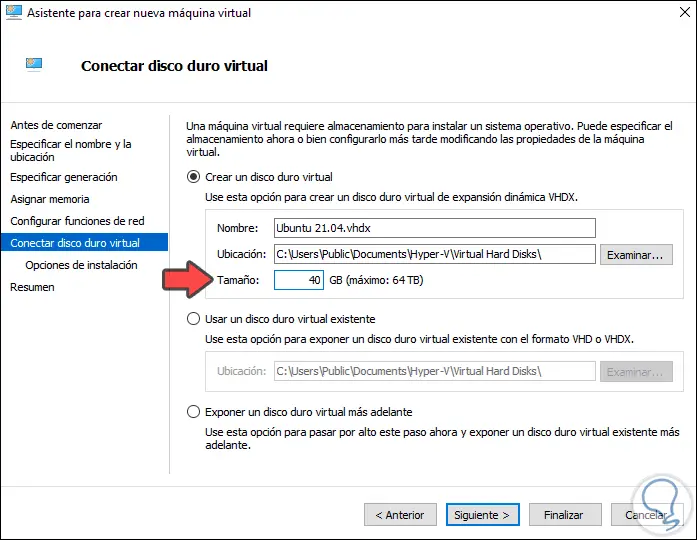
Click on Next we define:
- Virtual hard drive location
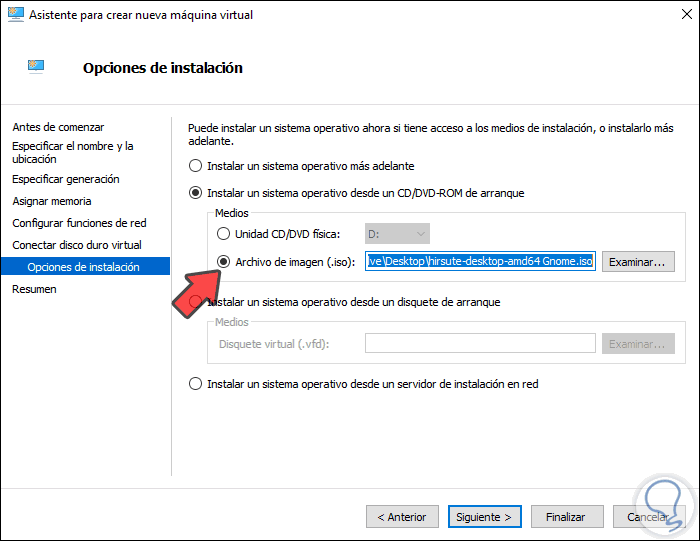
Step 9
Click on Next and here we activate the box "Install an operating system from a bootable CD / DVD-ROM" and then activate the box "Image file (.iso)":

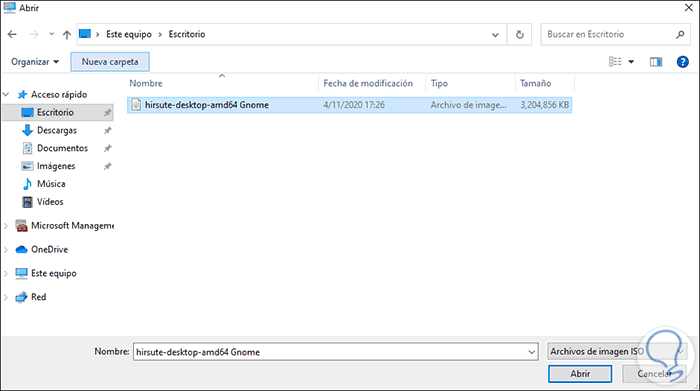
Step 10
We click on Browse and select the ISO image that we have downloaded:
Step 11
We click Open and we will see it integrated into Hyper-V:
Step 12
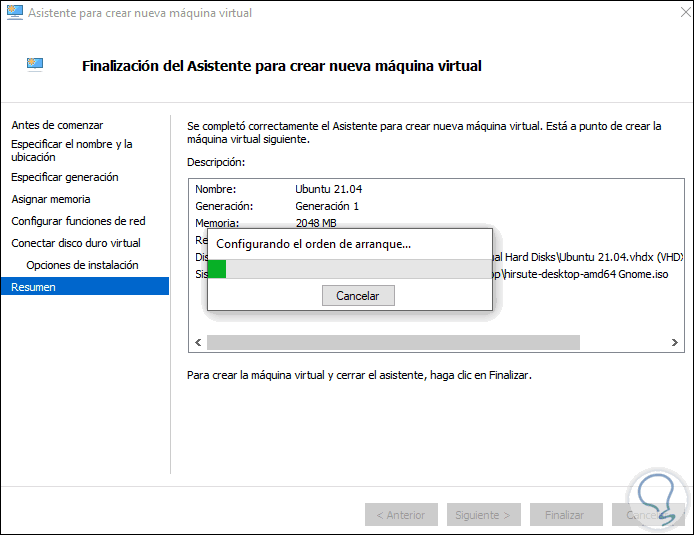
We click Next and we will see a summary of the Ubuntu 21.04 virtual machine to be created in Hyper-V:

Step 13
We click on "Finish" to complete the process:
Step 14
At the end we will see the virtual machine in the Hyper-V management console:
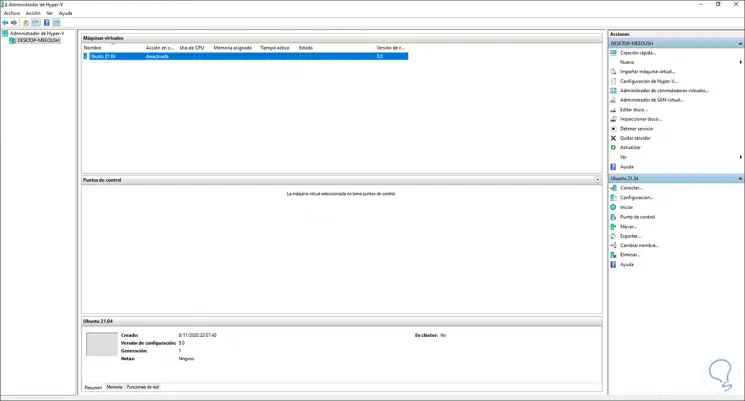
Step 15
We click on the "Connect" option and the following will open:
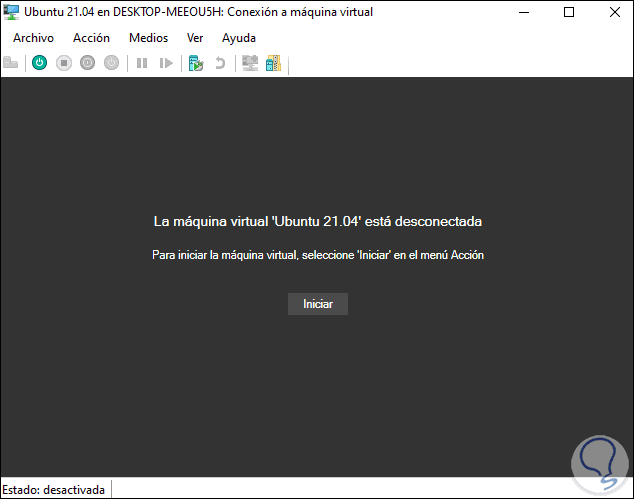
Step 16
We click on "Start" to begin the installation process:
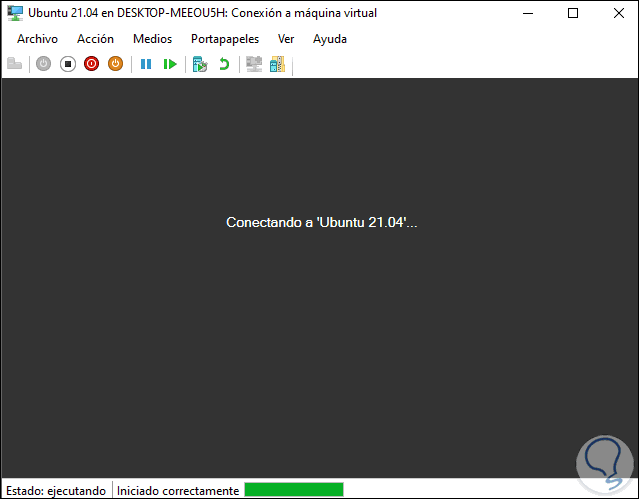
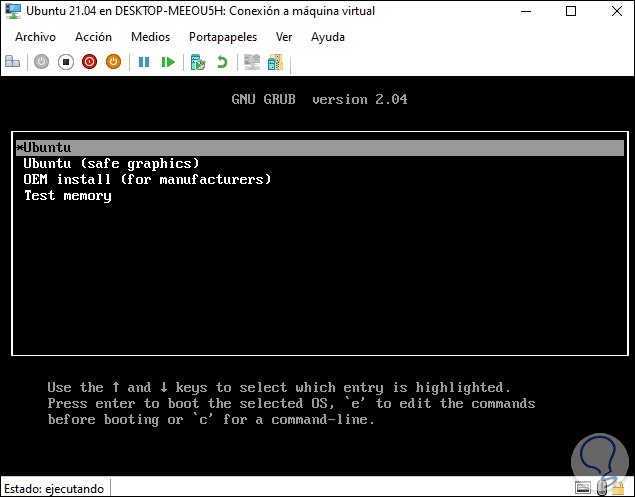
Step 17
When this is done we select "Ubuntu":
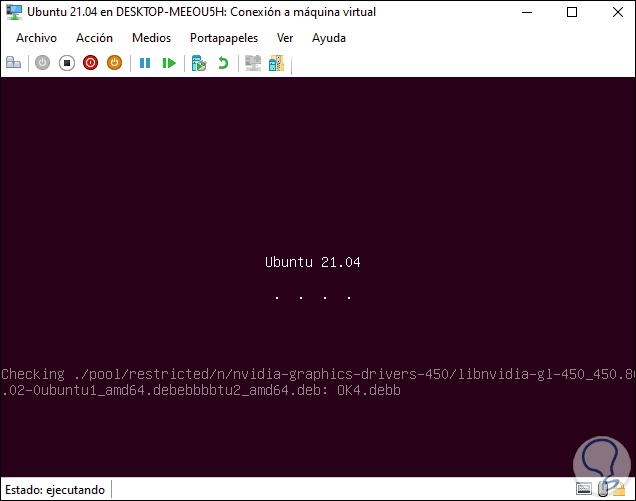
Step 18
The system will analyze the hard disk to validate its integrity:
Step 19
After this we select the language to install Ubuntu 21.04 and click on "Install Ubuntu":
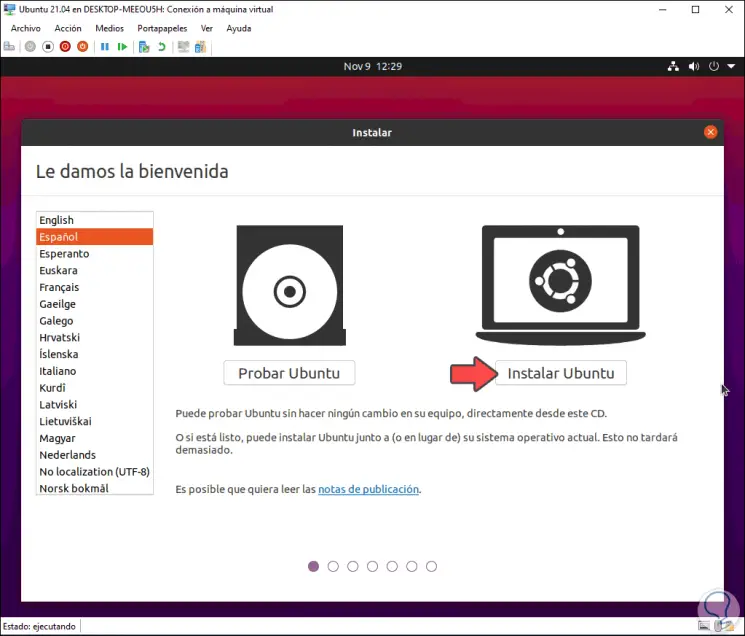
Note
It is possible to click on "Test Ubuntu" to know the system but this will not save anything we do.
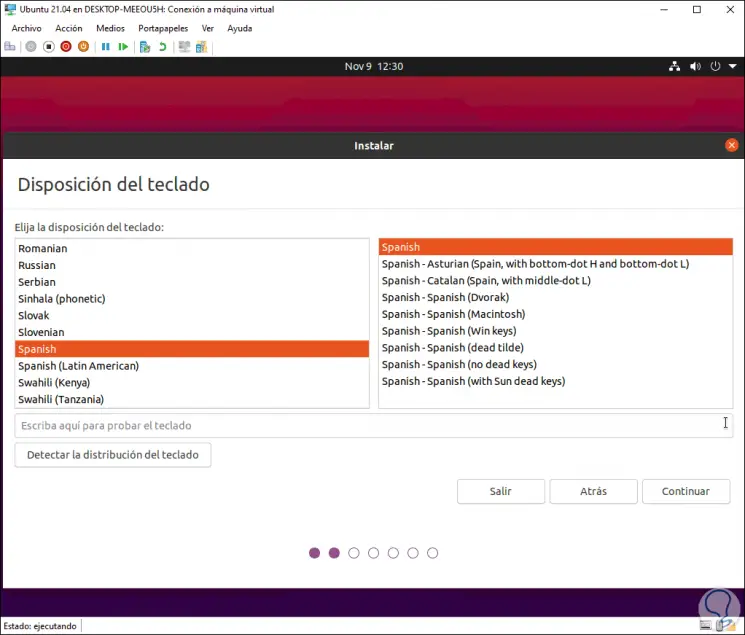
Step 20
Then we select the keyboard language:
Step 21
In the next window we define the type of installation and it is possible to download updates:

Step 22
Then it is possible to create partitions automatically or manually depending on the need:
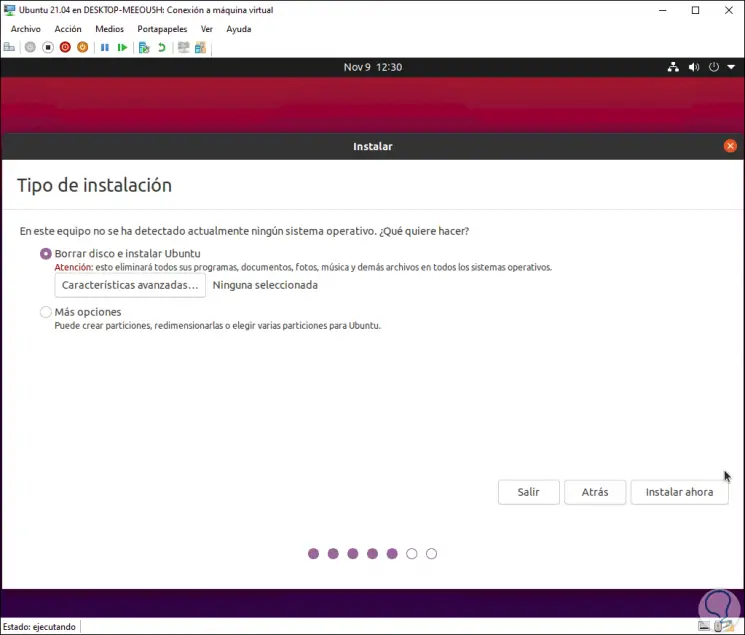
Step 23
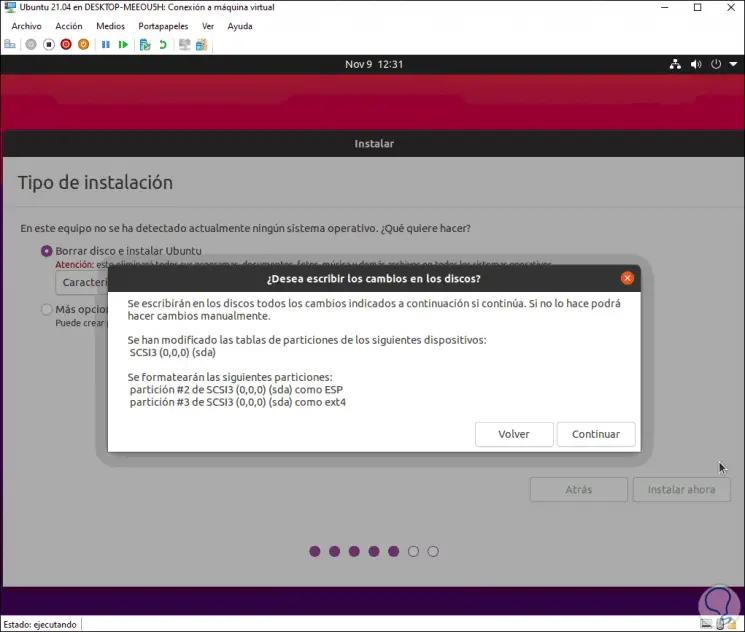
In "Advanced features" we can add extra security options, by clicking "Install now" we will see the scheme suggested by Ubuntu 21.04:
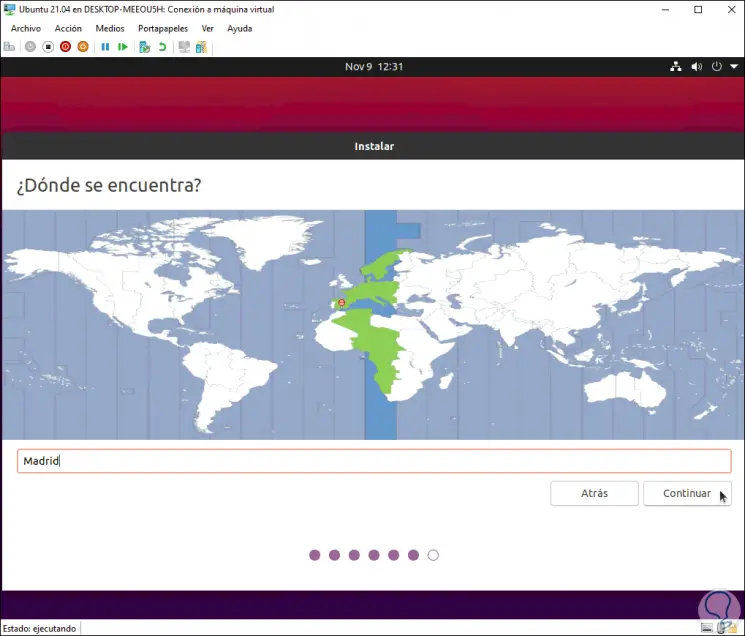
Step 24
If we agree, click on Continue and then select the geographical location:
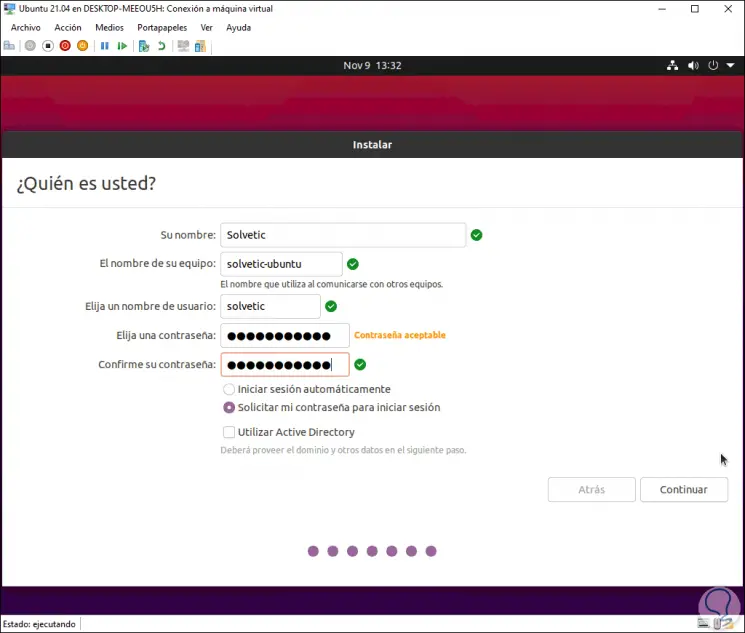
Step 25
Finally, we assign the name to the team and assign the credentials of the administrator user:
Step 26
We click on Continue and the installation process of Ubuntu 21.04 in Hyper-V will start:
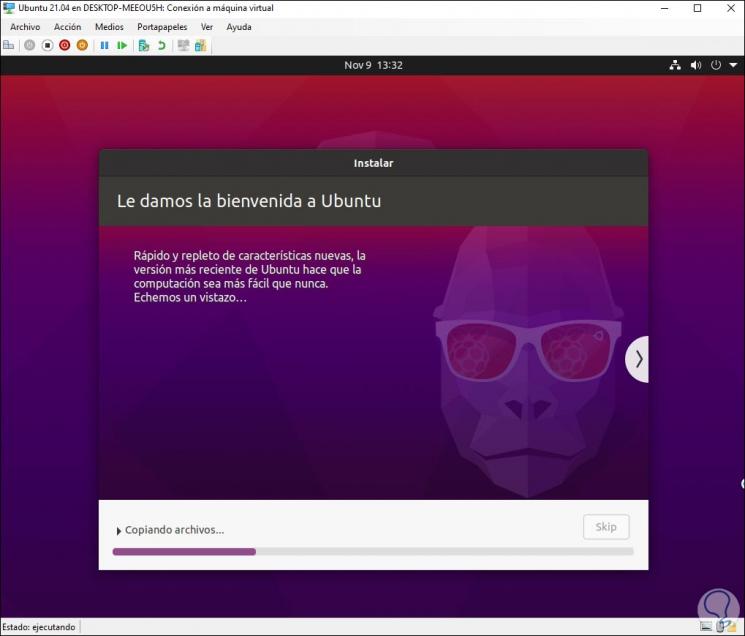
Step 27
Then the system installation process will proceed:
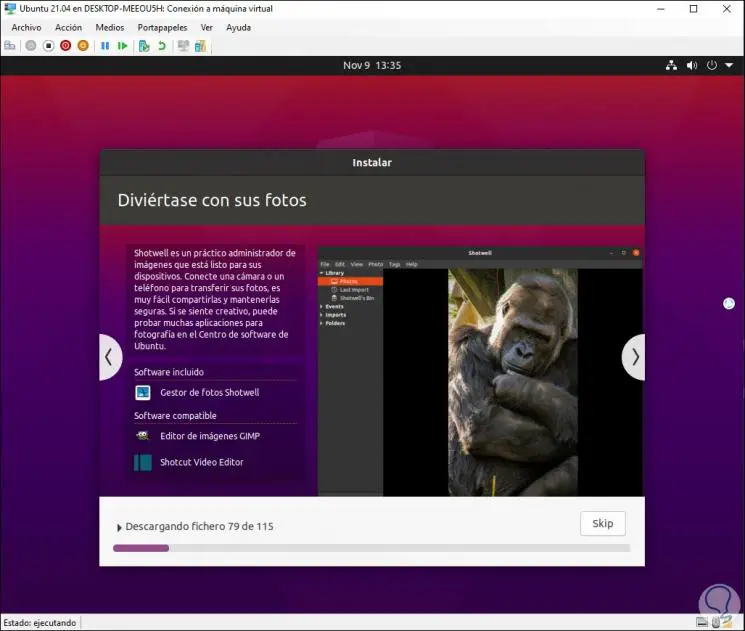
Step 28
At the end of this process we will see the following message:
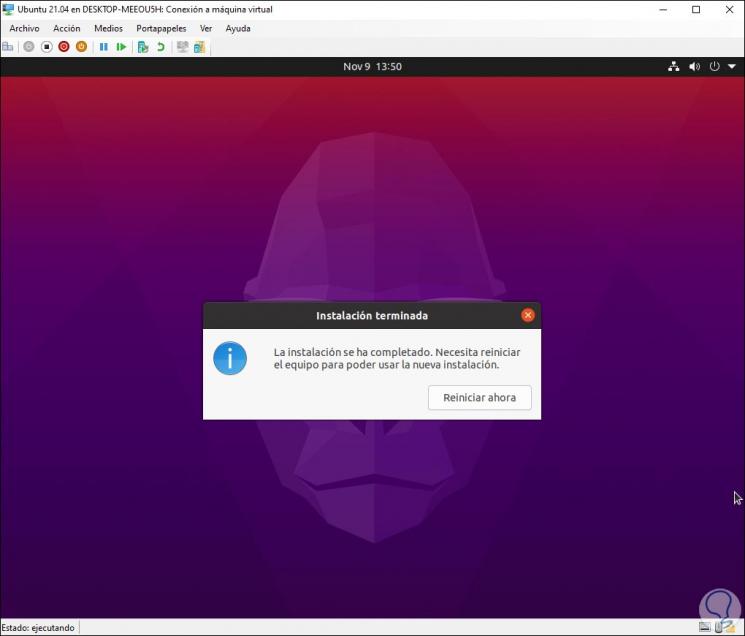
Step 29
We click on "Restart now" to complete the process:
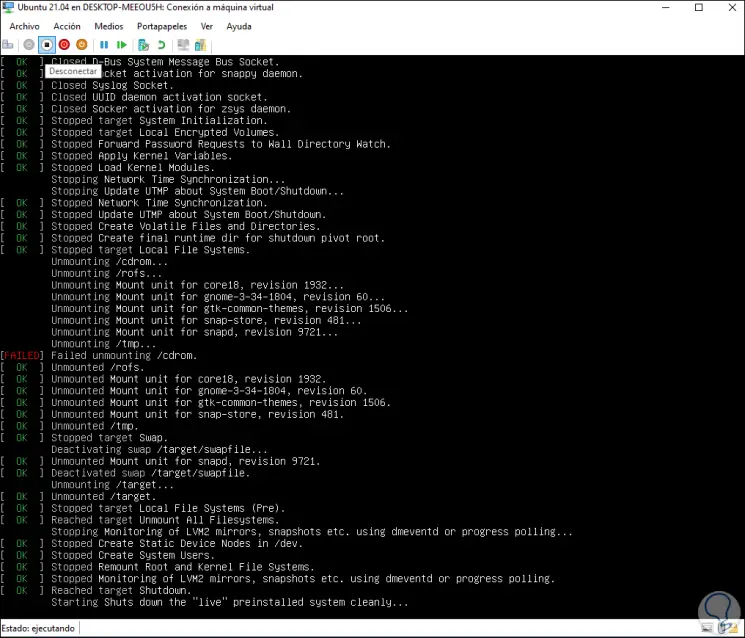
Step 30
Once the services are loaded we will see the Ubuntu login screen:
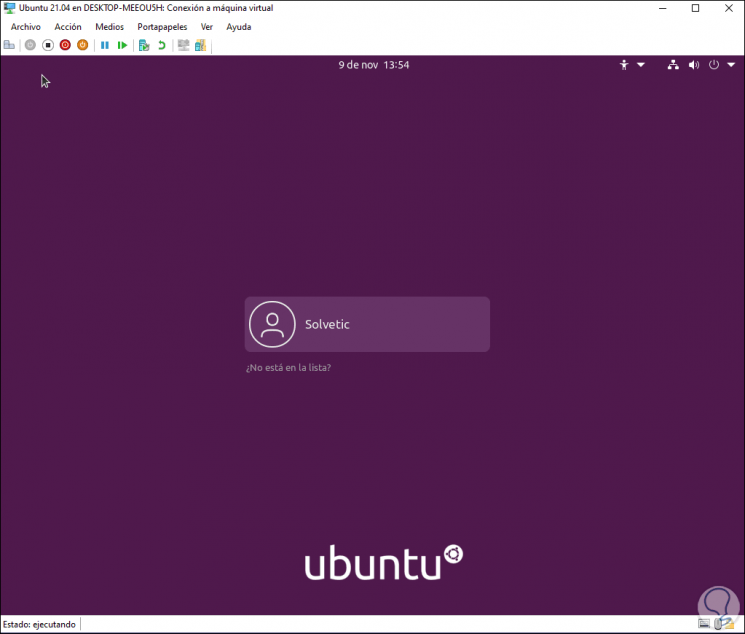
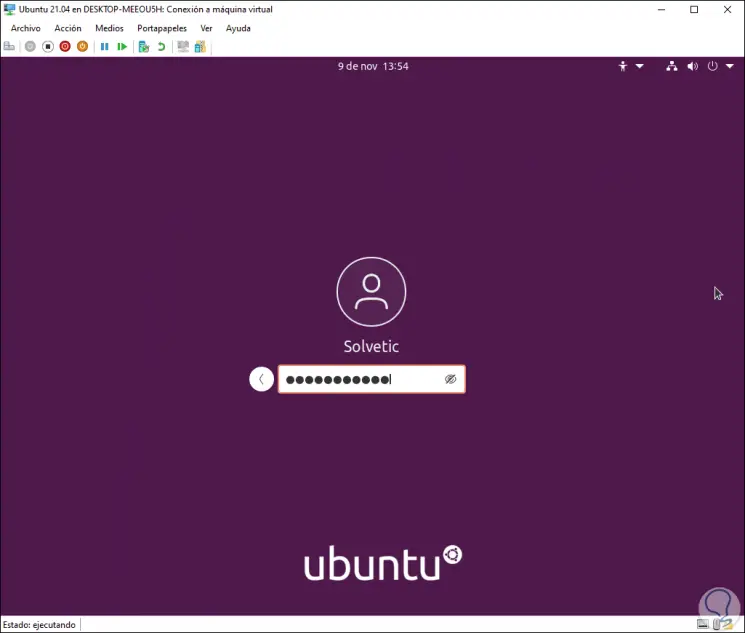
Step 31
We enter our password:
Step 32
When logging in we must complete the Ubuntu 21.04 configuration:
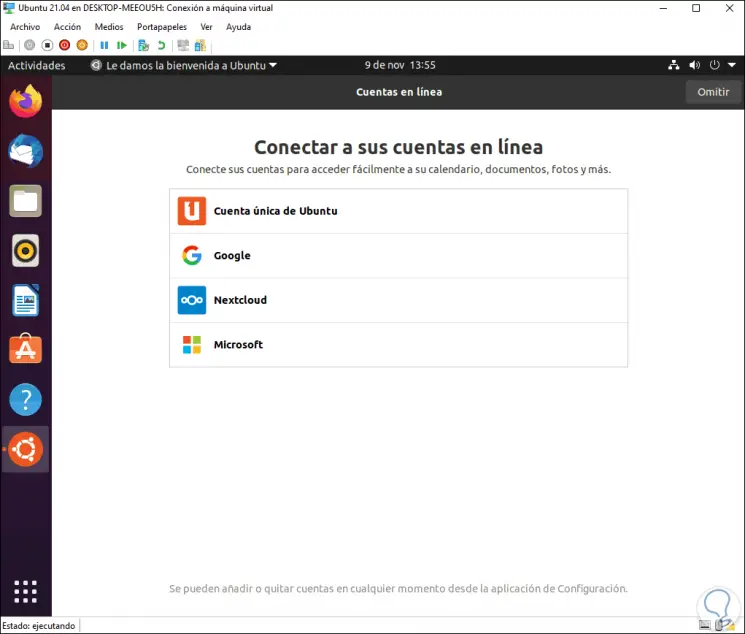
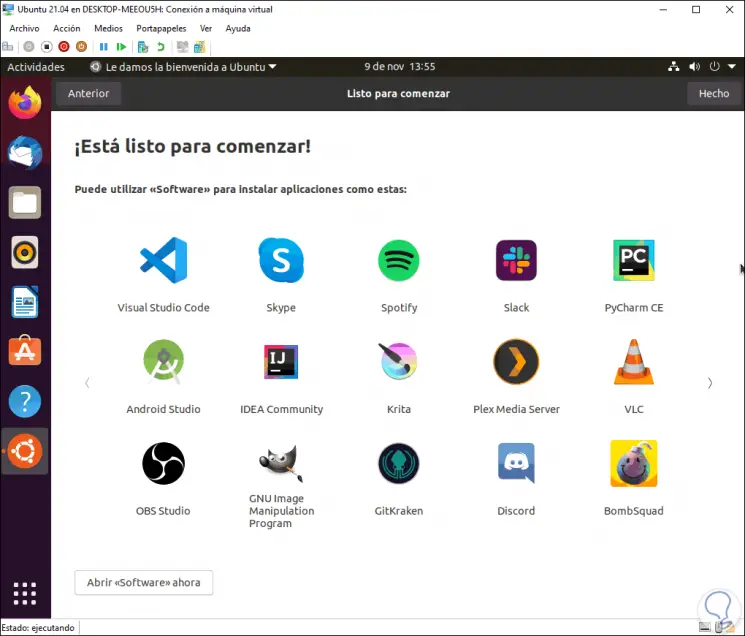
Step 33
We complete the different options:
Step 34
We validate the installed version of Ubuntu, for this we go to the terminal and execute:
lsb_release -a

Step 35
Now we can make use of the built-in Hyper-V options:
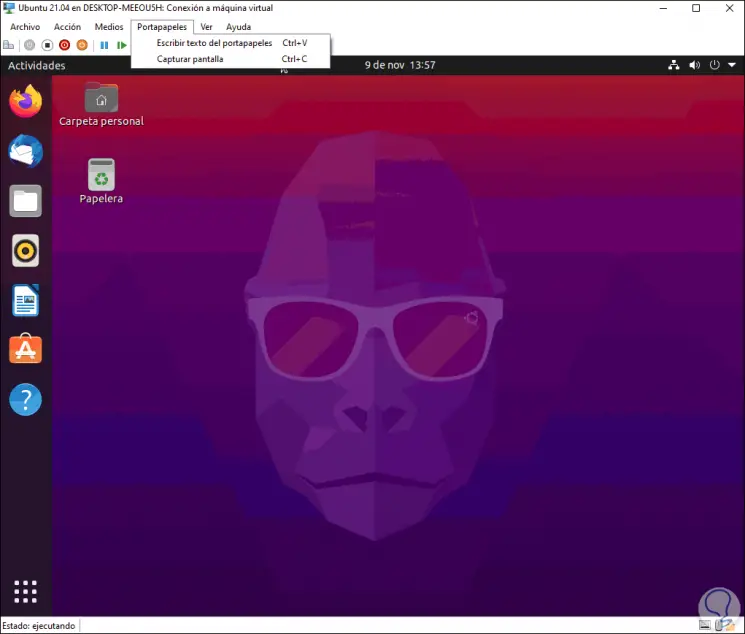
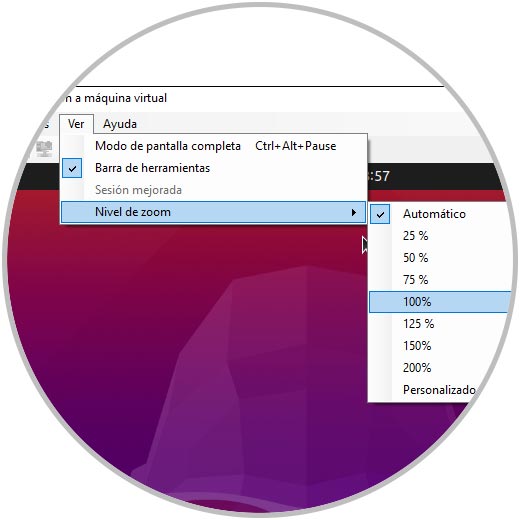
Step 36
From the View menu it is possible to adjust the zoom percentage level to view the Ubuntu 21.04 virtual machine in Hyper-V:
With this process, Hyper-V becomes a practical solution to install Ubuntu 21.04 and know each of its news and validate the impact it can have in a real environment..