In the current environments of the organizations there are certain parameters and pillars that are necessary for a correct administration of this and even more delicate to allow all the members of the company to have the way to communicate with each other effectively , in real time and with Total compatibility of your devices..
In this aspect, messaging applications that are developed with the objective of offering the best solutions in this field come into play and being much more than a simple message exchange app, they must have special functionalities to be the selected ones. In this area we have RabbitMQ which is a software platform whose objective is the intermediation of business messages and is offered free of charge and open source available to all users.
In this tutorial we will see how to install and configure RabbitMQ in two of the distributions best known to all, CentOS 7 and Ubuntu 17 ..
What is RabbitMQ
RabbitMQ is the most popular open source message broker we have today which has more than 30,000 implementations in various types of organizations worldwide.
RabbitMQ is a lightweight and easy to implement software both locally and in the cloud, it is compatible with multiple messaging protocols.
An ideal point of this application is that RabbitMQ can be run on many operating systems and cloud environments, offering a wide range of development tools available in multiple languages.
RabbitMQ is written in Erlang and implements the Advanced Message Queuing Protocol (AMQP). RabbitMQ supports multiple messaging protocols, message queues, acknowledgment, flexible routing for queues, multiple types of exchanges so that organizations have sufficient resources for the entire messaging issue..
With RabbitMQ we also have an easy-to-use HTTP API, command line tool and a web user interface for the correct administration of RabbitMQ parameters. Some of the cases where we can make use of RabbitMQ are the following.
Use of RabbitMQ
- Allow web servers to respond to requests quickly instead of performing resource-intensive procedures
- Distribute a message to multiple recipients
- Present fully asynchronous functionality to back-end systems
- Sort and prioritize tasks
- Balancing workloads among workers
- Increase application uptime
RabbitMQ works by using an interface which connects to the senders of messages (Editors) with the receivers (Consumers) through an exchange (Broker) which is responsible for distributing the data to relevant lists (Message queues).
RabbitMQ Features
Some of the features that we will see in RabbitMQ are:
- Asynchronous messaging: This type of messaging is capable of supporting multiple messaging protocols, message queues, acknowledgment, flexible queue routing, multiple exchange type and more.
- Development options: RabbitMQ can be implemented with BOSH, Chef, Docker and Puppet and, in addition to this, it will be possible to develop messages in several languages ​​with programming languages ​​such as Java, .NET, PHP, Python, JavaScript, Ruby, Go and many more.
- Distributed Deployment: RabbitMQ can be implemented as a cluster for high availability and performance of the data to be managed
- RabbitMQ supports TLS and LDAP which allows it to be implemented in public and private clouds
- Multiple tools: With this utility we have at hand a variety of tools and add-ons that support continuous integration, operational metrics and integration with other business systems thus increasing development and reach capacity.
- Management and Monitoring: RabbitMQ can be managed through an HTTP API, command line tool and UI.
1. How to install RabbitMQ on CentOS 7
Now we will see how to install RabbitMQ on CentOS 7.
Upgrade system
The first step to take will be to update the operating system packages, for this we will execute the following:
yum -y update
Step 1
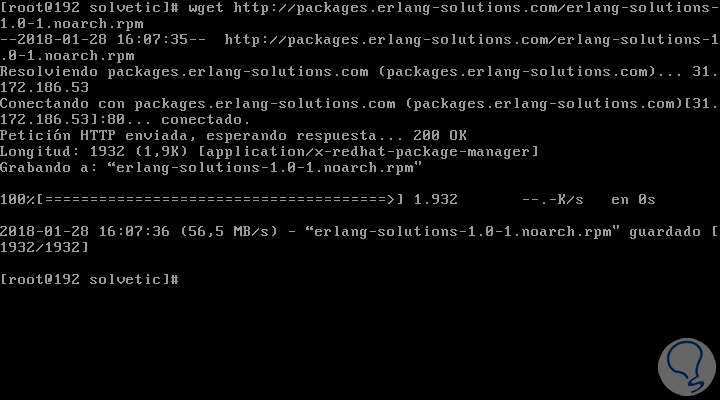
Erlang installation: RabbitMQ is written in the Erlang language, but Erlang is not available in the YUM repository by default, so it will be necessary to install the Erlang repository by running the following:
wget https://packages.erlang-solutions.com/erlang-solutions-1.0-1.noarch.rpm

Step 2
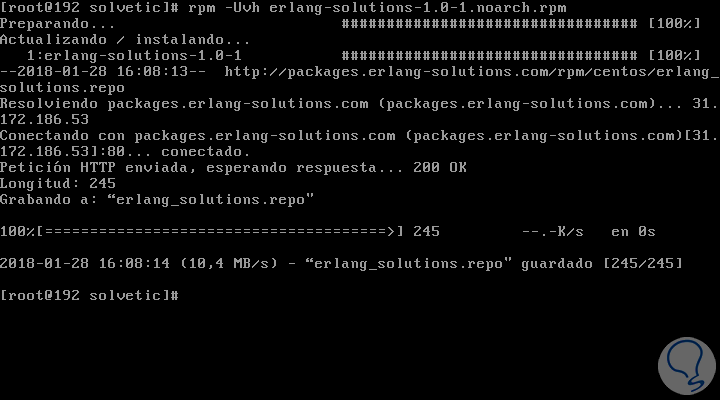
Now, we will download the Erlang RPM by running the following:
rpm -Uvh erlang-solutions-1.0-1.noarch.rpm

Step 3
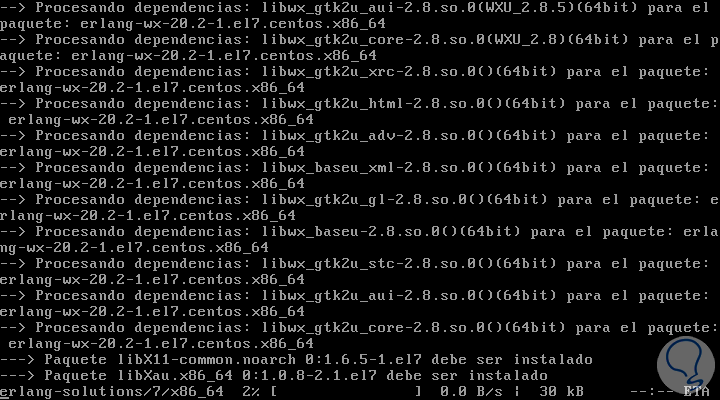
With this we can install Erlang by running the following:
yum install erlang

Step 4
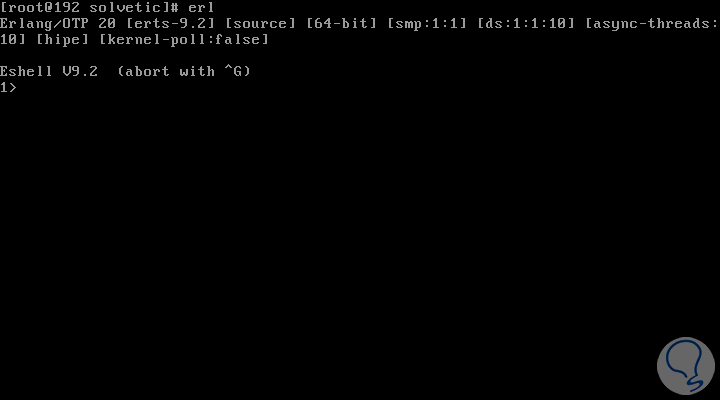
To verify the installation of Erlang just run the following command:
erl


Login Join up!