Security is one of the actions that should always be present not only in organizations but also on a personal level when we work with an operating system, and that is, although there are several tools to increase security and privacy during the use of a system , the operating system itself includes an extra function such as the firewall..
The essential function of a firewall is to create and manage inbound and outbound rules in order to protect the entire network connection process. Thus, suspicious or unreliable packages are prevented from entering our computer and causing some kind of damage such as malware insertion or information hijacking.
When we work with Linux systems, one of the safest, we have open source utilities that help us make this protection process much more complete and one of these utilities is Firewalld. TechnoWikis will explain what Firewalld is and how we can install it and use it in two of the most commonly used distributions such as CentOS and Ubuntu ..
Note
The configuration process is identical for both systems
What is Firewalld?
Firewalld (firewall daemon), is a utility whose purpose is to deliver a dynamically managed firewall which has support for network zones in which the level of trust of the network connections or interfaces to be used is defined, Firewalld is compatible with the IPv4 addresses, IPv6 firewall configuration, Ethernet bridges and groups of IP addresses.
Firewalld offers us an interface for services or applications in order to add firewall rules directly thus facilitating control tasks. One of the main advantages of using Firewalld is that all the changes to be made can be made in real time on the execution environment without having to restart the service or Daemon as with many utilities.
Firewalld integrates a D-Bus interface which is capable of managing the services, applications and administration of the firewall configuration, this interface can be integrated with the configuration tools such as firewall firewall-cmd, firewall-config and firewall-applet..
Firewalld features
Some of the features we find when using Firewalld are:
- Compatibility with IPv4, IPv6, bridge and ipset.
- Compatibility with IPv4 and IPv6 NAT.
- Firewall or firewall areas.
- Simple service, port, protocol, source port, masking, port forwarding, icmp filter, rich rule, interface and source address control in the areas used.
- Direct interface for management.
- Blocking function which creates a white list of applications that can modify the firewall.
- Automatic loading of Linux kernel modules.
- Timed firewall rules in zones.
- Simple registration of denied packages.
- Graphical configuration tool using gtk3.
Distributions
The basic distributions in which Firewalld can be implemented are:
Applications
Applications and libraries that support firewalld as a firewall management tool have:
It is important that before going into detail on how to install and use Firewalld we know a little more about it, Firewalld is composed of three layers that are:
- Main layer (core layer) which handles the configuration and services such as iptables, ip6tables, ebtables, ipset and the module loader.
- D-Bus interface: which is the main means to change and create the firewall configuration.
- Backends which allow you to interact with netfilter (the native kernel module used for firewalls) and some are counted as iptables, ip6tables, ebtables, ipset, nft, linnftables, etc.
The firewalld D-Bus interface is the most vital way to create and edit firewall settings. This interface is used by all the online tools integrated in firewalld such as firewall-cmd, firewall-config and firewall-applet, the firewall-offline-cmd line is not talking directly with firewalld, but it edits and creates the configuration files of firewalld directly through the firewalld core with the IO controllers.
The global firewalld configuration file is located in the path /etc/firewalld/firewalld.conf and the firewall functions are configured in XML format.
Firewalld makes use of zones which are the ones that define the level of trust that the network connection to use, the interface or source address link will have and the same zone can be used for many network connections, interfaces and sources.
The areas available in Firewalld are:
Drop
This is the zone with the lowest level of trust because all incoming packets are automatically rejected and only allows outgoing packets to be enabled.
Block
When using this zone, the level of trust is similar to Drop but only differs in that incoming packets are rejected using icmp-host-prohibited messages for IPv4 and icmp6-adm-prohibited for IPv6.
Public
With this zone the level of trust refers to untrusted public networks, so that it only accepts reliable connections.
External
It is the level defined when we use the Firewall as a gateway and its masking is enabled by routers.
DMZ
It is an area where the level of trust applies to equipment located in a DMZ zone (Demilitarized), this means that there is public access with restriction to the internal network. Only accept accepted connections.
Work
As the name implies, this level is used in work areas, allowing network equipment to access it.
home
By using this level we are talking about a home environment and most computers in the network are accepted
Internal
This type of level applies to internal networks so that all computers on the local network will be accepted.
Trusted
It means Trust, which implies that it is the highest level and relies on all incoming connections.
To configure or add zones, we can use any of the following available firewalld configuration interfaces:
- Firewall-config graphic configuration tool.
- Firewall-cmd command line tool.
- D-BUS programmatic interface.
- Create, copy or edit a zone file in one of the configuration directories such as: / etc / firewalld / zones for custom and user-created configuration files or / usr / lib / firewalld / zones for default and backup configurations .
1. How to install and manage Firewalld on Linux
Step 1
If CentOS 7 is used, the firewalld package is preinstalled and can be verified with the following command:
rpm -qa firewalld
In the case of Ubuntu we must install it with the following command:
sudo apt install firewalld
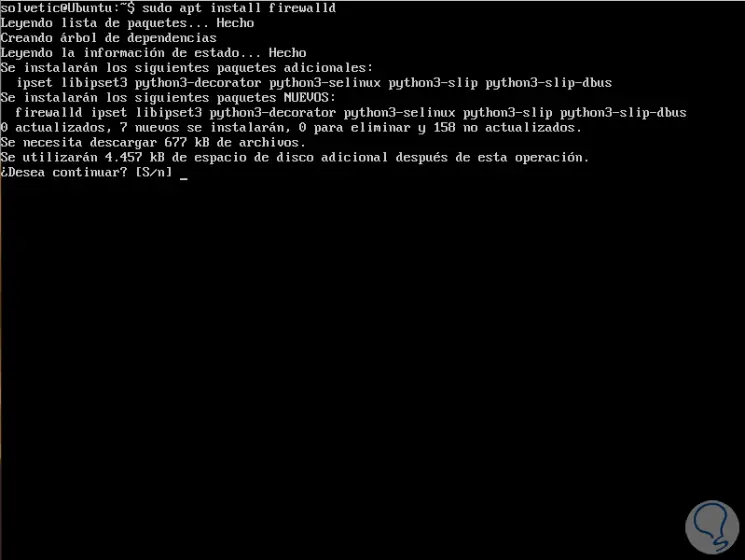
Enter the letter S to confirm the download and installation of Firewalld.
Step 2
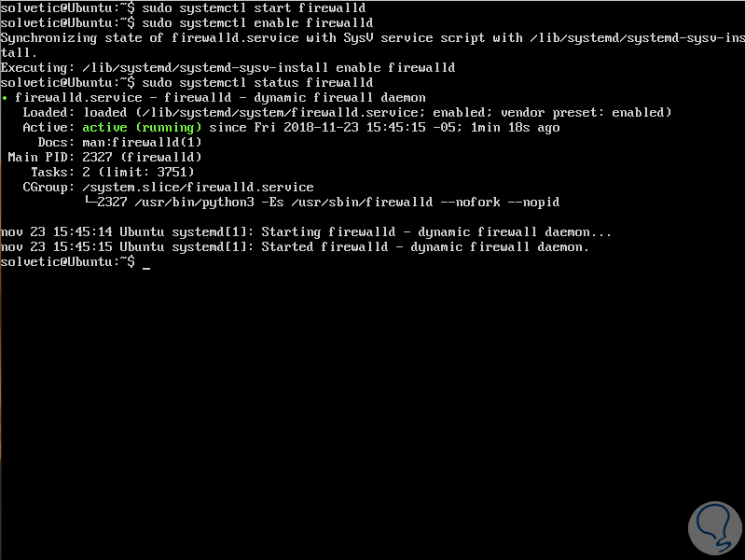
Firewalld is a regular systemd service which can be managed through the systemctl command as follows:
sudo systemctl start firewalld (lets start the service) sudo systemctl enable firewalld (enable the service during system boot) sudo systemctl status firewalld (allows to see the status of the service)
Step 3
After starting the firewalld service, we can verify if the daemon is running or not on Linux, for this we must use the firewall-cmd tool, we execute the following:
sudo firewall-cmd –state

2. How to manage zones in Firewalld CentOS and Ubuntu
Step 1
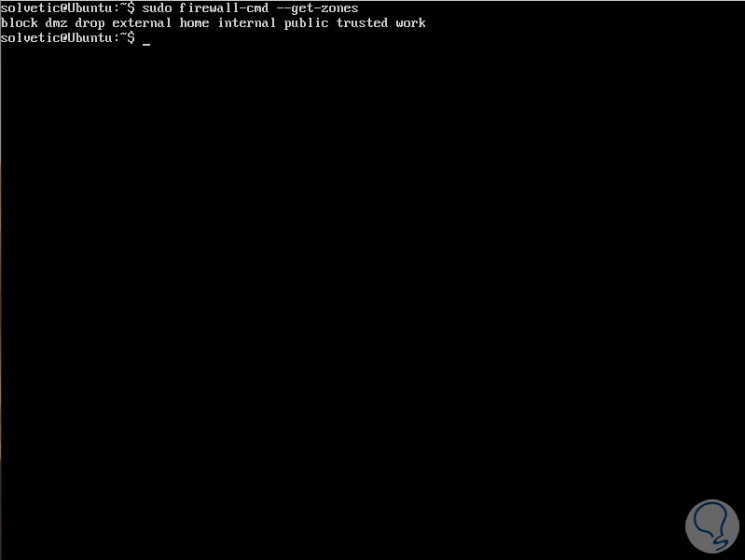
To obtain a list of all available firewall zones and services, we must execute the following commands:
To see the zones:
sudo firewall-cmd --get-zones
Step 2
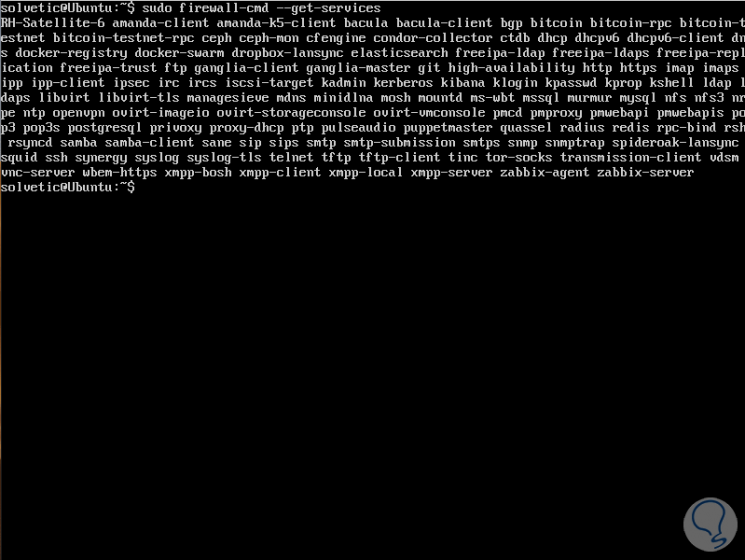
To see the services we will execute:
sudo firewall-cmd --get-services
Step 3
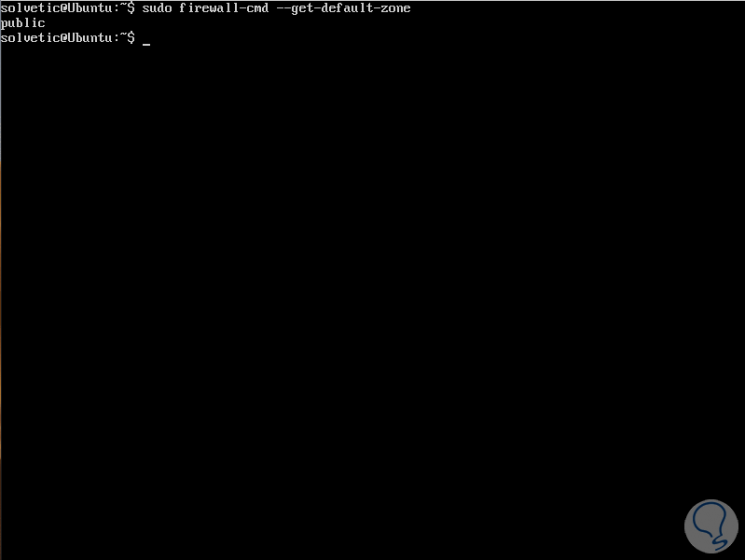
The default zone is the zone implemented for each firewalld feature that is not linked to another zone, it is possible to obtain the set of default zones for network connections and interfaces by executing the following:
sudo firewall-cmd --get-default-zone
Step 4
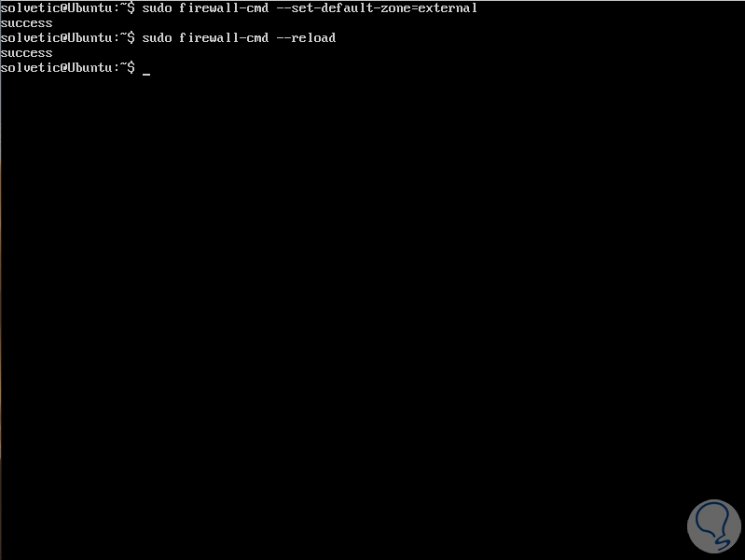
If we want to establish another default zone we must use the following command, it should be noted that if we add the option --permanent the configuration is permanently set, we can execute any of the following options:
sudo firewall-cmd --set-default-zone = external
or
sudo firewall-cmd --set-default-zone = external –permanent
Step 4
Then we apply the changes by executing:
sudo firewall-cmd –reload
Step 5
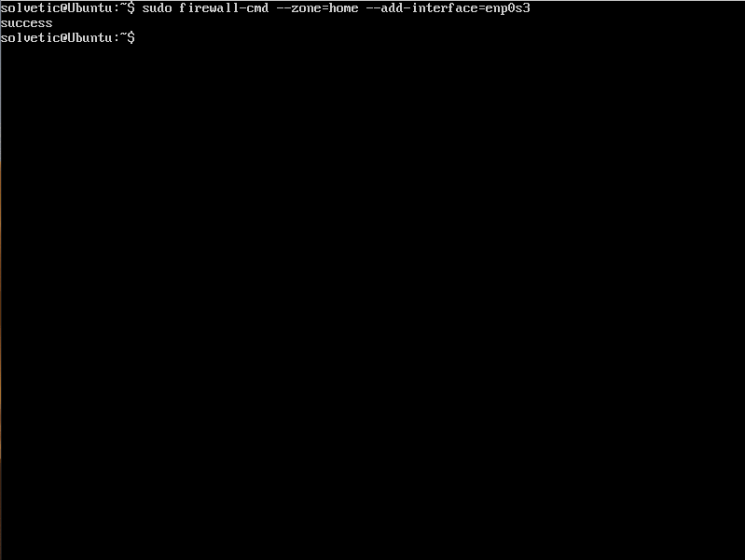
If the goal is to add an interface to a zone, for example, we can execute the following:
sudo firewall-cmd --zone = home --add-interface = enp0s3
In this case we have added the interface enp0s3 (LAN) to the home zone.
Step 6
It should be noted that an interface can only be added to a single zone, instead it can be moved to another zone, for this we will use the --change-interface switch or remove from the previous zone with the –remove-interface switch and Then add it to the new zone, for example:
sudo firewall-cmd --zone = public --add-interface = enp0s3 sudo firewall-cmd --zone = public --change-interface = enp0s3
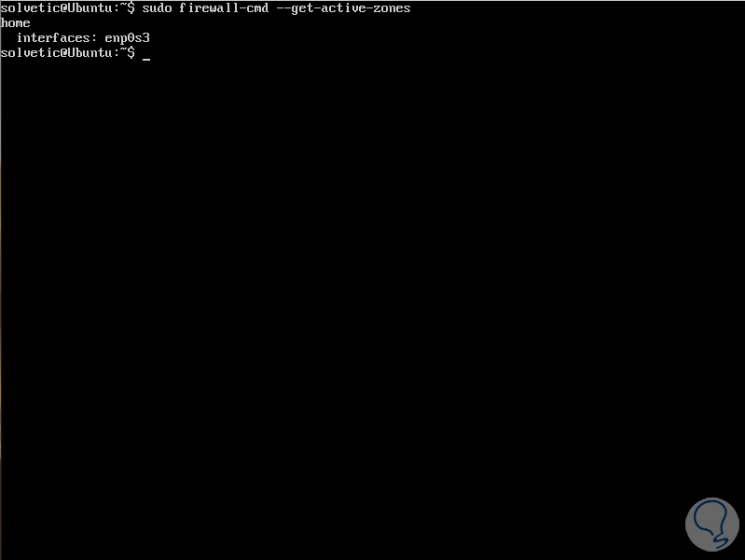
With Firewalld it is possible to use many zones at the same time, if we want to obtain a list of all the active zones with the functions enabled, such as interfaces, services, ports, protocols, we execute the following:
sudo firewall-cmd --get-active-zones
Step 7
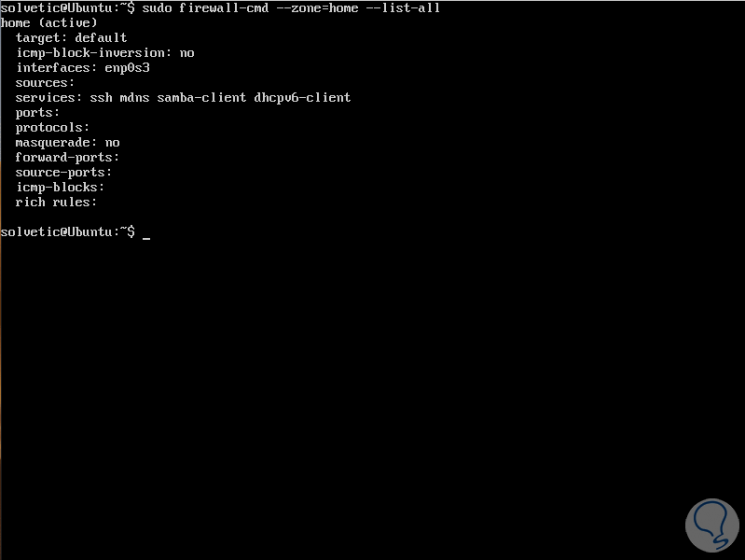
To obtain more information about the zones, such as what has been enabled or deleted we can use any of these commands:
sudo firewall-cmd --zone = home --list-all
OR
sudo firewall-cmd --info-zone public
Step 8
Another of the useful options to use with Firewalld is --get-target, this shows the objective of a permanent zone, the objectives can be default, ACCEPT, DROP, REJECT, to check the objective of several zones we can use any of the following commands:
sudo firewall-cmd --permanent --zone = public --get-target sudo firewall-cmd --permanent --zone = block --get-target sudo firewall-cmd --permanent --zone = dmz --get-target sudo firewall-cmd --permanent --zone = external --get-target sudo firewall-cmd --permanent --zone = drop --get-target
3. How to block or open ports in Firewalld Linux CentOS and Ubuntu
To open a port through firewalld, simply add it to the zone with the --add-port option, if you do not explicitly specify the zone, it will be enabled in the default zone.
Step 1
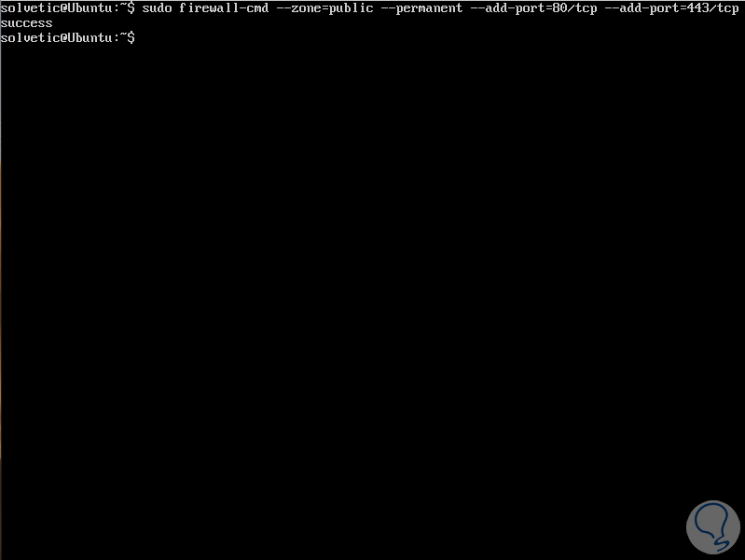
For example, to add ports 80 and 443 which allow incoming web traffic through HTTP and HTTPS protocols, we will execute the following:
sudo firewall-cmd --zone = public --permanent --add-port = 80 / tcp --add-port = 443 / tcp
Step 2
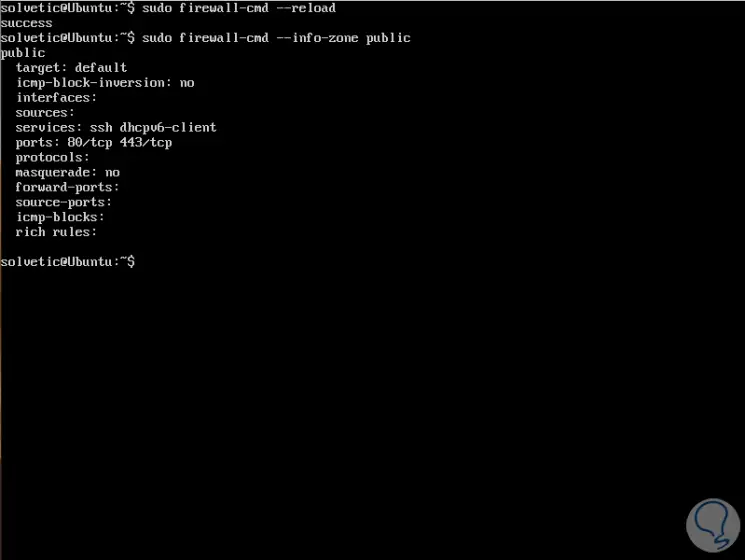
Now we are going to reload the firewalld and verify the functions enabled in the public area:
sudo firewall-cmd --reload sudo firewall-cmd --info-zone public
Step 3
If we want to block a port in firewalld, we must use the --remove-port option, in this example like this:
sudo firewall-cmd --zone = public --permanent --remove-port = 80 / tcp --remove-port = 443 / tcp
4. How to block or open services in Firewalld CentOS and Ubuntu
For the process of enabling a service in Firewalld we must enable it using the --add-service option, remember that if we omit the zone, the default zone will be used.
Step 1
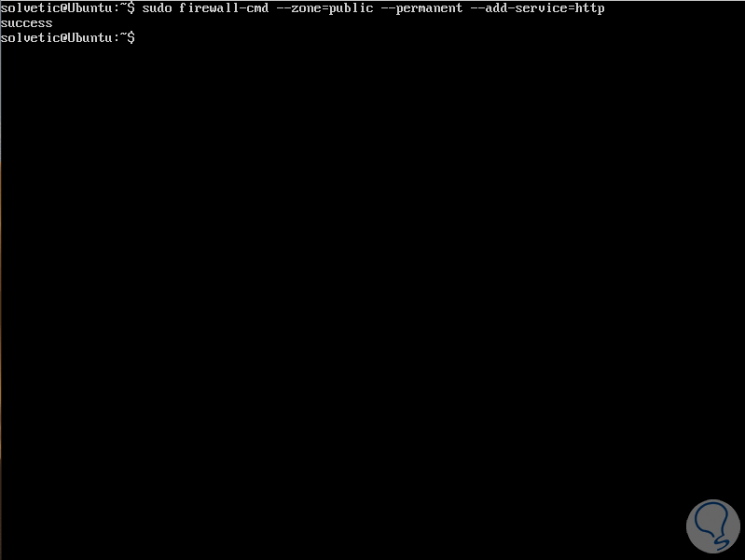
For example, to enable the http service in a public zone we execute:
sudo firewall-cmd --zone = public --permanent --add-service = http sudo firewall-cmd –reload
Step 2
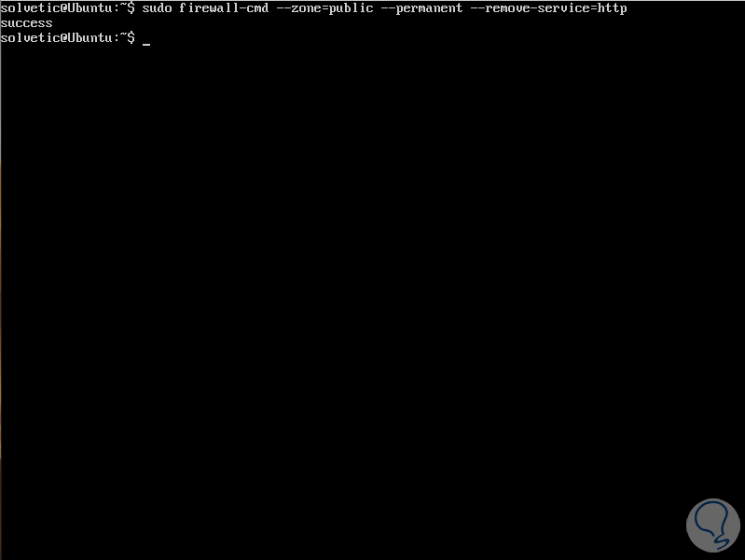
With the -remove-service parameter we can remove the service from the assigned zone:
sudo firewall-cmd --zone = public --permanent --remove-service = http sudo firewall-cmd –reload
5. How to enable and disable IP masking through Firewalld Linux
IP masking, or IPMASQ / MASQ) is a NAT mechanism which allows hosts on a network, with private IP addresses, to establish communication with the Internet through the public IP address assigned to the Linux server using the IPMASQ gateway .
With this masking, invisible host traffic will appear on other computers on the Internet as if this came directly from the Linux server.
To verify if the masking is active or we do not execute:
sudo firewall-cmd --zone = public --query-masquerade
Then we can add an area like this:
sudo firewall-cmd --zone = public --add-masquerade
To remove an area from this type of function, we must execute the following:
sudo firewall-cmd --zone = public --remove-masquerade
6. How to enable and disable the IMCP message in Firewalld Linux
The ICMP (Internet Control Message Protocol) is a protocol that has been developed in order to generate requests for information or responses to those requests for information or in error conditions throughout the communication process In the net.
Step 1
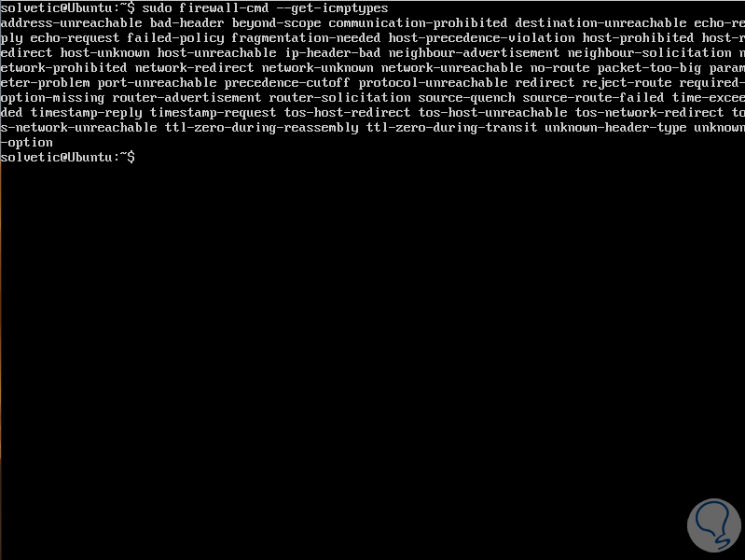
In Firewalld it is possible to enable or disable ICMP messages, but it is recommended to validate all types of compatible ICMP, for this we execute:
sudo firewall-cmd --get-icmptypes
Step 2
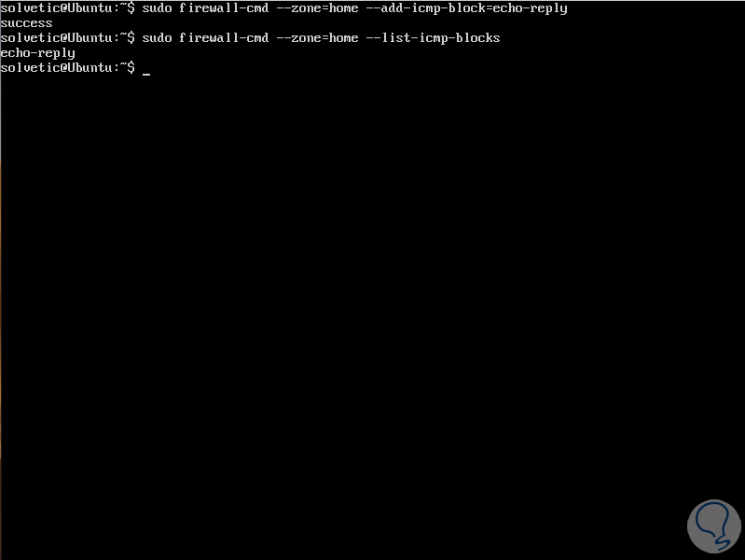
We can add or block an ICMP as follows:
sudo firewall-cmd --zone = home --add-icmp-block = echo-reply sudo firewall-cmd --zone = home --remove-icmp-block = echo-reply
Step 3
We can see all types of ICMP added in a zone using the --list-icmp-blocks switch:
sudo firewall-cmd --zone = home --list-icmp-blocks
7. How to enable or not panic mode in Firewalld Linux CentOS and Ubuntu
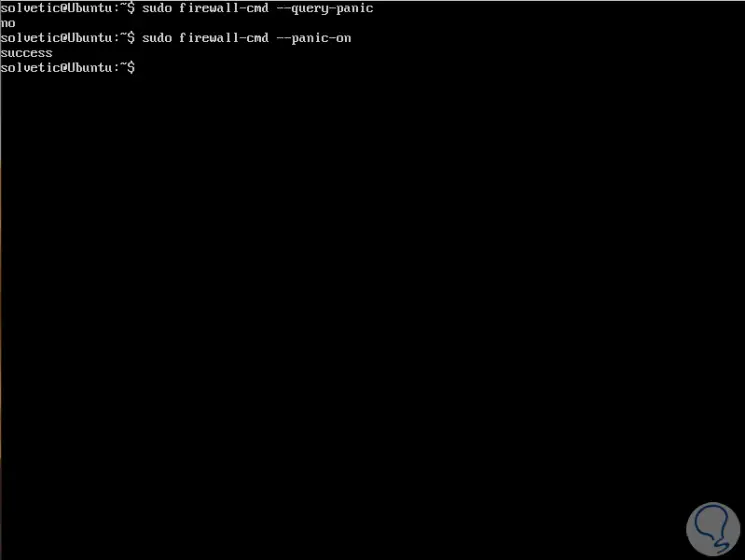
Panic mode is a special mode integrated in Firewalld in which all incoming and outgoing packets are removed, and active connections will expire once it is activated, we can enable this mode in emergency situations where there is a threat to the system and so we will avoid any connection.
Step 1
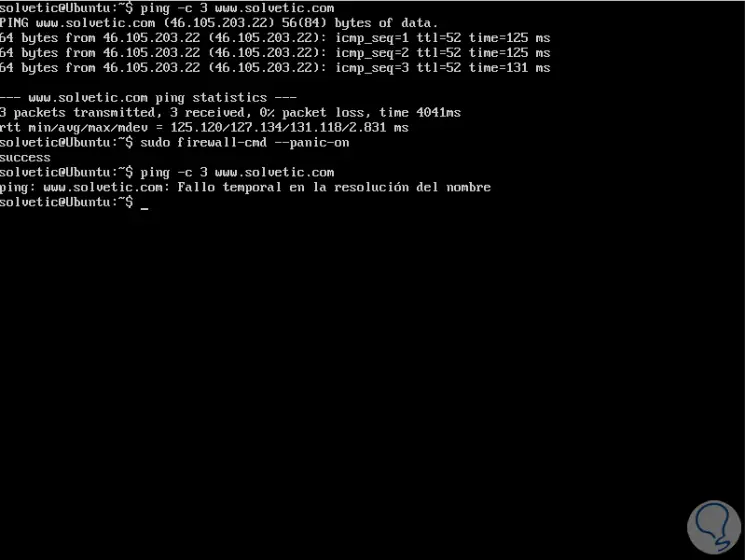
To check the panic mode, we will use the --query-panic option and we can activate it with the sudo firewall-cmd --panic-on option:
Step 2
To understand how this works, when disabled, we can ping a website and receive all the requests sent, but when activated we will see a message indicating a temporary connection failure:
Step 3
To disable this mode we execute:
sudo firewall-cmd --panic-off
8. How to block Firewalld on Linux CentOS and Ubuntu
Step 1
In Firewalld, local applications or services are able to alter the configuration of the firewall if they are executed with root privileges, we can control which applications can request changes in the firewall, adding it in the white block list. This function is disabled by default, and we can enable or disable it with the --lockdown-on or –lockdown-off switch:
sudo firewall-cmd --lockdown-on
OR
sudo firewall-cmd --lockdown-off
Step 2
A safer method is to enable or disable this function directly in the edition of the main configuration file, since sometimes firewall-cmd does not exist in the blocking white list, for this we access the configuration file:
sudo nano /etc/firewalld/firewalld.conf
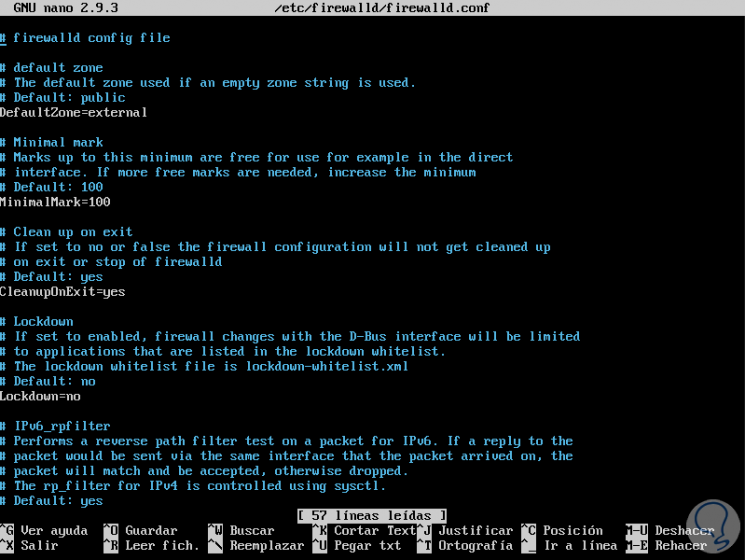
There we locate the Lockdown = no line and set its status to Lockdown = yes, save the changes using the Ctrl + O keys and exit the editor using Ctrl + X.
Firewalld is a complete solution to add various rules and zones to our Linux distributions and thus add better general security options in the system.