The online world in which we live today has opened hundreds of new options and alternatives to know what each user wants, which are millions, in terms of preferences, tastes, activities and more..
We find from chats to a topic that is traditional, which we will deepen today, as are the surveys. The advantage of a survey is that it is direct and the questions asked there must be answered without leaving the central topic of analysis.
Online surveys have taken a great boom today to the point that today you can earn money by answering surveys, which demonstrates the power of reach they have and that you are covering anywhere in the world and with all types of users. One of the applications that facilitate us to create an online survey in a simple and fully functional way is Google Forms, which has certain advantages such as Google support and also requires only a Gmail account to create the survey for free..
This is why today TechnoWikis will analyze how we can create a survey of this type using this Google tool.
What is Google Forms
This Google application gives us the possibility to create dynamic survey forms by having the ability to collect information and organize it based on the desired preferences. Google Forms also allows us to customize the format of the survey using our own logo or photo and automatically the application will complete the design.
A novelty in these Google forms is the ability to set the questions, since we have the opportunity to use the multiple-choice format up to the drop-down options or linear scales. It will also be possible to add YouTube images and videos or use the new page branching and filter questions..
When we use this type of survey, all responses will be collected automatically and sorted in Forms, using graphs and data from the responses in real time and with the option to edit this data in the Google Sheets application.
Step 1
To start the process, we will go to the following link and log in with our Google account:
Google Forms
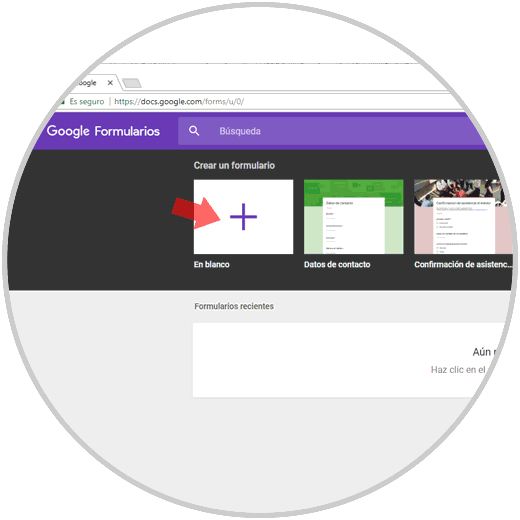
As we can see, initially we have the opportunity to select one of the already defined survey formats or create a new one. In this case, click on the "Blank" option.
Step 2
We will see the following:
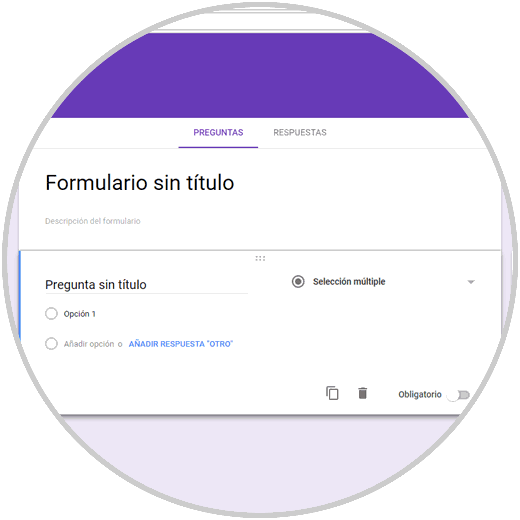
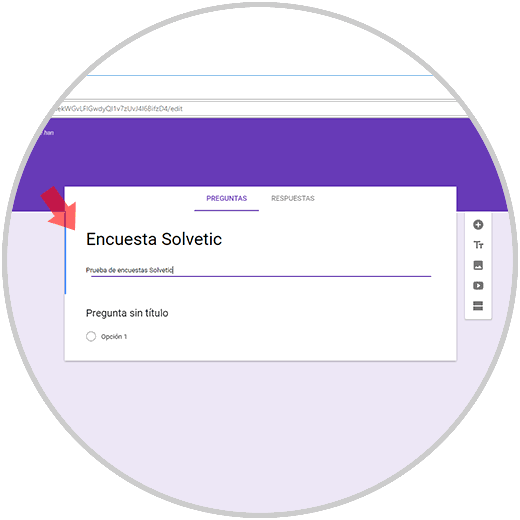
First, we will give the survey a name, if we wish, we can add a description to it:
Step 3
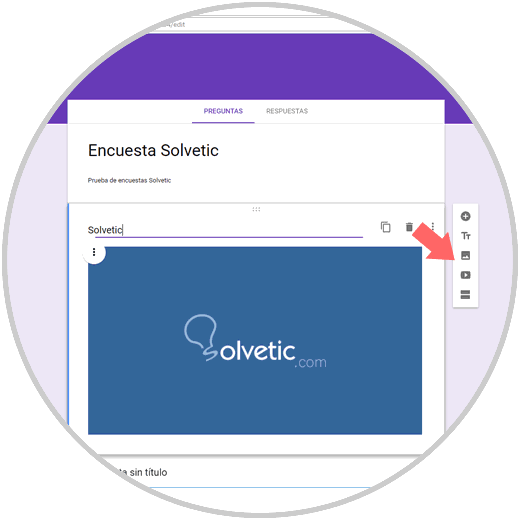
In the sidebar we have the following options:
- Add title and description
We can add an image or video to create a greater impact on the survey, for example, if we select the option "Add image" we can upload it in a crazy way, when a URL or searching directly on Google.
Step 4
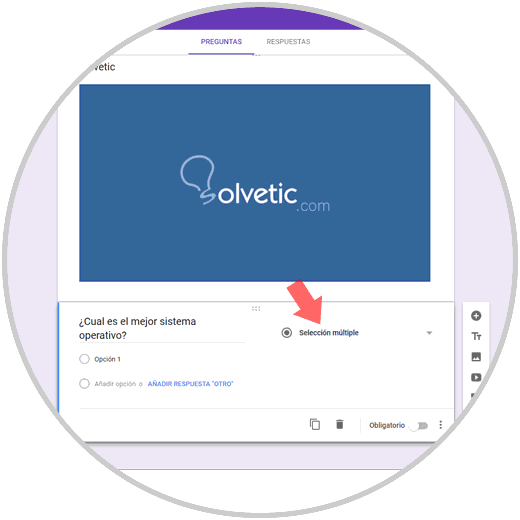
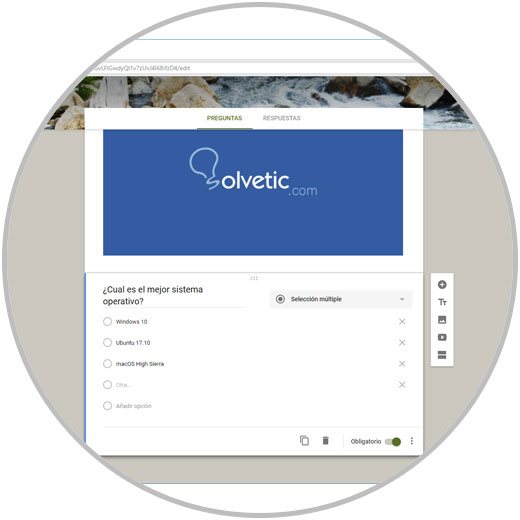
Now, click on the "Question" field and set the first question to use. This will be defined as "Multiple selection" because we will define several options:
Step 5
If we click on the "Multiple selection" field we will see all the response options offered by Google Forms:
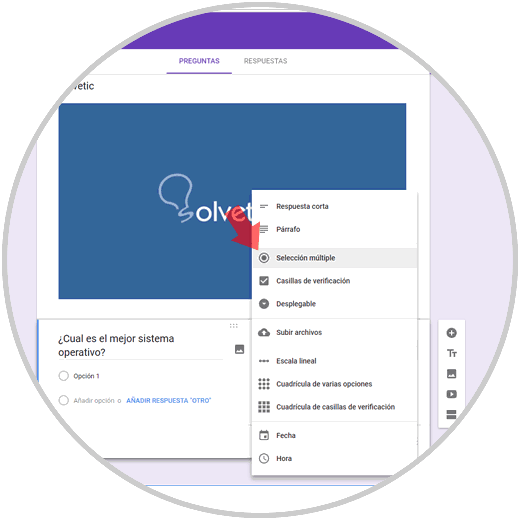
The options are
- The short answer and the paragraph generate a blank field for the user to complete.
- Multiple selection allows users to select a response from a series of options that we have added in the creation of the form, while the check boxes allow users to select multiple responses simultaneously.
- With the drop-down menu, users are allowed to access a field to click on which various options will be displayed and there they can select an answer.
- The linear scale allows users to respond by selecting a rating of a range such as 1 to 5 as configured.
- The date and time allow recipients to select a specific date or time.
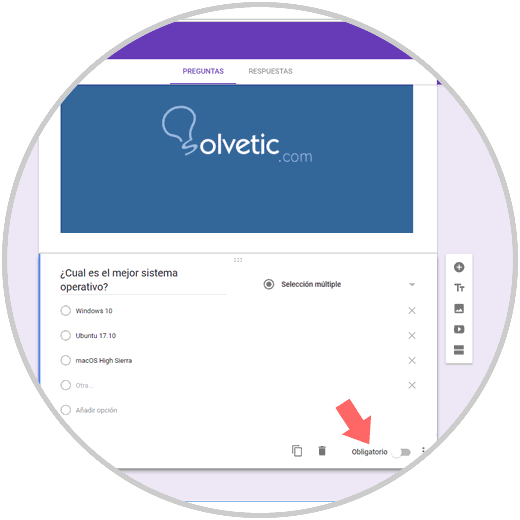
For all options except for "Short answer", "Paragraph", "Date" and "Time", it will be necessary to write the options for the answers that the user must select, this is achieved by pressing the "Other" button and to add more answers we will click on the "Add option" line.
At the bottom, we can click on the "Mandatory" switch to ask a mandatory question or click on the duplicate or trash icons to clone or delete the selected question.
Step 6
At the top of the survey we can click on the color palette icon to select the background of our survey:
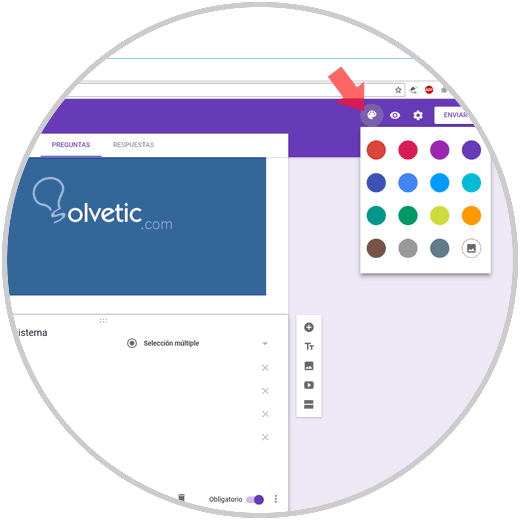
We can select the desired color and if we click on the lower right icon we can add a theme which are classified by categories:
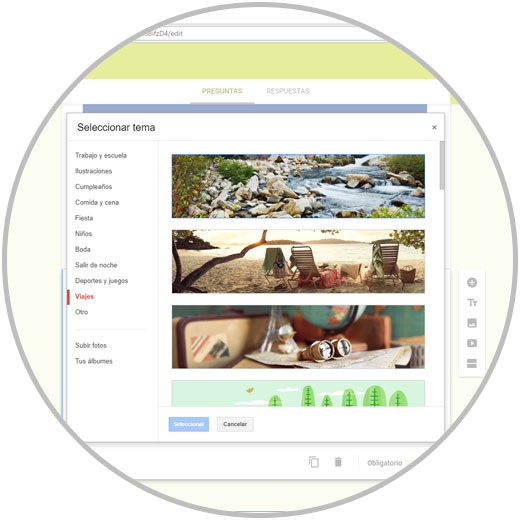
Once done we can see how the change is applied to the survey:
Step 7
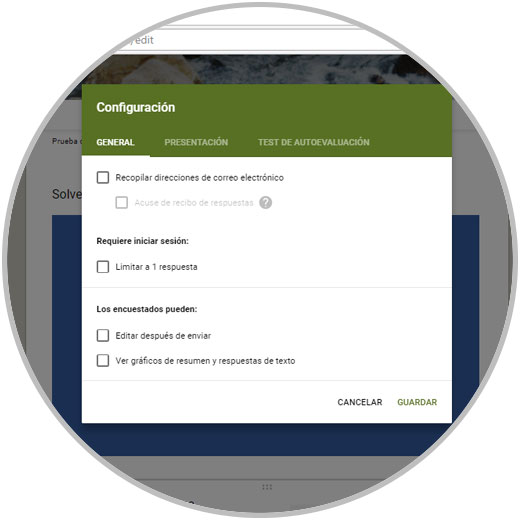
In the gear icon we have several configuration options:
There we can perform actions such as
- Collect the email addresses of the users who answer the survey
- Allow the user who answers the survey to edit their choice after responding
- Set the questions randomly
- Create self-assessment tests
Once we define these points, click on the "Send" button to send this survey to the selected recipients which we will enter in the "To" field:
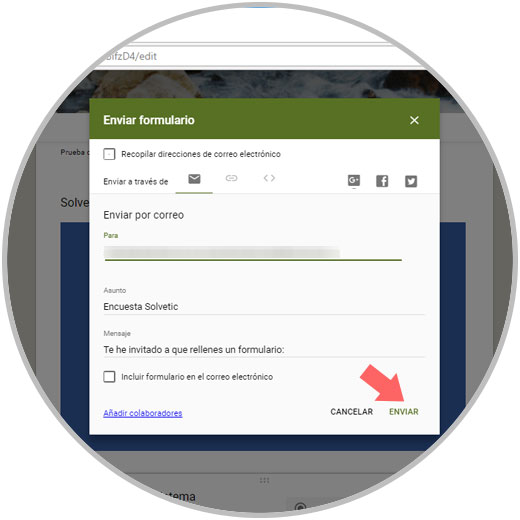
Alternatively we can create a link and share it if we wish.
Step 8
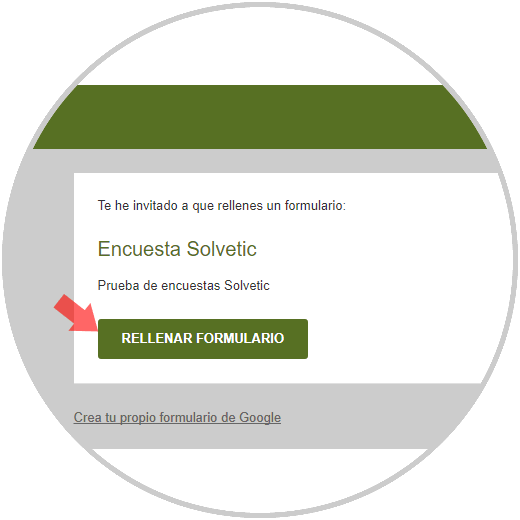
We can create a new message or leave the default one, once this is complete, click on the "Send" button and the user will receive a message similar to this: He will click on the "Fill in Form" button
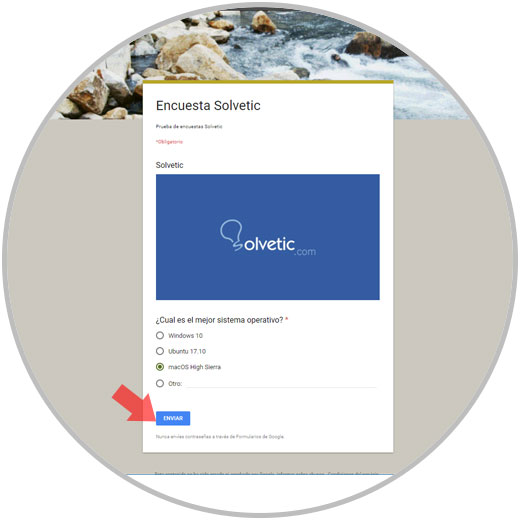
The survey will be displayed where you will select the desired response: Click on "Send" to answer it.
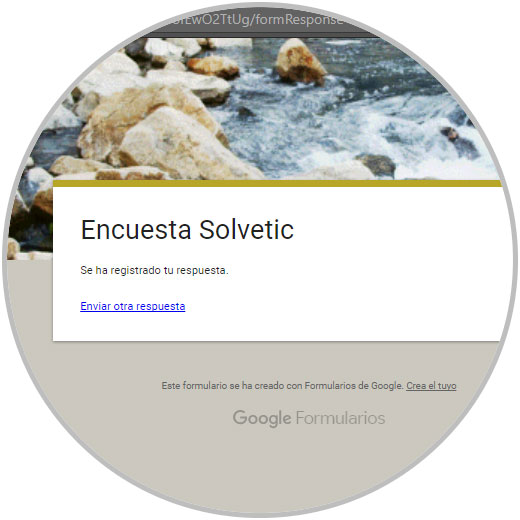
Then you will receive the following message:
Step 9
Now, we as survey administrators will receive notification of how many responses we have received:
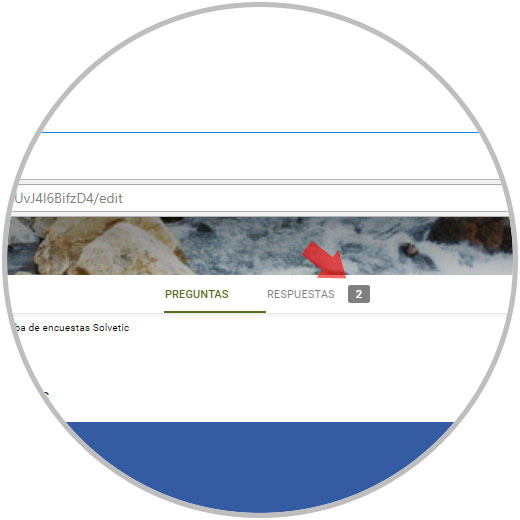
As we see at the top in the "Answers" tab we have two, if we click there we will see what the answers have been and a statistical graph of them:
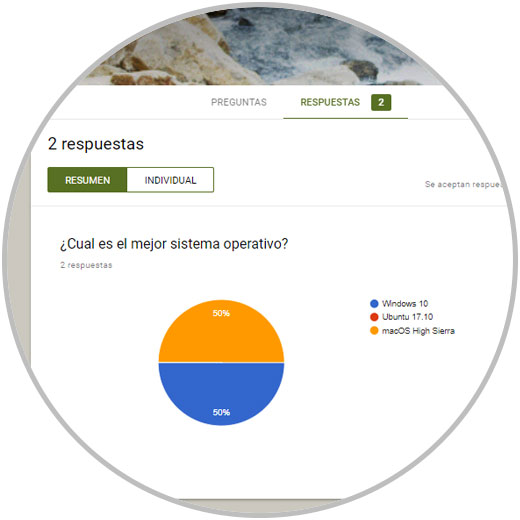
As we can see, it is simple, dynamic and totally practical to create a survey using Google Forms and from there have the possibility of complete management on each response that the selected users provide.
All this for free and in a short time of implementation.