Google is a platform that gives its millions of users various alternatives to work completely many management and control options , Google is much more than a browser called Google Chrome, but we have integrated tools being Google forms one of them . These forms are a useful tool for the entire process of creating online surveys and questionnaires. Form submissions are automatically stored in Google Spreadsheets , which will make it possible later to analyze each response entered since the forms can receive thousands of responses..
When a user submits their response through the Google form, a row is automatically added to the destination Google sheet with all the answers entered, something that will help us to automatically store all those responses provided by users and that We can generate in a final document. Although this response data is saved in rows in an Excel document, today we will see how to have it stored in a PDF. TechnoWikis will explain how to achieve this in Google Forms.
For this case we will create a PDF file, but it will be possible to create Word documents, Excel spreadsheets, PowerPoint slides, ePub and many more options..
1. Access Google forms and create PDF
Step 1
The first step is to access Google forms and for this we must log in to the following link:
Google Drive
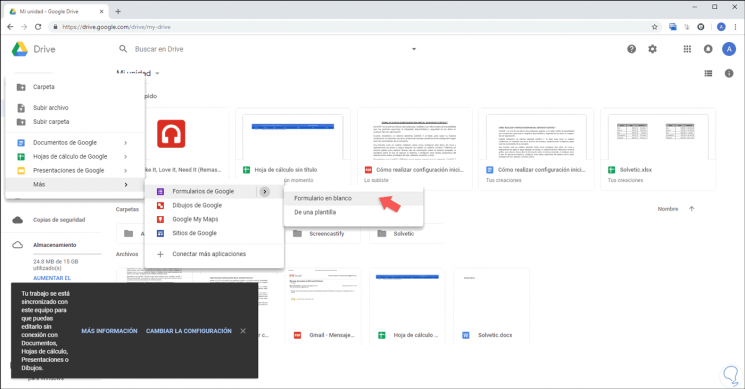
Step 2
Once there, click on the "New" button and select the following route:
Step 3
The following will be displayed:
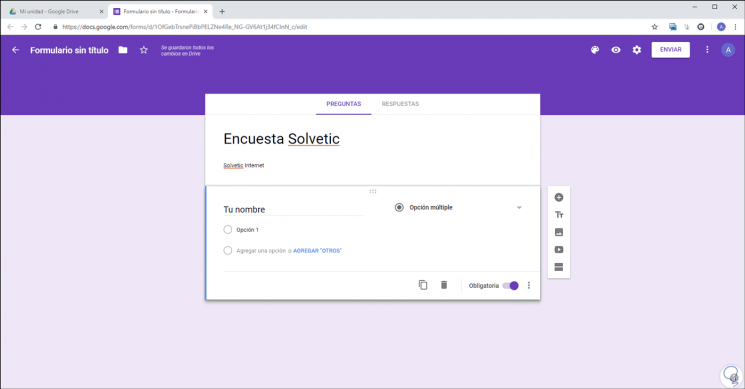
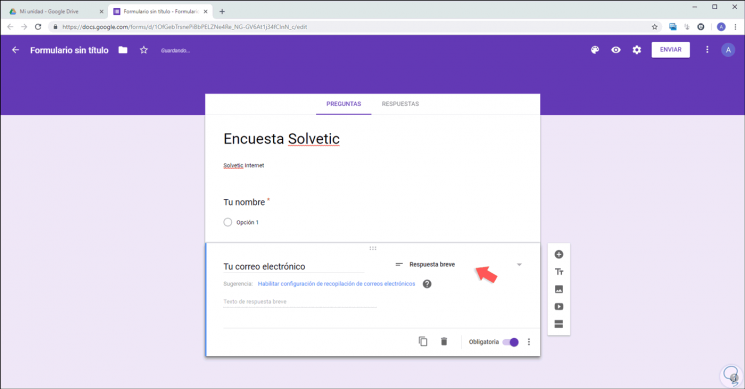
Step 4
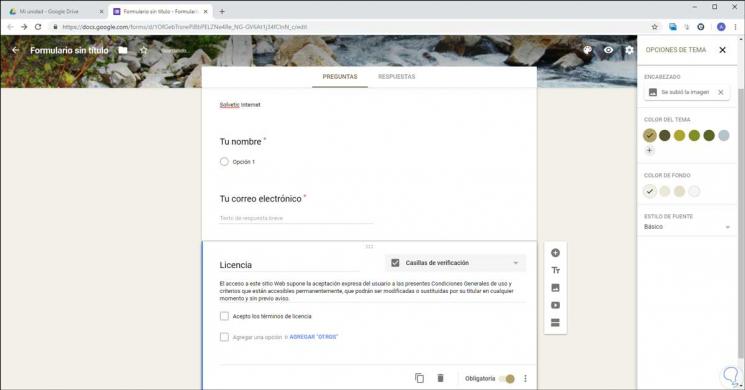
There we have entered the name “TechnoWikis Survey†and in the first field we have defined the option “Your nameâ€, there we can define this section as a Short answer. Now we click on the "Duplicate" button and we will call the following field "Your email" with the type Short answer:
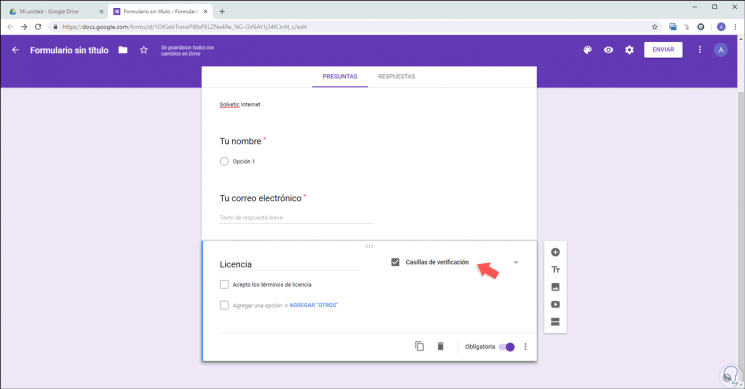
Step 5
Again we duplicate this option and in the following we will create a field called “Licenseâ€, this will have the option of “Check boxes†and we can add a short text for identification:
Step 6
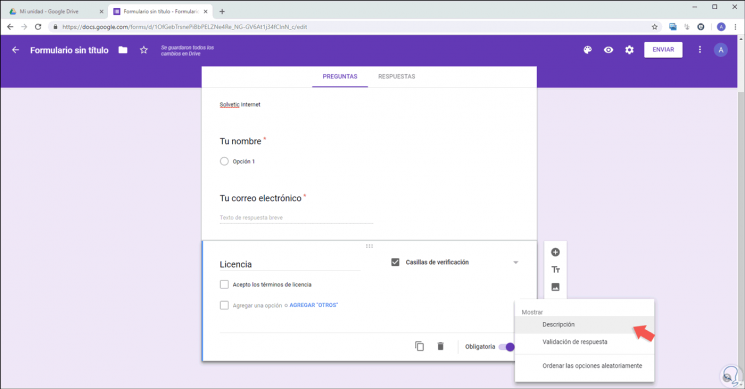
To add the description of the license, click on the icon below and select the “Description†option:
Step 7
In the displayed field we will enter the desired text:
Step 8
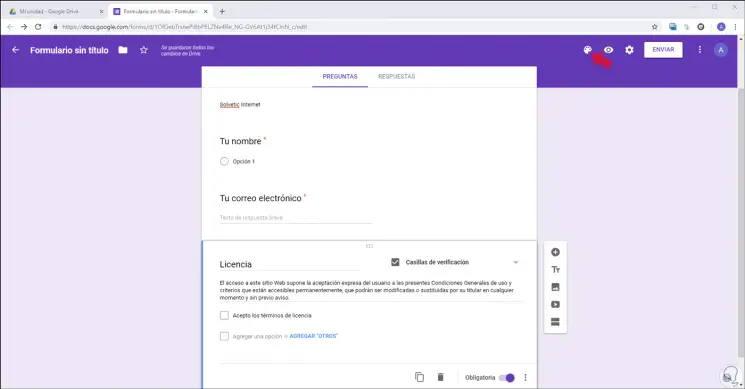
If we wish, for design themes, we can click on the themes icon located at the top and the following sidebar will be displayed:
Step 9
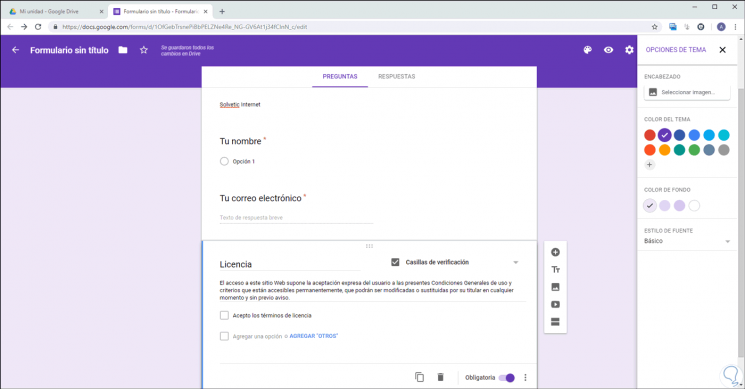
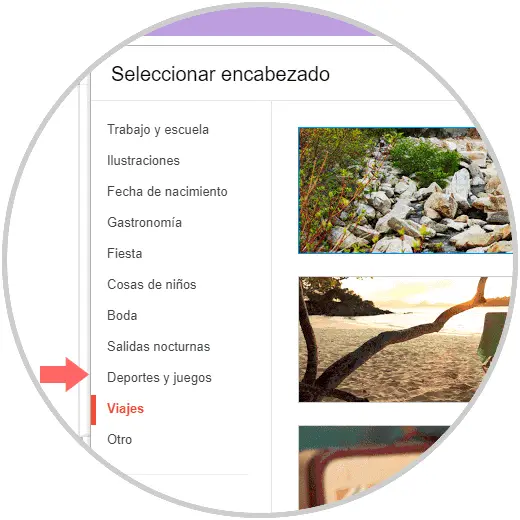
There we can select one of the default options or click on the + sign and define a custom theme either in colors or images:
Step 10
Once the desired option is selected, click on the “Select†button to apply the changes and we can see, in this case at the top, the new aspect of the form:
Step 11
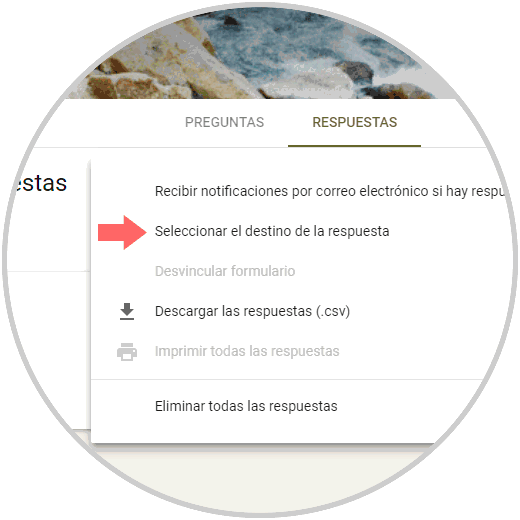
Now, let's go to the "Answers" tab and see the following:
Step 12
There we click on the line “Select the destination of the response†and the following will be displayed:
Step 13
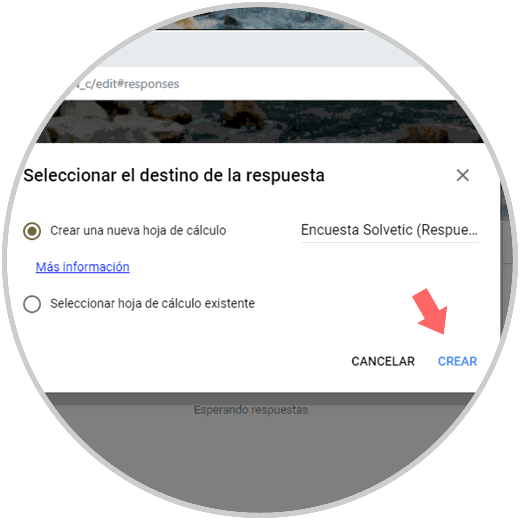
We activate the “Create a new spreadsheet†box and we can see that our form is selected. Click on "Create" to proceed with the action and we will be redirected to the following page:
Step 14
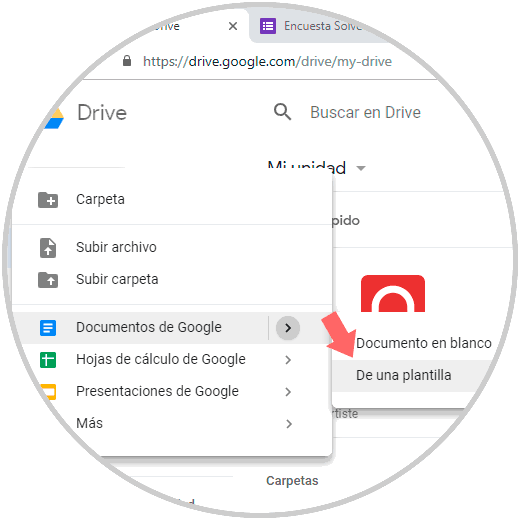
Now, we will go to the main menu of Drive and there we click on the “New†button and this time we select the option “Google Documents / From a templateâ€:
Step 15
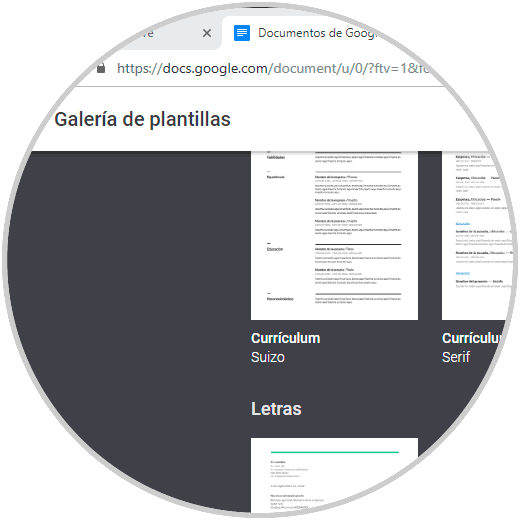
In the displayed window we will select the desired template:
Step 16
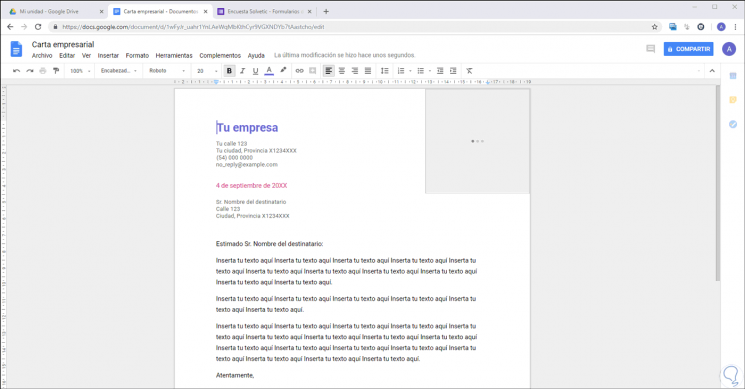
Once we click on it, it will be automatically applied with an established preform:
Step 17
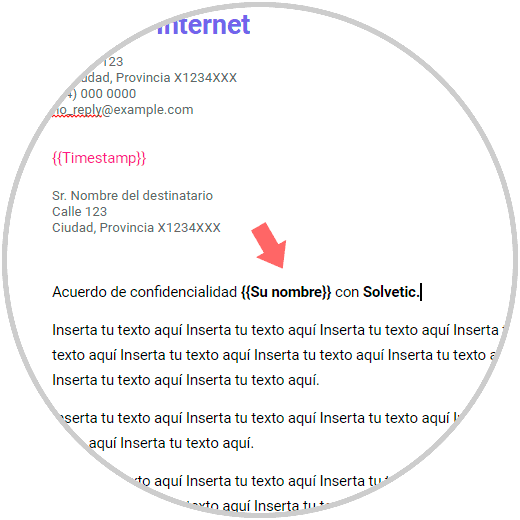
There we will change the name of the company and make the following changes:
- In the date line we enter {{Timestamp}}
- In the greeting section we add the desired text next to the variable {{Your Name}}
Step 18
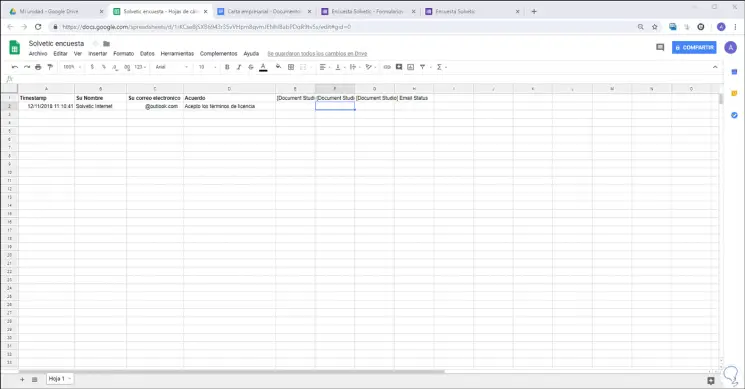
We can assign the desired name to this file directly from the upper left corner. Defined this, we access the spreadsheet file that has been created where you have the following basic columns:
- Timestamp (record date and time of responses)
- Your Name (name of the person who completed the form)
- Your email (registered email will be registered there)
- Agreement (there will be indicated whether or not the license term was accepted)
2. Automatically manage Google forms
Step 1
So that Google forms can be managed automatically, there is an add-on called Document Studio which can be installed free of charge in the following link:
Document Studio
Step 2
Once installed, in the spreadsheet, we will go to the “Add-ons†menu and there select “Document Studio / Openâ€:
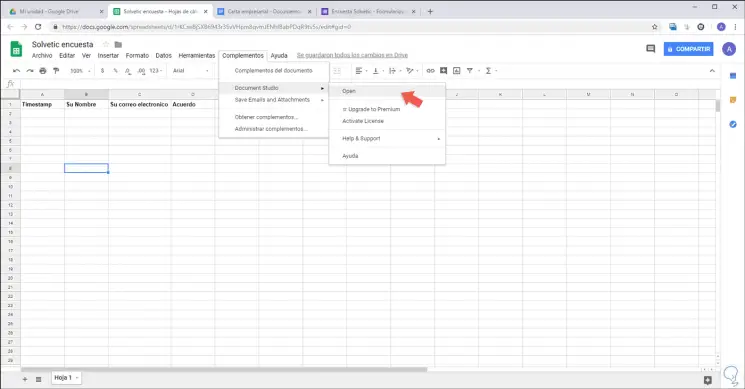
Step 3
When you do this, the following sidebar will be displayed:
Step 4
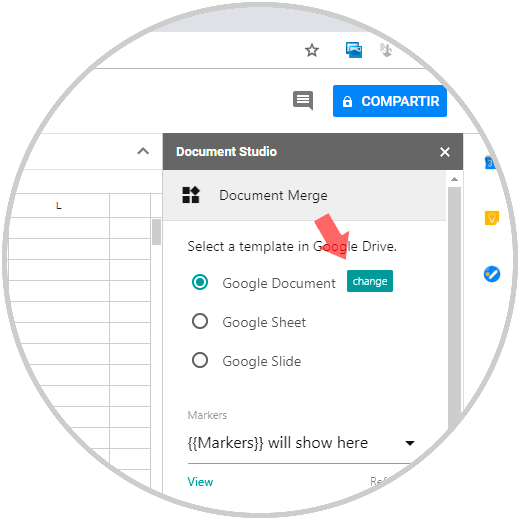
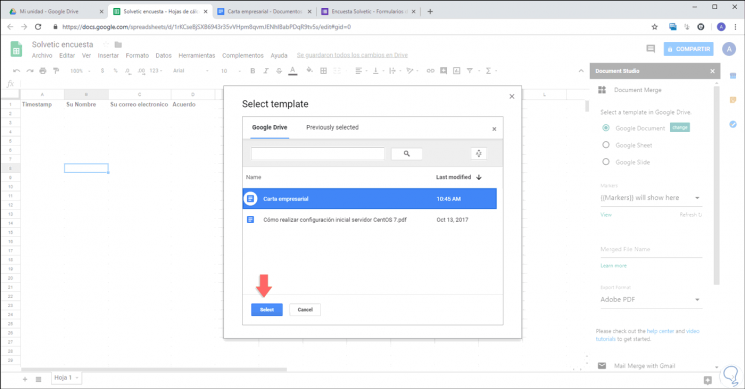
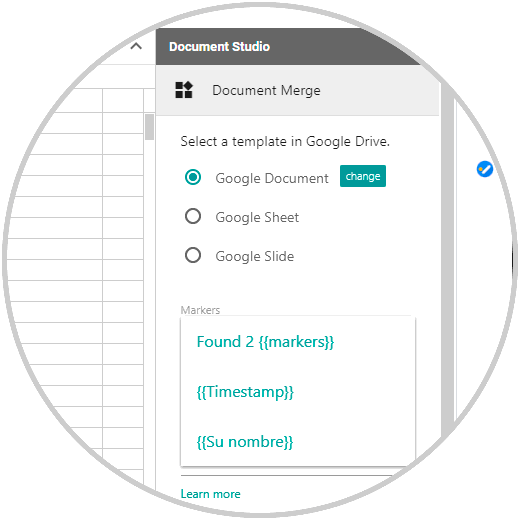
First, we click on the “Document Merge†option and there we click on the “Change†button and in the pop-up window we select the Google document that we have created with the variables:
Step 5
Click on "Select" to apply the changes and we will see the following:
Step 6
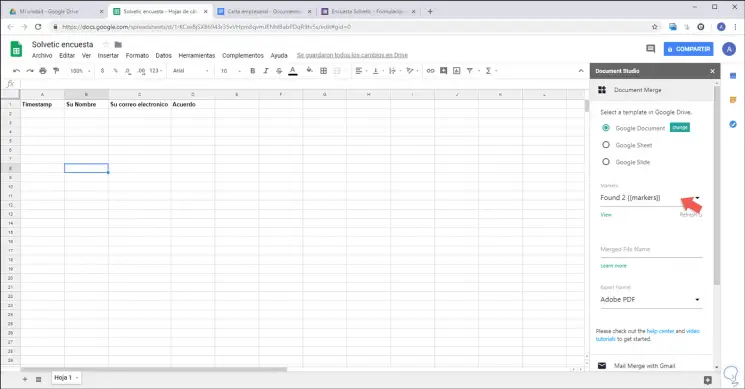
If we click on the "Markers" field we can see the variables of this document:
Step 7
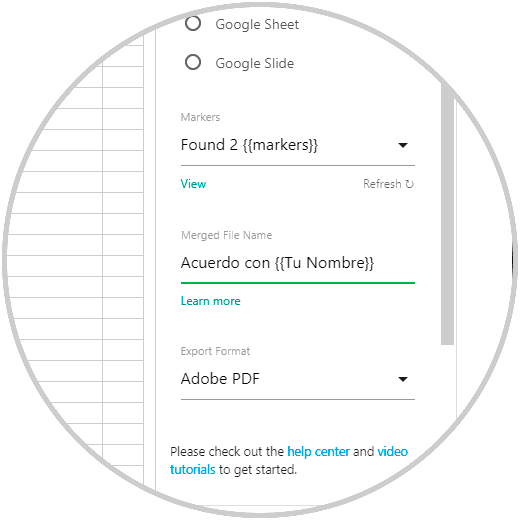
In the "Merged File Name" field, enter the desired text together with the variable {{Your name}}. In the “Export Format†field we will define Adobe PDF.
Step 8
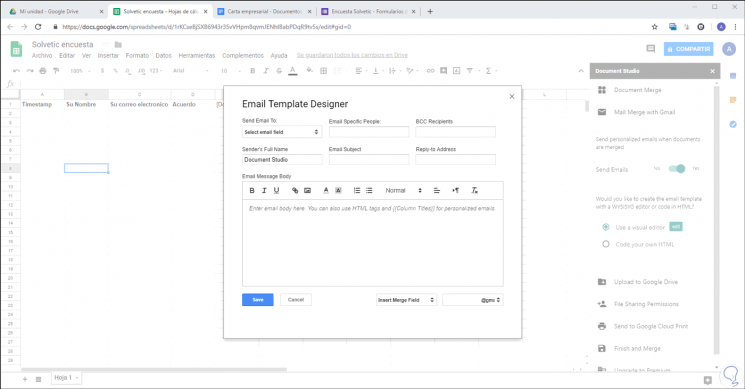
The next step is to go to the "Mail Marge with Gmail" section and then press the "Send Emails" switch to display the following pop-up window:
Step 9
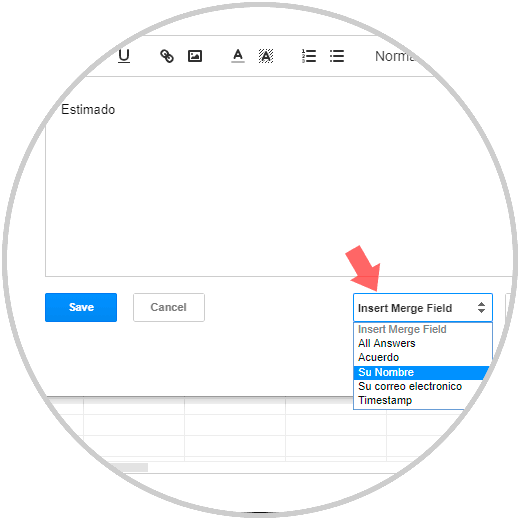
There we click on the options of the “Insert Marge Field†field and the following will be displayed:
Step 10
Select the option "Your Name" and if we wish we can customize the background of the email and add a text in the body of the message:
Step 11
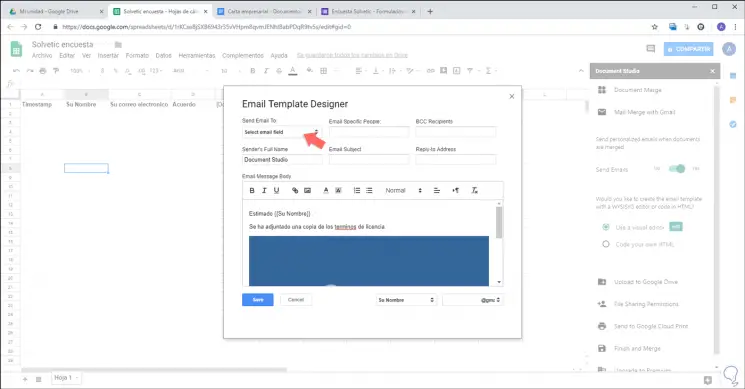
Now, click on the “Send Email To†field and select the “Your email†option:
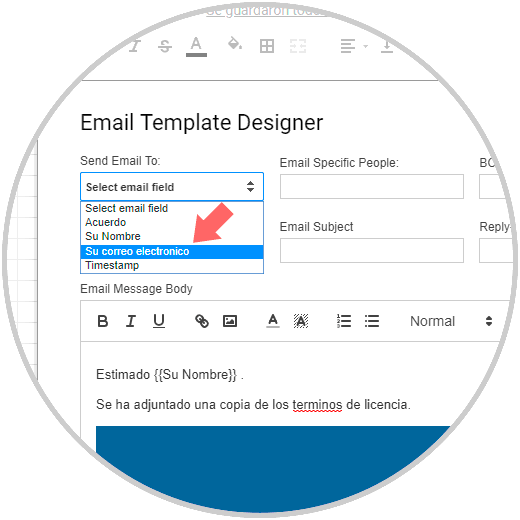
Step 12
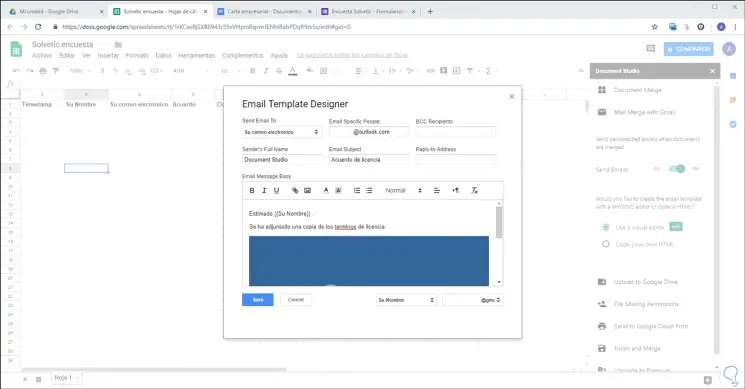
Later we enter a specific email and a subject for the emails to send:
Step 13
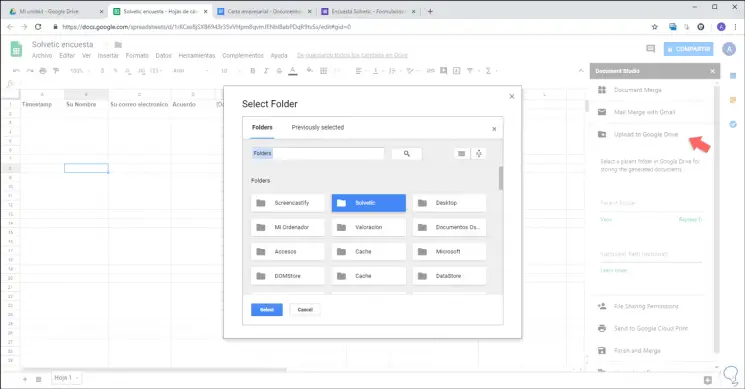
Once this is defined, click on the “Save†button to save the changes. Now, we go to the “Upload to Google Drive†section and there it will be possible to select the folder where the created templates will be hosted:
Step 14
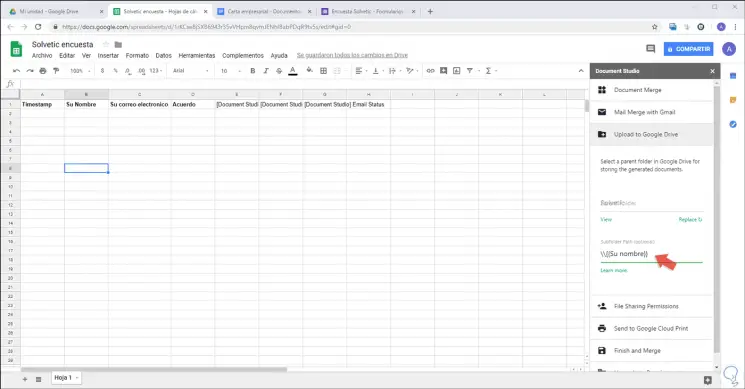
We can add a subfolder with the syntax \\ {{Your Name}}:
Step 15
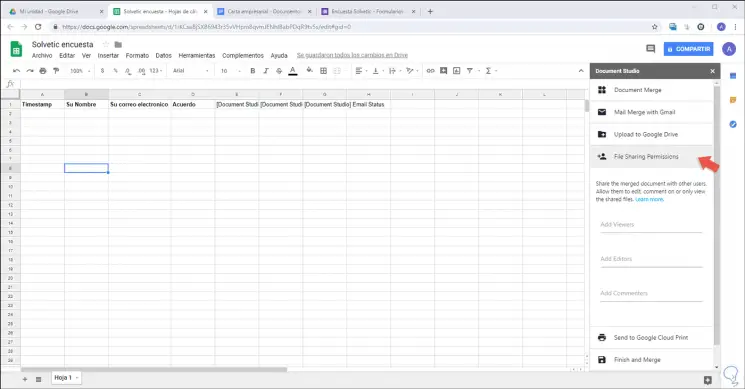
Alternatively it will be possible to share these templates from the "File Sharing Permissions" section:
Step 16
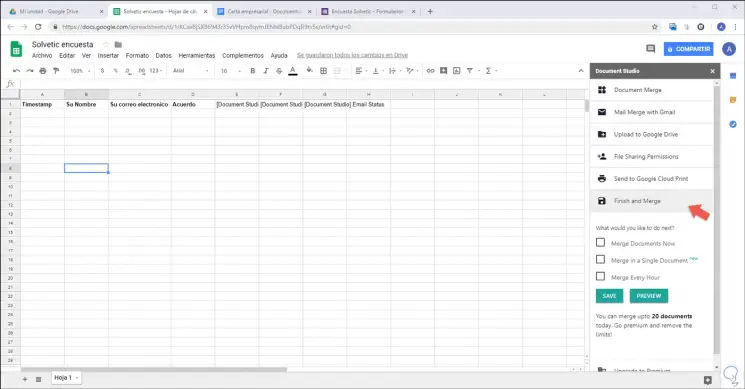
Finally, in the “Finish and Merge†section we can set some configuration parameters if necessary:
Step 17
Now, to prove that everything works as expected, we can go to the result of the form where we will enter the required data:
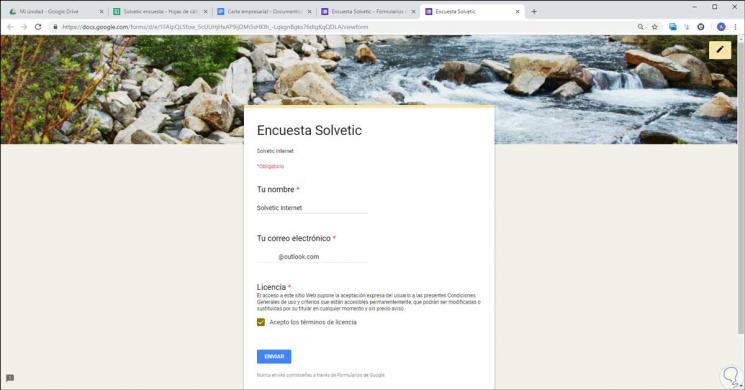
Step 18
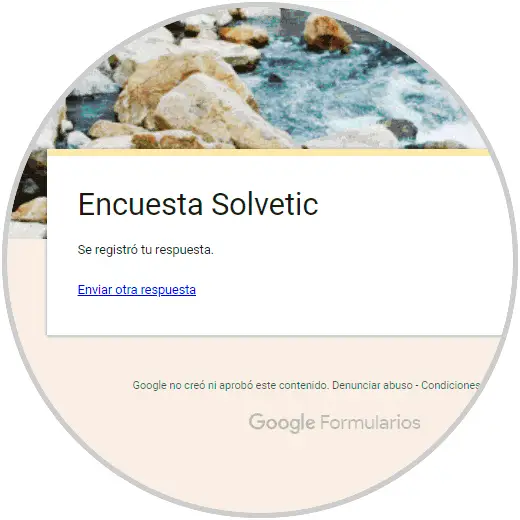
By clicking on the "Send" button we will receive a confirmation that the response has been sent correctly:
Step 19
The basic function of this tutorial is that the data that was automatically recorded will be stored in the linked spreadsheet file. With this it will be possible to have a much more direct control over each of the responses that users indicate.
Thus, thanks to Google forms and the Document Studio add-on, it will be much simpler to integrate these aspects when it comes to creating and managing forms regardless of the type of data they require.