We currently have several alternatives when it comes to managing files in Linux environments and we have hundreds of tools for managing them..
One of these, common in all operating systems, is the compression of files and folders which allows us to reduce the size of a file to a special size so that it can be sent by email or other tasks and this is achieved thanks to zip ...
But there is an additional option that we can do with zip files is to add a layer of protection to the files we compress when setting a password and today TechnoWikis will explain the process for it..
1. How to install ZIP program on Linux
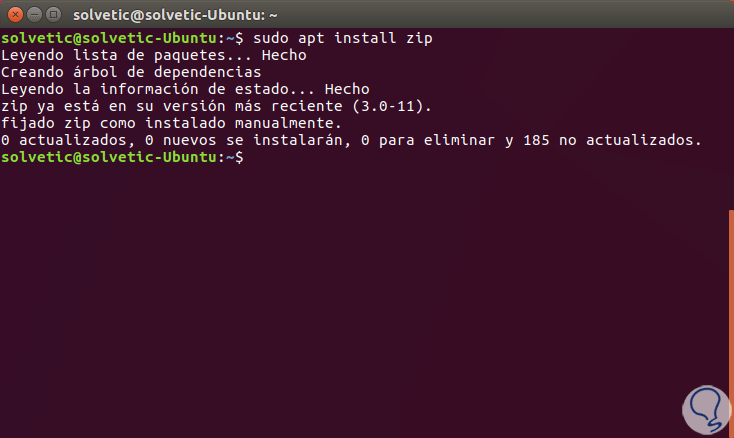
The first step to take is to install the application in our system and for this we have the following options
sudo yum install zip (CentOS / RHEL) sudo dnf install zip (Fedora) sudo apt install zip (Debian / Ubuntu)
There you have all the Zip installation commands according to the version of the Linux distribution.

2. How to create a password protected ZIP Linux file
In order to establish a password protected file it will be necessary to use the -P indicator.
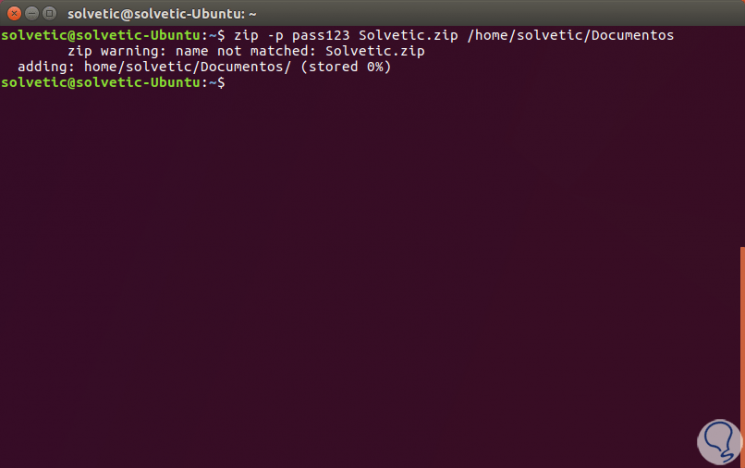
For example, to create a password-protected archive called TechnoWikis.zip from the "Documents" file directory, we will execute the following:
zip -p pass123 TechnoWikis.zip / home / solvetic / Documents /
The result will be as follows:

There we must take into account the following:
- -p: Assigns a password to the selected file.
- Pass123 Password assigned.
- TechnoWikis.zip: File to protect.
- / home / TechnoWikis / Documents: Directory where the file is located.
Although this is the practical method, it has a security flaw by entering the password directly on the terminal line.
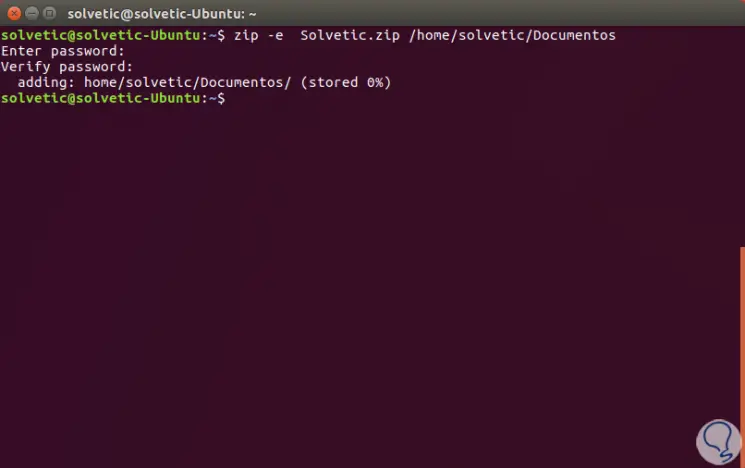
To improve security, it is ideal to use the -e indicator, which displays a warning that allows us to enter a hidden password and confirm it like this:

Finally remember that to decompress a file we must use the following syntax:
unzip file.zip
Thus, we have seen how the zip utility helps us to add extra layers of security to the necessary files.