Windows 10 integrates by default an option for the management of ISO images which can be operating systems, applications and others, so that we do not have to resort to third-party programs or the direct recording of these images, remember that a ISO image (International Standarization Organization) is a type of file that stores all the details of an original DVD, CD or Blu-Ray allowing us to access each of its objects, in Windows 10 we can use the option of “Mount†by clicking right over the ISO image and thus create a virtual drive on the computer and then view the content of that ISO :
Being able to mount an ISO image allows us to save this file in an external memory that later acts as a disk on which to run that program or software. This part of ISO assembly is done virtually and means savings in infrastructure. A problem that some Windows 10 users have presented is that the Mount option is not available and for this purpose TechnoWikis will explain how to correct this and thus allow Mount to be available for the work of ISO images in Windows 10..
We also leave you the video tutorial to enable the option to mount an ISO in Windows 10.
To keep up, remember to subscribe to our YouTube channel! SUBSCRIBE
Enable the Mount ISO option from the Control Panel in Windows 10
Step 1
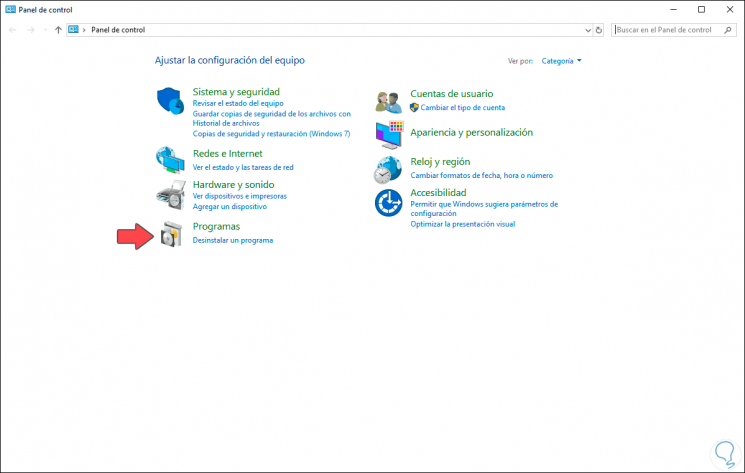
First, we will see how to do this directly from the Control Panel , for this we will go to the panel where we will see the following:
Step 2
There we select the option "Programs" and we will see the following:
Step 3
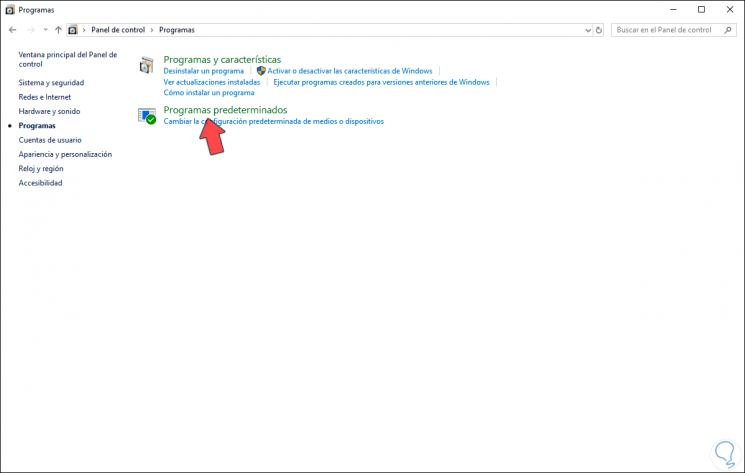
We click on “Default Programs†and we will have the following options:
Step 4
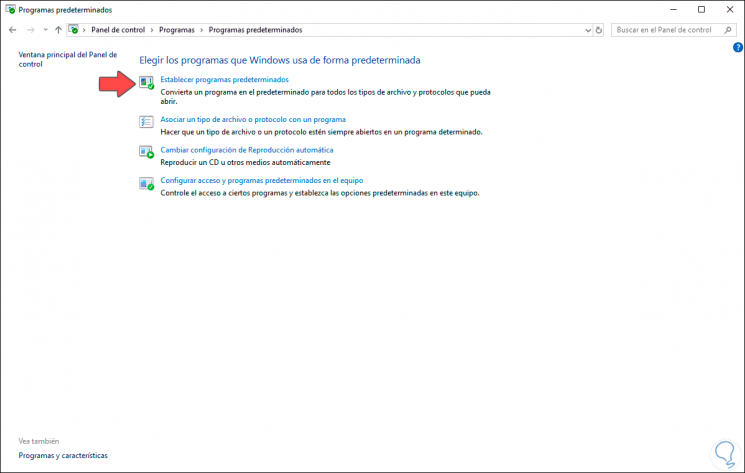
We click on the “Set default programs†line and this will redirect us to the Configuration utility. It will also be possible to access this function directly from the Configuration utility, for this we go to the Start menu and there we select Configuration, we will see the following:
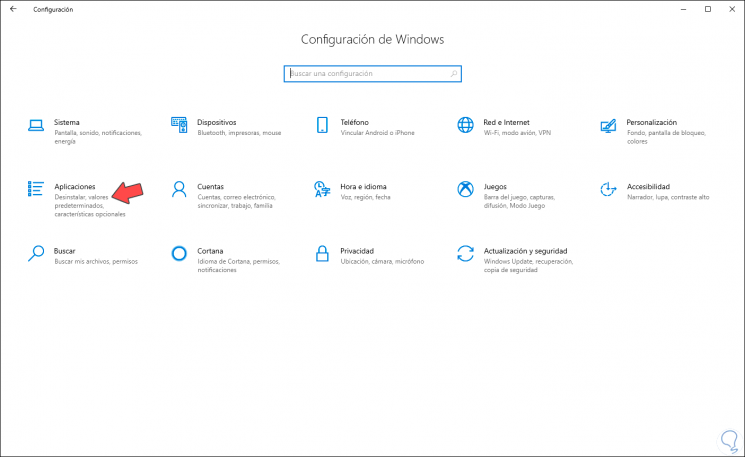
Step 5
We go to the category "Applications" and in the next window we select "Default Applications" and we will go to the end of that window where we will see the following:
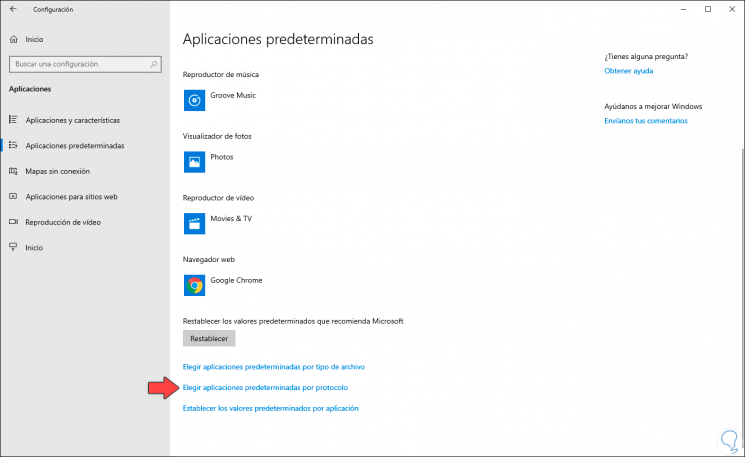
Step 6
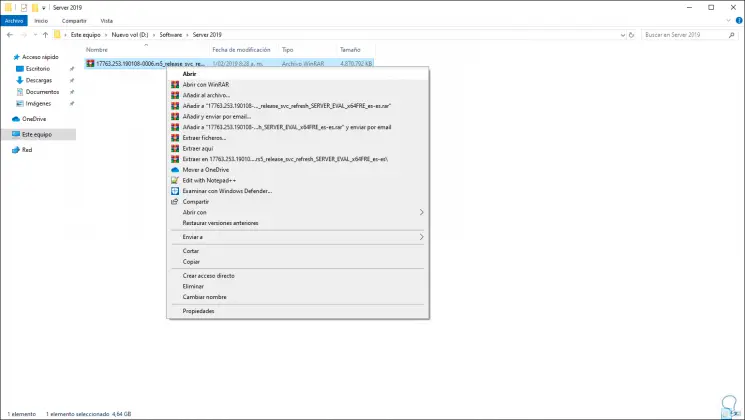
There we will click on the “Choose default applications by protocol†line and note that the Windows 10 Mount option, which is typical of the browser, is not available when we right-click on an ISO:
Step 7
Now, to get the "Mount" option, we will go to the "Choose default applications by protocol" line and click on the option "Windows disk image recorder" and the Manage button will be activated:
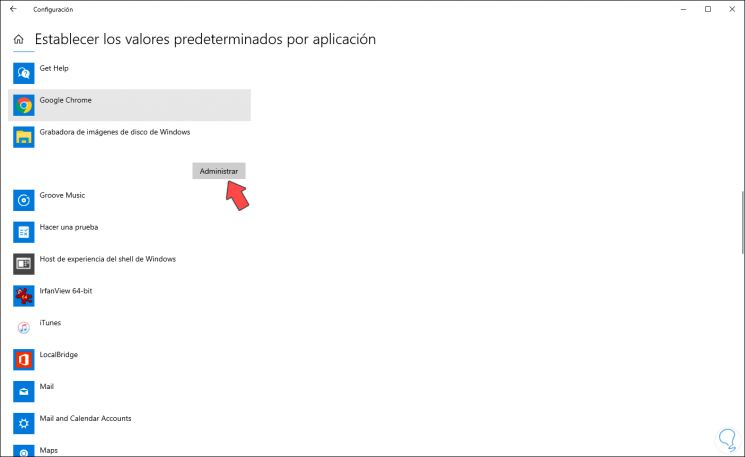
Step 8
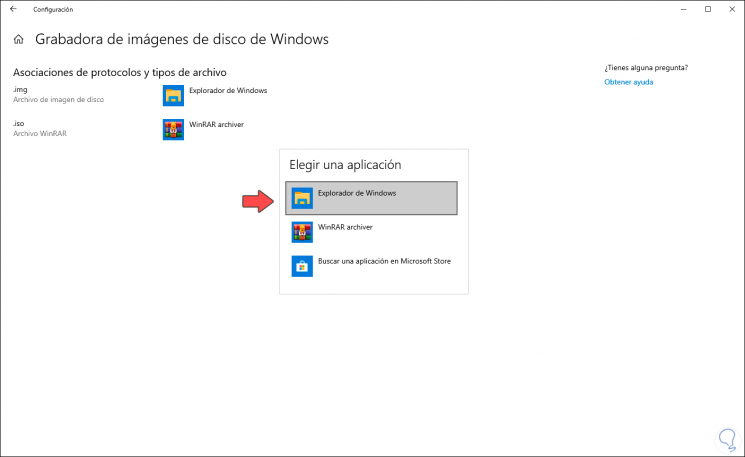
We click there and in the next window we click on .iso and in the opening options select “File Explorerâ€:
Step 9
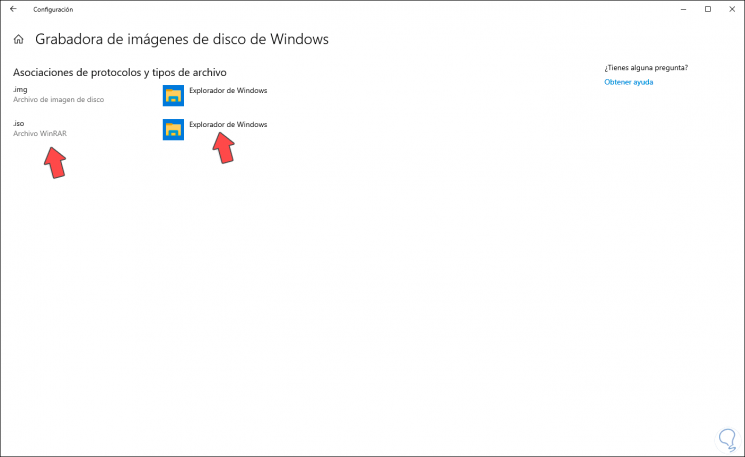
We verify that the file browser is assigned:
Step 10
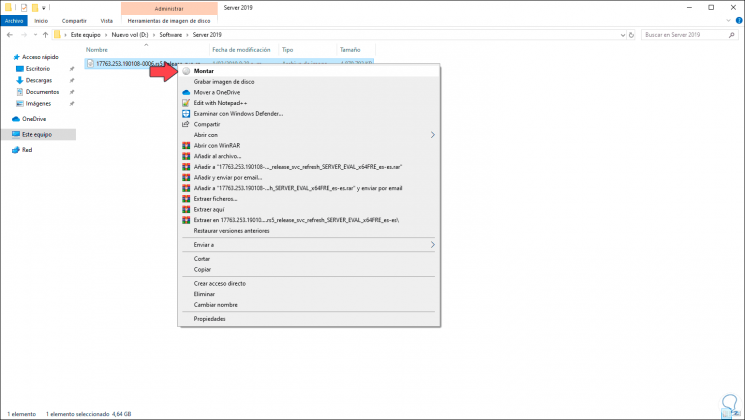
After this, if we right click on an ISO image we can see that the option Mount is enabled:
Step 11
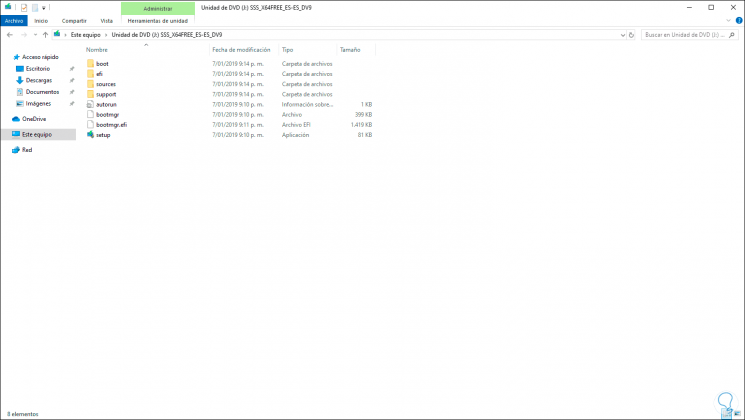
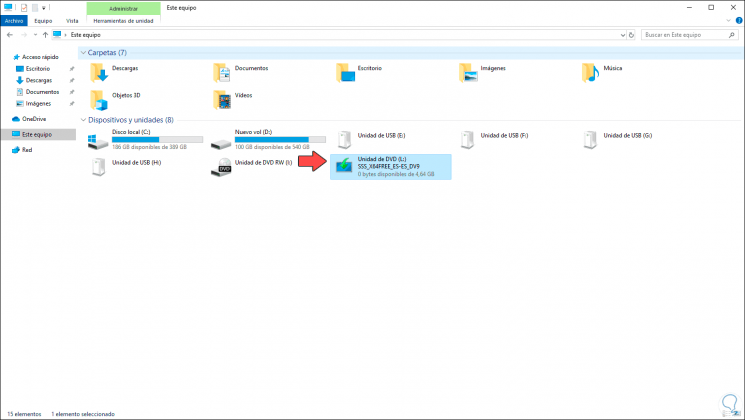
As a result, we can access the content of the selected ISO image and verify that Windows 10 will create a virtual drive with that ISO image mounted:
Step 12
When we do not want to use this ISO image anymore, we can disassemble it by right clicking on it and selecting “Ejectâ€:
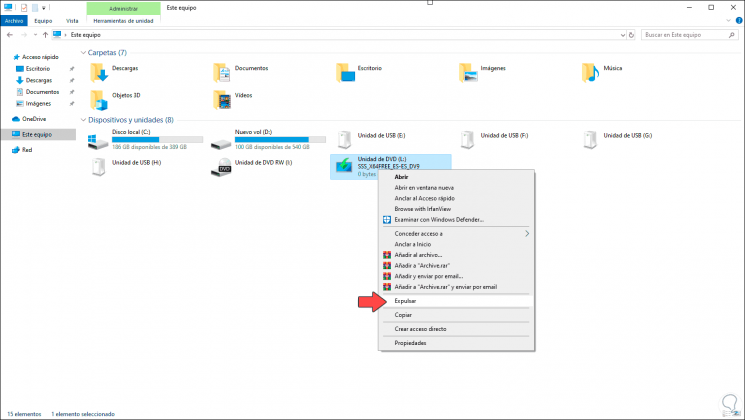
Thanks to this simple process it will be possible to mount and manage ISO images in Windows 10 and thus have full control over them..