When creating designs it is good to have different options so that the result is as original as possible. With Photoshop we have the possibility of modifying our images and creations with endless goals. In this case we will work the fusion of the text with the image, something that can give an original aspect to many projects..
It is possible that we have considered the possibility of creating text from an image that we like or that we want to be included within it. We can achieve this effect with a few simple steps that we will explain below using Photoshop CC 2017 or also Photoshop CS6.
To keep up, remember to subscribe to our YouTube channel! SUBSCRIBE
1. Create text with image fill in Photoshop with Text Mask Tool
Step 1
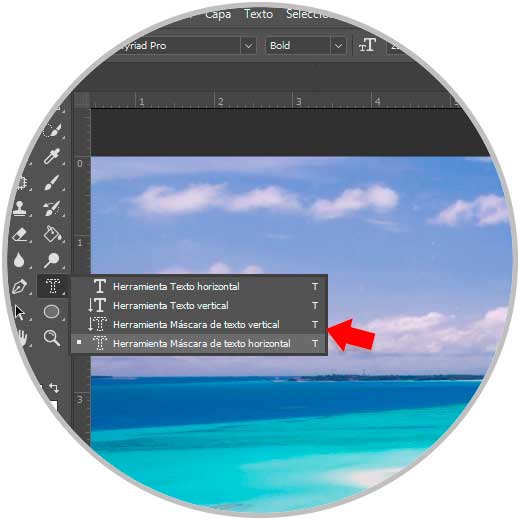
The first thing we have to do is select the image through which we want to create the text. Once opened in Photoshop, the first thing to select is the text tool, but the one that is dotted.
Step 2
We write the text we want to include in the image. We can select the size, shape etc. that we want to assign.
Step 3
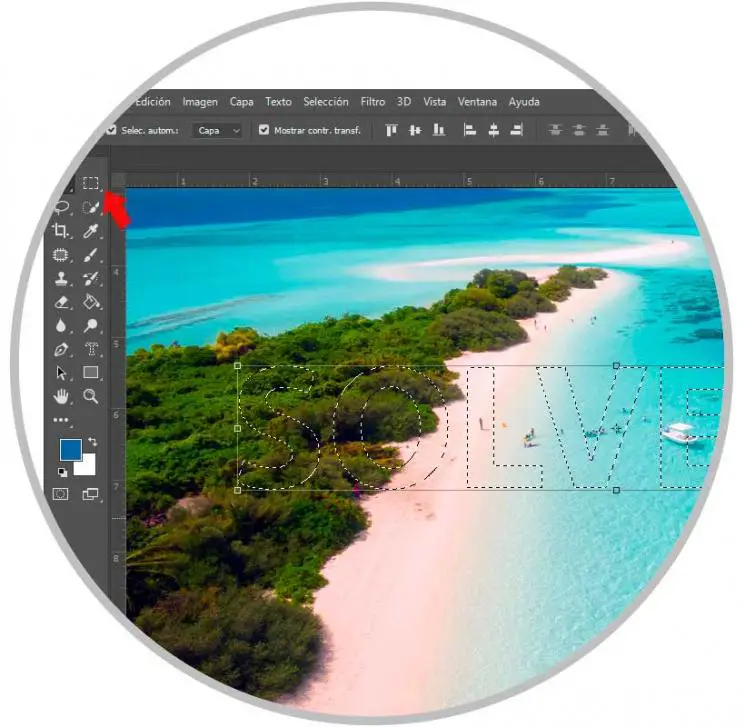
Once we have adjusted it to our preferences, we must select the tool of Marco (M). We will see in this case the letter dotted with the colors that it will later have.
Step 4
Once selected we must copy and paste the image. To do this we must press:
Windows
+ C Ctrl + C
+ V Ctrl + V
Step 5
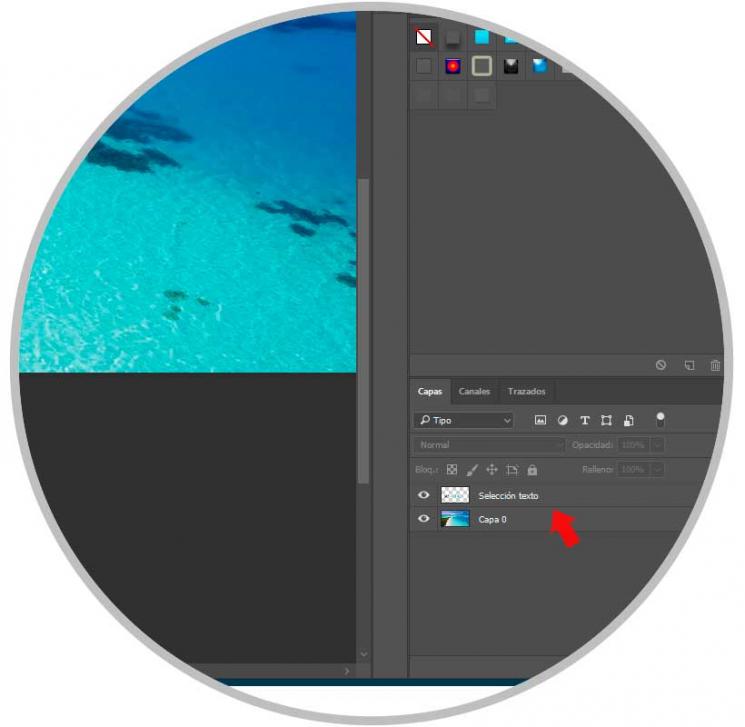
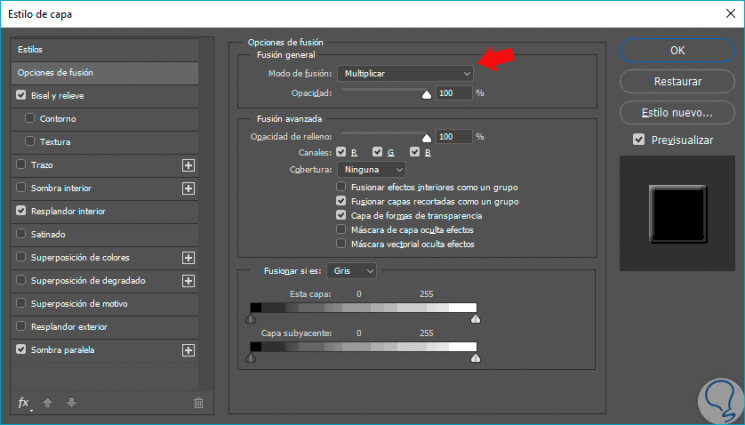
Now we must double click on the layer that has been duplicated and a new window will open. In this new window we have to select "Multiply" in fusion mode.
The next thing we have to do is adjust the effects we want to give the lyrics. We can add parallel shadow, opacity, saturation ... We can modify these elements until we have a result that we like..
Step 6
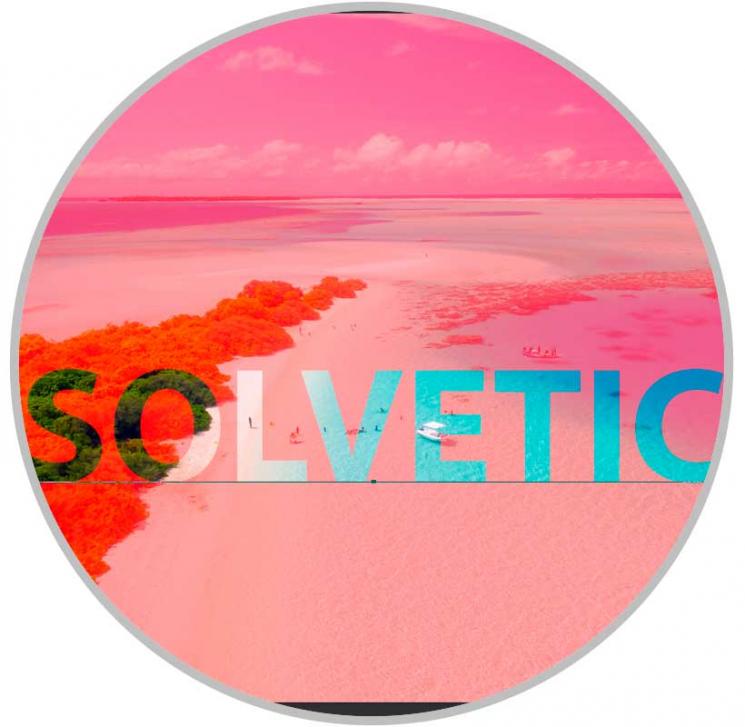
We already have the text included in the image that we have selected.
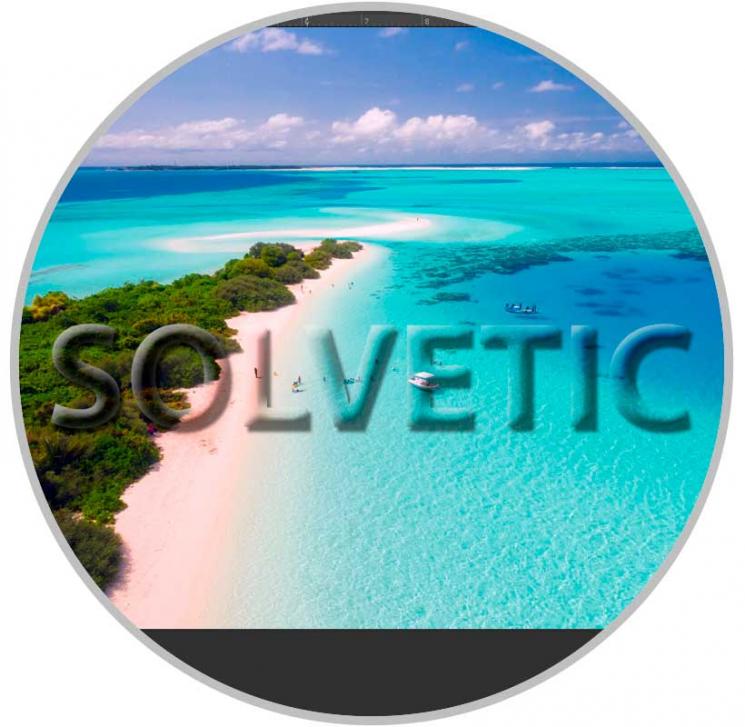
Step 7
If we want to get only the text and remove the background, we can also do it. We have to select the layer that corresponds to the background and remove it. We will remain in this way the text without the background but filled with the background of the image.
2. Create text with image fill in Photoshop with Clipping Mask
Step 1
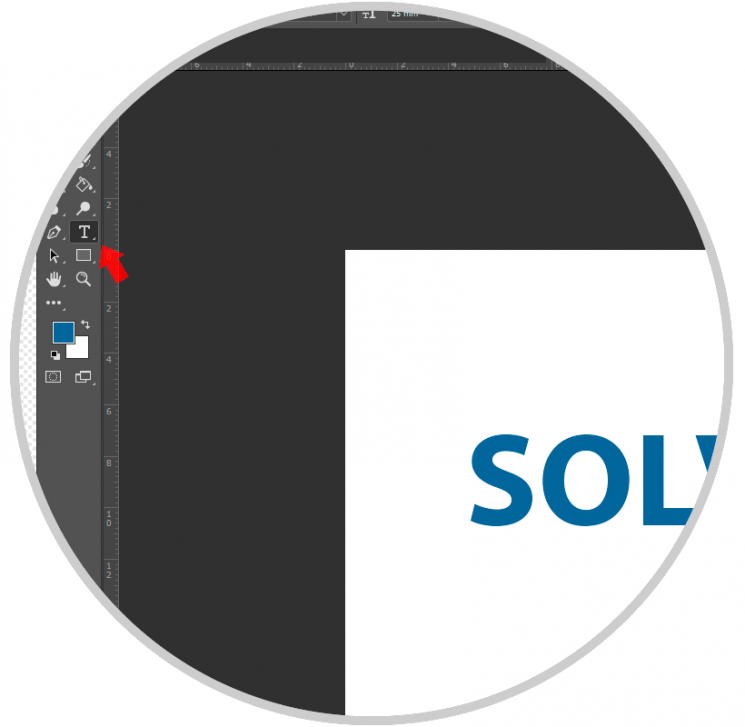
The first thing we will do is create a new layer of text, for this we click on the Text tool and write our idea.
Step 2
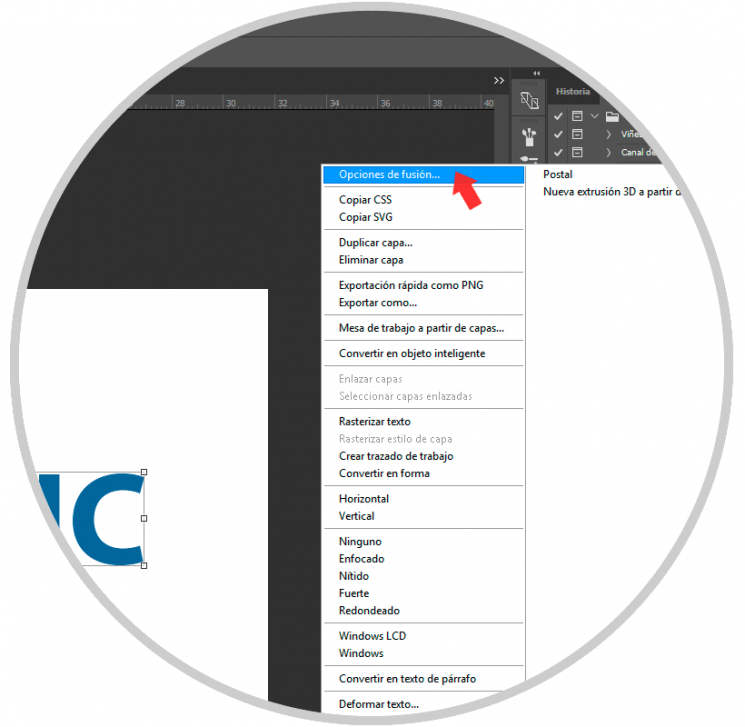
Now we will shape our text by editing your visual preferences. To do this, right click on the Text layer and select “Merge Optionsâ€.
Step 3
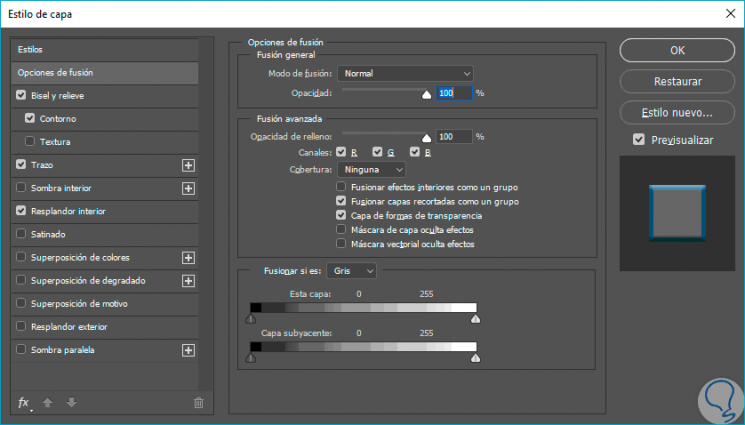
Here we can add effects such as contour, shading, texture ...
Step 4
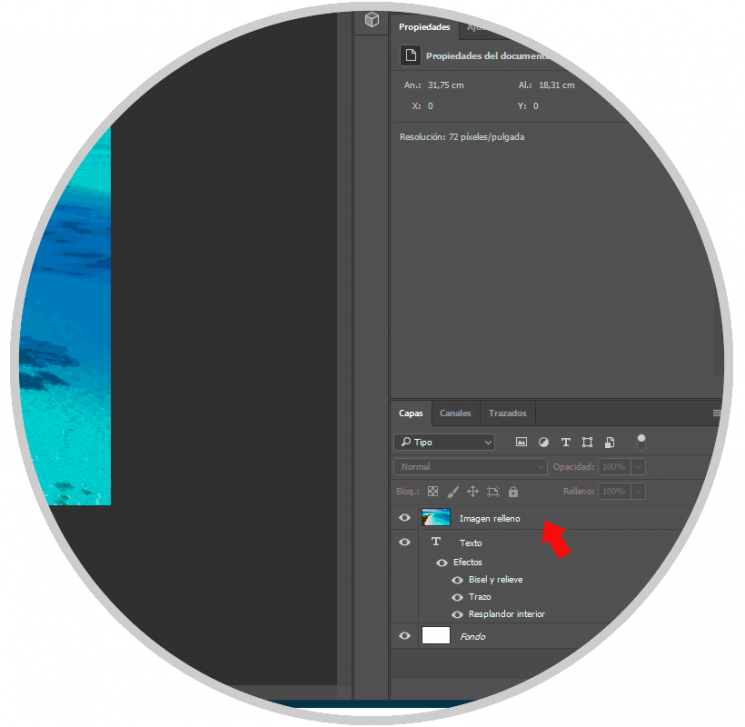
Once we have our text, we will drag the image we want to fill into the project where we are working and place it above the text layer.
Step 5
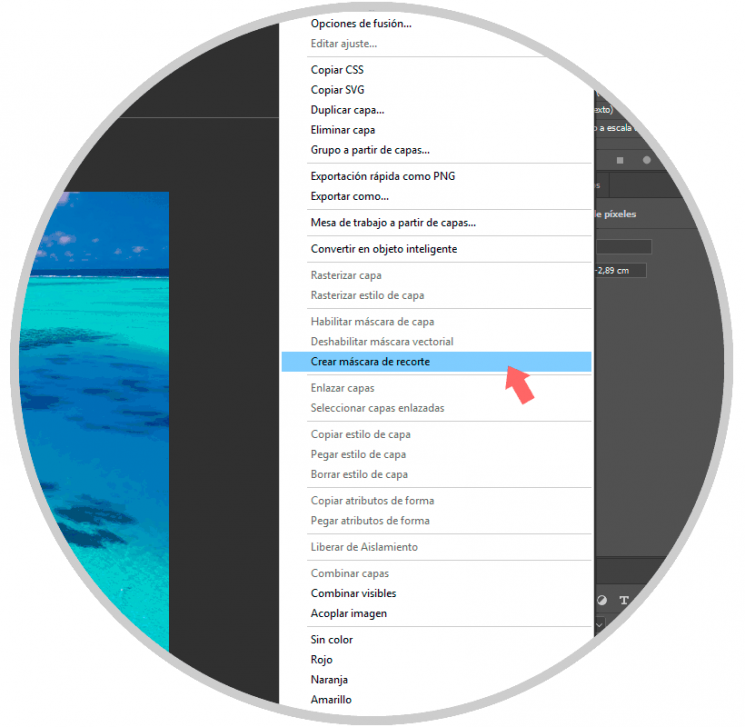
Now on this fill layer we will right click and select “Clipping Maskâ€.
Step 6
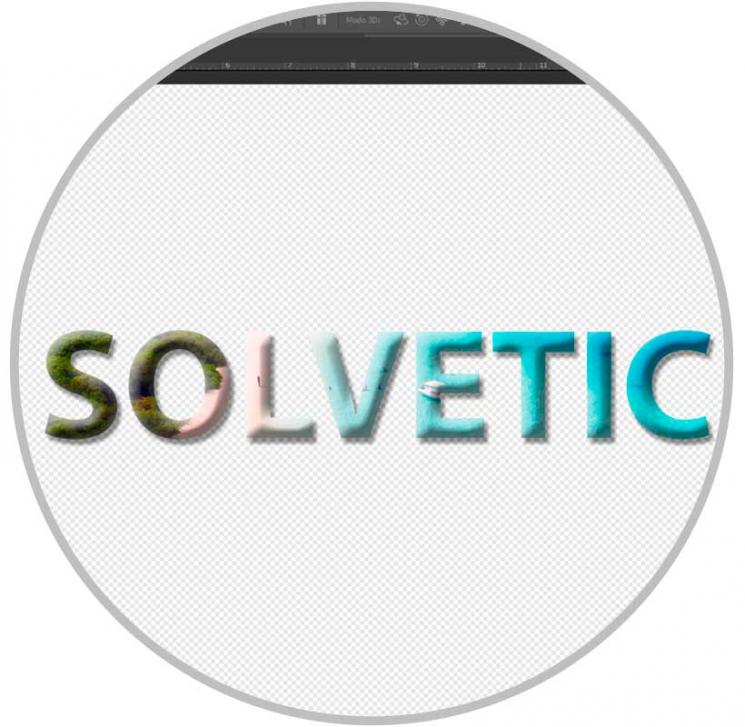
As we see our text has adopted the filling of the image that we have selected. We can move the fill layer so that the final selection varies.
And voila, we already have our lyrics created from an image with Photoshop CC 2017.