Sometimes what we have in mind is not fully portrayed in the photographs we take and that is why it is important that we know editing tools. You have to keep in mind that taking the picture that is most true to our goal is important, but it also should not be a giant headache since we will have a plan b, postproduction..
Many times we take pictures without realizing that there are external elements that come into our field, this is something that gives rage but has a solution. You may also have notes that, according to the social network, the proportions of the image are different.
For all those cases in which we have to change the measures of our image today we will see how to crop an image in Photoshop CC 2017 or CS6 with the Crop tool..
To keep up, remember to subscribe to our YouTube channel! SUBSCRIBE
1. Crop image with basic options in Photoshop CC 2017
Step 1
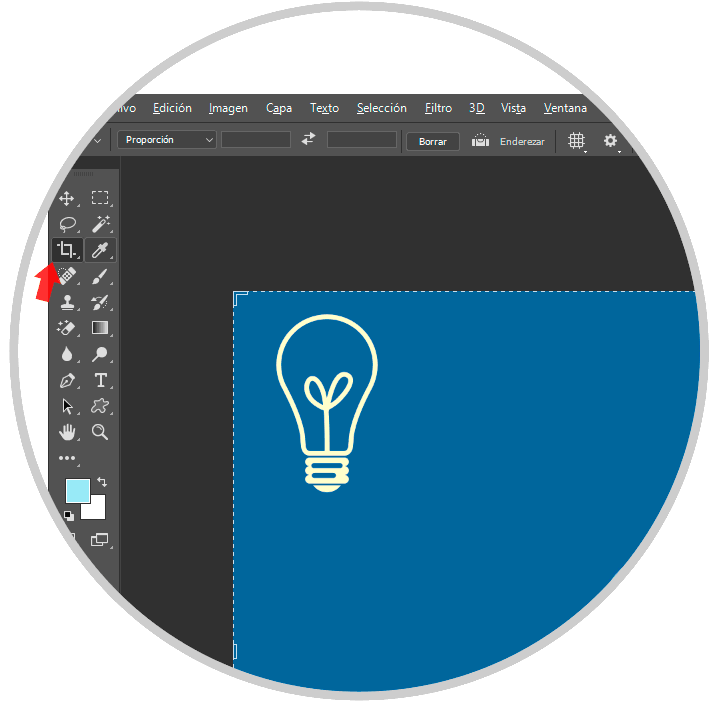
We select the “Trim†tool from our tool panel. You will see the corners appear for editing. As a shortcut you can use the C key.
C
Step 2
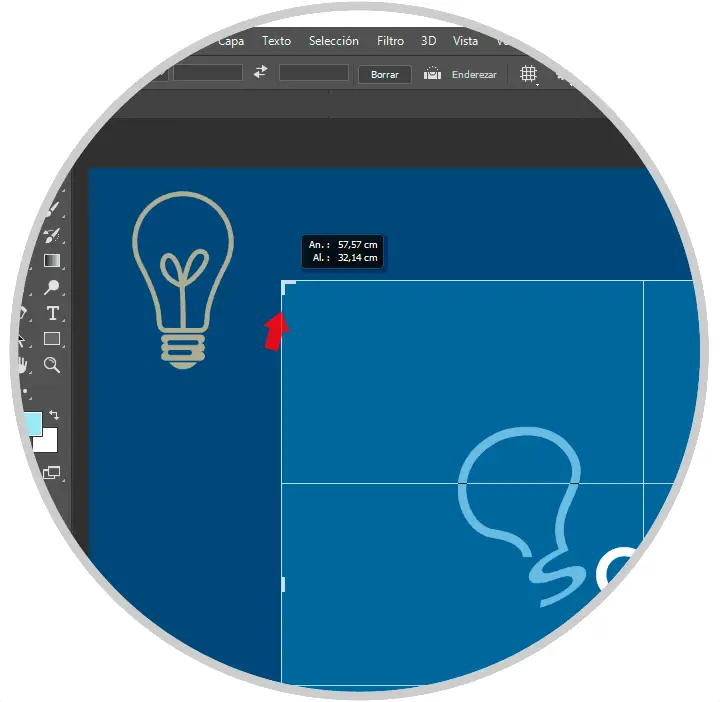
Now we will drag the markers that appear in the corners of our image to cut.
Step 3
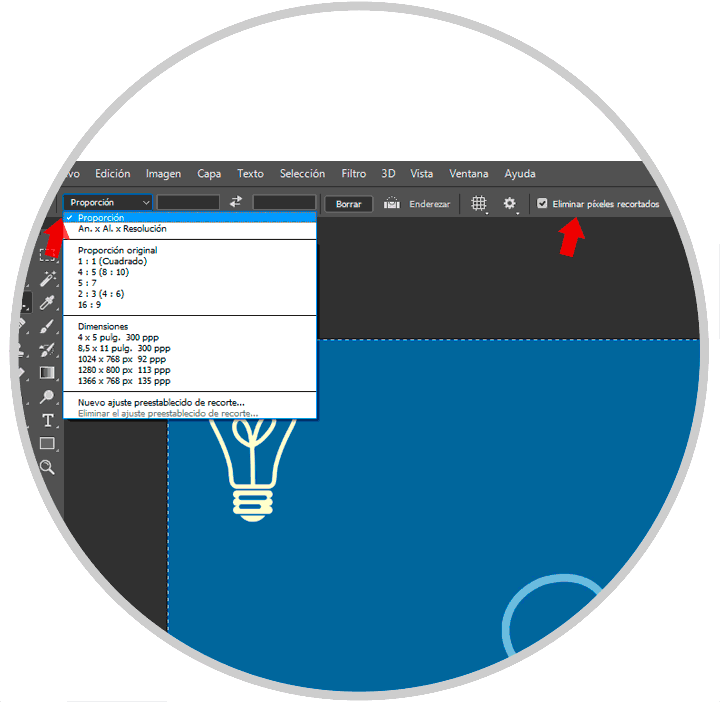
We can use the options bar to crop our image since different proportions come predefined.
Note
You can select the option of “Select clipped pixels†if we want to cut out the pixels outside.
2. Crop and scale image based on content in Photoshop CC 2017
Sometimes we need to resize an image, rotate it or crop it, but there are leftover margins, especially in turn changes. Let's see how to use the Content-Aware or "According to content" option.
To protect the content of an image and not affect the pixels there is an option to scale according to the content and its native scale thanks to an alpha channel.
Step 1
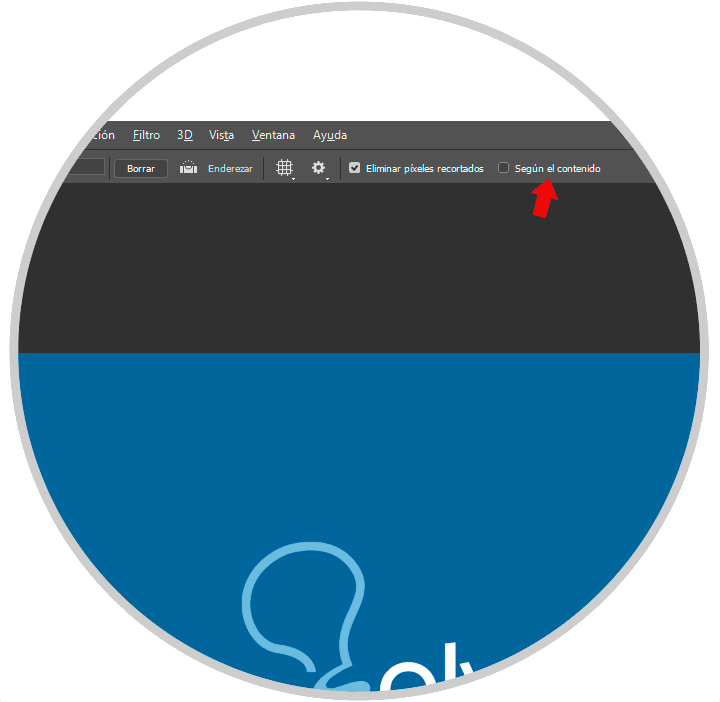
To activate it, we will go to the options bar when we select the “Trim†tool. We activate the “According to the content†box.
Step 2
Now we just have to rotate our image to see how the content is protected and adapts to the clipping we are doing. We see that, by straightening our image, this Content-Aware option automatically fills the edges so that they end up coinciding with those of the image.

3. Change proportion of according to content in Photoshop CC 2017
Another option offered by Content-Aware is the possibility of moving to a different aspect ratio such as square to horizontal and that empty areas of the borders are automatically completed.
Step 1
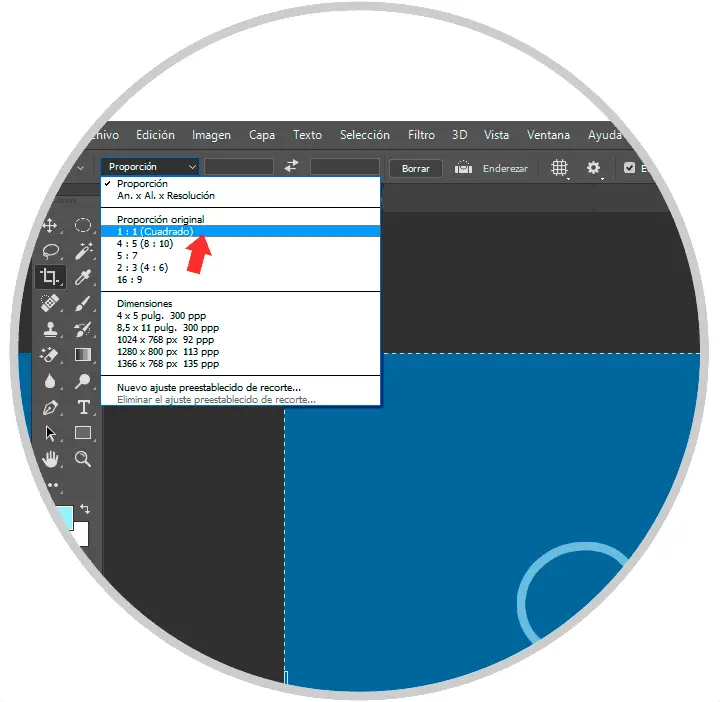
We select our Clipping tool and in the relationship options we saw earlier we will choose the 1: 1 or Square ratio.
Step 2
We see that if we drag the relationship points of the edges an empty area is generated in the upper and lower edge.

Step 3
Select the "According to content" box on the options bar and then press the check. You will see how the image changes in proportion and the empty areas are filled with matching content.

4. Crop two images to the same size in Photoshop CC 2017
Another interesting function that you may sometimes need is to crop two images of different ratios and transform them to the same size using Crop.
Step 1
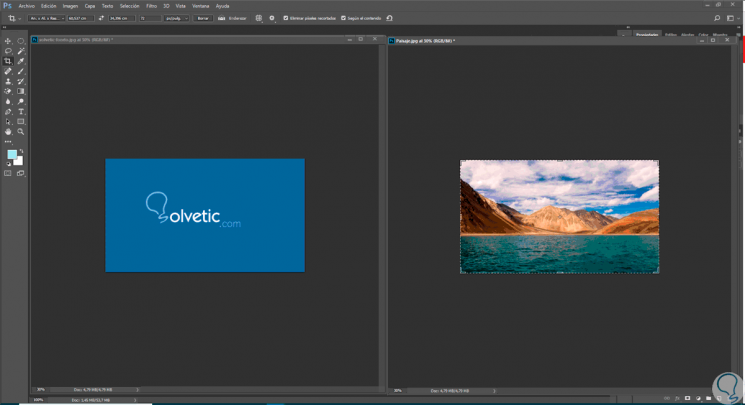
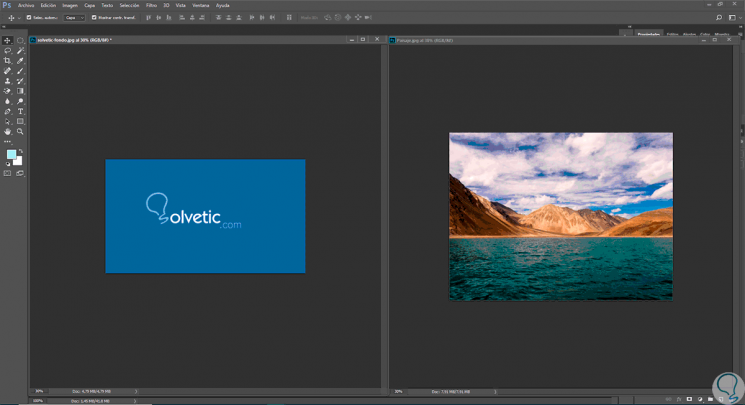
We open two images next to each other and put them at the same percentage. In this case the image on the left will be the size that we want to establish as common.
Step 2
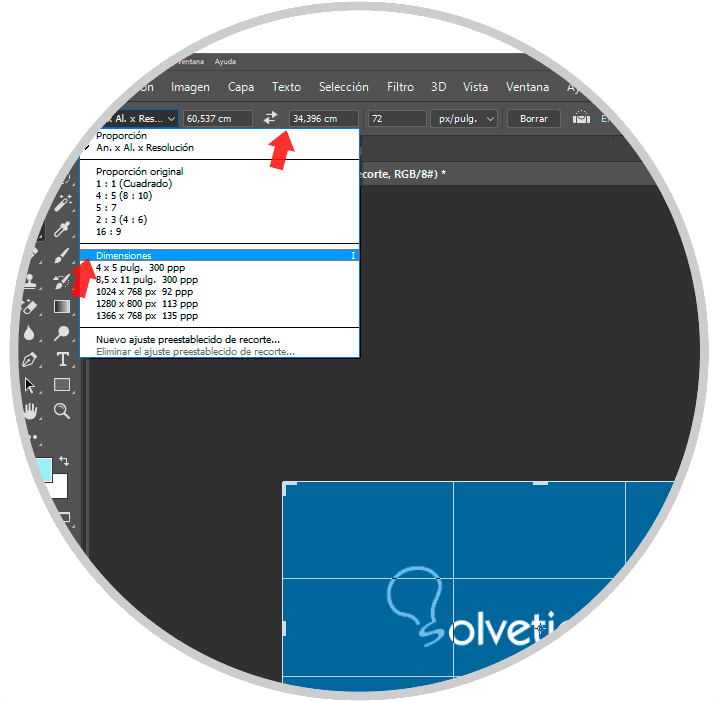
Select the tool "Trim." In the list of Resolution, width and height options, we will choose “Front image†or “Dimensionsâ€. With this we will place those measures of the image in the options bar.
Step 3
Now click on the other image and we see that the frame is placed with the measurements of the first image. Now we just have to place it as we want and we will have the same size in both images.
