In these dates resorting to graphic design can be a good option if we want to be original in our Christmas images. The final image we show is not always the original one taken, in fact, today it is the least likely. We have the advantage that we can always improve almost everything..
Today we come to teach you how to add outdoor environment, in this case play with the weather adding snow sensation. Taking out all the equipment in full snow is uncomfortable and can be negative so the postproduction will get you out of trouble. With this cold a stamp like this will be much better adding snow as intense as you want.
Don't miss out how you can create a snow effect using Photoshop CC 2017..
To keep up, remember to subscribe to our YouTube channel! SUBSCRIBE
1. Create snow environment in Photoshop CC 2017
Step 1
The first thing we will do once we have our photography open is to give it atmosphere. To do this, we will go to the Settings Panel and insert a Blue filter from “Photo Filter†to give it a cold context. Give this blue filter layer an Opacity of 75%.
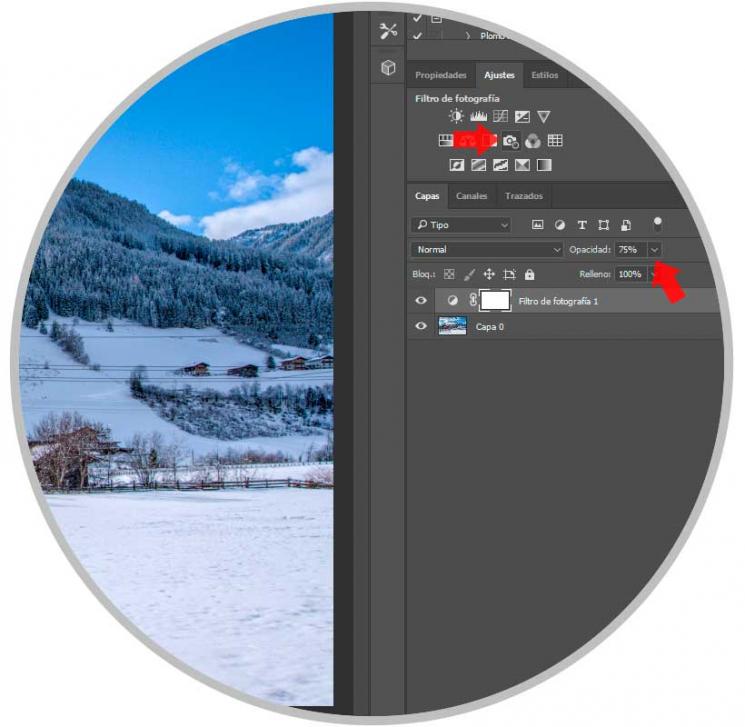
Note
If this option does not appear, go to the “Window - Settings†menu to display them.
Step 2
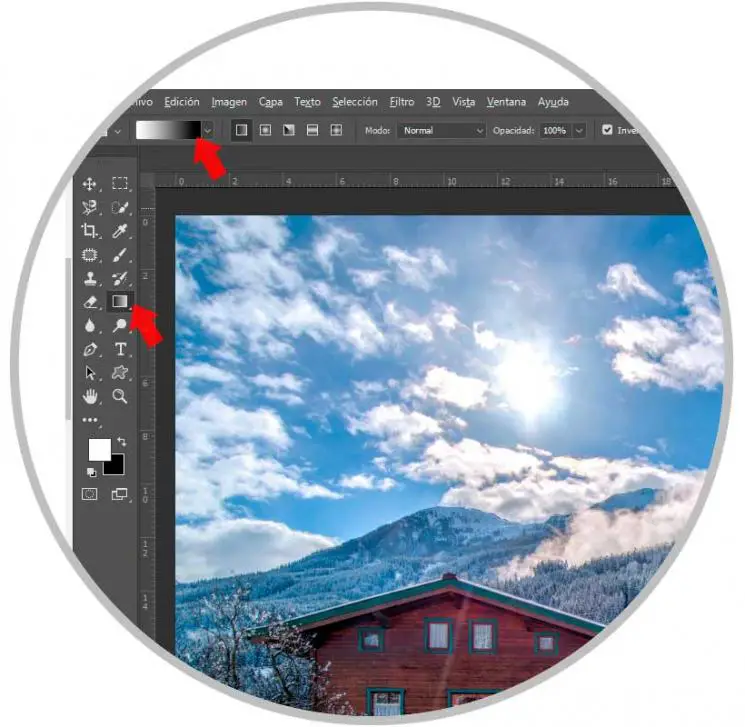
Now we will play with the force of color in the foreground. To do this we go to the Black and White Gradient tool. Apply the effect by dragging from the bottom of the image by holding the Shift key so that it is applied straight.
Step 3
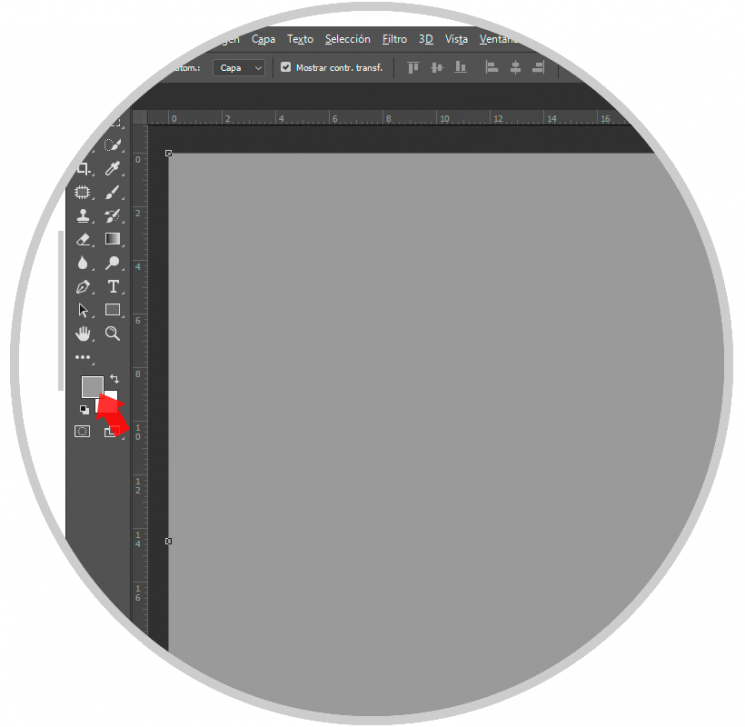
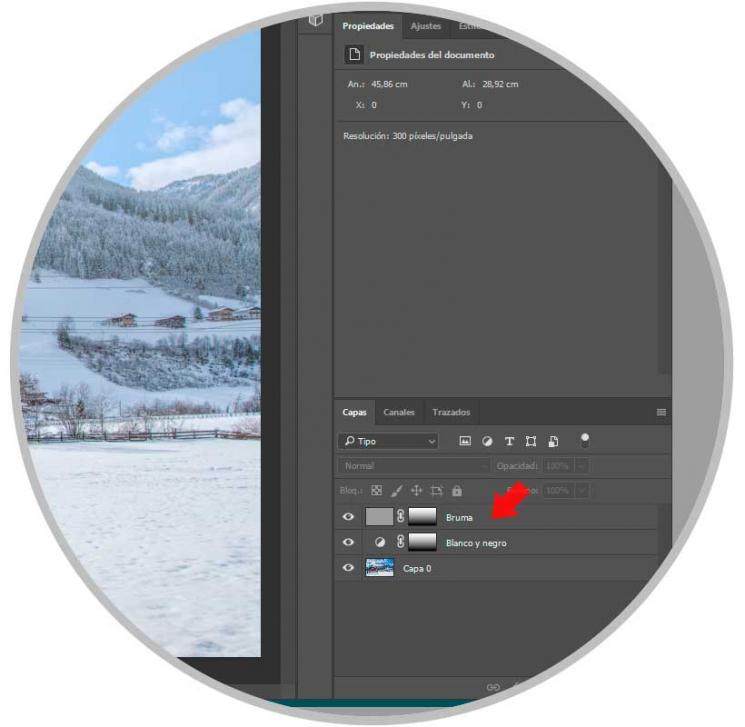
We will generate a haze effect to improve the snow edition. To do this go to the front color and select a grayish hue. Now create a new layer (Ctrl + Shift + Alt + N) and with the following combination we will fill that layer with the gray color that we have selected.
+ Alt +
Step 4
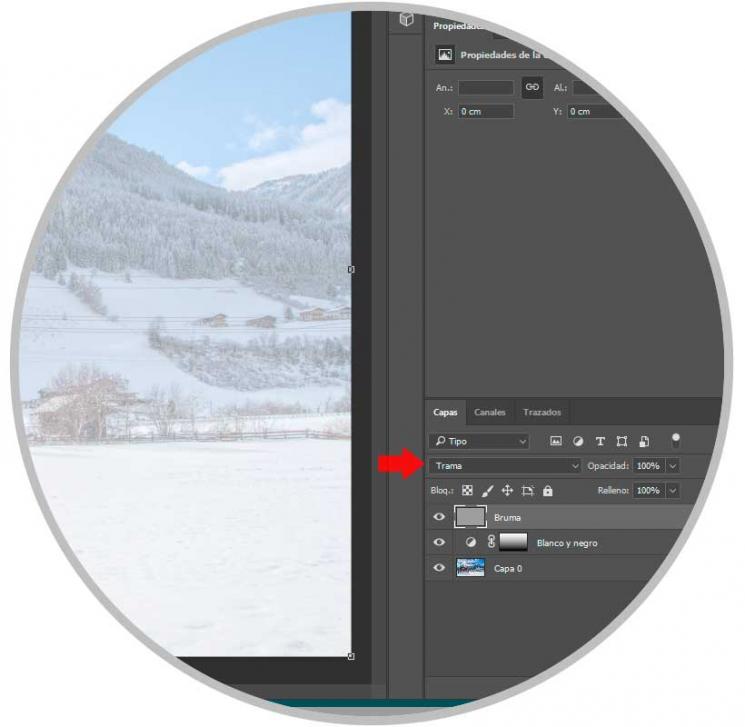
Change the blending mode of the layer to Raster so that the main image is merged with it.
Step 5
Select the layer mask in the “Black and White†layer and while holding down the Alt key drag and drop over the Mist layer. With this we will make the gradient affect both layers.
2. Create snow effect in Photoshop CC 2017
Step 1
Once we have given atmosphere to our image we can begin to add our snow effect. Create a layer and fill it completely with black as you saw in step 3 above with the color gray.
+ Alt +
Step 2
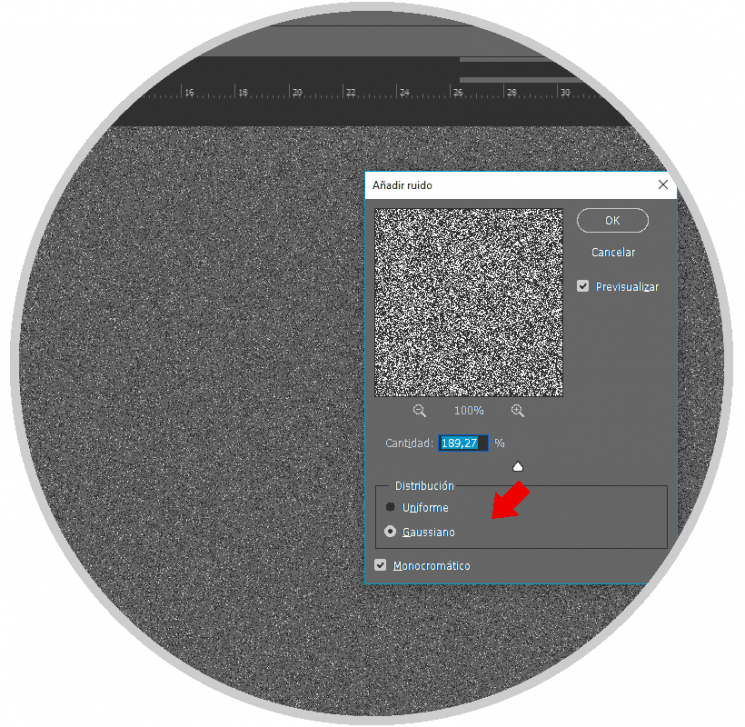
Go to Filter - Noise - Add noise and place values ​​between 150 and 200 by checking the "Monochromatic" and "Gaussian Distribution" box.
Step 3
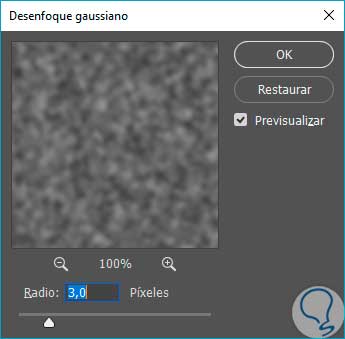
Now go to "Filter - blur - Gaussian blur". We choose a value between 2 and 4.5 until we see a result similar to that of the image.
Step 4
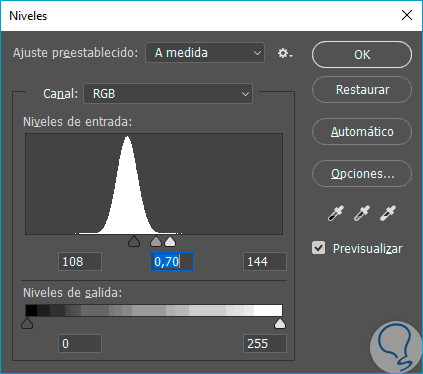
On this image we will go to Image - Adjustments - Levels and we will move the input levels of Black and White until we get the closest thing to snowflakes. The values ​​will depend on the noise previously applied but to guide you the controls should be applied in a similar way to this image.
Step 5
From this layer we pass the blend mode to Raster so that the black color disappears and merges with the rest of the image.
Step 6
Duplicate this layer with the following combination and call them "Main Snow" and "Bottom Snow".
+ J Ctrl + J

Step 7
We will play with the depth of the snow. To do this, hide the “Main Snow†layer and select the “Background Snow†layer. Then go to "Filter - Blur - Gaussian Blur". Select a value of 3-4%.

Step 8
We leave the other layer visible again and press the following combination to enter the transformation mode.
+ T Ctrl + T
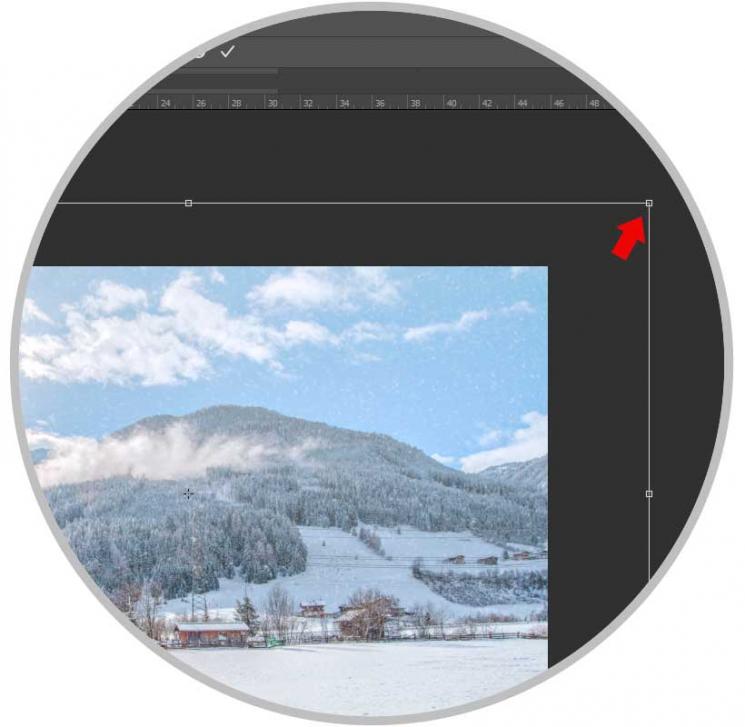
Step 9
While pressing the Alt key we will move the corner of the edit box and expand it so that the flakes are larger. When you finish press the Enter key.
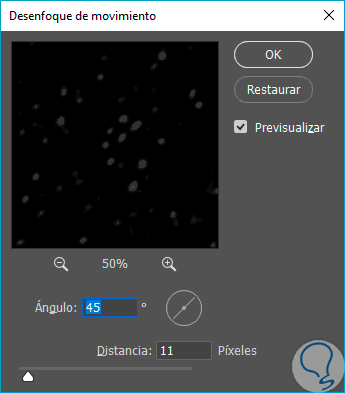
Step 10
We will apply some movement also in the "Snow background" layer. Let's go to Filter - Blur - Motion Blur. Choose the angle you prefer and a distance value of about 10-11 pixels.
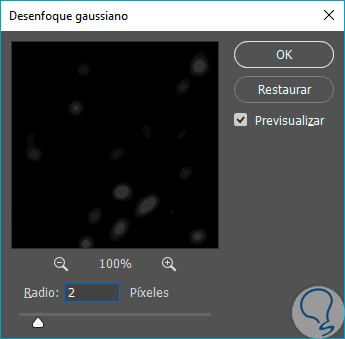
Step 11
So that they are not very sharp we will soften this snow layer by going to “Filter - Blur - Gaussian Blurâ€. Select a value of approximately 2%.
Step 12
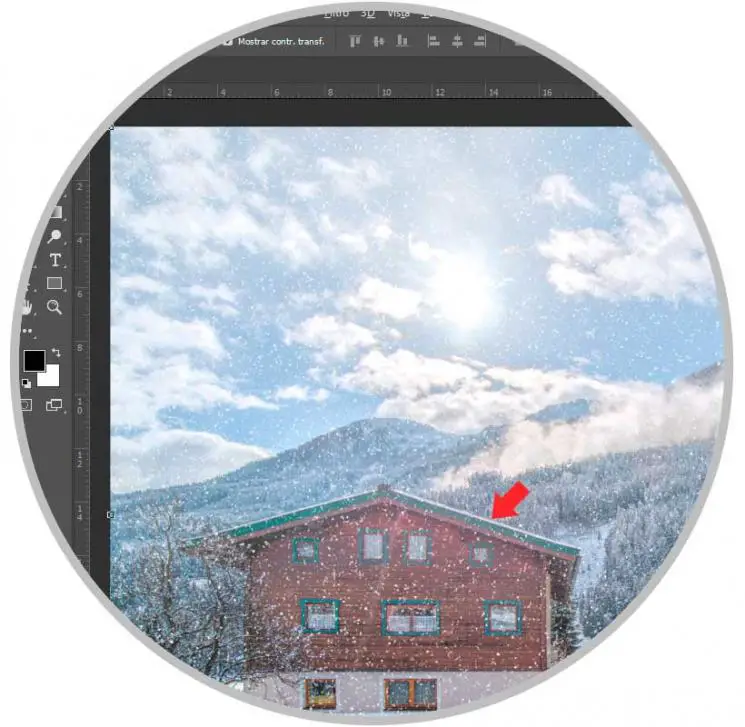
We already have our snow falling but we can improve it if we want to create a layer mask in the layer of “Snow Background†in the elements closest to the foreground because it is the layer that we have allocated to the depth. Add a layer mask to this layer and use a soft black brush to erase in this case over the house.
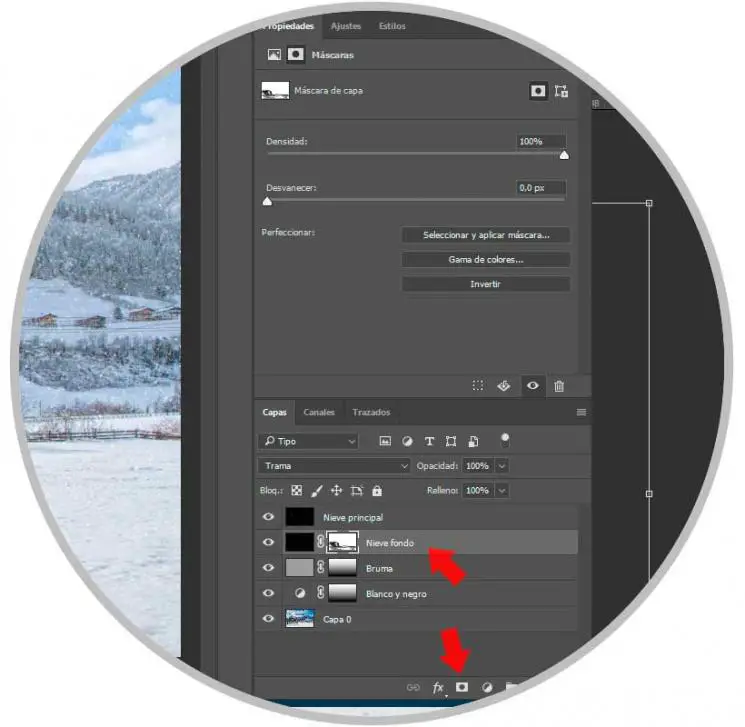
Step 13
As a last we can improve the density of our snow effect by creating more layers and generating more depth. To do this, duplicate the “Snow Background†layer as many times as you want by modifying the Opacity and rotating it so that there is variation.
Step 14
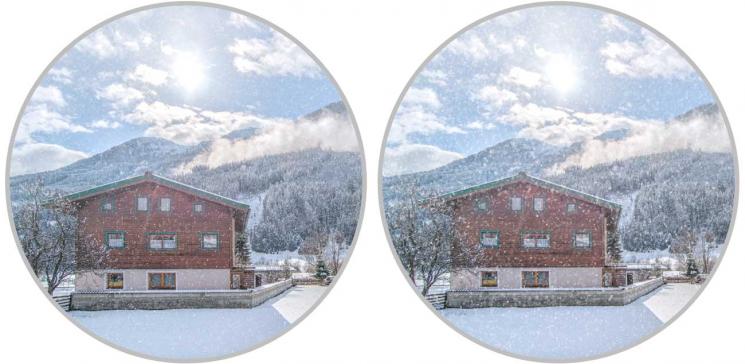
Finally we would have our image with snowing effect. You can group all layers and use it in other images directly.
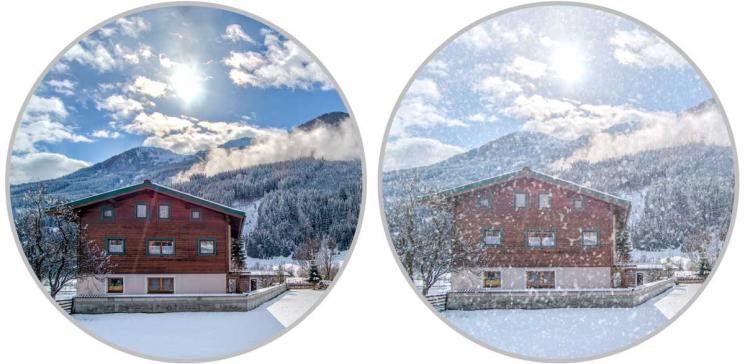
In this way we can see how our image varies before and after applying the snow effect using Photoshop CC 2017.