Sometimes we seek to create a different effect to our images that give new results. There are many possible options thanks to digital editing with tools such as Photoshop and that's why we like to get the most out of it. Today we will show an effect that can be really attractive, double exposure..
To be able to create double exposure in Photoshop CC 2017 it is advisable to have an image with a background as smooth as possible or try to eliminate imperfections or everything directly for a cleaner result. We leave you the tutorial to be able to remove the background of an image:
Let's see how to create this double exposure effect in Photoshop CC 2017 also compatible with CS6.
To keep up, remember to subscribe to our YouTube channel! SUBSCRIBE
How to create a double exposure effect in Photoshop CC 2017 or CS6
Step 1
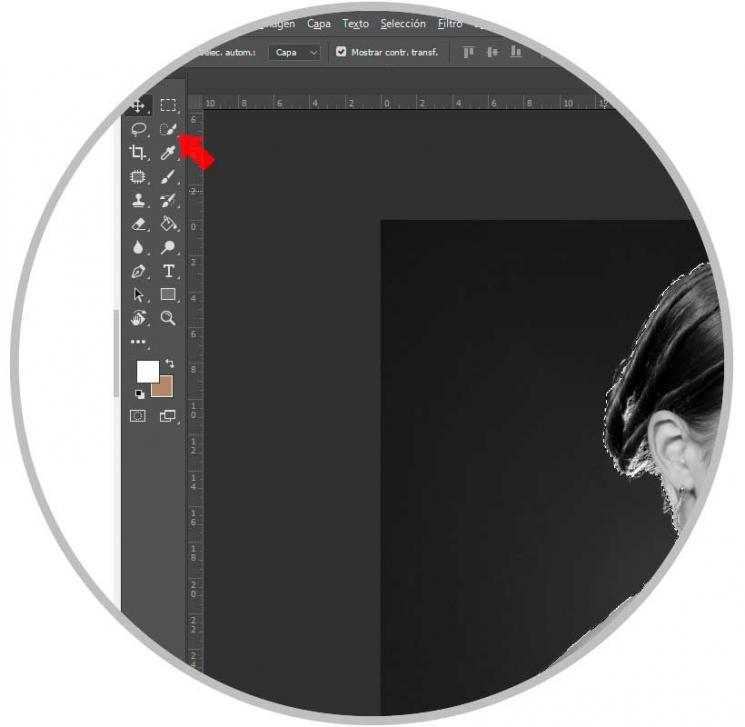
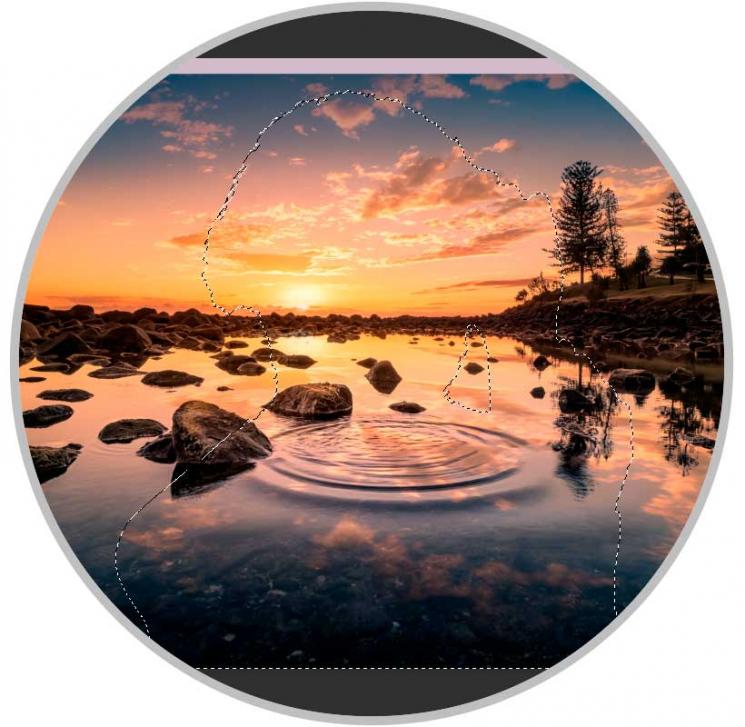
Once we have our image with a clean background we proceed to use the quick selection tool to choose the image that we then want to merge. Enter the border options under "Select and apply mask" to detail the options.
Step 2
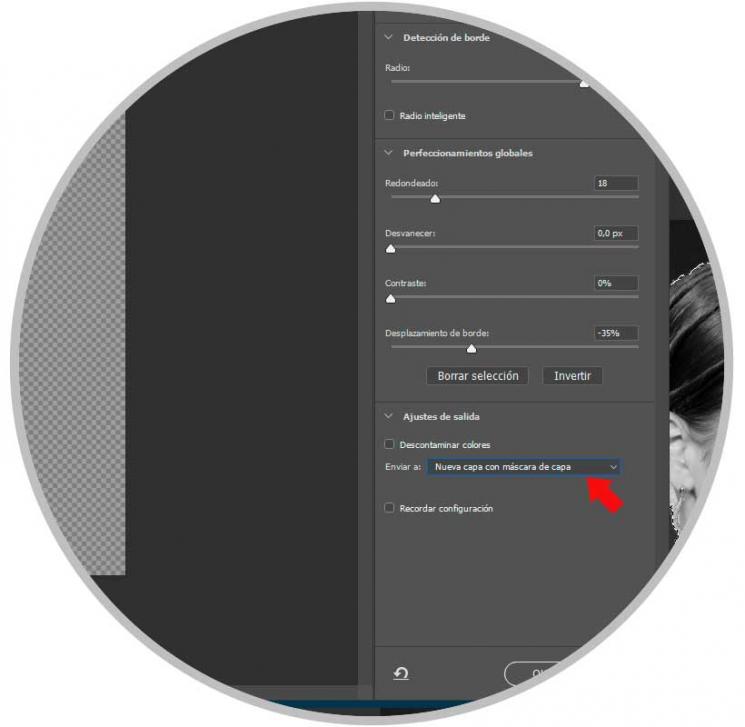
Once within the options we will increase the Radio option a bit so that they are not too hard edges and do not leave out details such as hair. Once we have a good selection of our image we will click on “Send - New layer with layer maskâ€
Step 3
With this we will have managed to have our initial layer but with the hidden background thanks to the “Layer Maskâ€.

Step 4
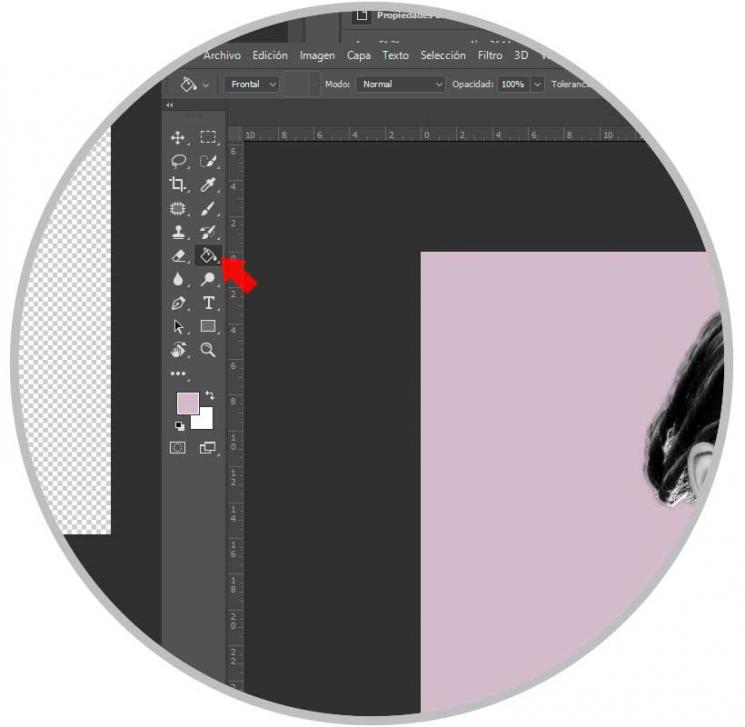
Now we will create a new layer under the previous one created with a mask and fill it with the color that we preferred for our photography. For this we will use the Paint can.
Step 5
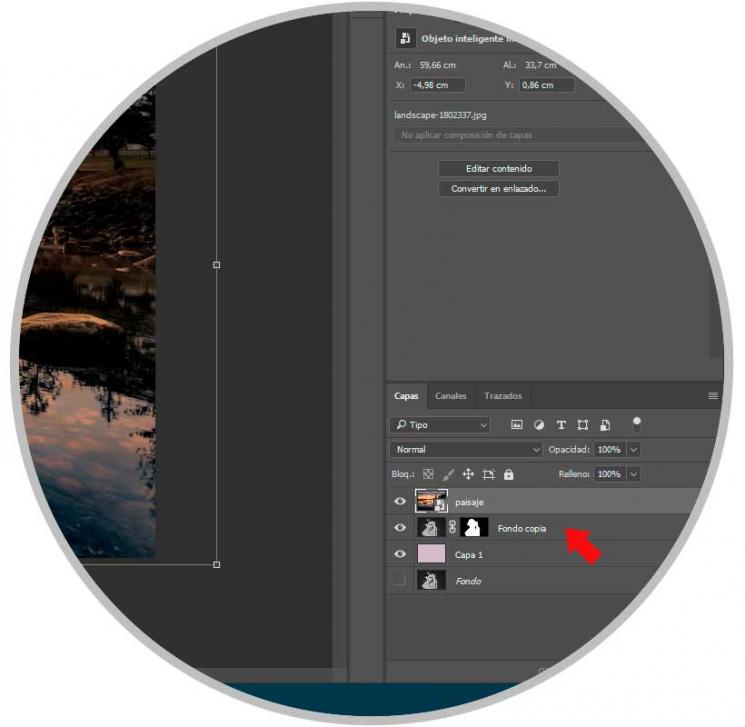
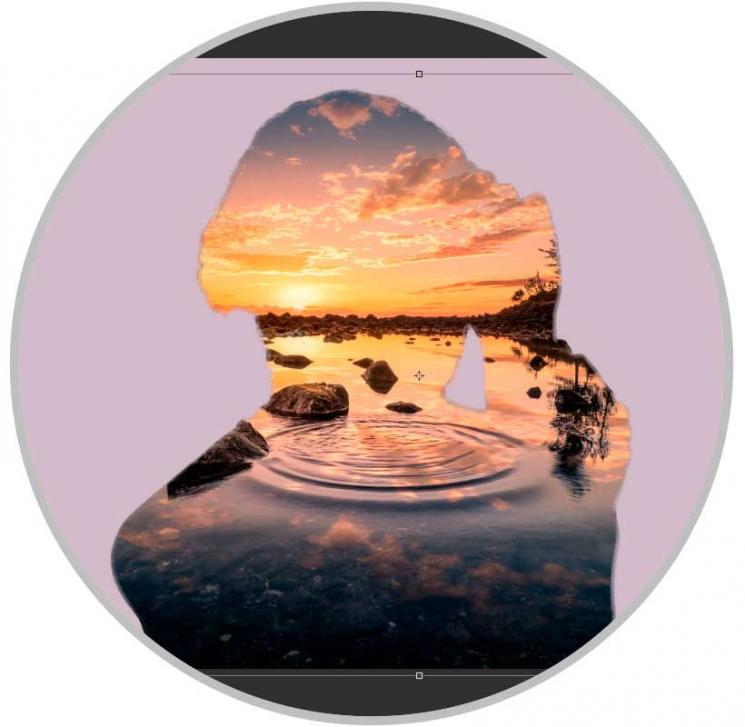
Now we will go to the photograph we want to merge with our main image, in this case we have chosen a landscape. We drag this image to our main document. We place the image of our landscape on our model with the layer mask.
Step 6
Now while we select the layer of our landscape we press the Control key and click on the layer mask. We will see how the outline of the girl appears on the landscape.
Step 7
With the layer of our landscape selected, we will go to the option “Add layer mask†and we will see that the landscape adapts the figure of our main image.
Step 8
If you look at the landscape layer and its layer mask you will see that they are joined by a link symbol which, if we click on it, will disappear by unlinking the layers. In this way we can move masters elements and thus work the contour of our image within our mask without having to shift everything.

Step 9
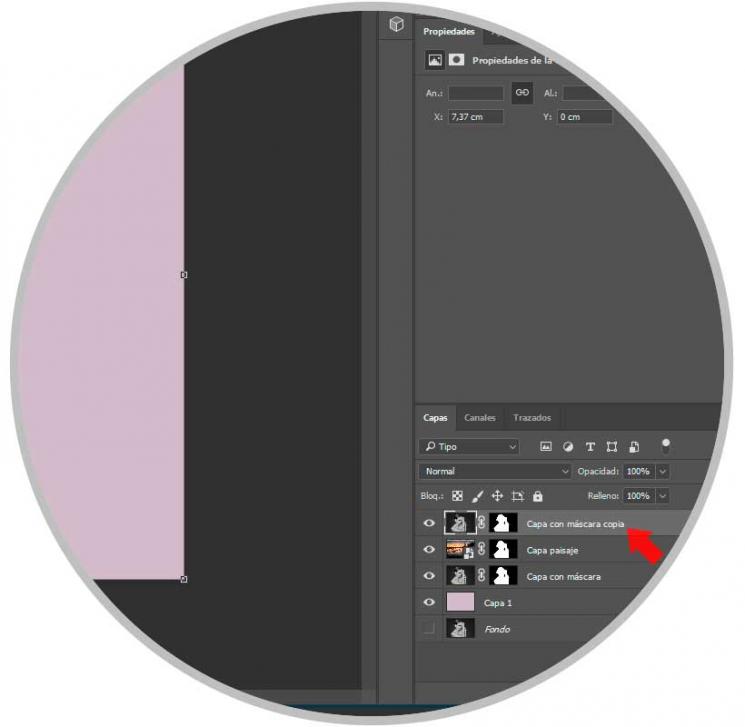
We duplicate the Layer with mask with the following combination and place it above our landscape layer.
+ J Ctrl + J
Step 10
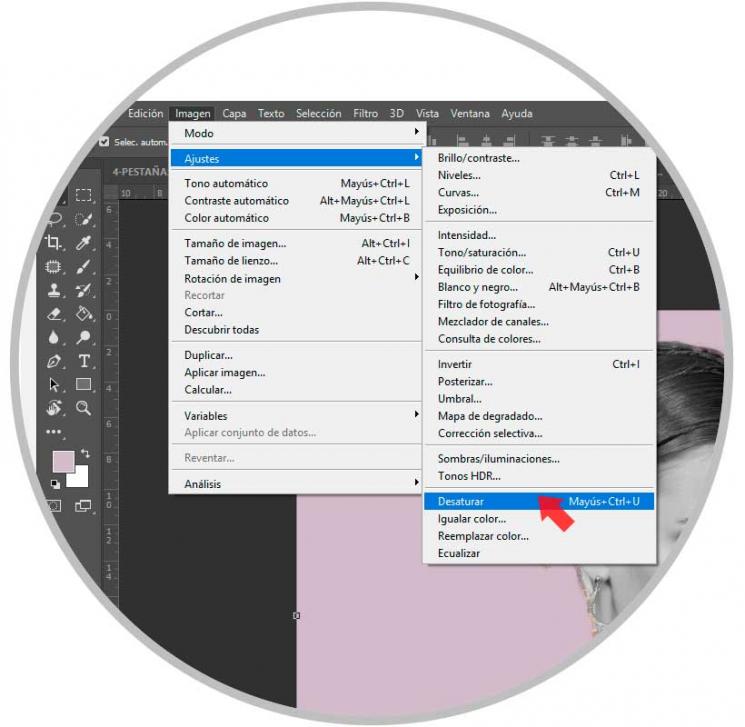
Now we will remove the color to our image in monochrome mode to be able to merge it. To do this we go to the menu "Image - Adjustments - Desaturate" and see how our model stops grayscale.
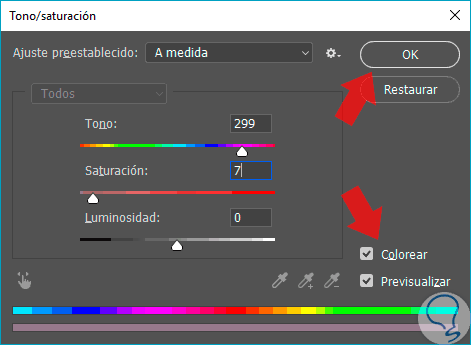
Step 11
Now we go to the menu of “Image - Adjustments - Hue / Saturation. Here we will mark the coloring box with values ​​around a Hue of 17 and a saturation of 7, then accept the changes. It will depend on the color chosen for the background.
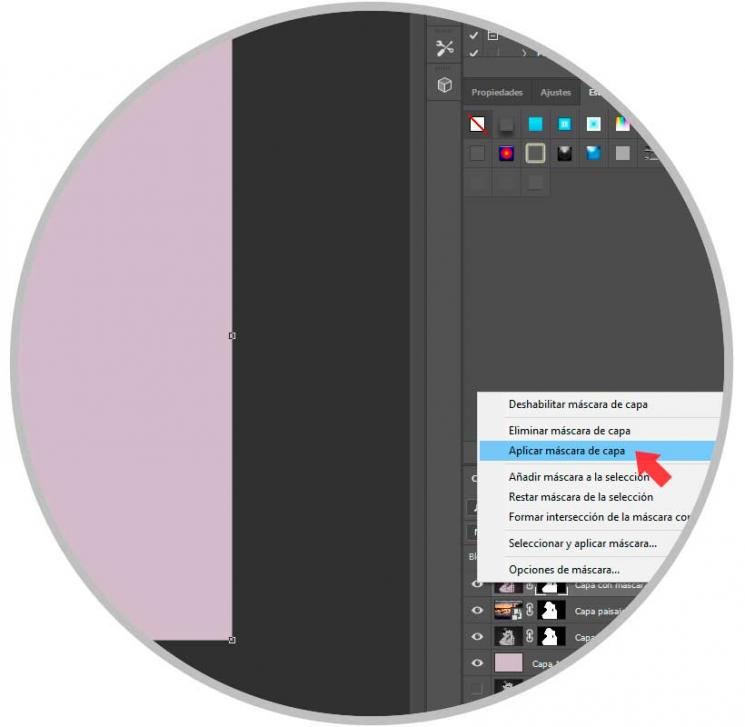
Step 12
Well now on the layer mask of our model we will right click and select the option “Apply layer maskâ€.
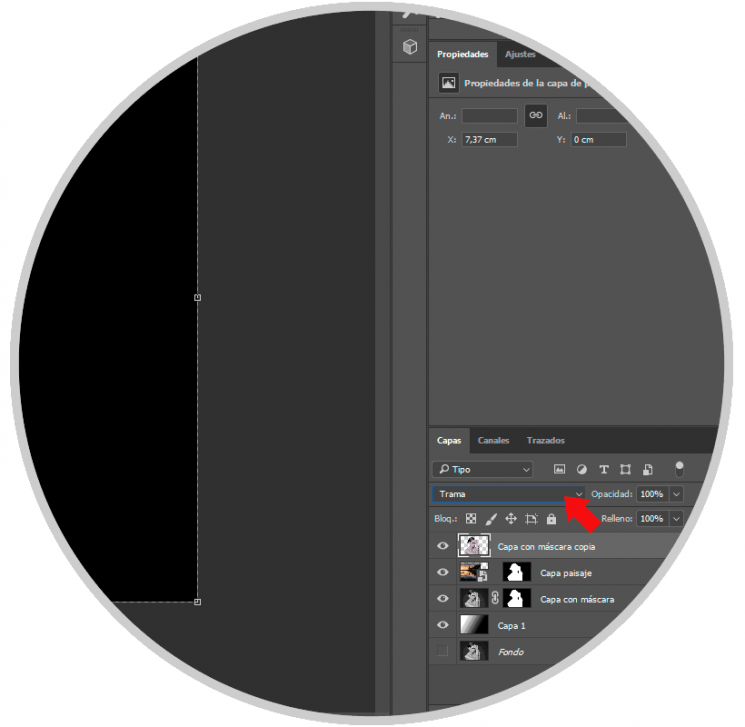
Step 13
Finally change the blending mode to "Plot".
Step 14
We would already have our image with double exposure, you can move the landscape layer (unlinking it from the mask) and thus be able to choose another part of that background to appear. You can also change the background color to personalize it more.
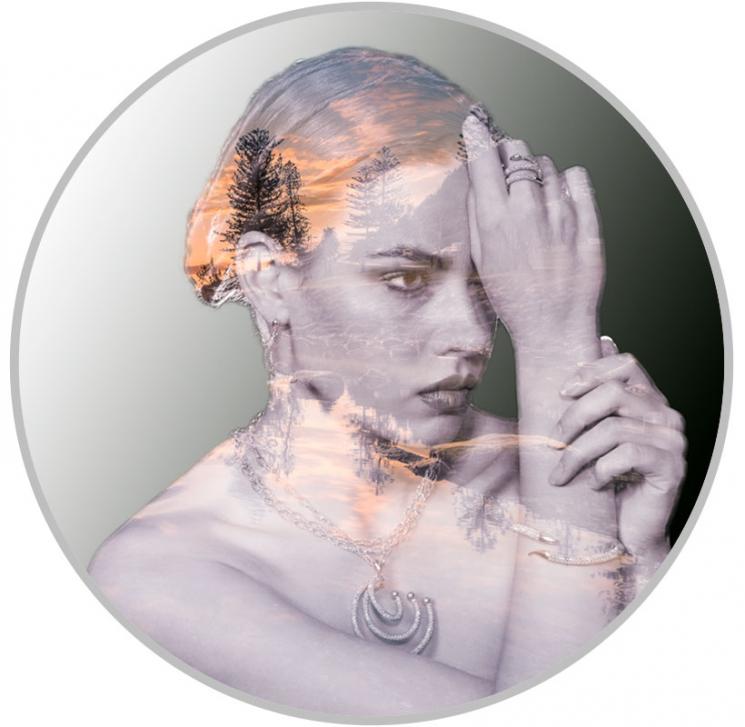
With this we would have our double exposure effect. You can try different images until you find the result you like best. A different effect that you can give to your images..
Let's see how to create this double exposure effect in Photoshop CC 2017 also compatible with CS6.
To keep up, remember to subscribe to our YouTube channel! SUBSCRIBE