When we like photo editing we know that we have a wide range of possibilities to give originality to our images. Converting a common photo into one with personal brightness is something Photoshop lets us do with virtually no limits..
So today we bring an effect that can leave a quite attractive result , cloning through multiple exposure. Can you imagine appearing again and again in the same photograph? If you would like to be the protagonist of the same image without limit, today we make it easy for you with cloning in Photoshop CC 2017.
Tips to keep in mind for multiple exposure
When making a multiple exposure we can follow these tips:
- Try to avoid using flash in your photos to avoid uneven light and shadow conditions and reflections that can cause problems in the final composition.
- It is recommended that you take around 3-4 images to make the result more interesting. When having to make several attempts to make the lighting the same during the shot so that there is a homogeneous light. Complementary sources like lamps or even a television can create unwanted flickering effects.
- For multiple exposure, the use of a tripod is important since we are playing with a common physical space. If we vary the spatial distribution too much, the result will be unrealistic. Still, it can be edited in Photoshop through photo alignment. Try to find a fulcrum for your camera or at least create benchmarks that then fit into the mix.
- If the photos are about yourself, you can use a camera timer or remote control to take them without problem. Remember to find a support so that they do not move.
To stay up to date, remember to subscribe to our YouTube channel! SUBSCRIBE
How to create multiple exposure clones in Photoshop CC 2017
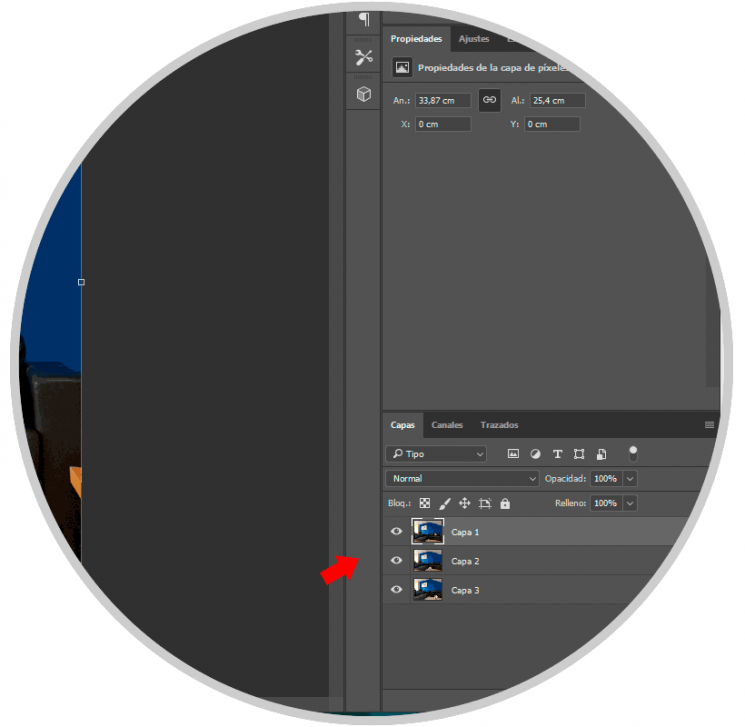
Step 1
The first thing will be to open the images that we are going to use so that each one is in a different layer. For this we can open them separately and with "move" tools move them to the same document.
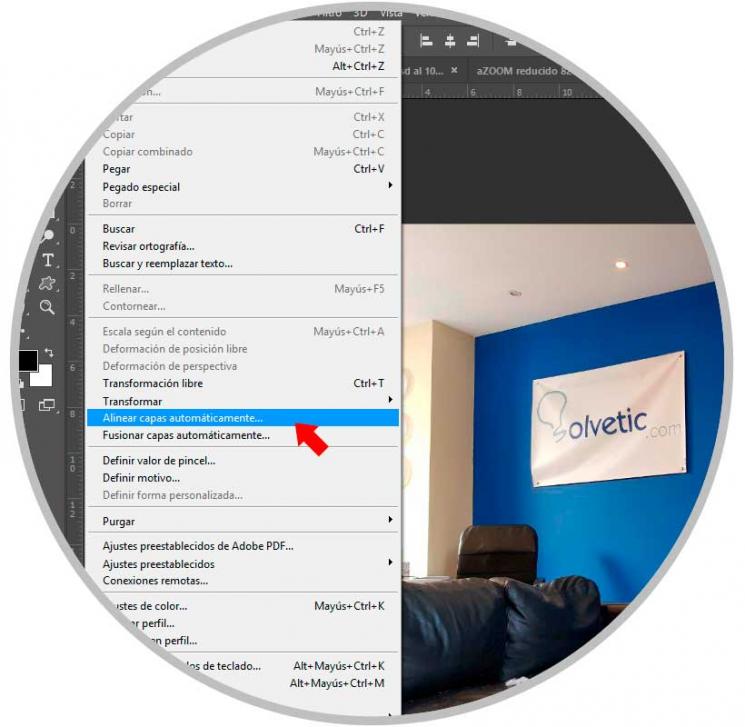
Step 2
If you have not used a tripod or they have not all come out equally static we have an option to get them to fit. Select all the layers and go to the menu "Edit" - "Align layers automatically".
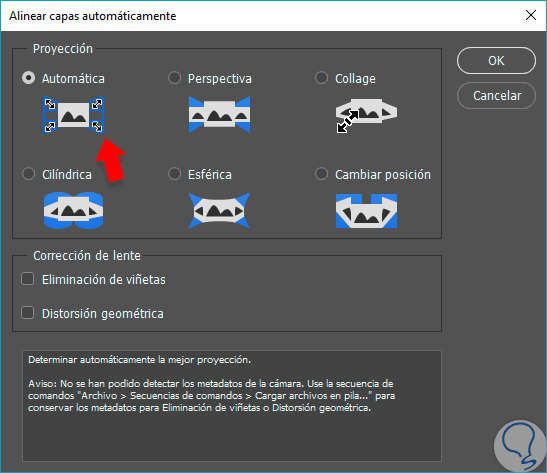
Step 3
The options panel will appear. We can select "Automatic" or try others if we are not convinced by the result.
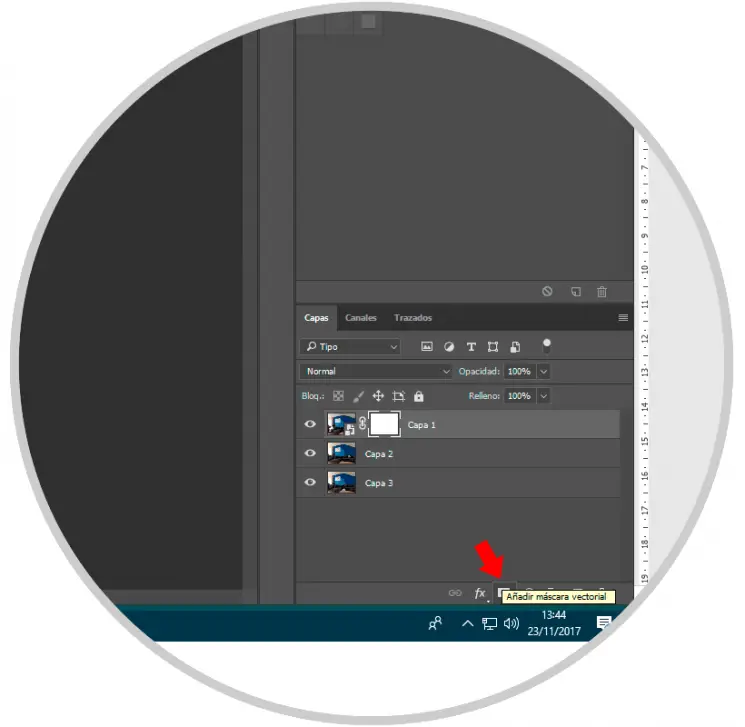
Step 4
Once we have our layers in place we will start creating our cloning. For this we will create a layer mask in our first image.
Step 5
We select the brush with black color so that the current layer is erased and the next one appears. We have to take into account that we must create a kind of hole with the black brush so that in the next one the part that interests us will appear.
Note
If we want to rectify details we will change to white to reconstruct the image and also play with Opacity and hardness for details of light and shadow.
Step 6
We will do the same in each layer so that the following appears, always taking into account the previous one.
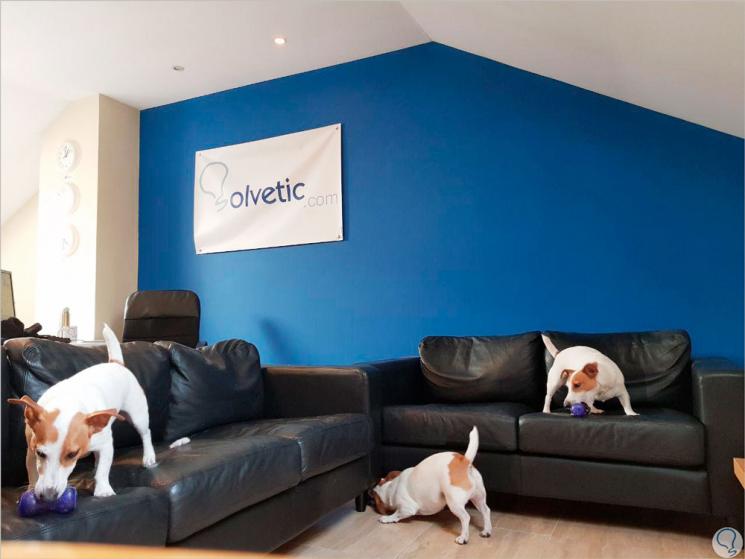
In this way and playing with the different layers we can create clones of whoever we want, even of ourselves. Note that the more elements the image has, the more complex it will be after merging the layers..