The security of the transmitted data must always be one of the premises that as administrators or advanced users we must take into account when using and transferring data..
There are millions of threats in the network and we have thousands of tools to be one step beyond these threats and one of the options on which we can focus our attention is on the TLS / SSL encryption of the ports since there you can generate a security breach that jeopardizes the integrity of the information.
To cover this aspect we have the utility testssl.sh and today in TechnoWikis we will make a complete analysis on how to use it effectively..
What is Testssl.sh
This is a free, free code and free command line tool developed to check the service of a specific server through any port to verify the compatibility of TLS / SSL encryption, protocols, or active cryptographic failures and more.
Testssl.ssh is compatible with every Linux, Mac OS X, FreeBSD, or MSYS2 / Cygwin distribution.
Features of Testssl.sh
This tool is portable and simple to use, within its characteristics we find:
- Clear output: It allows us to define in a simple way whether something is acceptable or not.
- Simple installation: Compatible for Linux, Darwin, FreeBSD and MSYS2 / Cygwin, it is not necessary to install or configure more values, nor daemons, CPAN, pip or similar.
- Flexible: You are able to test any SSL / TLS and STARTTLS service, not just web servers that use port 443.
- Various tools: It has several command line options that help us run inbound and outbound tests.
- Reliable: each of the features are thoroughly tested to offer something integral.
- Verbosity: If a particular verification cannot be performed due to a lack of capacity on the client side, we will receive a warning.
- Privacy: Only administrators will have access to the result, not a third party.
- Free: This tool is 100% free code.
- Supports JSON + CSV formats
- Supports login ID verification
1. Install and use Testssl.sh on Linux
Step 1
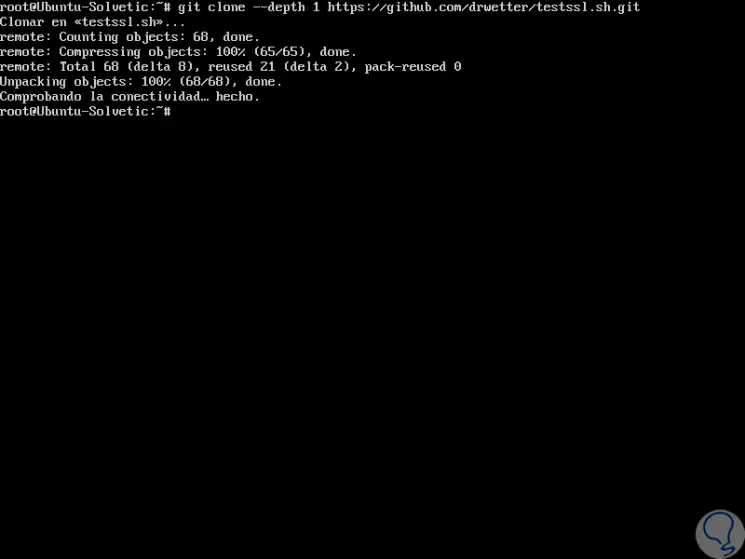
It is possible to install this utility by cloning the following git repository:
git clone --depth 1 https://github.com/drwetter/testssl.sh.git
Step 2
Later we access the directory created:
cd testssl.sh
Step 3
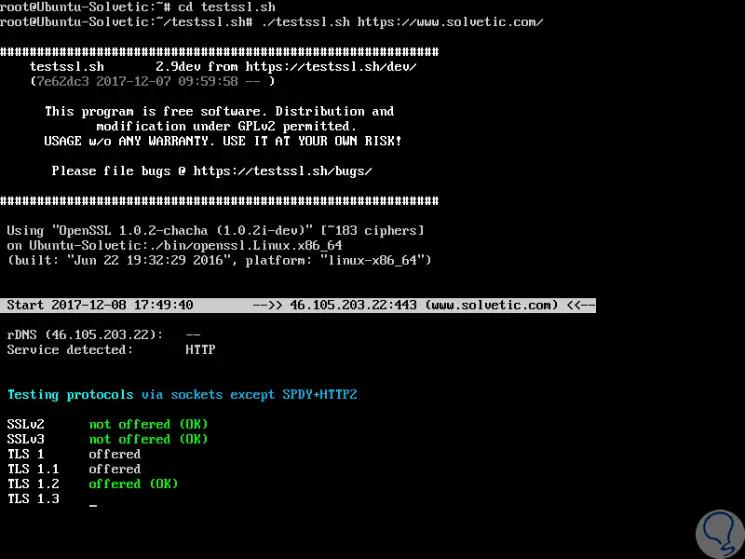
After cloning testssl.sh, its general use consists in the execution of the following line to perform a test on a specific website:
./testssl.sh https://www.solvetic.com/
Step 4
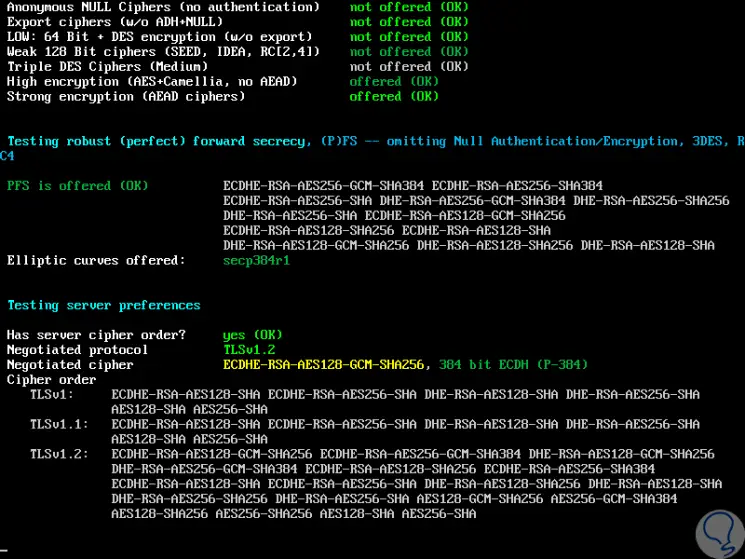
We can see that there begins the analysis of each port of said website. It will continue analyzing every aspect of the server:
Step 5
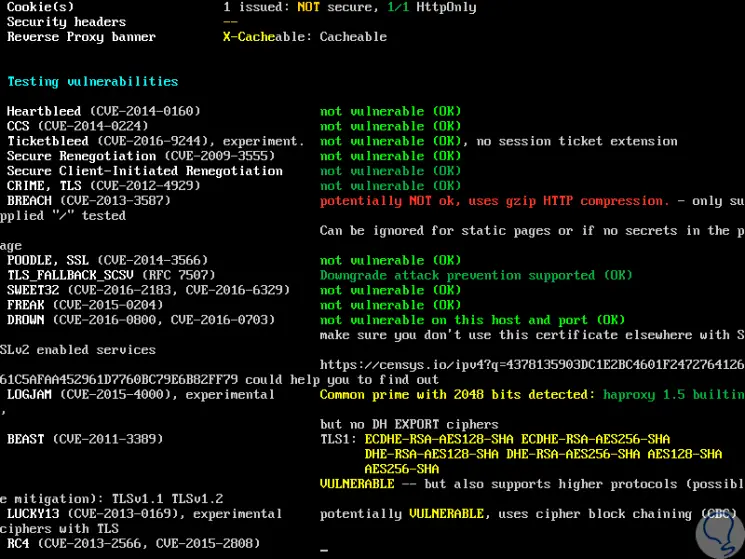
Within the analysis we have a vulnerability section:
Step 6
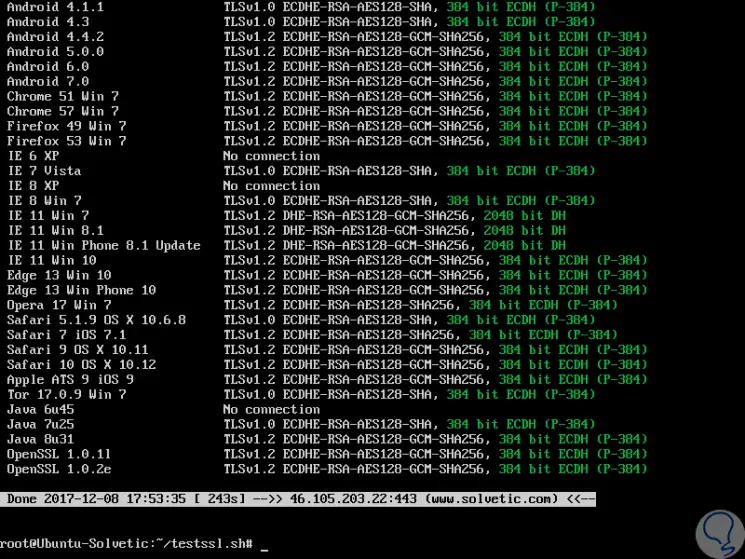
Finally we will see a section of customer simulators:
Step 7
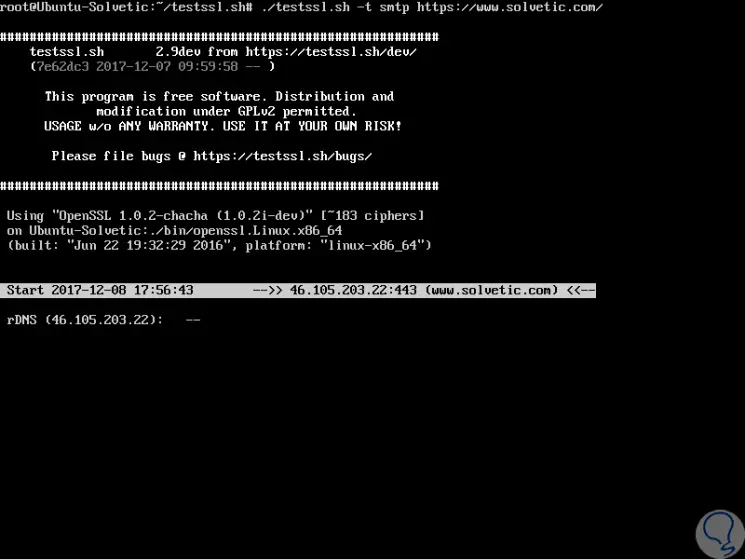
It will be possible to perform a verification to verify the protocols activated by STARTTLS such as: ftp, smtp, pop3, imap, xmpp, telnet, ldap, postgres, mysql, for this we must use the
-t option:
./testssl.sh -t smtp https://www.solvetic.com/
Step 8
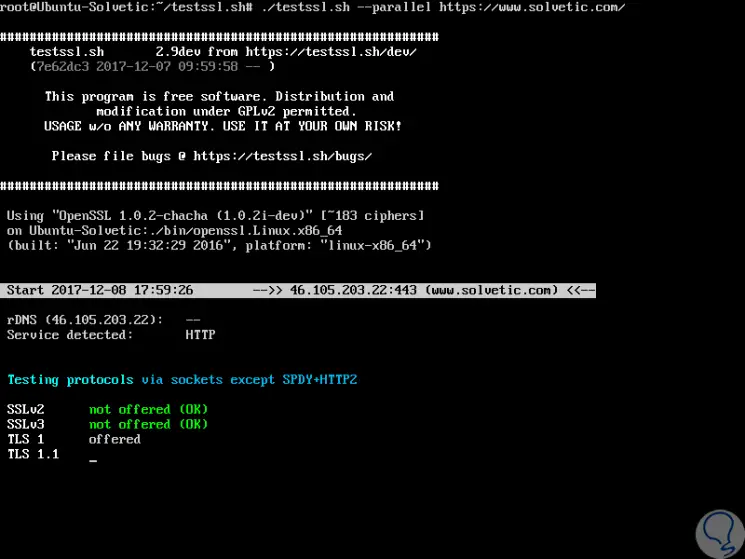
By default, all mass tests will be run in serial mode, we can enable parallel tests using the –parallel parameter:
./testssl.sh --parallel https://www.solvetic.com/
Step 9
If you do not wish to use the default program of the openssl system, we will use the
-openssl flag to indicate an alternative:
./testssl.sh --parallel --sneaky --openssl / route https://www.solvetic.com/
Step 10
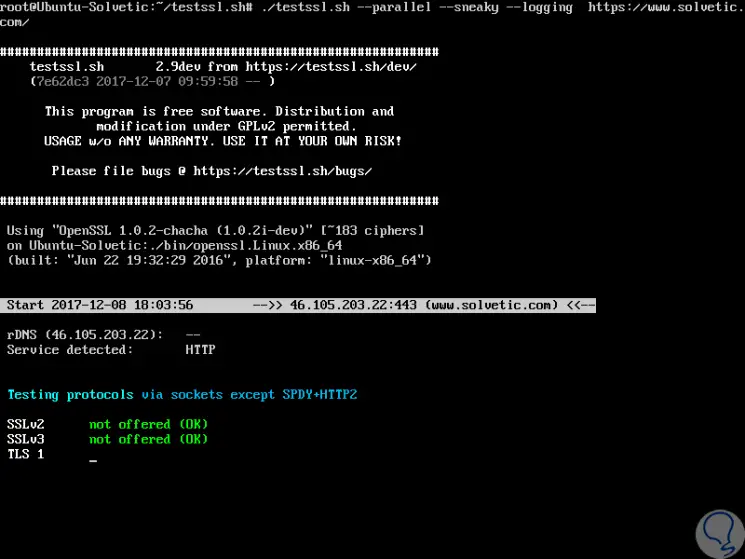
testssl.sh has the option --log which stores the log file in the current directory or --logfile which specifies the location of the log file, in case you wish to save the records for later analysis.
./testssl.sh --parallel --sneaky --logging https://www.solvetic.com/
Step 11
If we want to increase the search speed, we can disable the DNS with the -n parameter:
./testssl.sh -n --parallel --sneaky --logging https://www.solvetic.com/
2. Simple searches with testssl.sh on Linux
By making use of this utility, it will be possible to perform unique protocol checks, server defaults, preferences, headers, vulnerabilities and many other server tests in a simple way.
Step 1
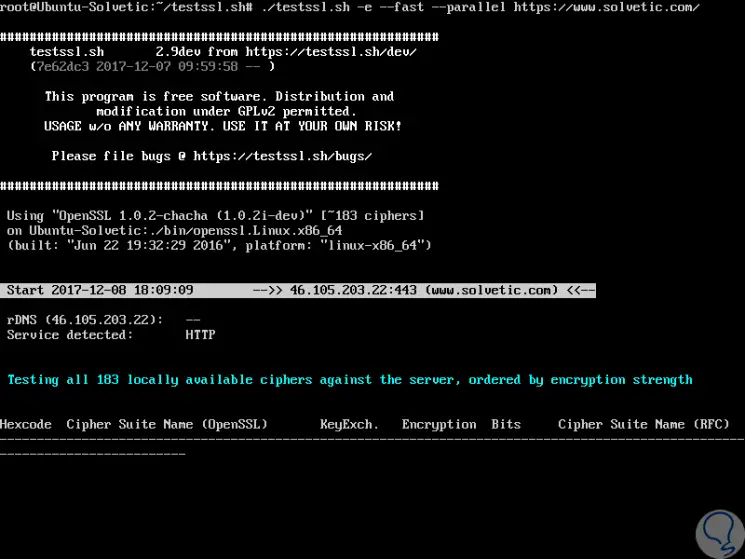
We can use the -e parameter to analyze the remote connection and use the --fast parameter to skip some checks speeding up its process:
./testssl.sh -e --fast --parallel https://www.solvetic.com/
Step 2
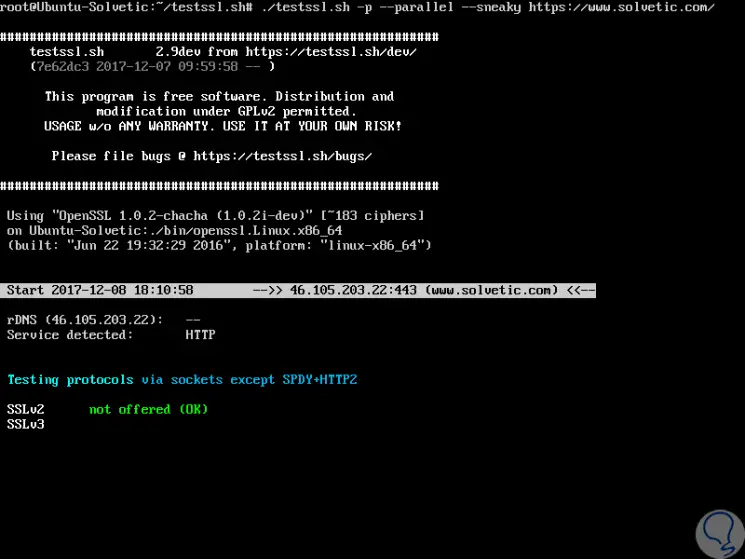
The -p parameter allows us to validate TLS / SSL protocols (including SPDY / HTTP2):
./testssl.sh -p --parallel --sneaky https://www.solvetic.com/
Step 3
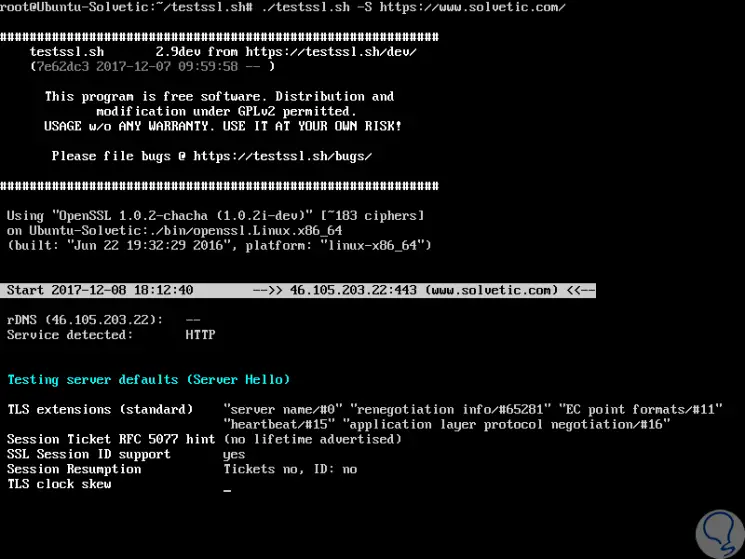
It will be possible to see the default server selections and certificate using the -S option:
./testssl.sh -S https://www.solvetic.com/
Step 4
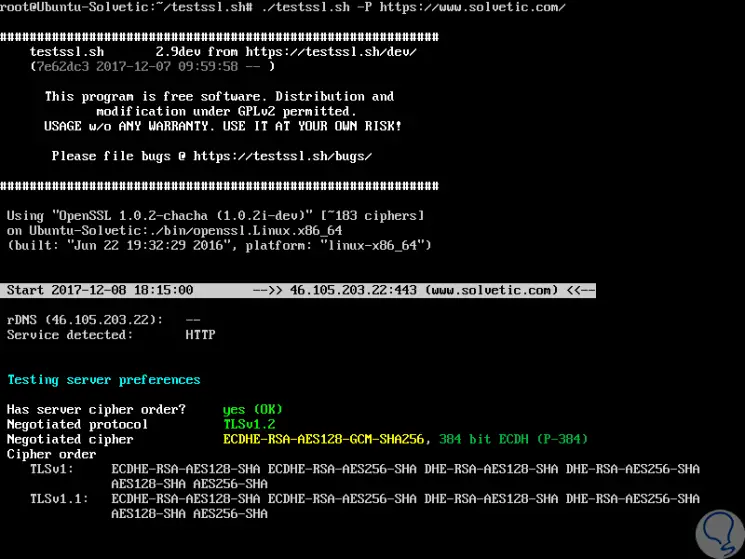
It will be possible to see the protocol plus the server's preferred encryption, with the -P indicator:
./testssl.sh -P https://www.solvetic.com/
Step 5
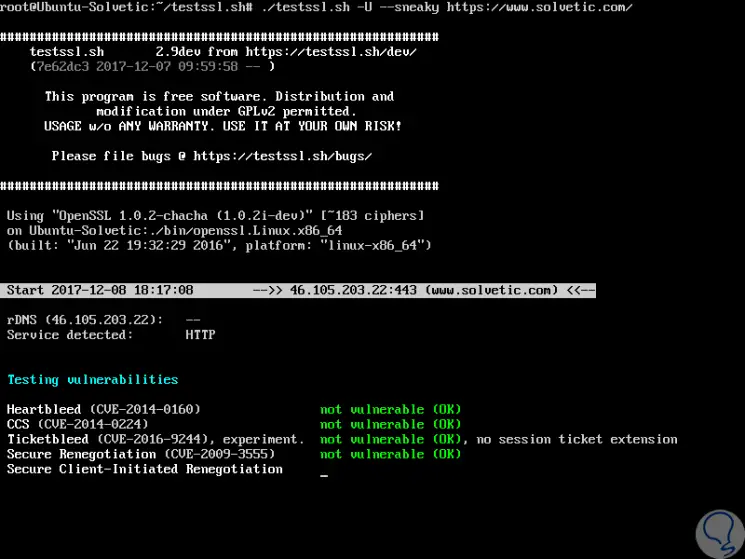
With the -U parameter we can access all vulnerabilities if there were them on the server:
./testssl.sh -U --sneaky https://www.solvetic.com/
Step 6
Finally, to see all the available options we can use the following command:
./testssl.sh –help
With this valuable utility it will be possible to have one more level of security when it comes to making use of network connections in our organizations.