In all types of organizations, regardless of the type of information used or the number of users that belong to it, always as personnel in the area of ​​systems or IT we must ensure that security is a primary factor within it, but when one or more are managed More servers
When we talk about servers with Linux distributions, we often think that they are free of attacks, but in a changing online world there is no longer a secure system and any distribution is exposed to malware attacks , viruses, DDOS attacks and many more. As administrators or users with access to server events and logs, it is normal to detect brute force logon attempts, web floods, exploiters search and other threats that in one way or another may jeopardize the integrity and availability of information..
Therefore, it is necessary to make use of tools that provide us with the best security options and alternatives ; and thinking about it TechnoWikis will explain how to use Fail2ban to detect and secure our Linux operating systems.
What is Fail2ban?
Fail2ban has been developed as an intrusion prevention software, which analyzes the server log files as / var / log / apache / error_log and thus prohibit IP addresses containing malicious signs taking into account aspects such as too many failures in passwords, vulnerability searches, etc.
As a general rule, Fail2Ban is used to update the firewall rules so that it rejects IP addresses in a specific period of time, but you can also configure another rule that may jeopardize system security. Although Fail2Ban can reduce the rate of incorrect authentication attempts within the system, it is ideal that authentication methods are not weak. For this we can configure the services to use only two factors or mechanisms of public / private authentication to protect the services in Linux..
Requirements to use Fail2ban
The only dependency we will need to use Fail2ban will be Python, depending on the desired version it will be the following:
- Fail2ban branch 0.9.x: Python> = 2.6 or Python> = 3.2
- Fail2ban branch 0.8.x: Python> = 2.4
Optionally, Fail2ban may require the following elements:
Fail2ban features
The current version of Fail2ban is 0.9.x which offers us features such as:
- Multiline analysis in filters.
- Custom date and time support for filters.
- Default time zone recognition.
- Waiting time on prohibition commands.
- Set of recognition characters in the log files.
- Client / server architecture.
- Highly configurable through the use of split configuration files.
- Use Netfilter / Iptables by default, but it will also be possible to use TCP Wrapper and many other available firewalls.
- It allows to manage multiple services at the same time as sshd, apache, vsftp and more.
- Executes commands when a pattern is detected for the same IP address for more than X times to prohibit that address.
1. How to install Fail2ban on Linux
Note
For this case we will use CentOS 7
Step 1
To install Fail2ban we will execute the following commands in their order:
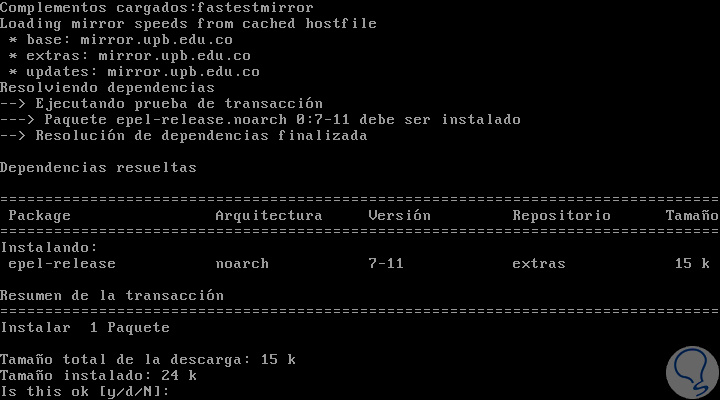
Install the EPEL repositories
Enter the letter y to confirm the download and installation of the EPEL repository.
Step 2
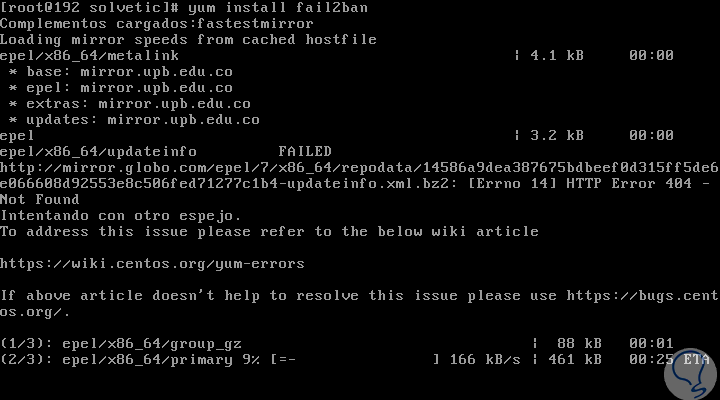
Then we install Fail2ban by running:
yum install fail2ban
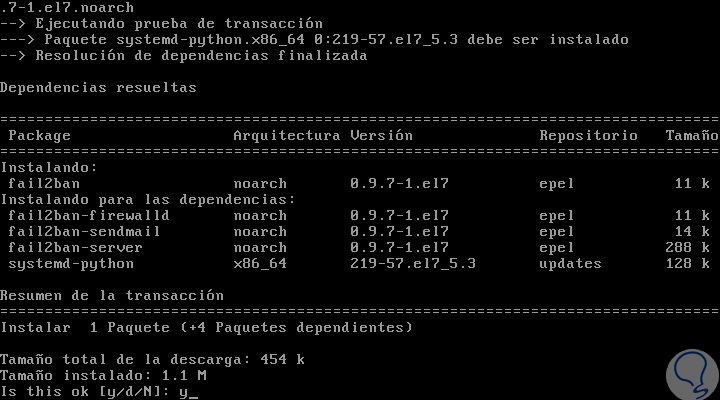
Step 3
After this analysis we will see that all the Fail2ban units were installed. We accept the download and installation of Fail2ban.
Step 4
In the case of using Debian or Ubuntu we must execute the following:
apt-get update && apt-get upgrade -y apt-get install fail2ban
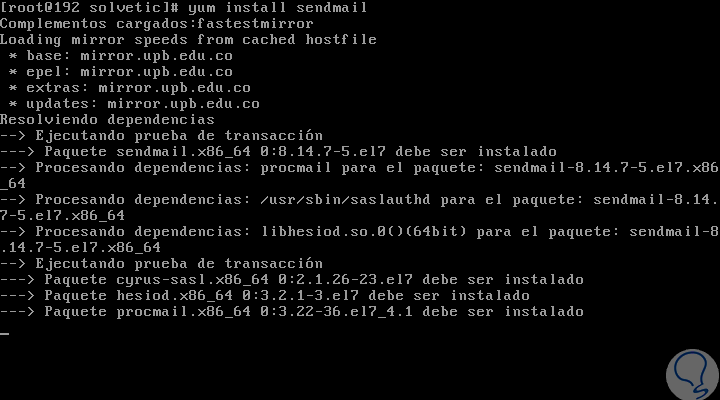
Optionally we can enable mail support, for mail notifications, by installing sendmail as follows:
Debian / Ubuntu
apt-get install sendmail-bin sendmail
Step 5
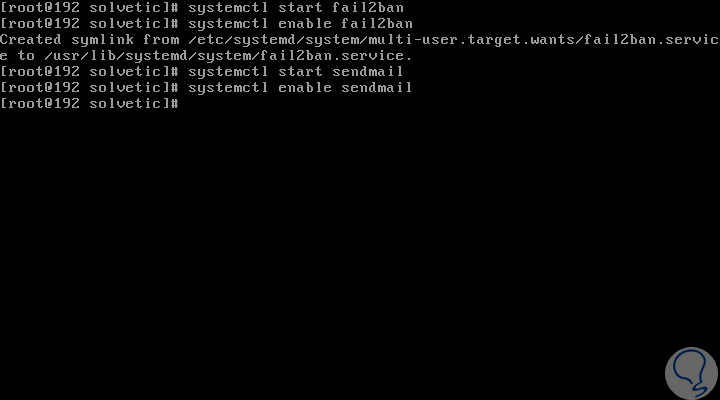
After this, we will enable Fail2ban and Sendmail using the following commands:
systemctl start fail2ban systemctl enable fail2ban systemctl start sendmail systemctl enable sendmail
2 . How to configure Fail2ban on Linux
By default, Fail2ban uses the .conf files located in the / etc / fail2ban / directory; which you access first, but these can be replaced by .local files located in the same directory.
Thus, the .local file does not need to include all the configurations of the .conf file, but only those that we wish to implement for system security. Each change must be made to the .local files that are not in .conf in order to prevent the changes from being overwritten by updating the fail2ban package..
Step 1
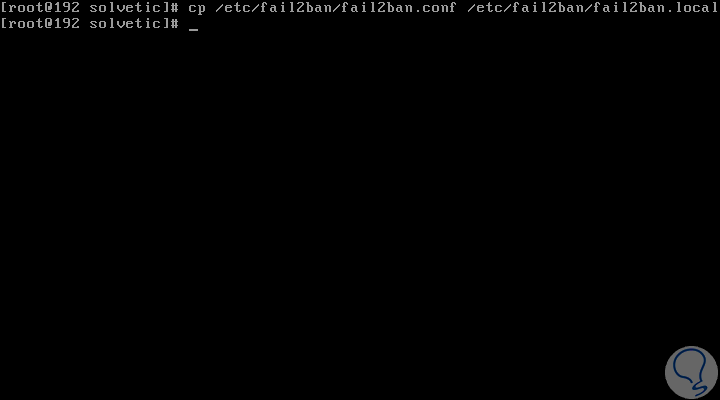
For this we will copy the existing fail2ban.conf file to fail2ban.local like this:
cp /etc/fail2ban/fail2ban.conf /etc/fail2ban/fail2ban.local
Step 2
Now it will be possible to make the changes to the .local file created using some text editor, the values ​​that we can edit are:
loglevel
This is the level where the records are stored. There we have options such as:
logtarget
There the actions are registered in a specific file, the default is /var/log/fail2ban.log and the options to use are:
- STDOUT: Output of any data.
- STDERR: Generate any error.
- SYSLOG: Message based registration.
socket
It is the directory in which the socket file will be located.
Pidfile
It is the location of the pid file.
3. How to configure Fail2ban jail.local on Linux
In Fail2ban, one of the most important files is jail.conf, which defines prisons or protection measures. There you must define the services for which Fail2ban must be enabled.
Step 1
We are going to create a jail.local file to be able to apply the modifications, for this we execute:
cp /etc/fail2ban/jail.conf /etc/fail2ban/jail.local
We access this local file using the following syntax:
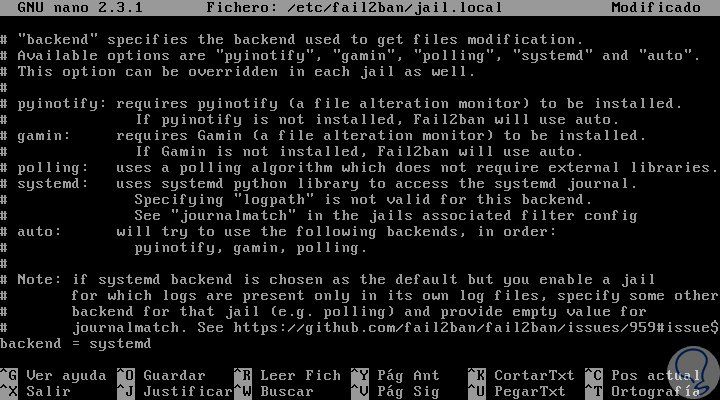
nano /etc/fail2ban/jail.local
There we locate the backend line and edit the default Auto to systemd:
Note
In the case of Ubuntu or Debian, this modification will not be necessary.
Step 2
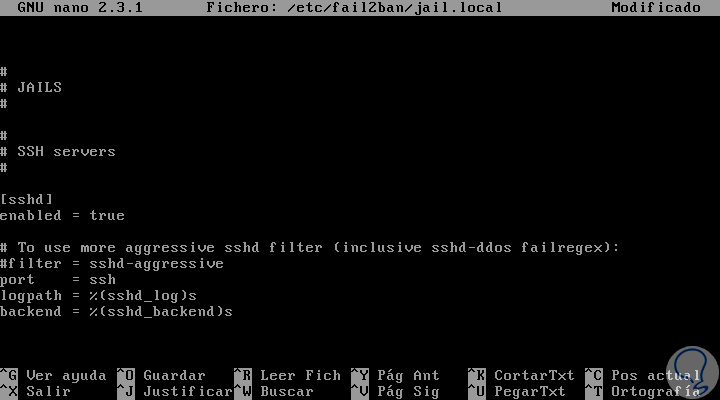
The jail.local file will enable SSH by default for Debian and Ubuntu, but not CentOS, so if we want to enable SSH we will add the line enabled = true under [sshd]:

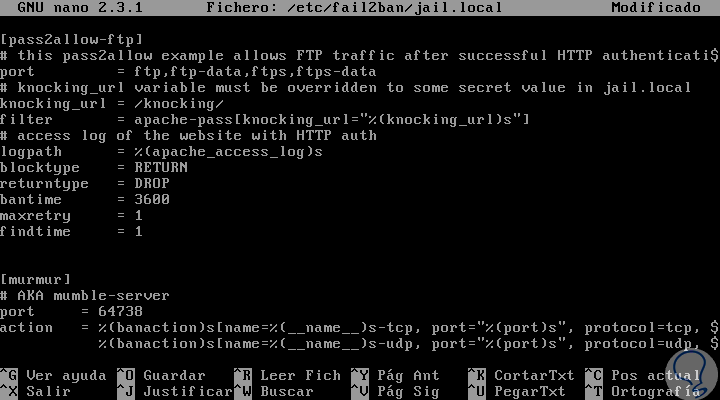
4. How to set the ban and retry times in Fail2ban Linux
With Fail2ban we can configure the way in which an IP address is blocked. For that purpose; For this, Fail2ban makes use of bantime, findtime and maxretry.
bantime
Indicates the number of seconds in which an IP address will remain prohibited (10 min by default).
Findtime
It is the amount of time between login attempts, before the host is removed. (default 10 min)
maxretry
Refers to the number of attempts that must be made before a ban is applied. (default 3 attempts).
5. How to configure whitelist IP addresses in Fail2ban Linux
It is possible to add IP addresses in the white list (allowed) of Fail2ban. To do this in the jail.local file we must uncomment the following line:
ignoreip = 127.0.0.1/8 :: 1
There we can enter the IP addresses that must be ignored. IP addresses must be separated by spaces or commas.

6. How to create email alerts in Fail2ban Linux
This option is ideal if we want to receive alerts about any changes or developments in the records. To do this we must edit the file /etc/fail2ban/jail.local, the options are:
destemail
It is the email address where the notification will be received.
Sendername
It is the sender that we will see when the message is received.
Sender
Indicates the email address from where Fail2ban will send the emails.
The default mta (mail transfer agent) is configured with sendmail.

To receive a notification by mail, it will also be necessary to change the "Action" setting on the following line:
Action =% (action_) s
By the following configuration:
action =% (action_mw) s action =% (action_mwl) s
It will ban the host and send mail with a whois report
It will ban the host, generate whois information and all relevant information from the log file
7. Additional Fail2ban Linux configurations
If you want to configure a jail, it must be enabled in the jail.local file. The syntax is as follows:
[jail] . . . enabled = true
We can see the structure of the prison for SSHD. Automatically Fail2ban adds the additional parameters.
It will also be possible to enable the filter by which you can identify if a line in the register is a fault. The filter value is a reference to a file with the name of the service followed by .conf. For example we can use
/etc/fail2ban/filter.d/sshd.conf.
The syntax to use is:
filter = service
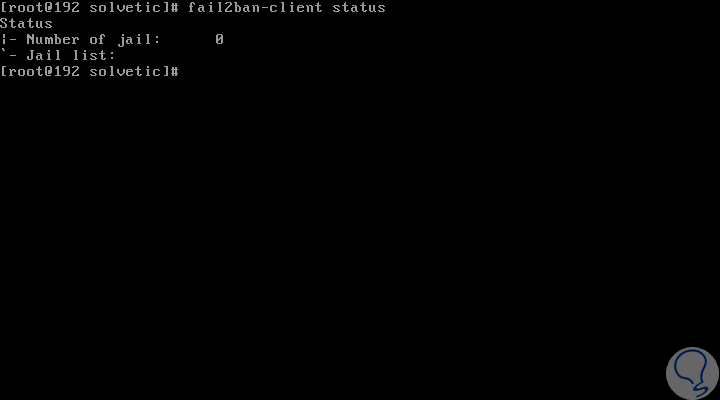
As we add prisons, we can use the Fail2ban client to see which ones are active on the server, for this we execute the following:
fail2ban-client status
There they will be deployed as we create these restrictions.
We can see how Fail2ban is a practical utility to increase security in Linux distributions by preventing unauthorized access and everything related to bad practices that are executed in the organization.