There are different applications that are compatible for various operating systems. However, you cannot bring a Windows 10 executable and open it in Linux or try to run a Linux file in Windows . This is because of a file system issue that we will not talk about, but we are going to talk about an application that has download options for both Windows and Linux called XAMPP..
What is XAMPP?
XAMPP ((Cross-Platform (X), Apache (A), MariaDB (M), PHP (P), Perl (P)) is a development environment that integrates PHP and is basically an Apache distribution that is offered in a way free within which popular tools like MariaDB , PHP and Perl are added.
Your download for Windows 10 is available at the following link:
XAMPP
XAMPP
The current version of XAMPP is 7.4.1 which integrates:
- OpenSSL 1.1.1d (UNIX only)
With this in mind we will see how to install XAMPP on Windows 10.
1. How to install XAMPP on Windows 10
Step 1
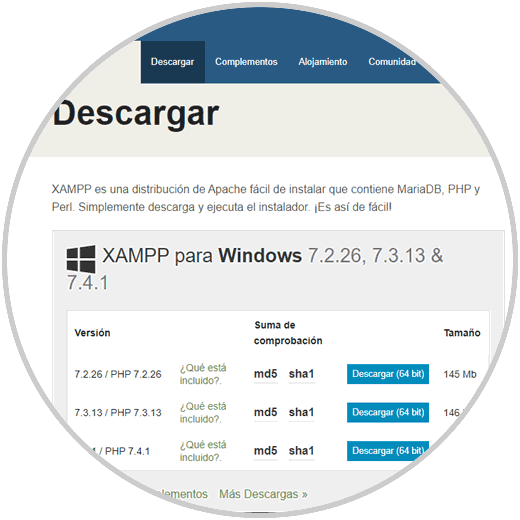
The first step to take will be to download the XAMPP executable from the link above:
Step 2
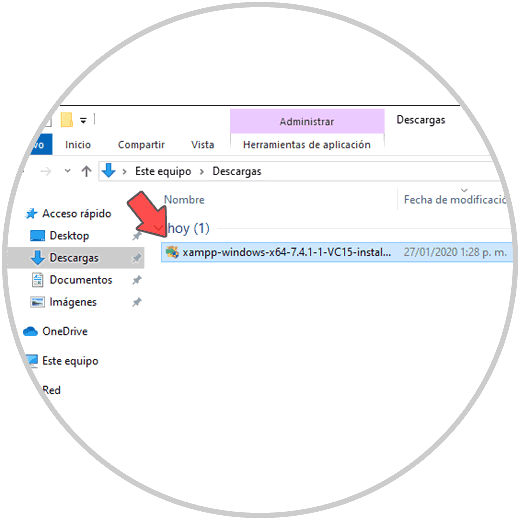
There we select the most recent version of XAMPP. This will download the executable where we have defined:
Step 3
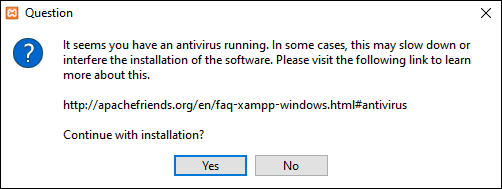
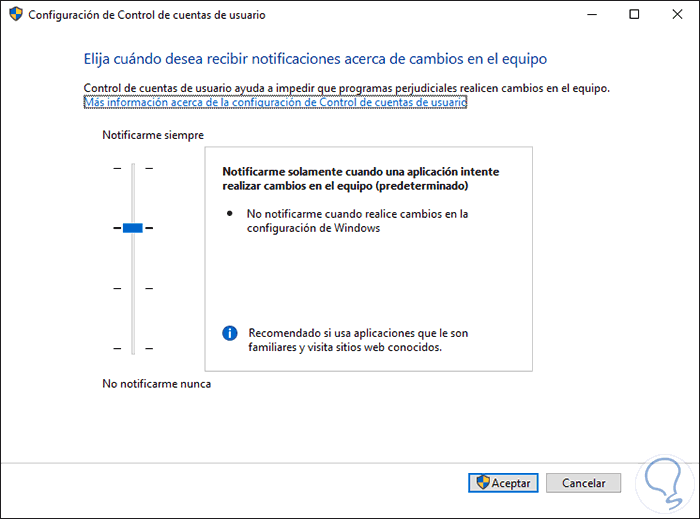
We double click on this file and then accept the UAC permissions. The following will be displayed. We click on “Yesâ€
Step 4
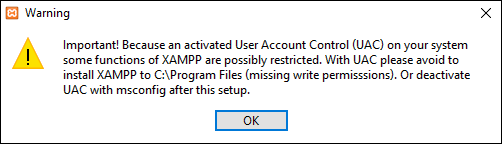
We will see the following warning. This warning is related to the control of Windows 10 user accounts. It is ideal that we temporarily disable them or assign the correct permissions.
Step 5
We can edit it from the Control Panel if necessary. We click on Ok in the XAMPP wizard
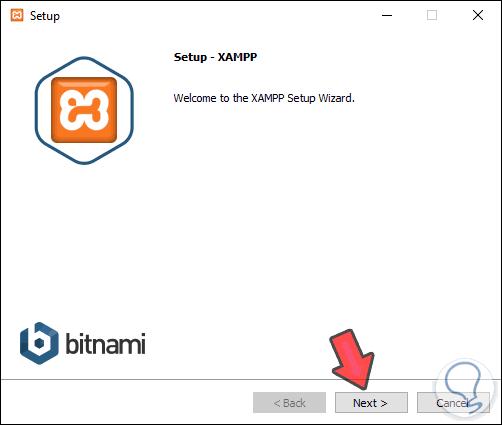
Step 6
We will see the following. We click on Next
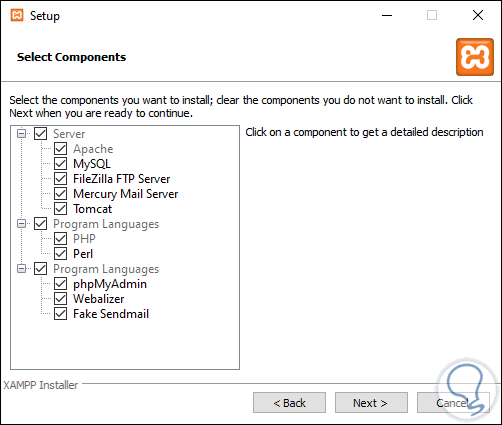
Step 7
We will see the components that can be installed, MySQL, phpMyAdmin, PHP, Apache. TechnoWikis recommends you leave the default values ​​in the wizard:
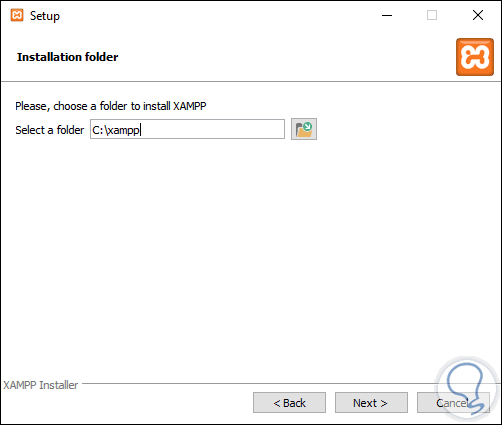
Step 8
In the following window we define where to install XAMPP in Windows 10:
Step 9
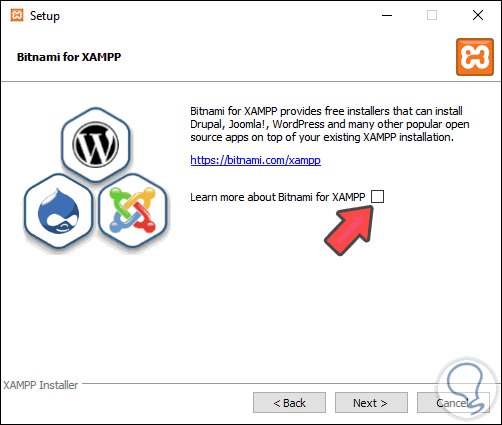
We click Next and now uncheck the “Learn more about Bitnami for XAMPP†box:
Step 10
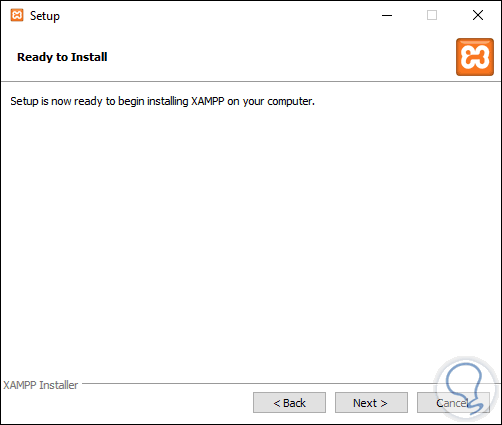
Click on Next and we will see the following window:
Step 11
We click Next to start the installation process of XAMPP on Windows 10:

Step 12
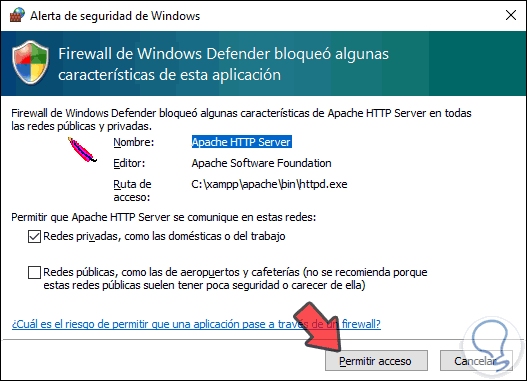
During the installation process we must grant the XAMPP permissions in the Windows 10 Firewall. We click on “Allow accessâ€
Step 13
When this process comes to an end we will observe the following. There we leave the XAMPP control panel box active and click on the “Finish†button

Step 14
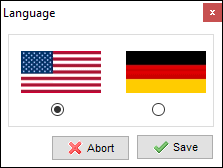
We will define the language of use of XAMPP:
Step 15
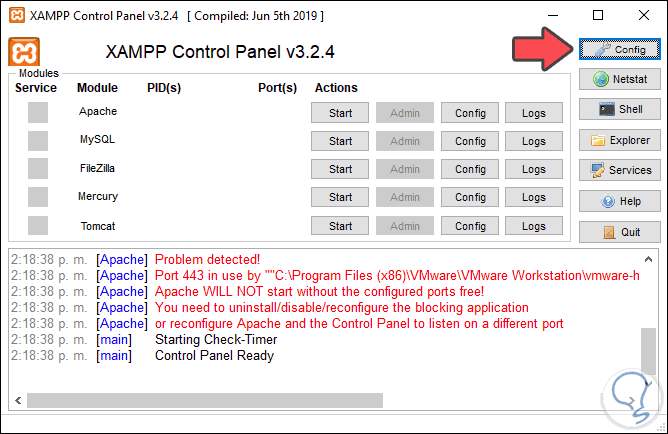
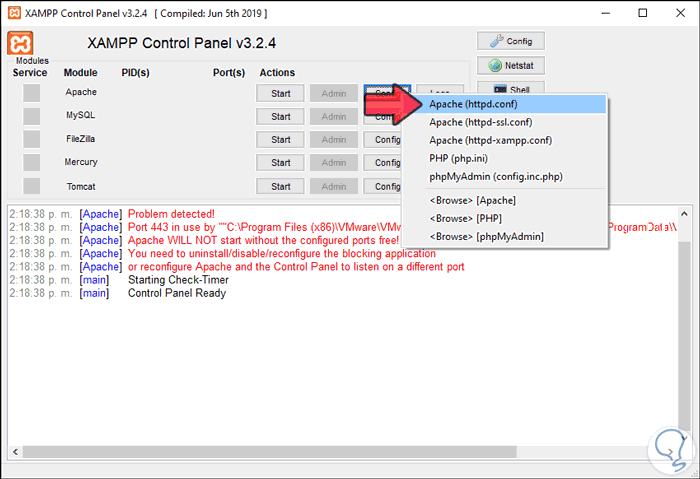
We click Save to set our preference and the XAMPP control panel will be displayed. As we can see, there are available each of the utilities integrated in XAMPP and if you notice we have a problem with port 443 of Apache, this usually happens, to correct it we click on the “Config†button at the top and we will see this window :
Step 16
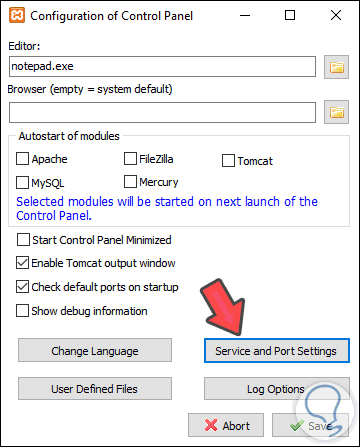
We click on the “Service and Port Settings†button and the following window will be launched:
Step 17
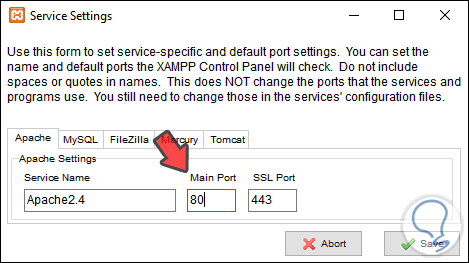
There we will change the ports as we deem necessary:
Step 18
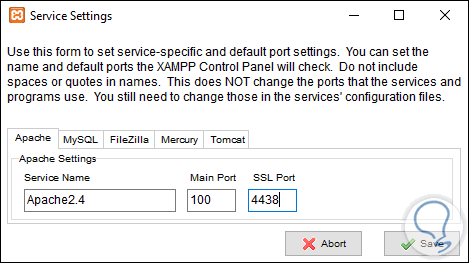
We see that they have been modified.
Step 19
Now we must edit the configuration file, for this we click on the “Config†button on the Apache line and select “Apache (httpd.conf)â€:
Step 20
The file will open and there we change the port to the new one in the following lines:
Listen 80ServerName localhost: 80

Step 21
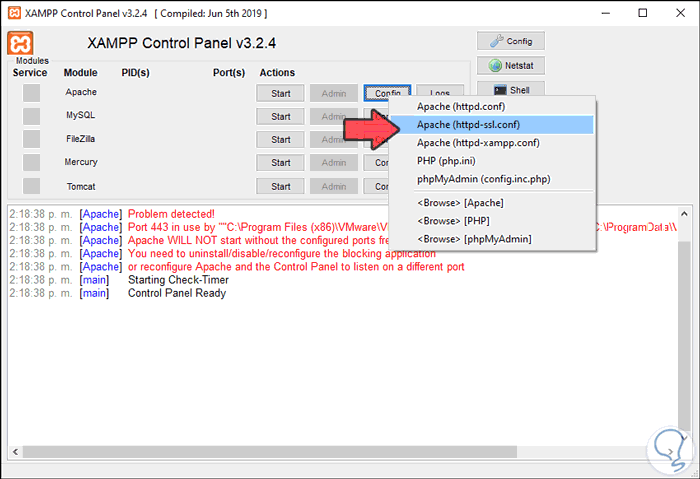
Now we change the second port (SSl Port) by opening the file “Apache (httpd-ssl.conf)â€:
Step 22
There we change port 443 for the desired one on the lines:
Listen 443 <VirtualHost _default_: 443> ServerName www.example.com:443

Step 23
If we update the panel the error will be eliminated.
2. How to configure XAMPP in Windows 10
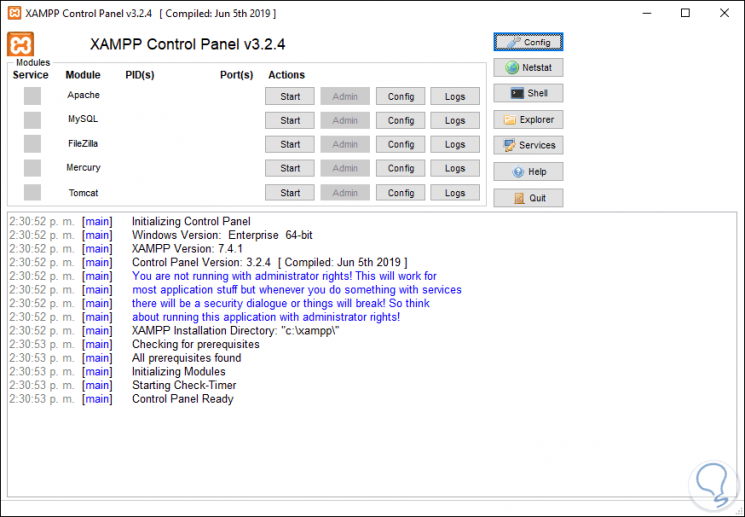
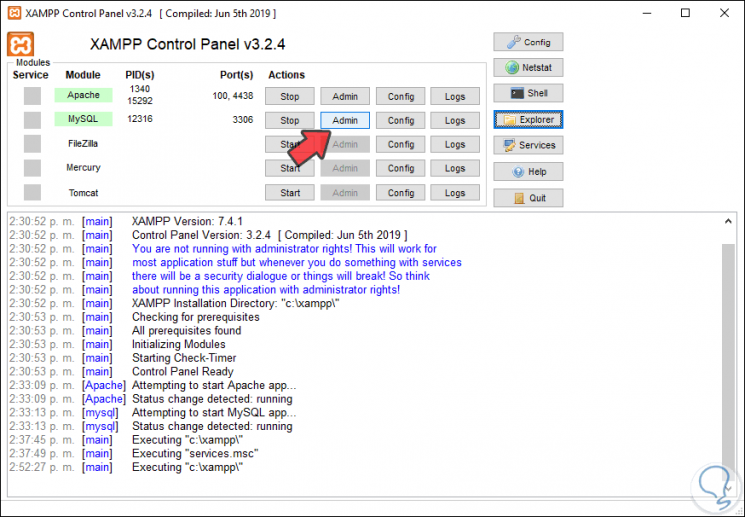
The XAMPP Control Panel gives us some sections for administration.
Step 1
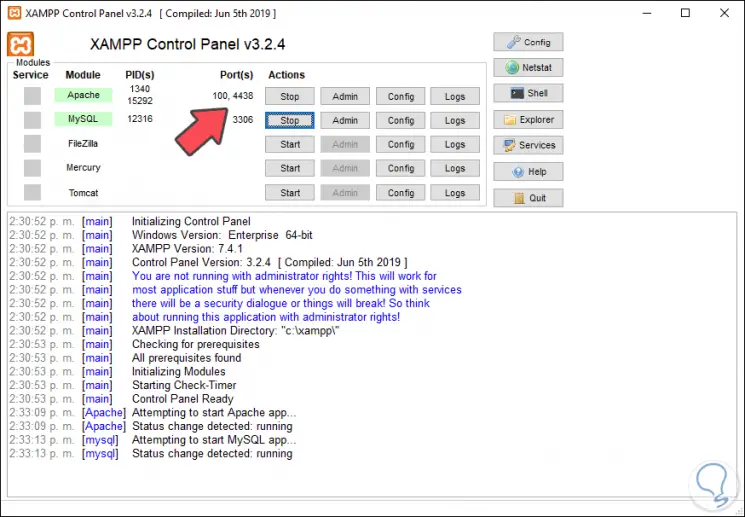
Modules Section: there we find each of the modules that have been installed with XAMPP. We can click on “Start†to start the desired service:
Step 2
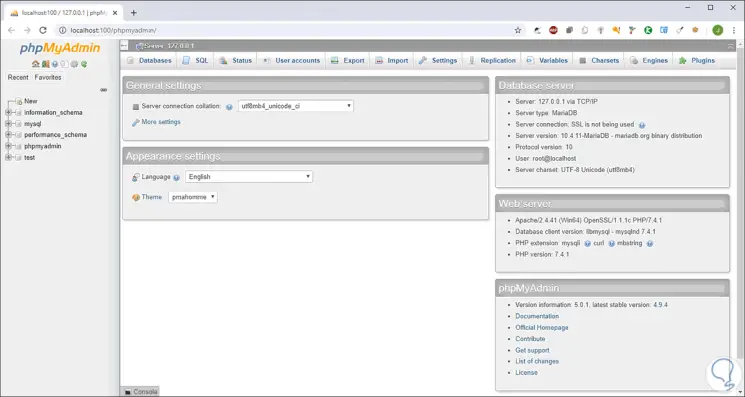
Once a service is started we find its PID and ports used in Windows 10, if we click on the “Admin†button the respective manager will open, for example, if we click on MySQL Admin we will see the following:
Step 3
On the right side of the XAMPP application as we have seen before, we find the Netstat button which displays the state of the network with three sections that are:
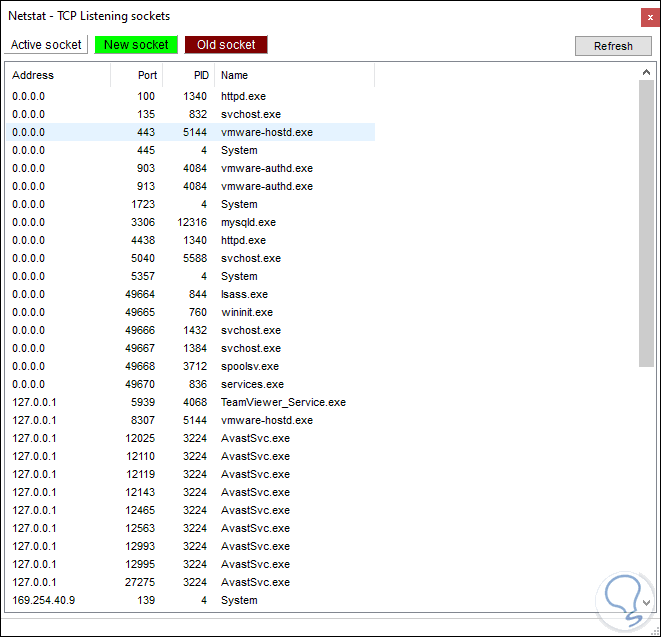
Step 4
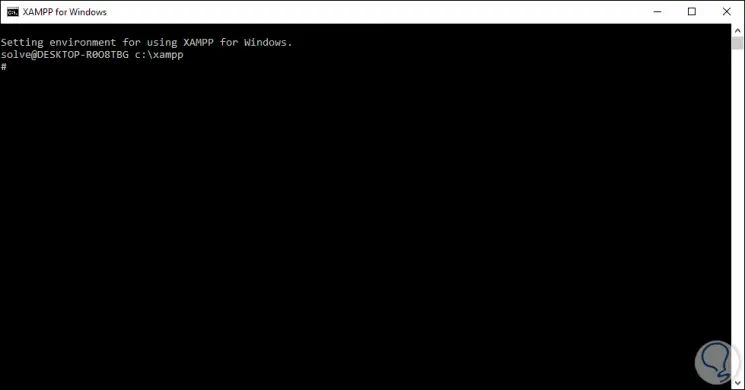
Each socket gives information of its address, port number, PID and associated name. If we click on the Shell line we will access the XAMPP console:
Step 5
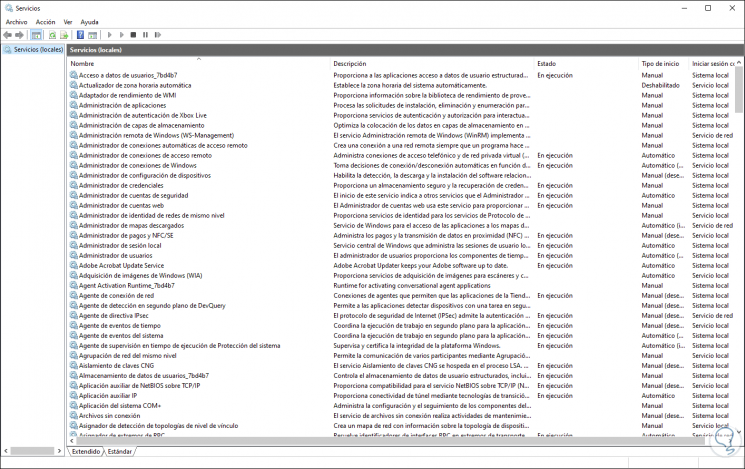
The Explorer and Services button will open both the Windows 10 File Explorer and the services console:
3. How to troubleshoot problems with XAMPP in Windows 10
TechnoWikis will explain some of the most common problems with XAMPP, be it startup or execution.
If XAMPP does not run, this may be due to the Apache World Wide Publishing service which runs on port 8. In this case we can uninstall the publishing service or edit its port..
Step 1
If we want to uninstall it we will go to the following route:
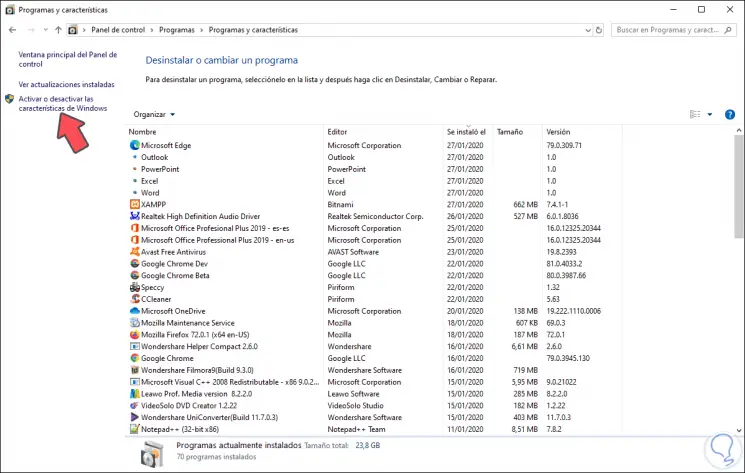
- Programs and characteristics
We click on the line "Activate or deactivate Windows features"
Step 2
In the side panel and in the pop-up window we locate the "Internet Information Services" section and there we deactivate the "World Wide Web Services" box:
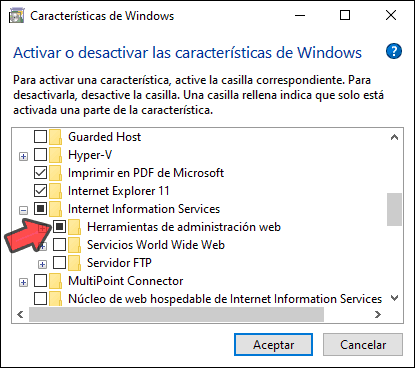
Click on OK and wait for the process to complete. Then we restart the computer and access XAMPP.
If you wish to edit the default port, we will repeat the process mentioned above when the Apache error occurred by editing the httpd.conf file..
As Windows 10 users we have the possibility of manually stopping the World Wide Web service, for this we use the Windows + R keys and execute “services.msc†and press Enter. In the administrator we locate the service in question, right click on it and select Stop.
4. How to increase PHP load in XAMPP Windows 10
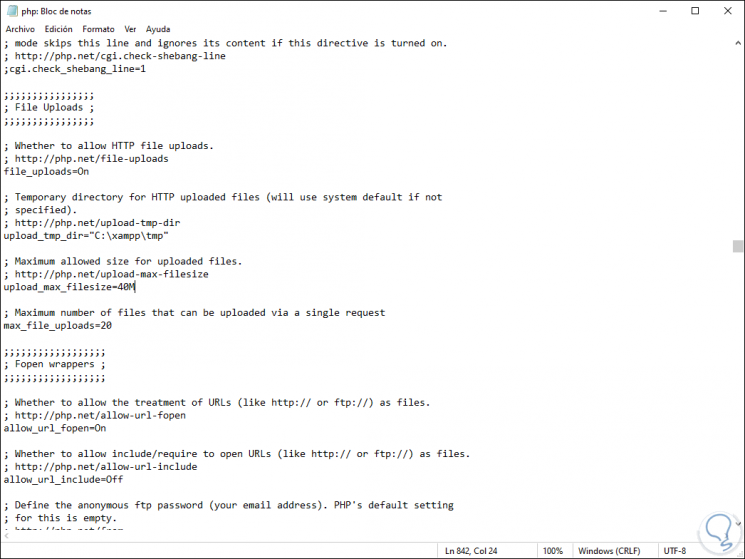
XAMPP by default sets a default database load limit in PHP which may be short based on the amount of data to use.
Step 1
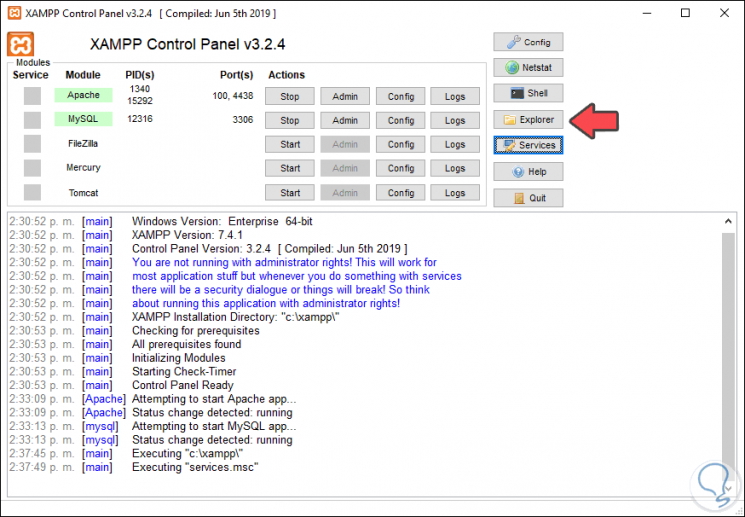
The default value is 2048 KiB, to edit this value we go to the XAMPP panel and click on the Explorer button:
Step 2
There we will go to the PHP folder and locate the php.ini file:
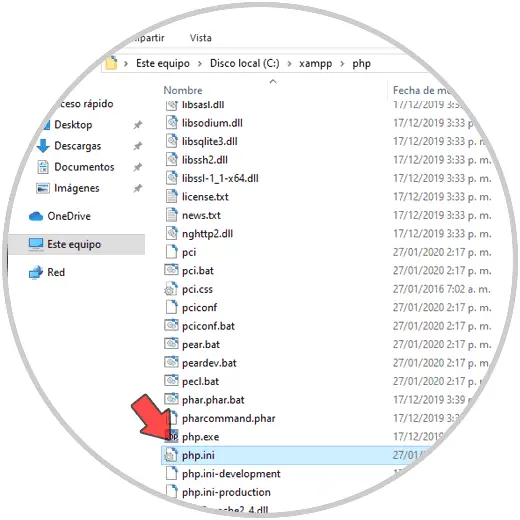
Step 3
We open this file with some text editor and we must change the following values ​​for the new value to be set:
upload_max_filesizepost_max_size
5. How to modify the phpMyAdmin password in XAMPP Windows 10
When installing phpMyAdmin, by default "root" will be used as a username without a password which is a security flaw TechnoWikis advises to establish a secure password for the database.
Step 1
To assign a password we click on the MySQL Admin button in the XAMPP panel:
Step 2
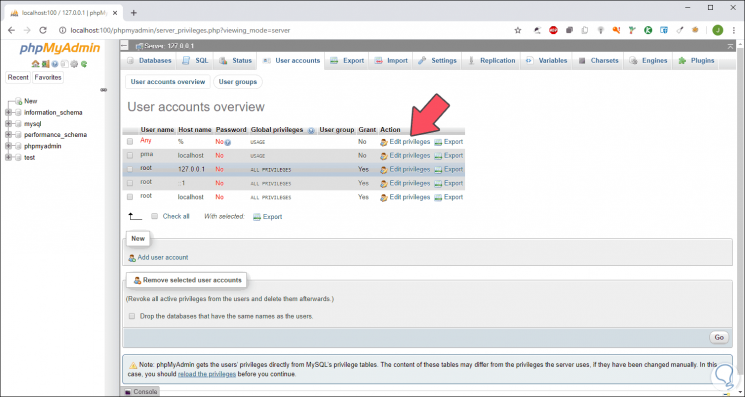
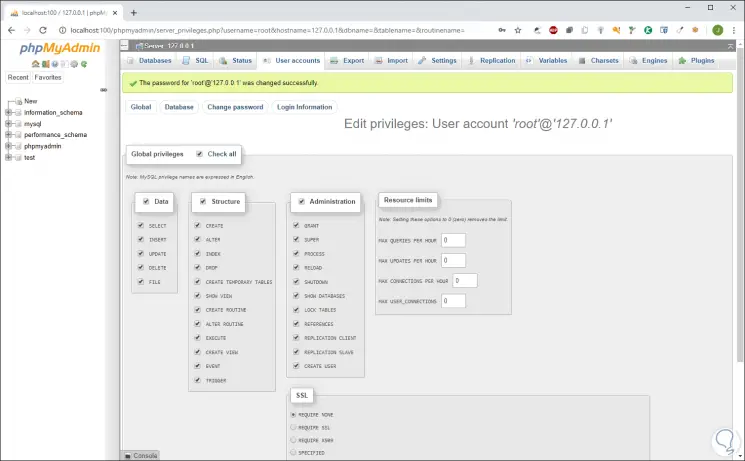
In the console we will go to the “User accounts†tab and click on the “Edit privileges†line of the root user:
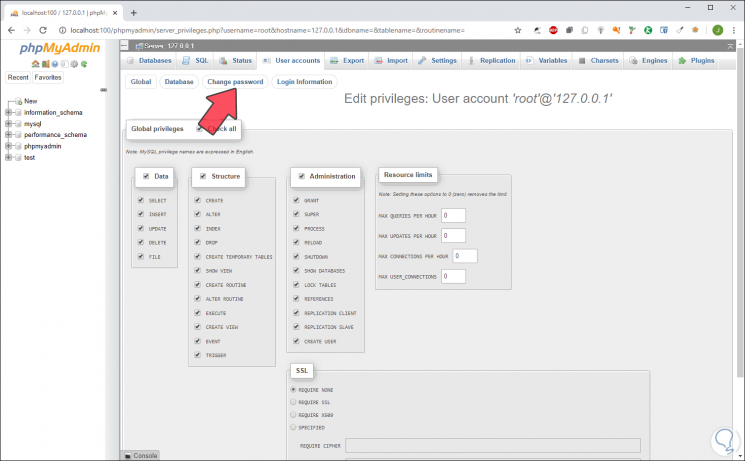
Step 3
We will see the following. We click on “Change passwordâ€
Step 4
Enter the new password:
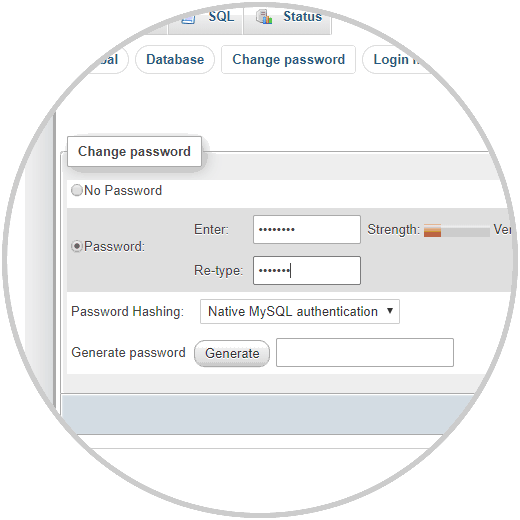
Step 5
We save the changes by clicking on Go:
6. How to fix access errors denied to phpMyAdmin in XAMPP Windows 10
It is possible to modify the message settings in phpMyAdmin from the config.inc.php file.
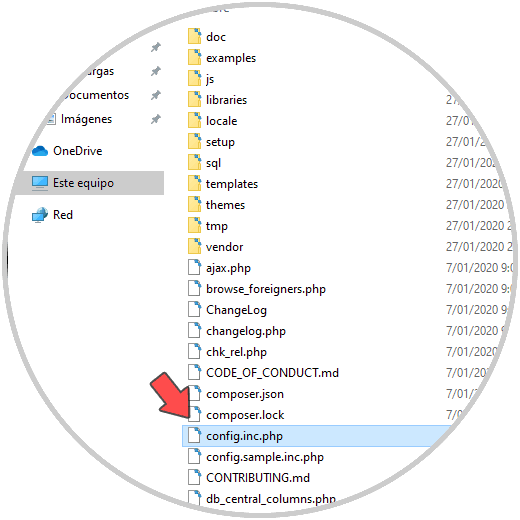
Step 1
To do this, click on the Explore button from the XAMPP panel and go to the phpMyAdmin folder, there we locate the file “config.inc.phpâ€:
Step 2
We proceed to open it with some text editor and we will locate the following section: “Authentication type and infoâ€:

Step 3
There we will edit the following:
$ cfg ['Servers'] [$ i] ['auth_type'] = 'config'; we change config to cookie $ cfg ['Servers'] [$ i] ['AllowNoPassword'] = true; we change true to false
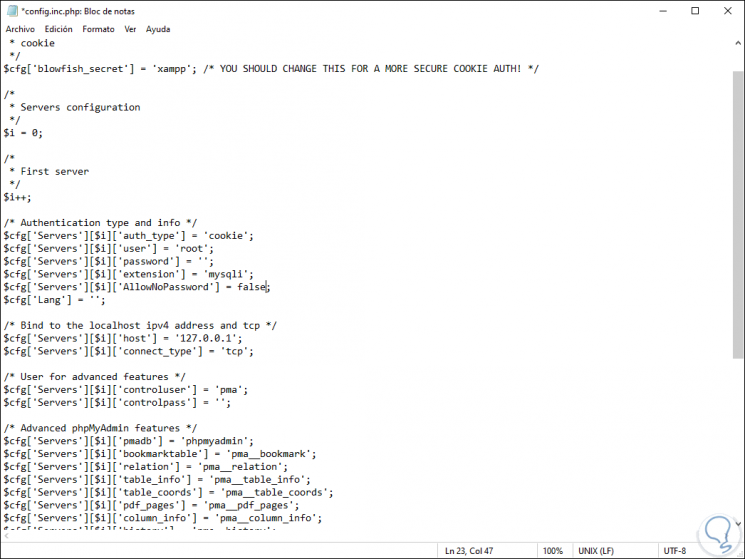
We save the changes to the file.
With these steps you have not only learned to install XAMPP on Windows 10 but to solve their most common problems.