One of the main advantages of Linux operating systems is the versatility of these to integrate multiple functionalities and characteristics, which is why Linux distributions are allies for everything related to web development and XAMPP is one of the best options if it is about integrating in one point the most popular development solutions..
What is XAMPP
XAMPP is basically an Apache distribution in which applications such as MariaDB, PHP and Perl are integrated.
XAMPP offers installers for Windows, Linux and macOS systems and its main objective is to provide the end user, mostly developers, an easy-to-install distribution allowing to get the most out of Apache and this is achieved since XAMPP is configured by default. with all its different active options which represents that we must configure little manually.
XAMPP is 100% free in commercial and non-commercial uses.
characteristics
Among its main characteristics we highlight:
- It is cross-platform allowing it to be installed on Windows, Linux, Solaris, Mac OS, among others.
- Allows the creation of a website in a simple way
- XAMPP includes additional tools such as the phpMyAdmin database administration tools, the FileZilla FTP server, the Mercury mail server, the Perl programming language and the JSP Tomcat server
XAMPP 7.4.7
The current version of XAMPP is version 7.4.7 which integrates:
- PHP 7.2.31, 7.3.19, 7.4.7
- OpenSSL 1.1.1g (UNIX only)
It is time to learn how to install XAMPP on Linux Mint 20..
1. How install XAMPP in Linux Mint 20
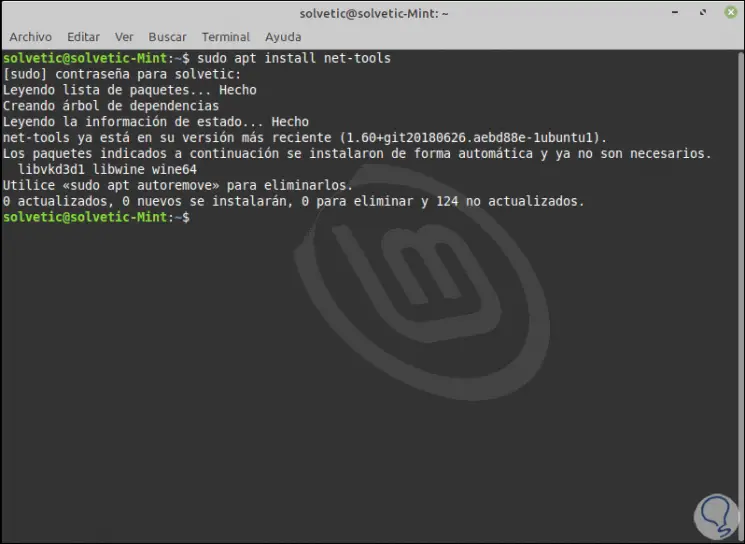
Step 1
The first step to take will be to install netstat with which XAMPP is allowed to be used to the maximum, for this we go to the terminal and execute the following:
sudo apt install net-tools
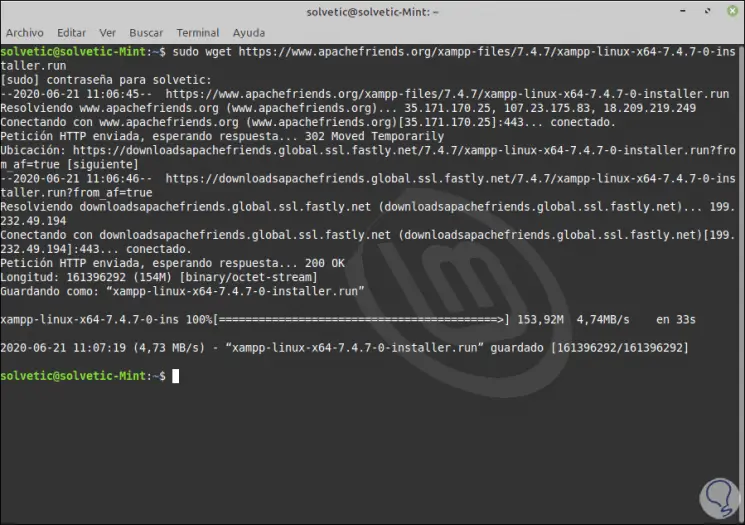
Step 2
It is time to download the script of the latest available version of XAMPP which is 7.4.7, for this we execute the following:
sudo wget https://www.apachefriends.org/xampp-files/7.2.31/xampp-linux-x64-7.2.31-1-installer.run
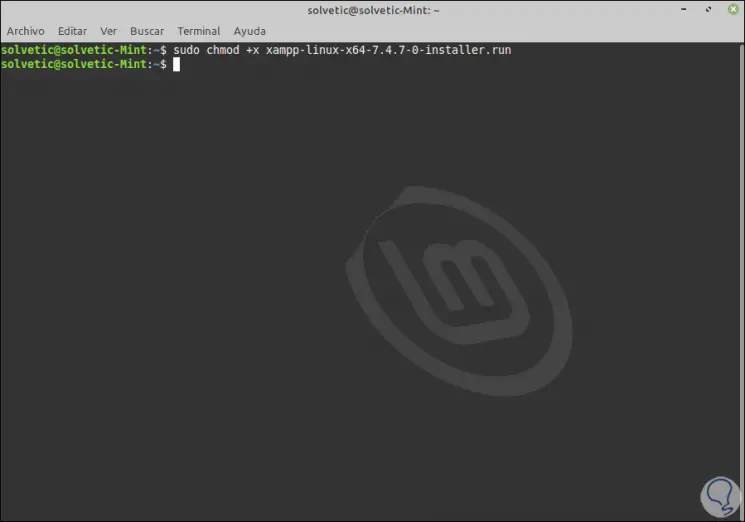
Step 3
We must convert this downloaded file to executable, for this we enter the following in the terminal:
sudo chmod + x xampp-linux-x64-7.4.7-0-installer.run
Step 3
After granting the permissions we will run the installer as follows:
sudo ./xampp-linux-x64-7.4.7-0-installer.run
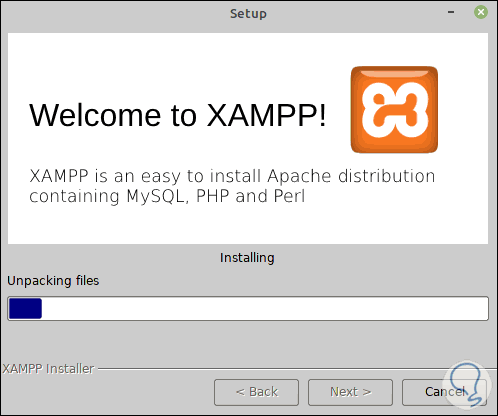
Pressing Enter will launch the XAMPP installation wizard on Linux Mint 20:
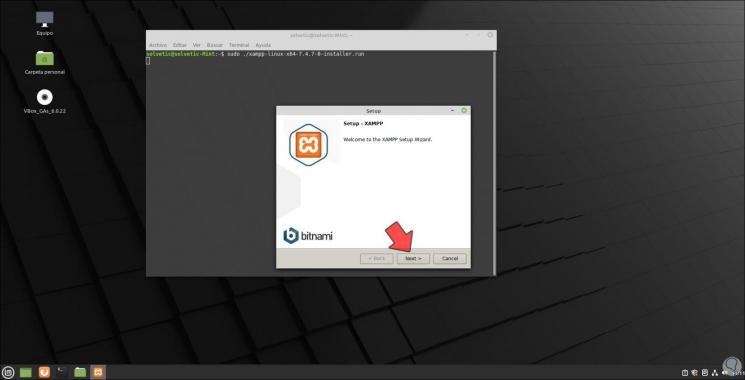
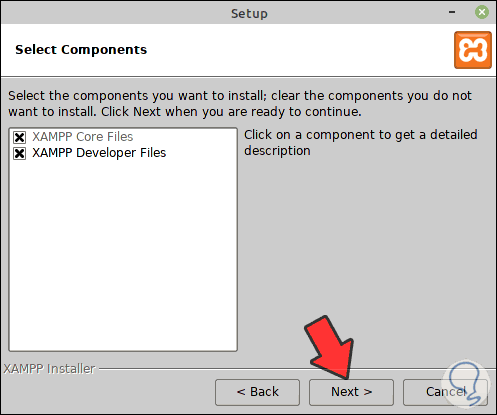
Step 4
We click Next and select the components to install:
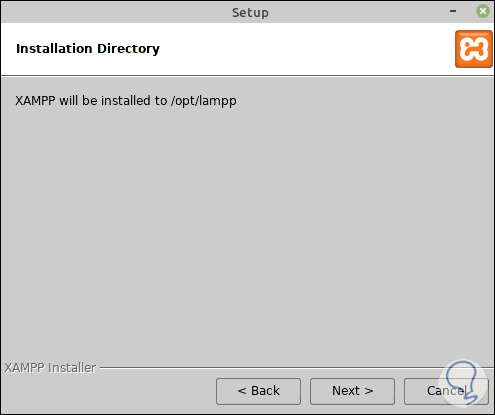
Step 5
Again we click Next and we will see the path where XAMPP will be installed which is / opt / lampp:
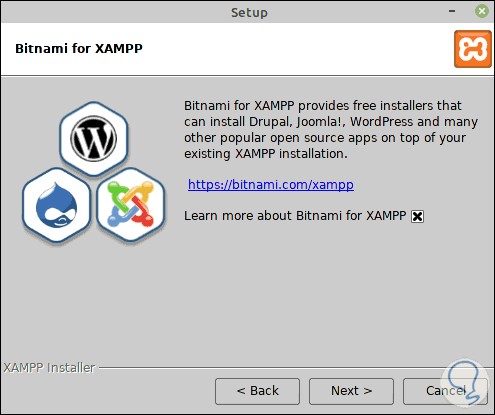
Step 6
We click Next and in the next window it will be possible to install sponsored applications such as Drupal, Joomla and WordPress:
Step 7
If we do not want it, we simply deactivate the present box, click Next and we are ready to install XAMPP in Linux Mint 20:
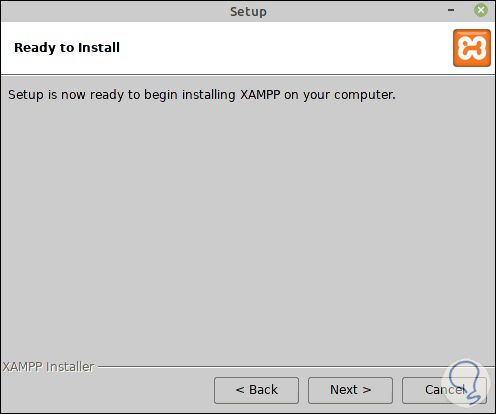
Step 8
We click Next and the XAMPP installation process will start in Mint 20:
Step 9
When this process ends we will see the following:
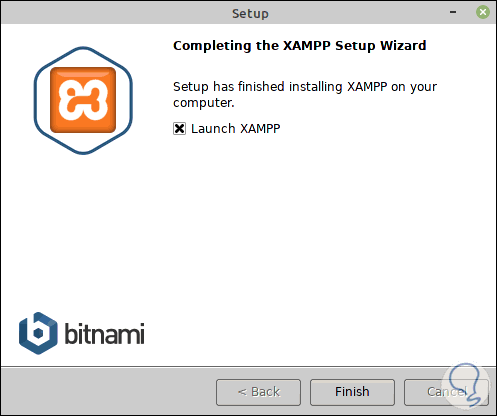
There we can leave the “Launch XAMPP” box active to start the utility, but it is optional.
2. Starting and verifying XAMPP in Linux Mint 20
Step 1
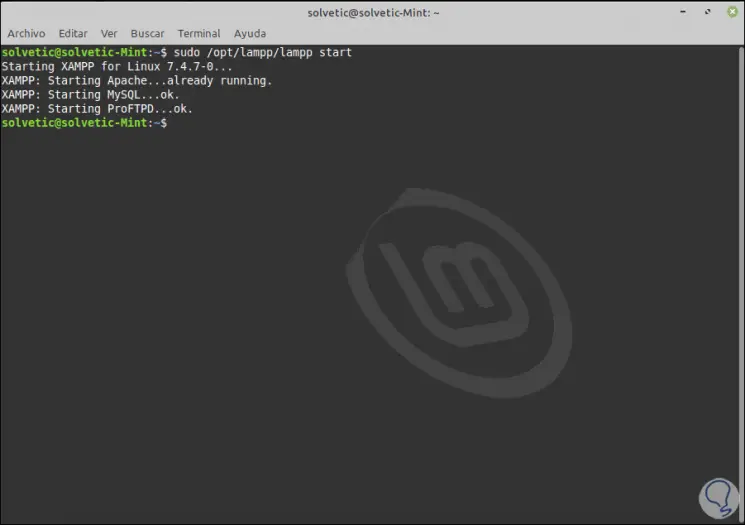
We are going to start XAMPP by running the following in the terminal:
sudo / opt / lampp / lampp start
Step 2
From the local team we verify this by entering the following:
http: // localhost / phpmyadmin /
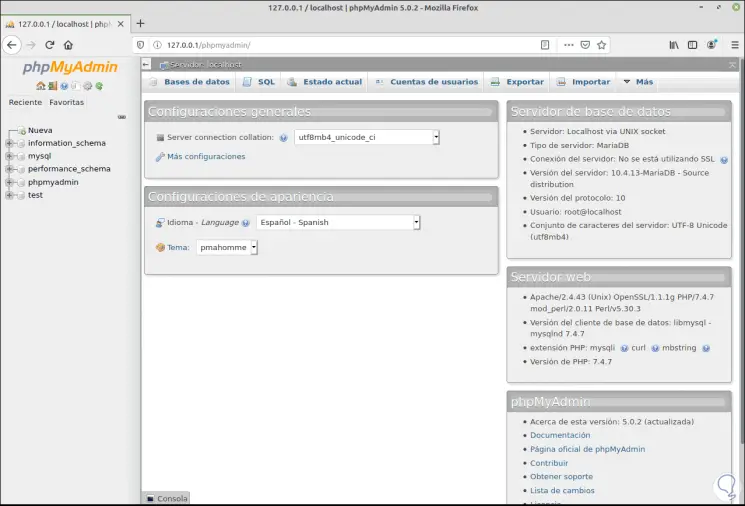
Step 3
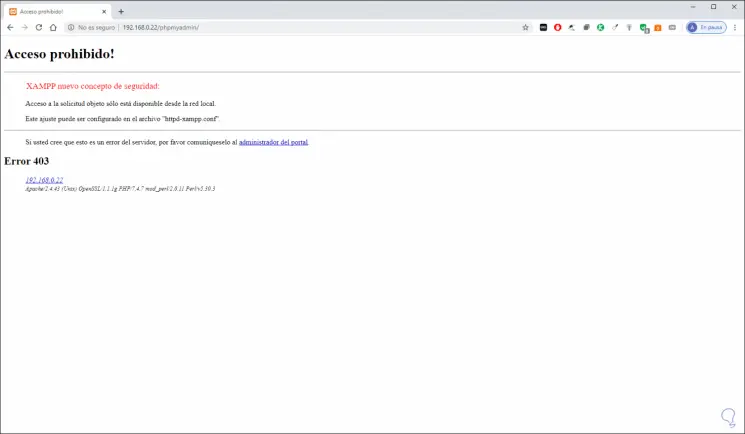
There we have all the properties of PHP and MySQL, but if we try to connect remotely we will see the following error for security reasons:
Step 4
To stop XAMPP we execute:
sudo / opt / lampp / lampp stop
To restart it we will use the following:
sudo / opt / lampp / lampp restart
3. How to configure XAMPP Linux Mint security parameters
Step 1
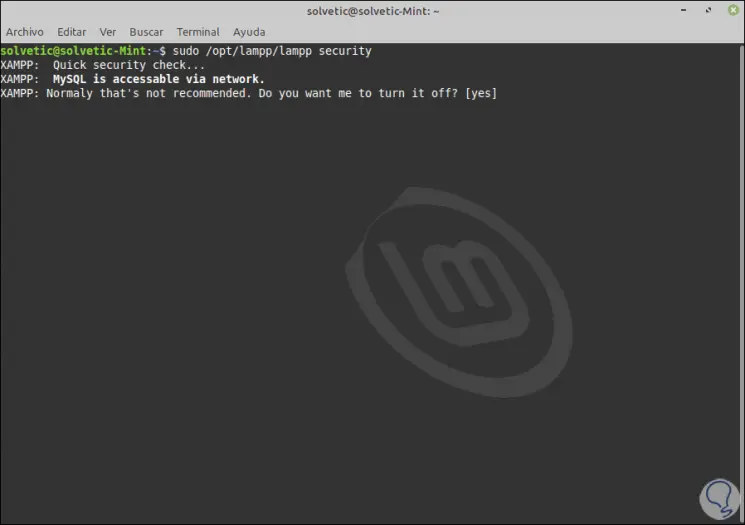
It is important that we define XAMPP security security levels such as passwords and users, for this security configuration we execute the following:
sudo / opt / lampp / lampp security
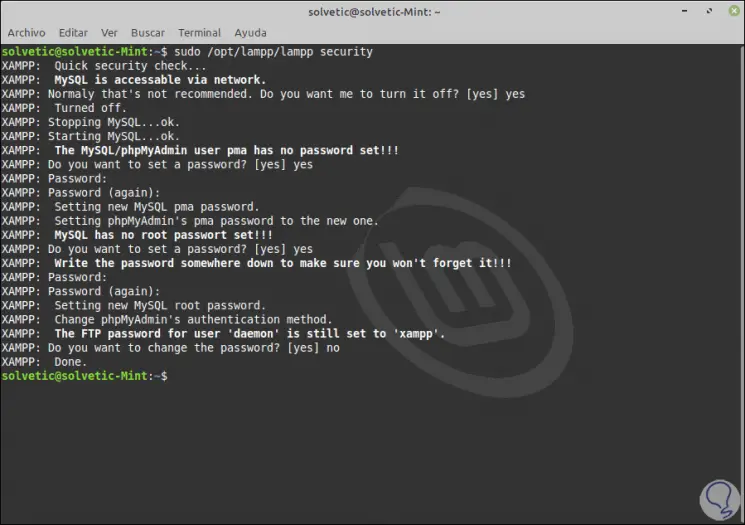
We press Enter and this will launch a series of questions that we must answer based on current needs:
Step 2
We can enter the answers as the case may be:
Step 3
If we want to configure external access, we must edit the httpd-xampp.conf file:
sudo nano etc / extra / httpd-xampp.conf
There we must locate the following:
Alias / phpmyadmin "/ opt / lampp / phpmyadmin /" <Directory "/ opt / lampp / phpmyadmin"> AllowOverride AuthConfig Require local We replace the line "Require local" with "Require all granted": Alias / phpmyadmin "/ opt / lampp / phpmyadmin /" <Directory "/ opt / lampp / phpMyAdmin"> AllowOverride AuthConfig Require all granted
Step 4
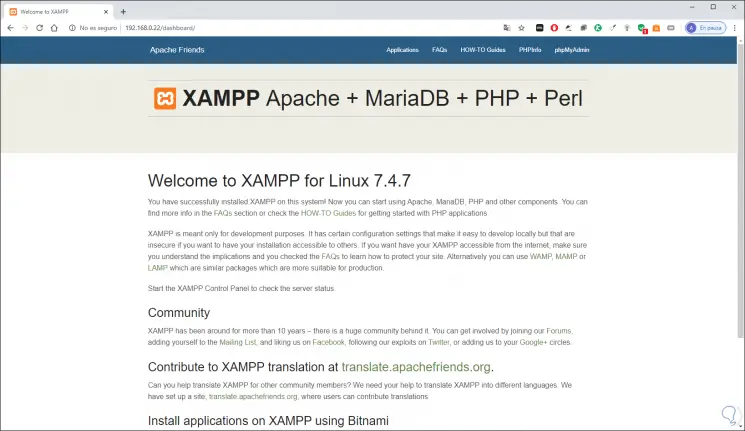
We save the changes and then we try to access externally and we will see that we have XAMPP 7.4.7:
Main XAMPP configuration files
The main XAMPP configuration files are in the following paths:
- Apache: /opt/lampp/etc/httpd.conf, /opt/lampp/etc/extra/httpd-xampp.conf
- PHP: /opt/lampp/etc/php.ini
- MySQL: /opt/lampp/etc/my.cnf
- ProFTPD: /opt/lampp/etc/proftpd.conf
5. XAMPP Linux Mint environment
Step 1
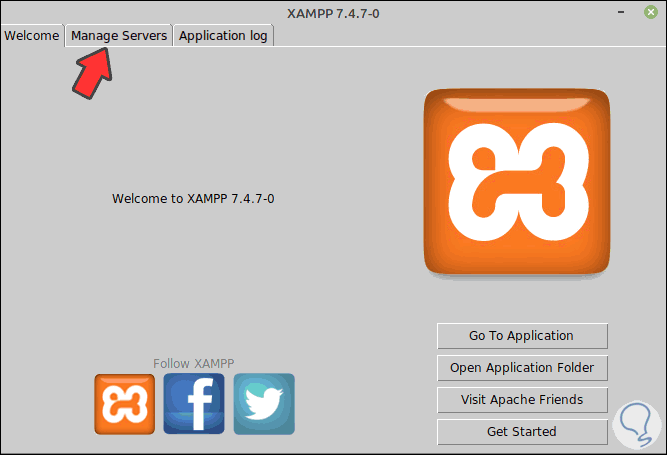
When accessing XAMPP as an application in Mint 20 we will see the following. There we can access help, open the containing folders or go directly to the application.
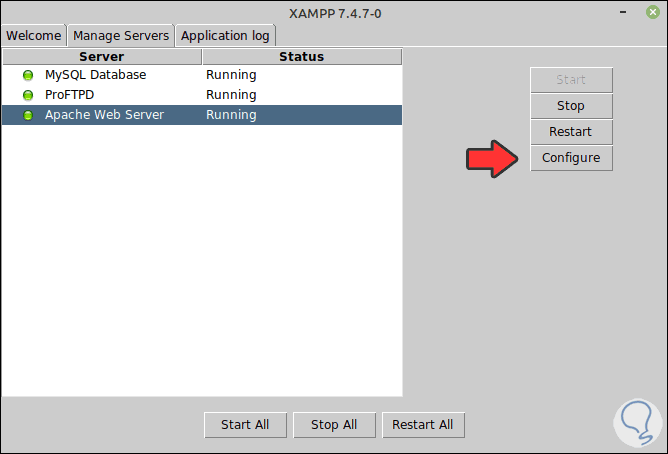
From the "Manage Servers" tab we can start, stop or restart the different applications:
Step 2
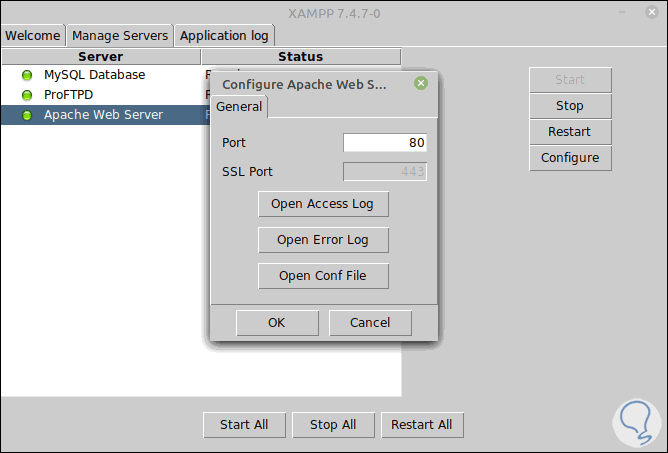
There we have the "Configure" button where it is possible to define the service parameters:
Step 3
From "Aplication Log" we can access events of the services.
Step 4
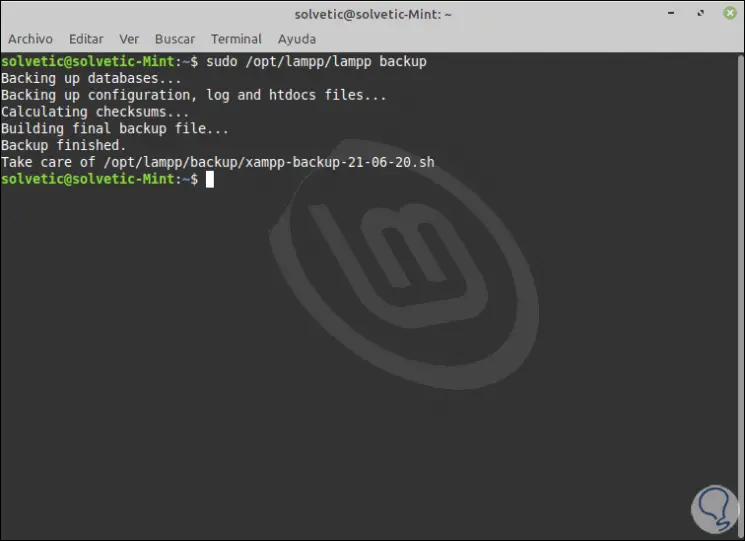
In XAMPP it is possible to create backup copies of the configuration, if this is the case we must execute one of the following options:
sudo / opt / lampp / lampp backup sudo / opt / lampp / lampp backup secret
6. How to uninstall XAMPP Linux Mint
Step 1
At the moment we do not want to use XAMPP any more we can uninstall it from the system, for this we access the directory:
cd / opt / lampp
There we run the XAMPP uninstall script:
sudo ./uninstall
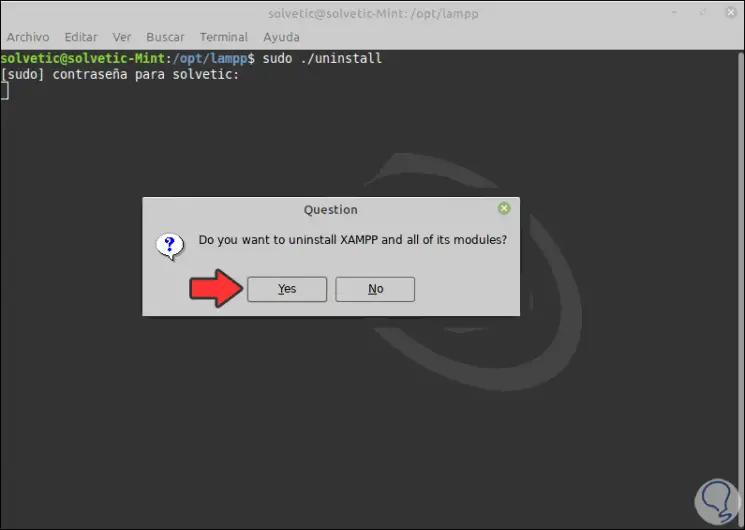
Step 2
We confirm by clicking "Yes" and we will see that XAMPP has been removed from Linux Mint 20:
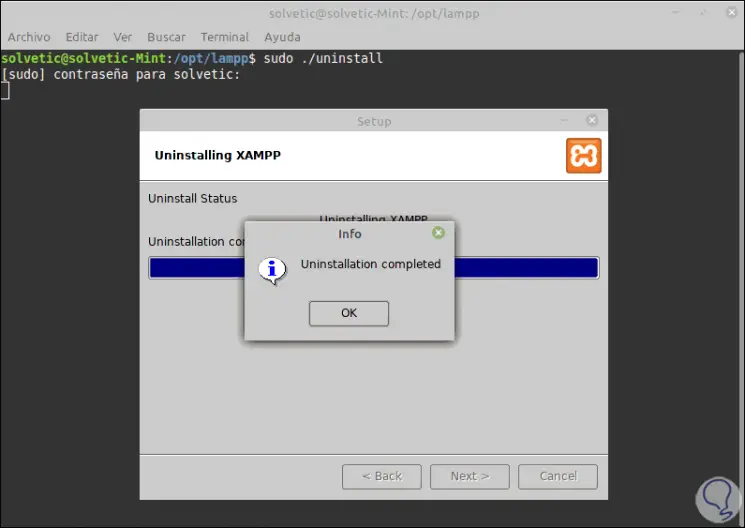
Finally, we delete the original folder with the following command:
sudo rm -r / opt / lampp
With TechnoWikis you have learned how to install and configure XAMPP in Linux Mint 20 and thereby take advantage of each of its main features.