WINE (Wine Is Not an Emulator) is the ideal solution for those users who want to run Windows applications (.exe) on Linux operating systems. We know very well that this is not possible by default since the Linux file system is not compatible with that of Windows and vice versa, therefore we must resort to Wine for this method. Wine is in charge of creating a compatibility layer in Linux with Windows 10 thus allowing the execution of Windows applications and this is possible not only in Linux but also in macOS and BSD systems..
Wine does not use the simulation of internal Windows logic, just like a virtual machine does, Wine what it does is translate the API calls of the Windows system and convert them into POSIX calls, this optimizes the execution, performance and compatibility of the applications Windows on Linux. In this way we can open Windows programs in Linux by installing Wine in Linux Mint.
Wine Advantages
Some of the advantages of using Wine are:
- Allows you to access Windows applications remotely
- Wine makes use of Linux resources and can dedicate them to Windows applications
- Wine makes Windows applications available on the network through VNC and the Java / HTML5 client.
- It is an open source software with which it is constantly updated
- Enables the possibility of accessing Windows applications from any X terminal
Let's see how to install Wine in Linux Mint 20..
1. Install Wine on Linux Mint 20 graphically
Step 1
For this method we must access the Linux Mint Software administrator, for this we search for "software" and in the displayed results select "Software manager":

Step 2
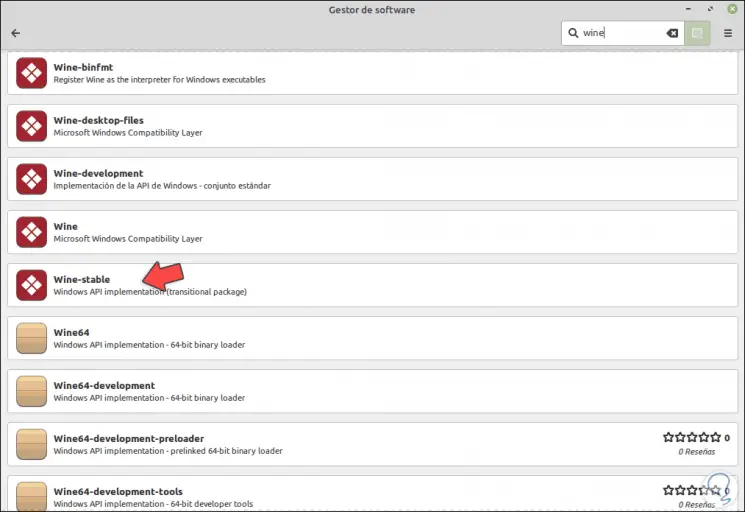
In the manager we look for “wine” and we locate the option “Wine-stable”:
Step 3
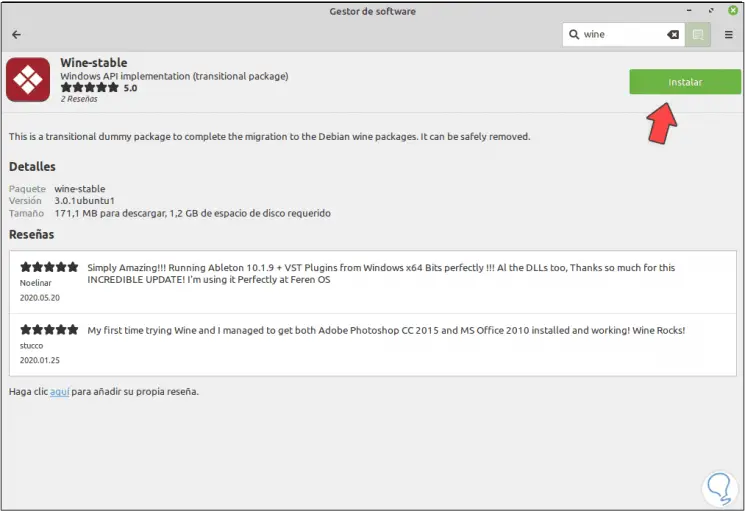
We select this option and the following will be displayed:
Step 4
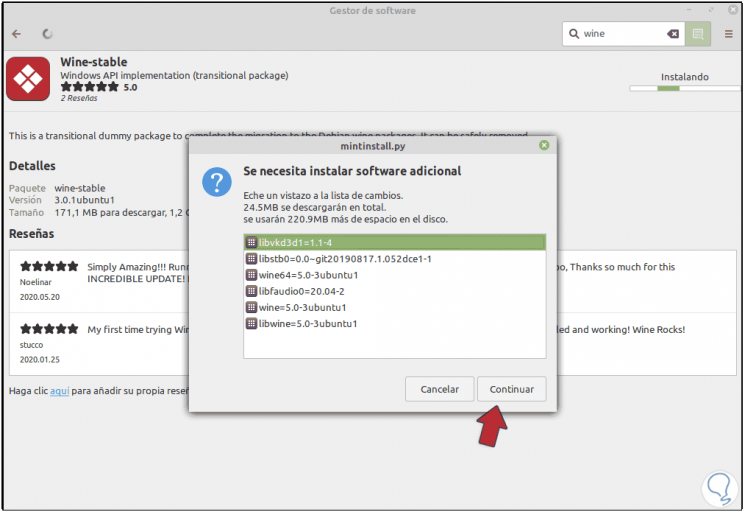
We click "Install" to start the process and we will see that the use of some additional plugins is needed:
Step 5
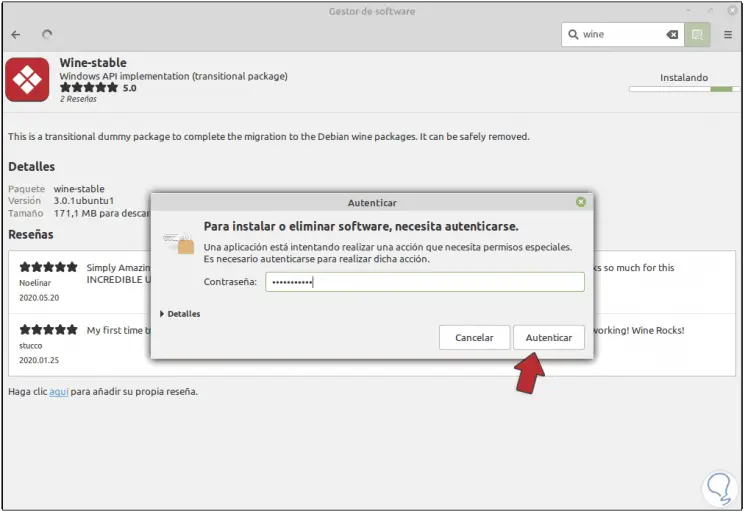
We click "Continue" and it will be necessary to enter the administrator password:
Step 6
We click on “Authenticate” and the Wine installation process begins in Linux Mint 20:
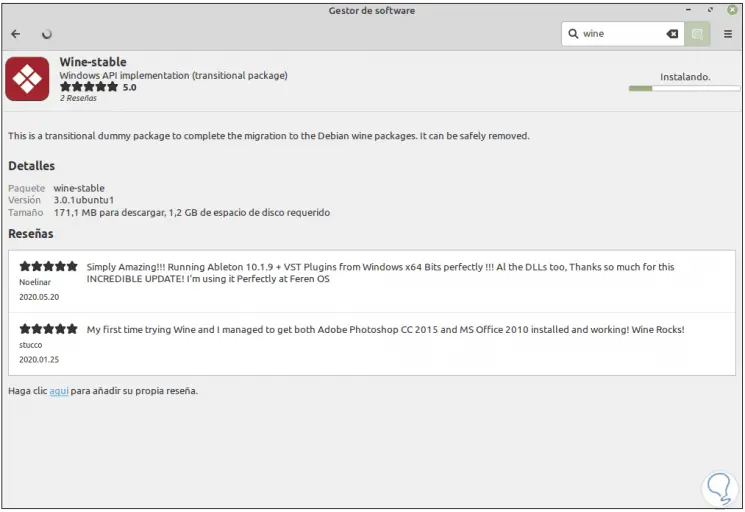
Step 7
When this ends we will see the following. There it will be possible to run Wine or delete it.
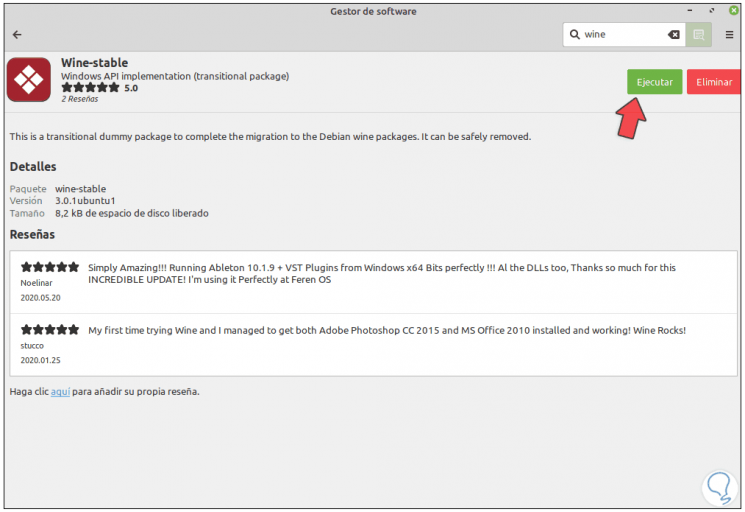
Step 8
Before its execution, we must know that Wine will be installed in the / opt / wine-stable / directory, we must add the path / opt / wine-stable / bin / to the path (PATH) of the Linux Mint 20 user, for this we execute the following:
nano ~ / .profile
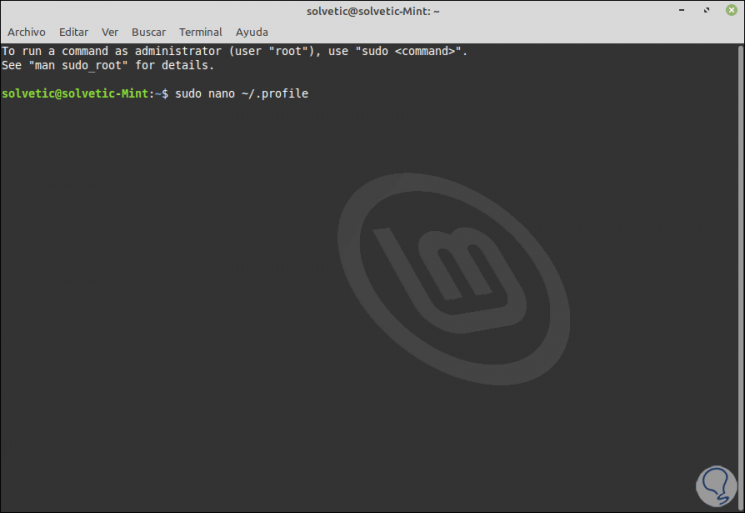
Step 9
We enter the password and at the end of the file we will enter the following:
export PATH = "$ PATH: / opt / wine-stable / bin"
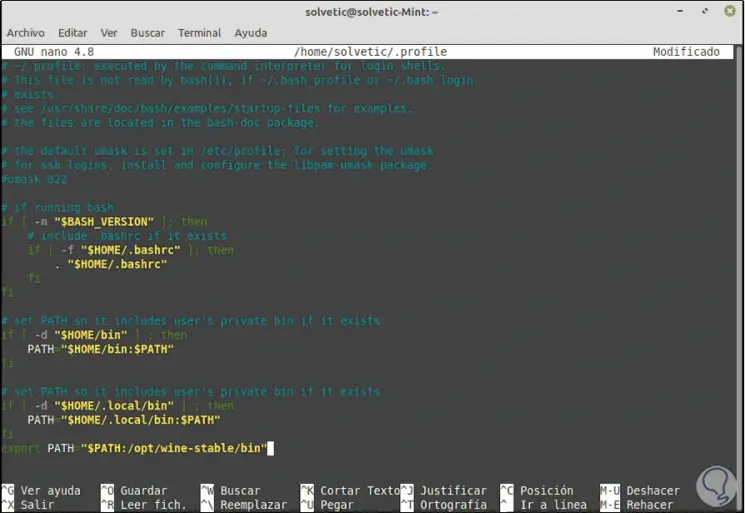
Step 10
We save the changes using the following key combination:
Ctrl + O
We exit the editor using:
Ctrl + X
So we have installed Wine in Linux Mint from the software manager graphically.
2. Install Wine on Linux Mint 20 with terminal
Now we are going to learn how to install Wine directly from the terminal in Mint 20..
Step 1
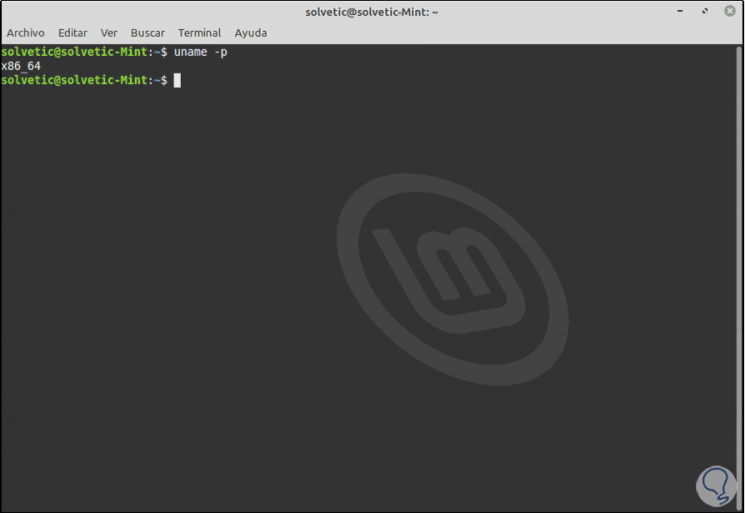
The first step to take will be to determine the architecture of the team, for this we execute the following:
uname -p
Step 2
If the equipment is 32 bits we will see "x86", while if it is 64 bits we will see "x86_64":
Step 3
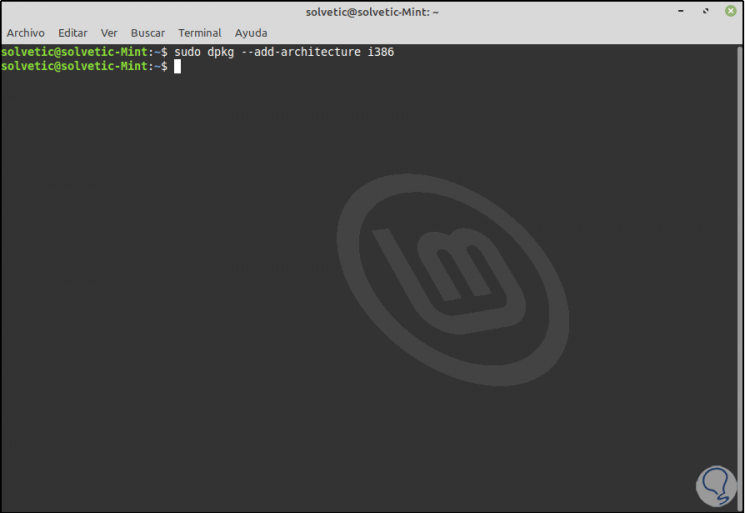
Once this is defined, if the equipment is 64-bit, we must enable the 32-bit architecture since many applications will only be available for it, in this case we execute the following:
sudo dpkg --add-architecture i386
Step 4
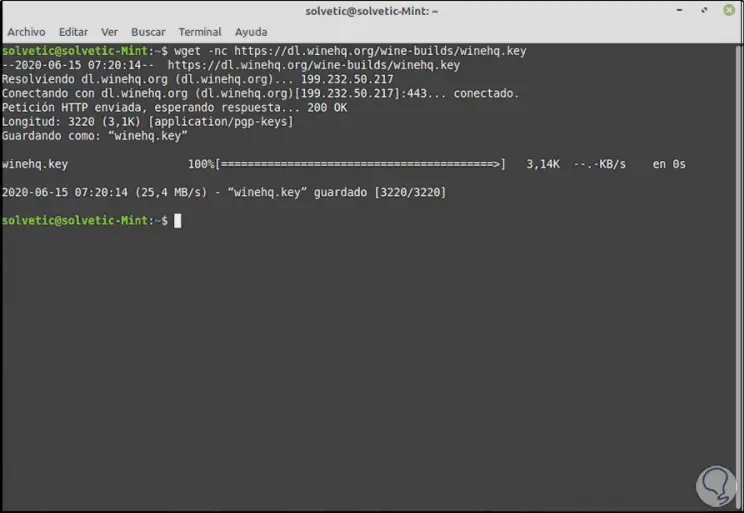
It is time to download the public key of Wine, for this we execute the following:
wget -nc https://dl.winehq.org/wine-builds/winehq.key
Step 5
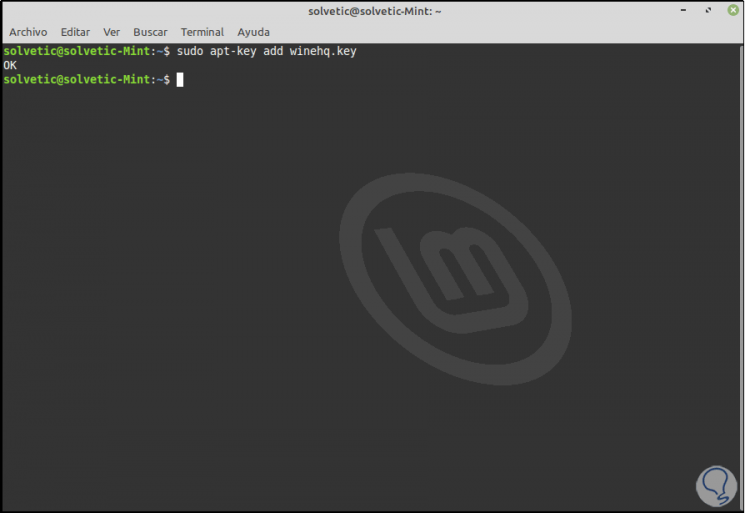
Now we add this key:
sudo apt-key add winehq.key
Step 6
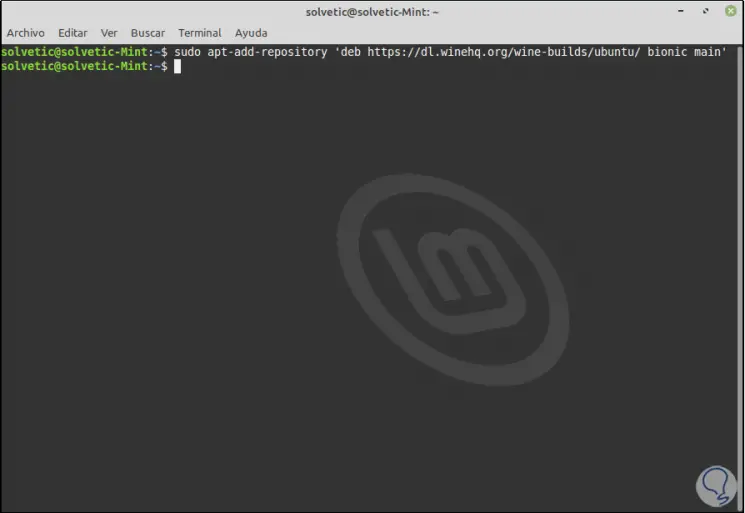
After this we are going to add the Wine repository by executing the following line:
sudo apt-add-repository 'deb https://dl.winehq.org/wine-builds/ubuntu/ bionic main'
Note
In this case, the “bionic” repository of Mint 19.1 is used since Wine has not yet developed the Linux Mint 20 Ulyana repository.
Step 7
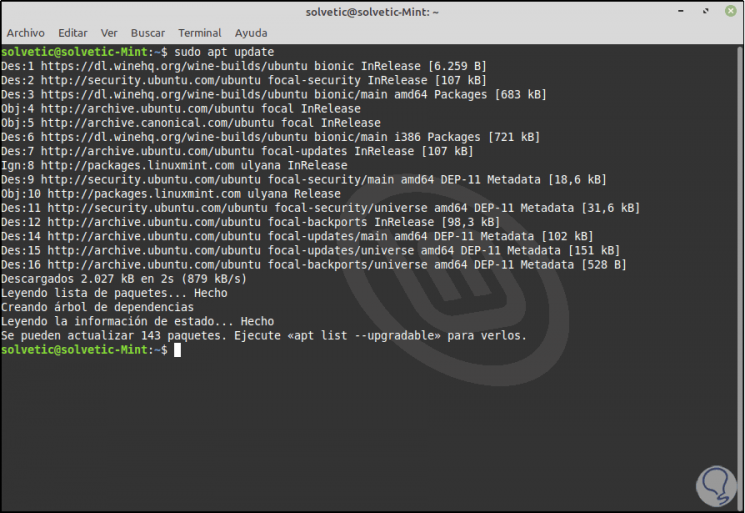
We update the repositories:
sudo apt update
Step 8
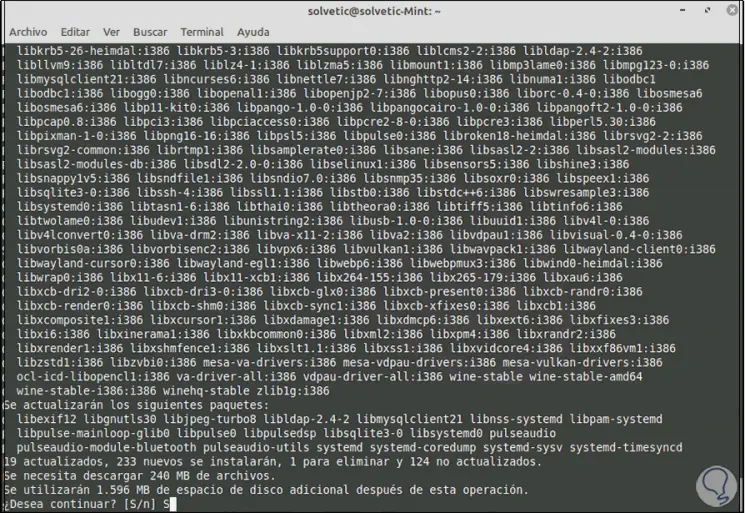
After this we will install the latest stable version of Wine by running:
sudo apt install --install-recommends winehq-stable
Step 9
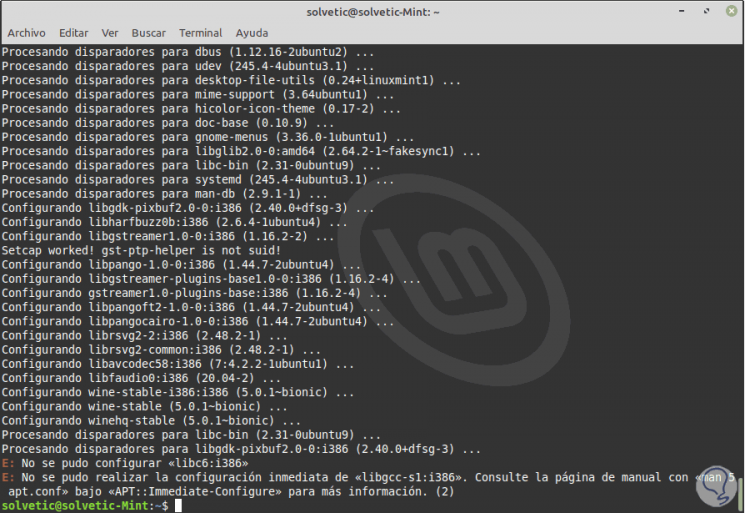
We enter the letter S to confirm the download and installation of Wine in Linux Mint 20, when this ends we will see the following:
3. Configure Wine in Linux Mint 20
Step 1
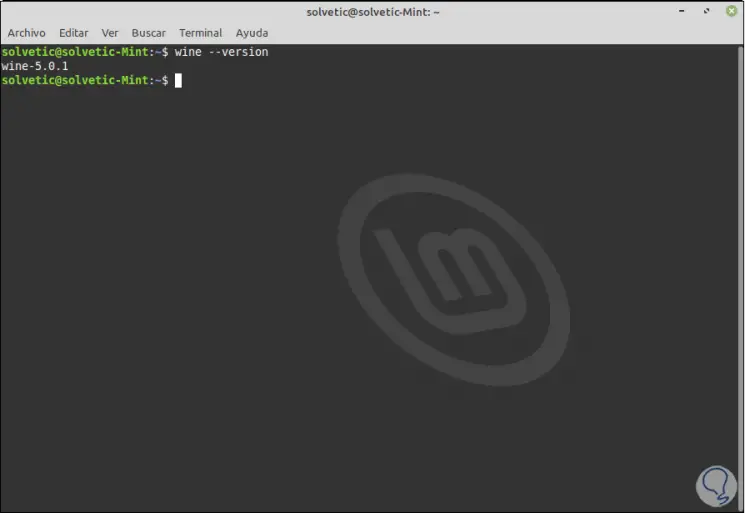
If we want we can validate the version of Wine installed with the following command:
wine –version
Step 2
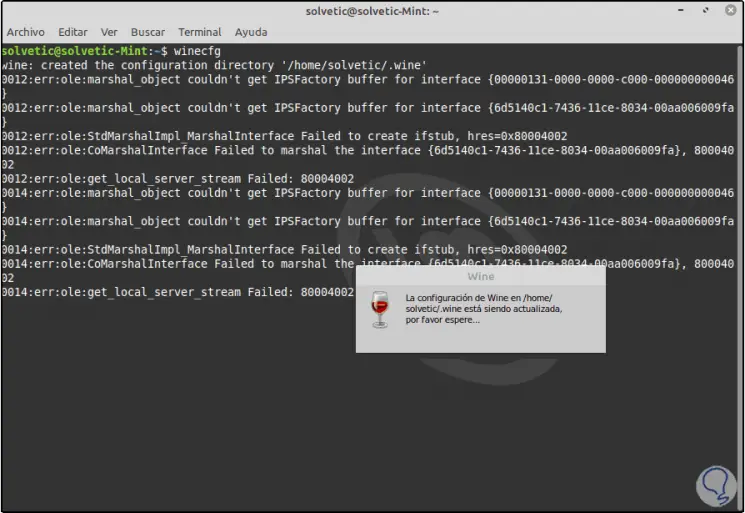
Now it will be necessary to make some adjustments to the Wine configuration in Linux Mint 20, to process them, we will execute the following:
winecfg
Step 3
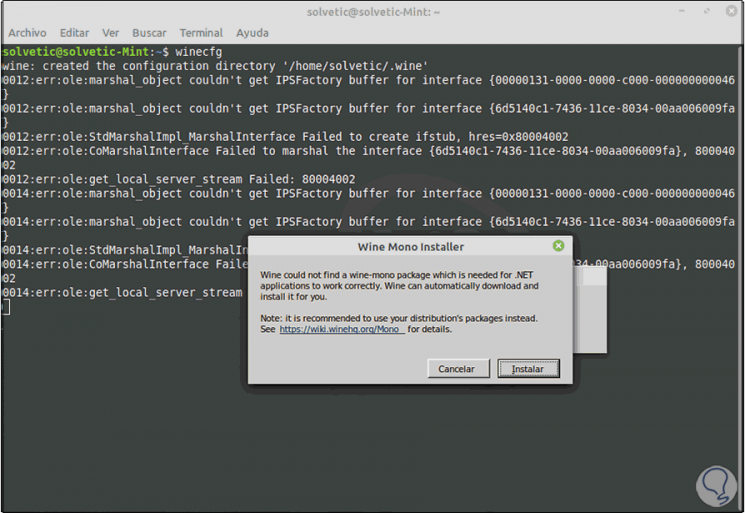
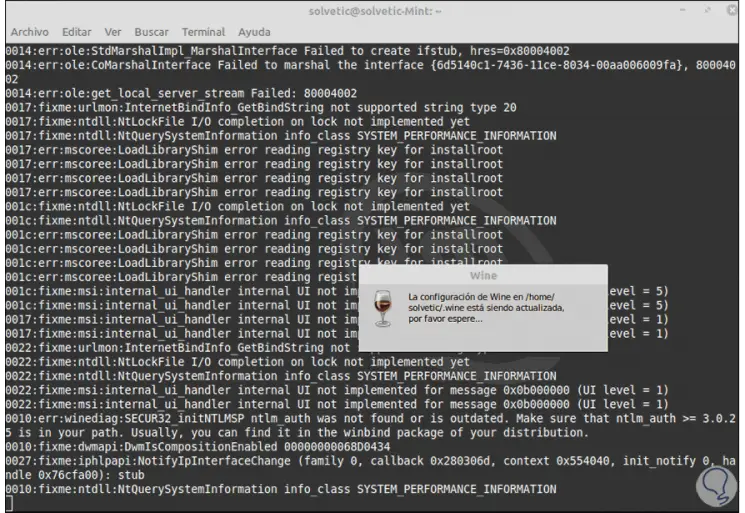
This will create a directory.wine in the user's home directory, after this we must install the Wine mono and Wine gecko packages:
Step 4
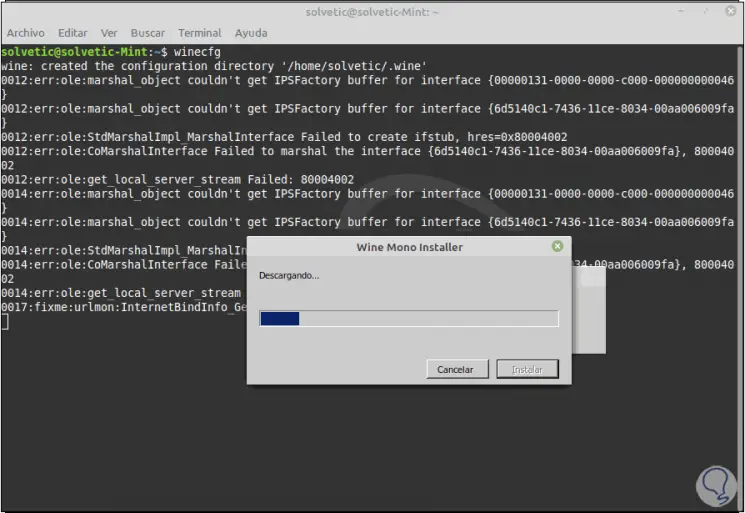
We click "Install" for it:
Step 5
After these two packages are installed the information in the .wine file will be updated again:
Step 6
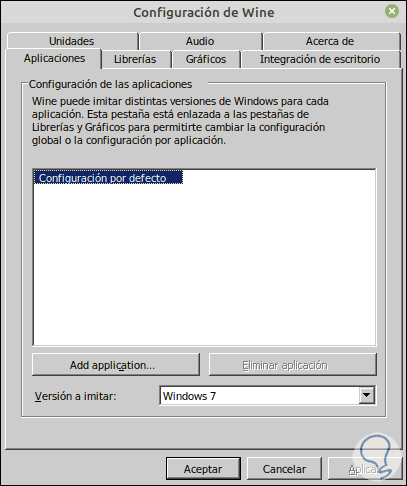
When this ends, the following window will be launched where we can make the respective adjustments:
Step 7
There it will be possible:
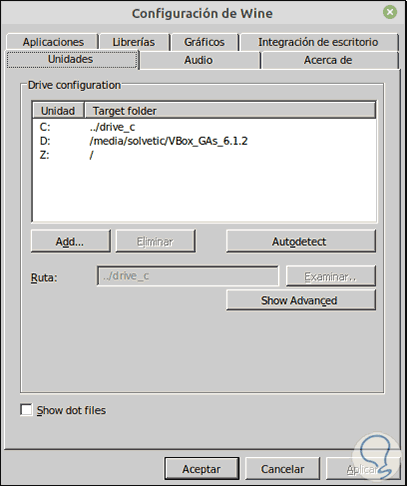
Units
It is possible to access the virtual drives created or manage the ones that are available:
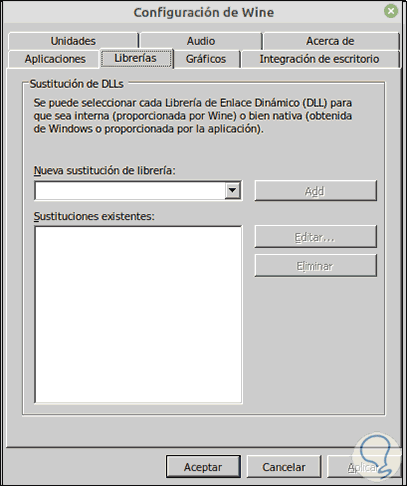
Bookstores
In this section it is possible to enter Windows .dll libraries
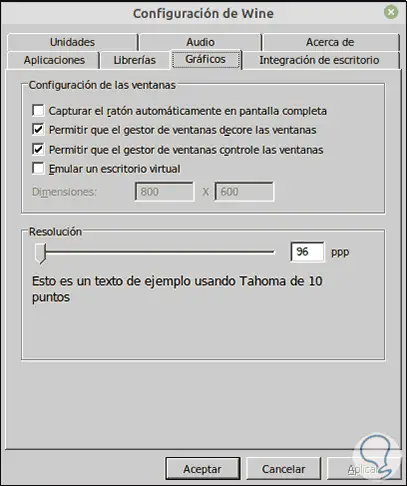
Graphics
Allows management of how application windows work in Mint 20
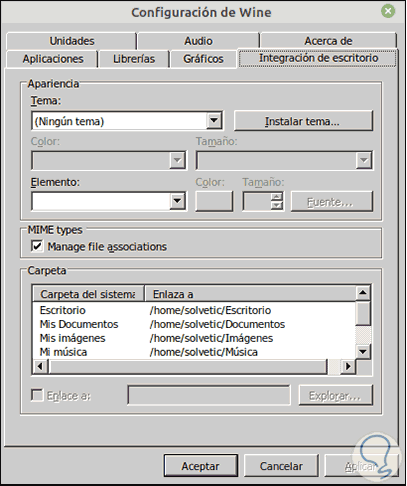
Desktop integration
there we can validate the Linux paths of the Windows libraries
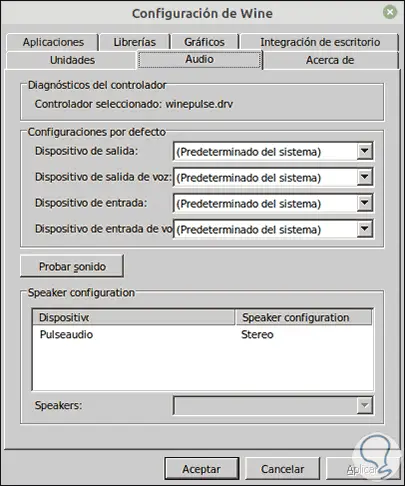
Audio
from here it is possible to manage audio devices in Linux for Windows
4. Use Wine in Linux Mint 20
After this we have two methods to run Windows applications in Mint 20.
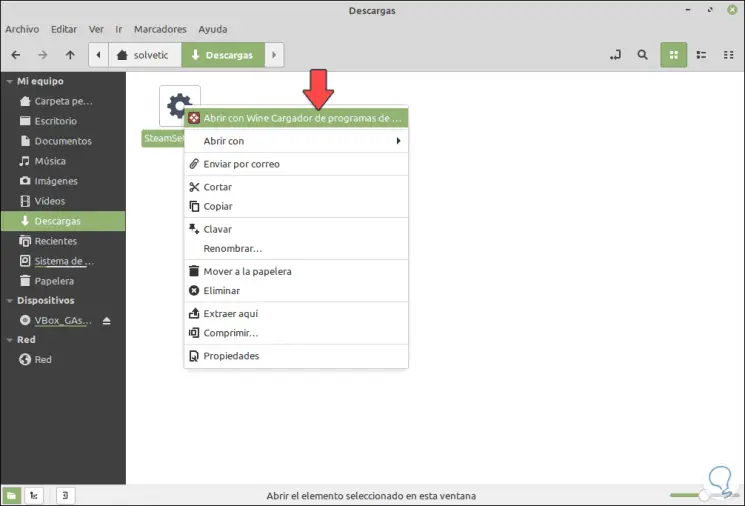
Step 1
The first is to right-click on the executable and select "Open with Wine program loader"
Step 2
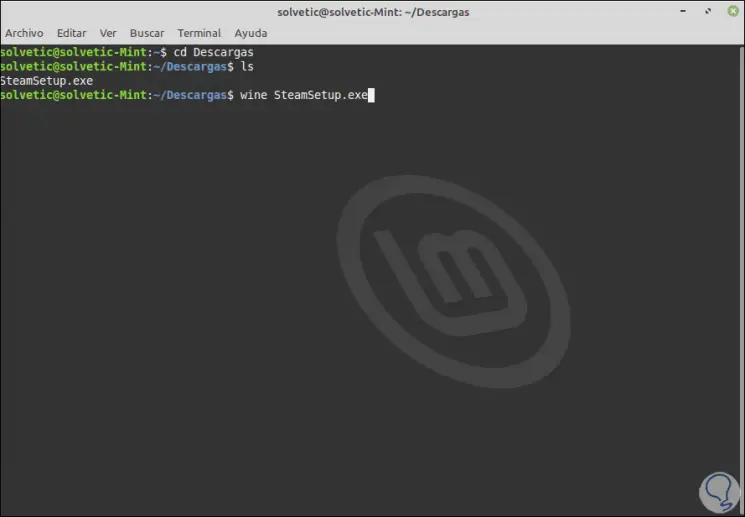
The second option is to access the terminal and execute the following there:
wine programa.exe
Step 3
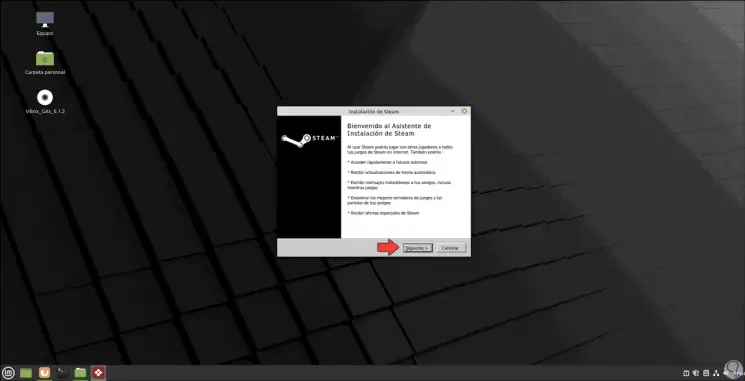
Using any of these options we will see that the selected installer is run:
Step 4
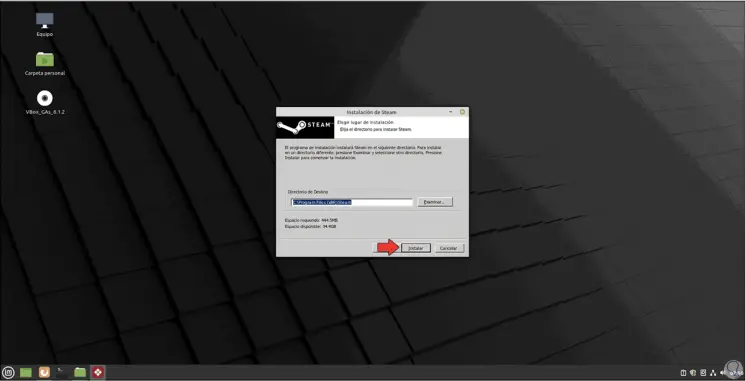
We follow the steps as if we were in Windows:
Step 5
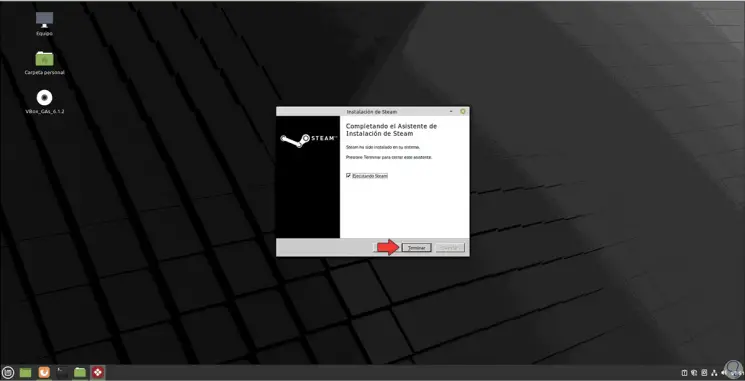
The application installs correctly on Linux Mint 20:
Step 6
After this we see that the application we have installed runs correctly in Mint 20 as it happens in a Windows operating system:
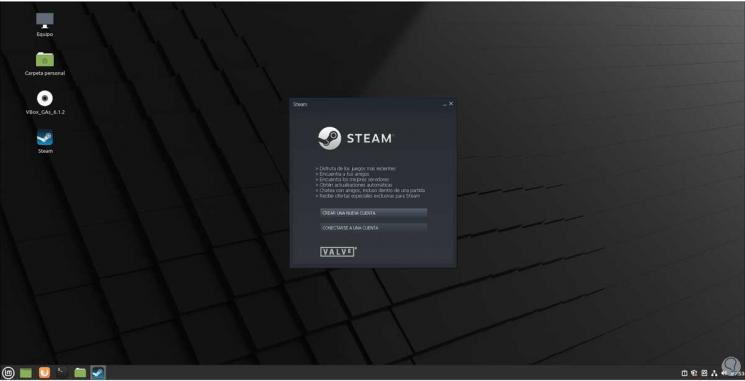
Thanks to Wine we will not miss Windows applications when using Linux Mint 20.