If you are an Ubuntu 20.04 user, you will undoubtedly have noticed everything this system has to offer us as users, so when you see the new Linux Mint, version 20.0, you will notice an environment similar to Ubuntu 20 since Mint is based on this popular distribution Linux ..
Linux Mint 20 has been developed as a long-term support version which will offer compatibility until the year 2025 and integrates updated software adding improvements and new features in order for the end user to stay in a safe and reliable environment.
Linux Mint 20 is available for download at the following link:
Linux Mint 20
characteristics
Linux Mint 20 will receive the name of "Ulyana" and within its different characteristics we find:
- Warpinator which is an improvement of Giver, when configuring the server for FTP, NFS or Samba many resources are used for file transfer tasks, this will change as Warpinator allows easy file sharing using the local network
- NVIDIA Optimus: in Linux Mint 20 we find an improved support for NVIDIA Optimus, we will see this change since the NVIDIA Prime applet allows us to visualize the GPU processor in order to select which card we can change from the menu, in addition to the profile " NVIDIA On-Demand "is supported
App enhancements
At the tray level, we found that XAppStatusIcon is capable of handling scroll events with the mouse wheel and a new function is added which allows it to be simple to open applications from GtkStatusIcon
- Gdebi, is a tool to open and install .deb files, now it has a new user interface
- The login screen (Slick Greeter) supports stretch backgrounds on multiple monitors
- Linux-firmware 1.187 and Linux kernel 5.4 integration
- Snapd is disabled by default and APT packages are not able to install it
- Apturl updated Synaptic backend to Aptdaemon
- Grub boot menu will now always be visible
- Live sessions that are run in Virtualbox will now automatically have a minimum resolution of 1024x768
Let's see how to install Linux Mint 20 and learn a little more about this new Linux system..
1. How to install Linux Mint 20
Step 1
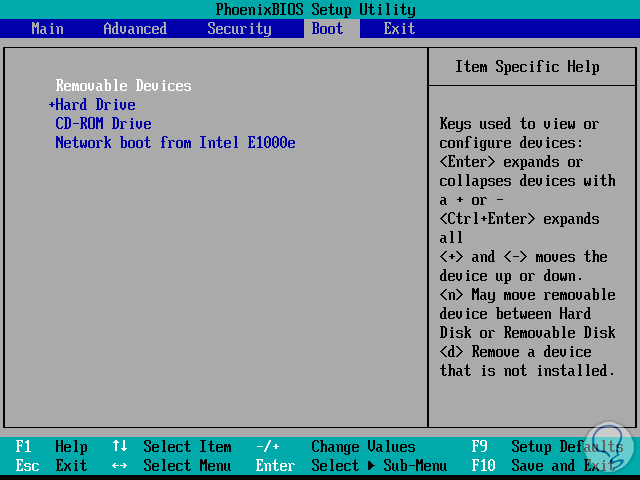
Once we download the Linux Mint 20 ISO image, we will burn it to a bootable DVD or USB, configure the equipment to boot from there, either with the DVD drive or with the USB (Removable Devices). Once the Mint installation starts we will see the following:
Step 2
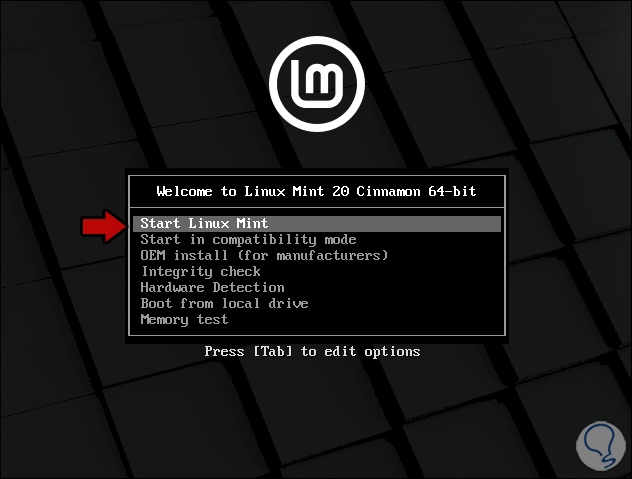
We select the first option and we will see the following.
Options
In this case we have used the Cinnamon ISO but we can select the XFCE or MATE version. There we have some options such as:
- Start Linux Mint: Start the installation of Mint 20 live
- Start in compatibility mode: this option allows you to start the system in compatibility mode if you do not have the necessary hardware resources
- OEM install: allows you to install it on original factory machines
- Integrity check: run a hardware and software integrity analysis
- Hardware detection: do a hardware analysis
- Boot from local drive: start Linux Mint if an existing installation exists
- Memory test: run a RAM memory scan
Step 3
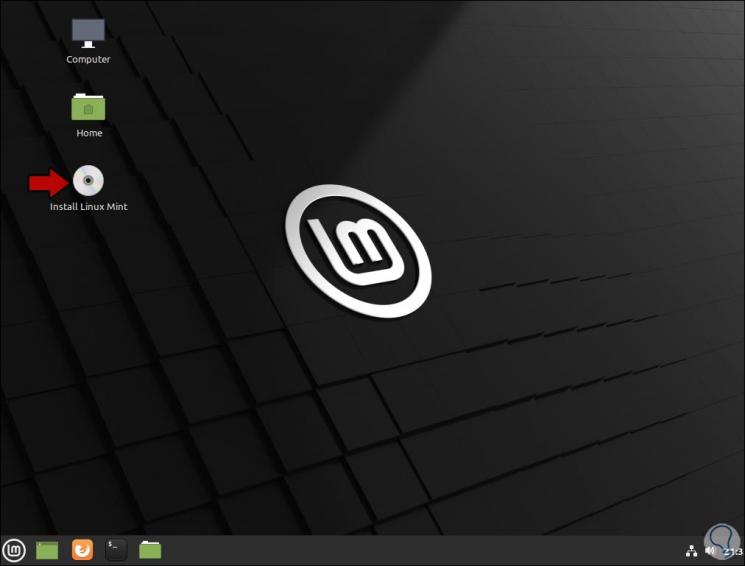
There you access the "live" mode with which we can get to know the system, but without installing it, everything we do here will not be saved. To install Linux Mint 20 we double click on “Install Linux Mint”
Step 4
We will see the following where we can select the installation language:

Step 5
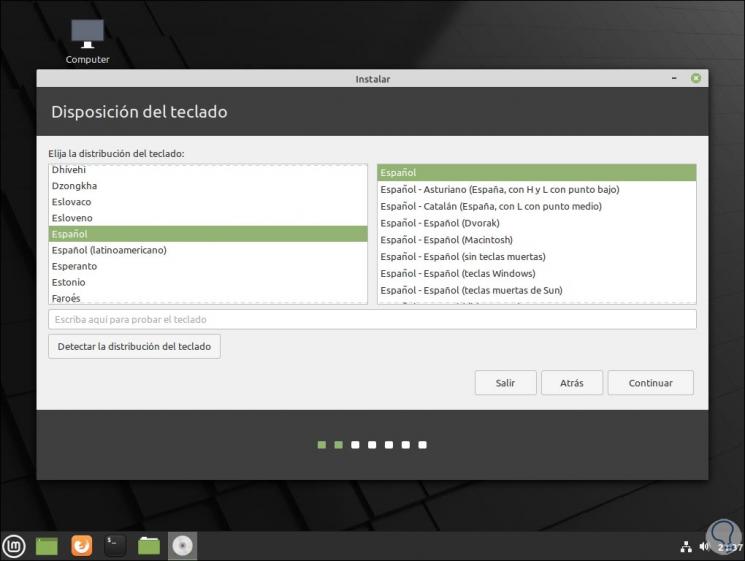
We click "Continue" and select the keyboard language:
Step 6
We click again on "Continue" and now we can install the multimedia codecs if we want:

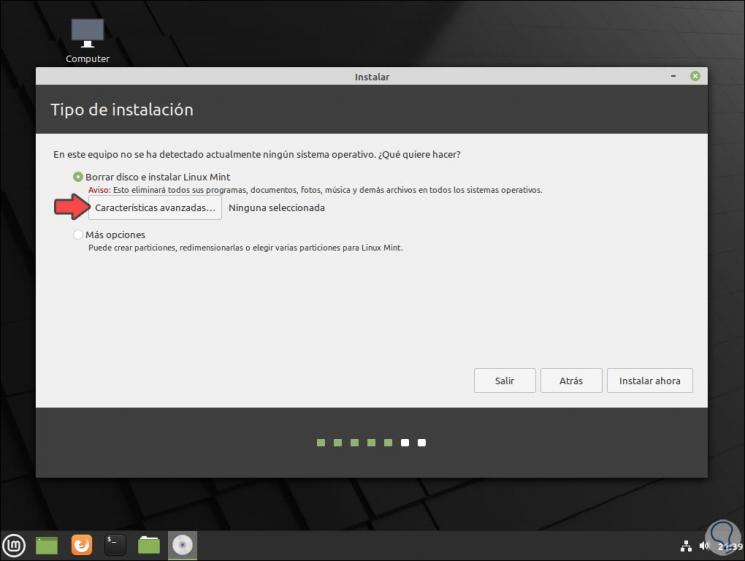
Step 7
In the next window we access the disk section. There we can select the default option for the system itself to define the structure of the partitions or activate the "More options" box to create them manually. If we click on "Advanced Features" we will see the following:
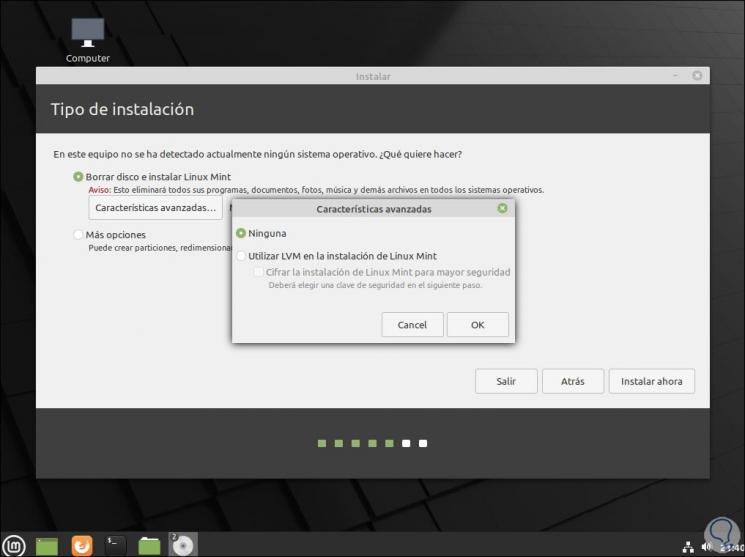
Step 8
There we can activate the LVM box to use encryption on the volumes. Once we define the changes we click on “Install now”
Step 9
We will see the following warning:
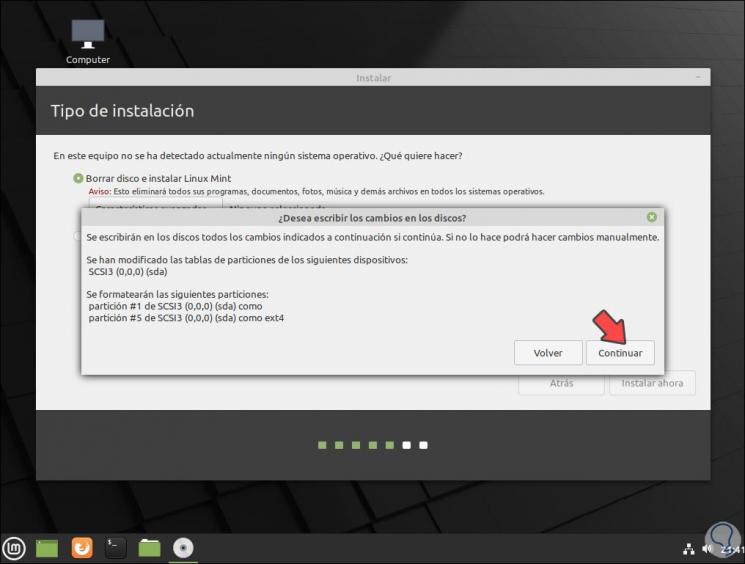
Step 10
We confirm by clicking "Continue". Now we select our geographical location.
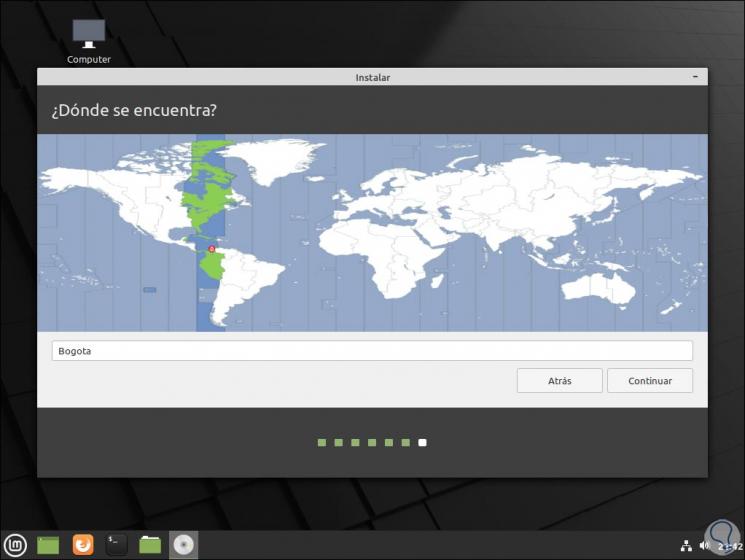
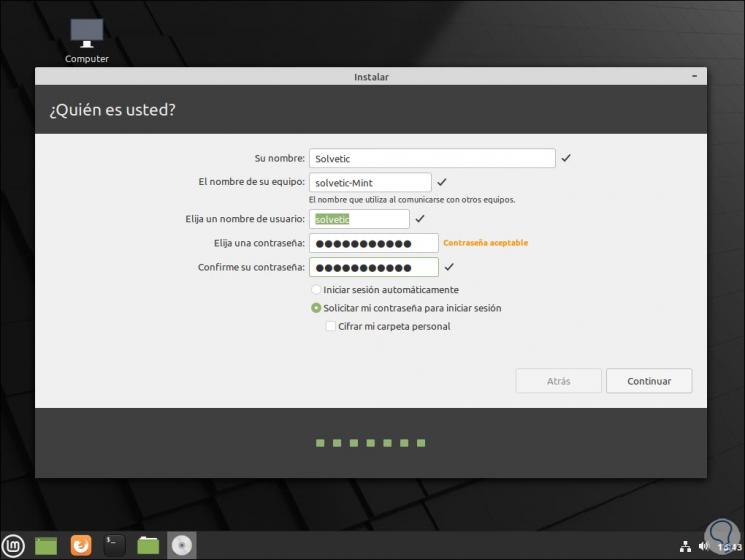
Step 11
We click "Continue" and it is time to configure the administrator user with their respective password:
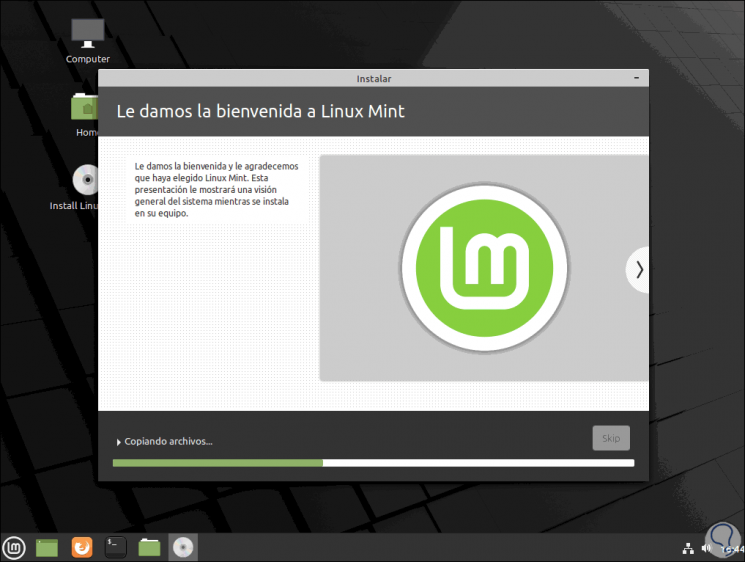
Step 12
We click "Continue" to start the Linux Mint 20 installation process:
Step 13
Once this is finished we will see the following:
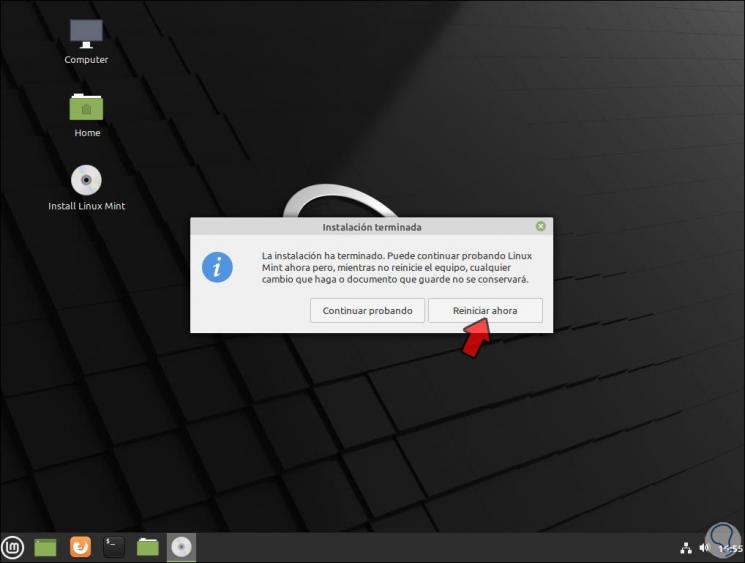
Step 14
We click on "Restart now" and we will access the login screen:
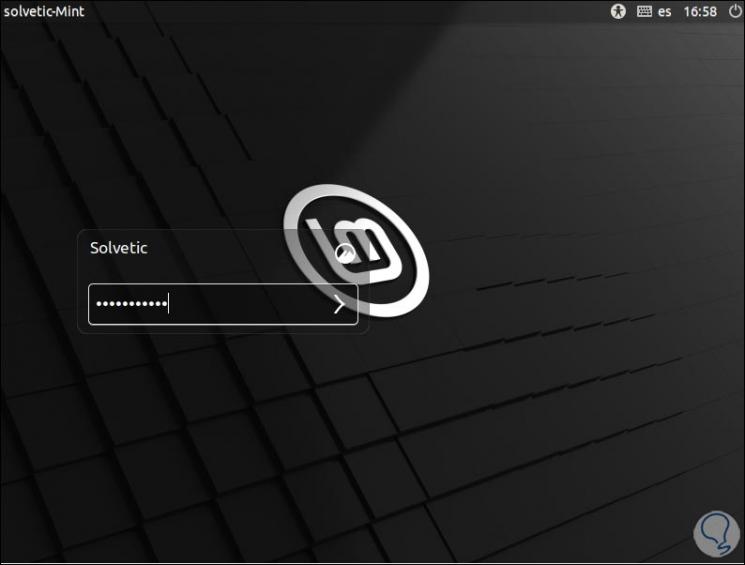
Step 15
We are logged in and this will be the initial environment where we must configure some additional aspects:

Step 16
We are now ready to use Linux Mint 20:
With the steps that TechnoWikis has explained to you, you will be prepared to explore each of the novelties of Linux Mint 20 and thus know if it adapts to your needs.