Linux Mint is a system based on Ubuntu, so its performance and environment will not be strange for thousands of users. Mint version 20 called "Ulyana" has recently been released, which has long-term compatible support until 2025. Its software has been updated and new improvements and features have been added focused on a much more enjoyable and functional user experience..
News Linux Mint 20 Ulyana
Some of the novelties of this version are:
- Warpinator: is a utility that allows us to share files in a simple way on the local network where Linux Mint 20 is.
- XAppStatusIcon is in the ability to handle mouse wheel scroll events.
- Improved support for NVIDIA Optimus.
- Integration of linux-firmware 1.187 and Linux kernel 5.4.
- Snapd is disabled by default and cannot be installed with APT packages.
- Apturl updated Synaptic backend to Aptdaemon.
- Live sessions that are run through Virtualbox automatically will have the resolution at a minimum of 1024x768.
Through this tutorial TechnoWikis will explain how to upgrade from Linux Mint 19.3 to Mint 20.
1. Know Linux Mint architecture
This step is essential since if we are using 32-bit Linux Mint, the update process will simply generate errors, to verify that we use a 64-bit architecture, we will execute the following:
dpkg --print-architecture
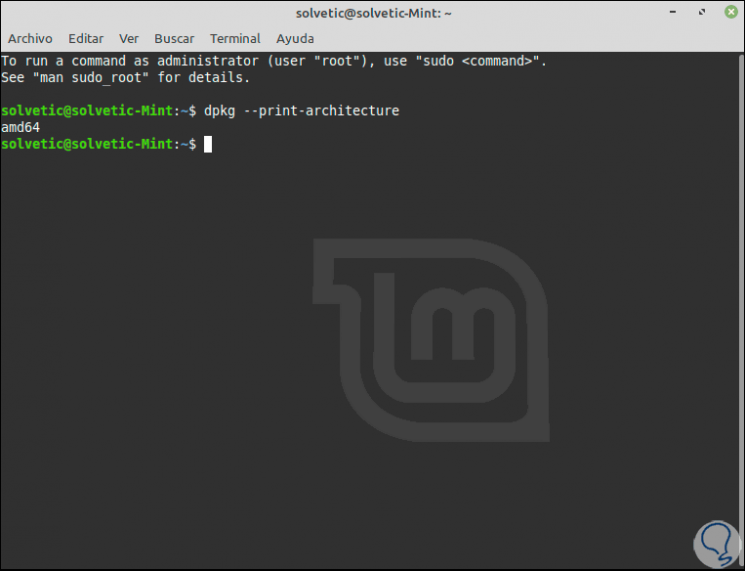
As we can see, if it is 64 bits it will say "amd64"..
Note
In case of using a 32 bit version, it is recommended to install Linux Mint 20 from scratch, you can see it in the following tutorial:
2. Update Linux Mint 20 packages
Step 1
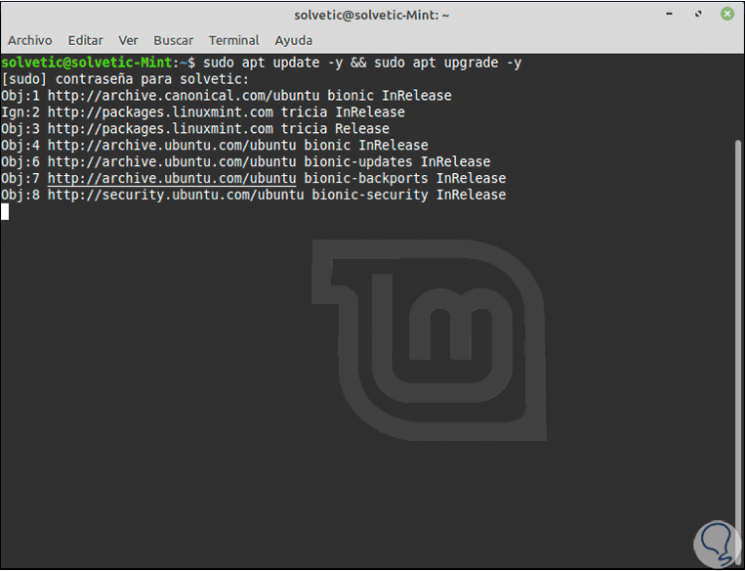
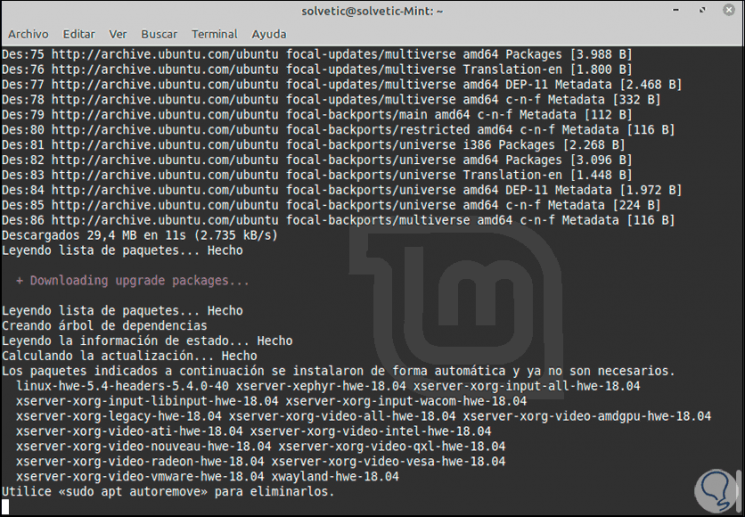
This process can be carried out through the console by executing the following:
sudo apt update -y && sudo apt upgrade -y
Step 2
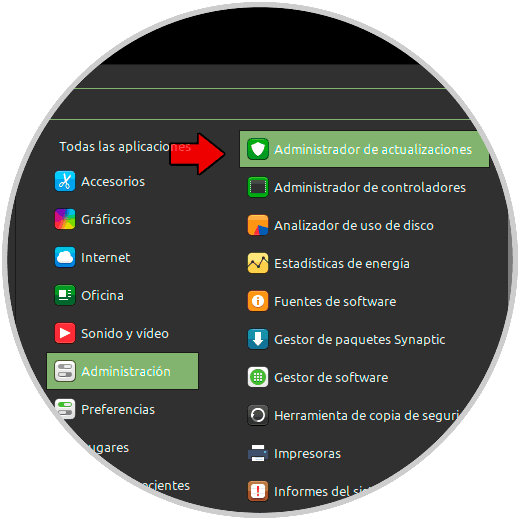
Or failing that we can do it graphically using the Update Manager, for this we go to the start menu and in the "Administrator" section we go to the update manager:
Step 3
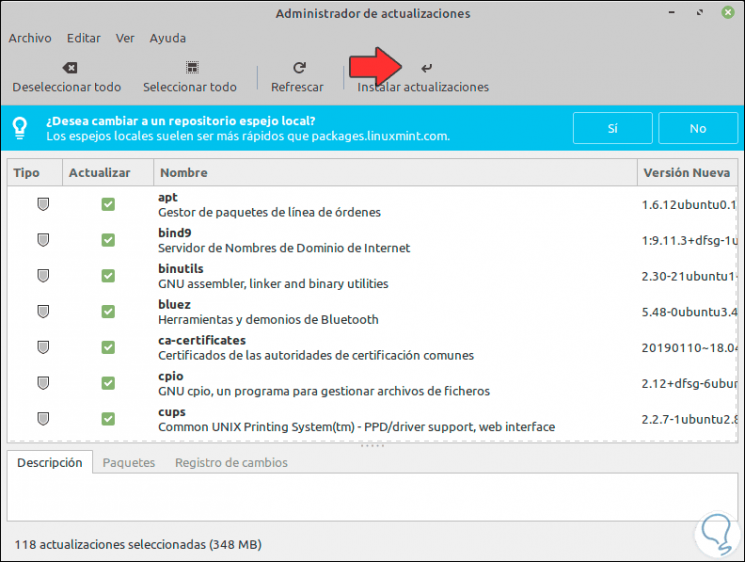
In the displayed window we will see the available updates:
Step 4
We click "Install updates" and we will see a warning about certain updates that require changes:
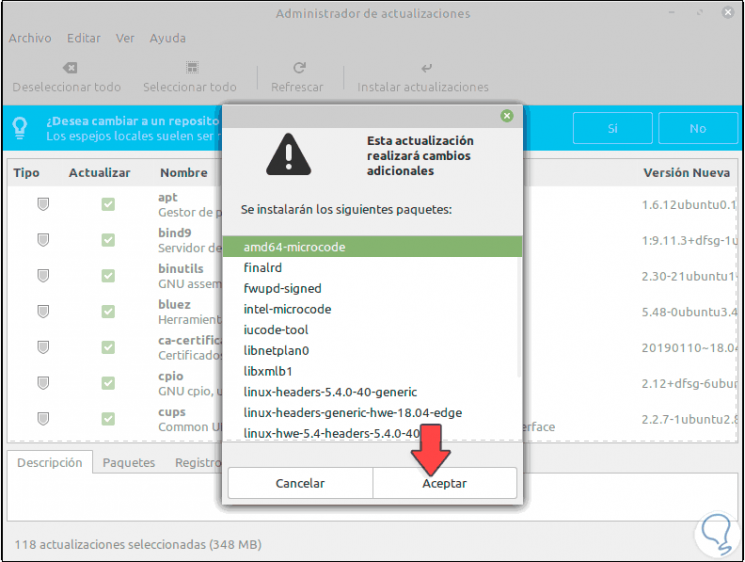
Step 5
We click OK and after this we must enter the administrator password:
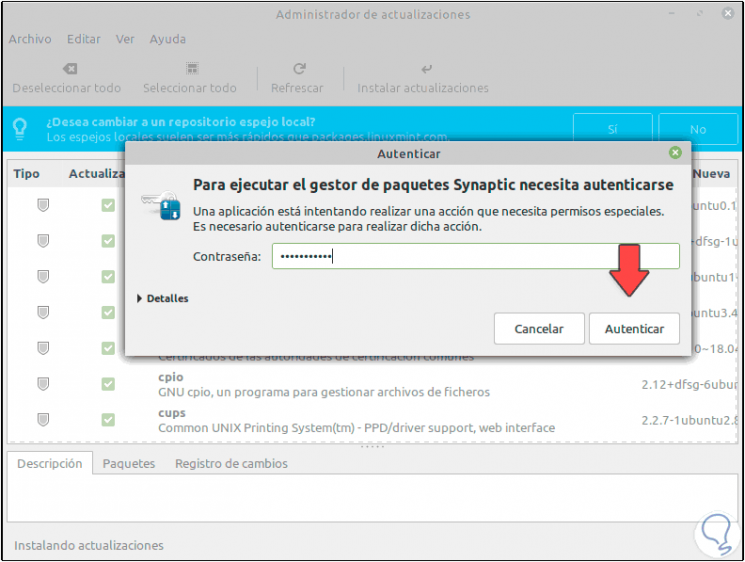
Step 6
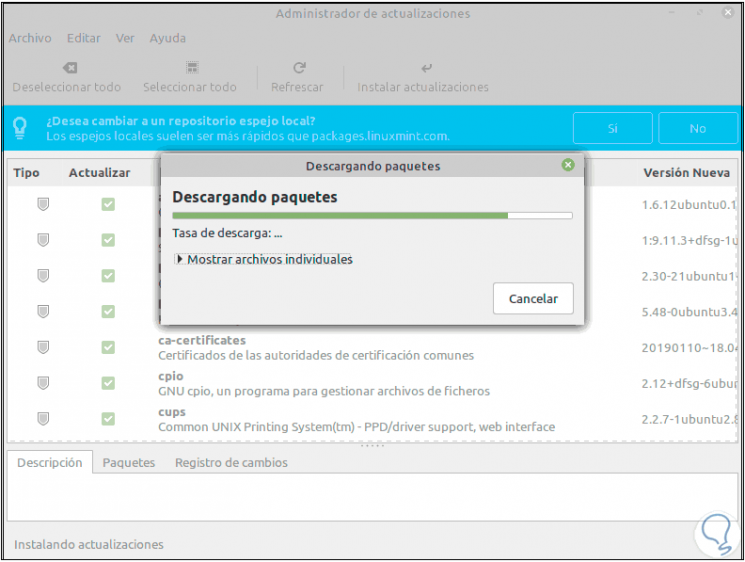
We click on "Authenticate" and the process of downloading updates in Linux Mint 19.3 will take place:
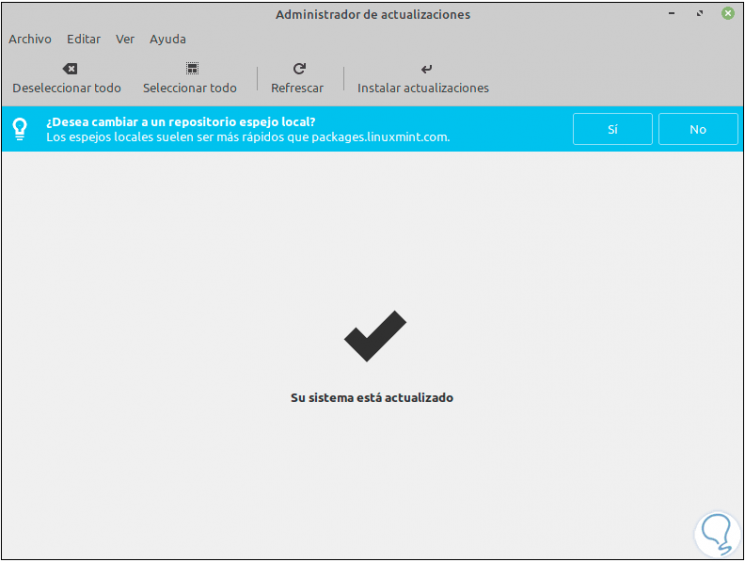
Step 7
When this process we will see the following. With this the system will be fully updated.
3. Install Mintupgrade Linux Mint 20 Ulyana
This is a utility that has been developed to allow us to manage everything related to updates in Linux Mint.
Step 2
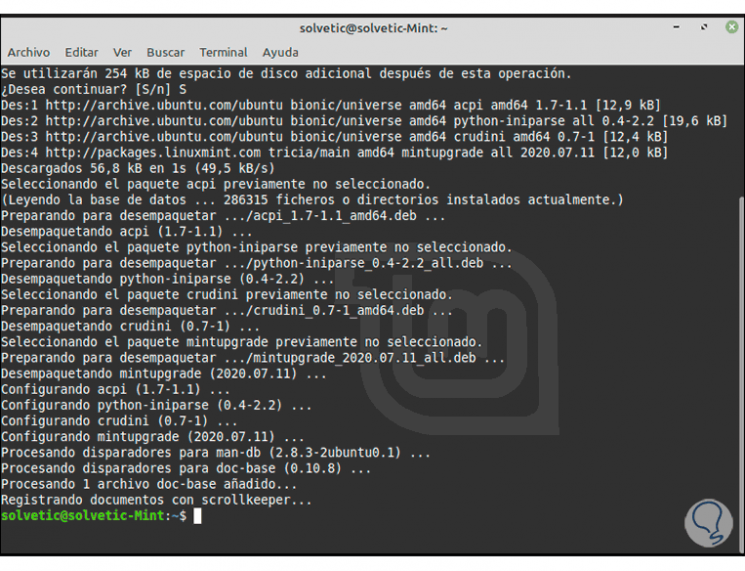
For its installation we execute the following command:
sudo apt install mintupgrade
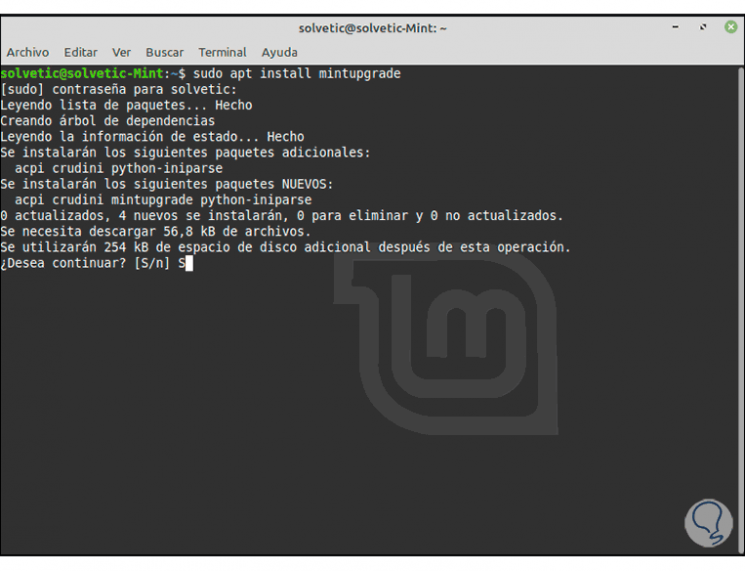
Step 2
We enter the letter "S" to confirm the download and installation of the utility:
Step 3
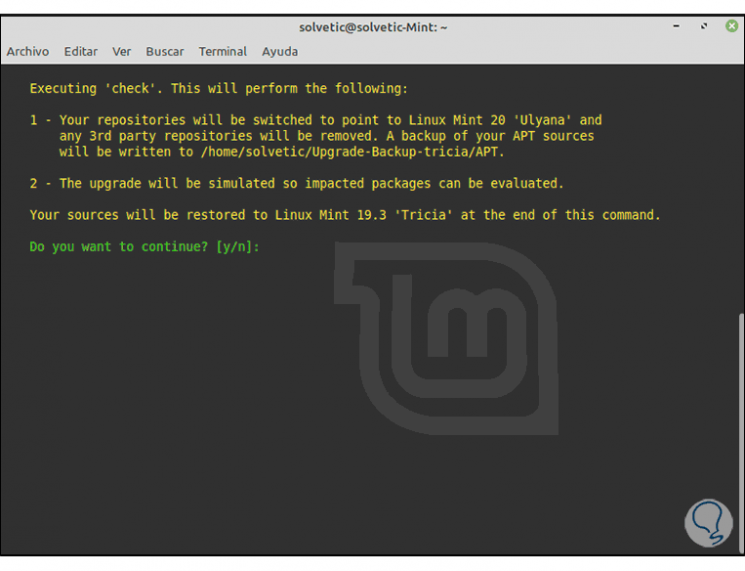
It is possible to simulate the upgrade to Linux Mint 20 Ulyana with the following command. We enter the letter “y” to continue. This simulation takes care of temporarily moving the current system to the Linux Mint 20 repositories and then restoring them to Linux Mint 19.3.
mintupgrade check
Note
This command, and the rest of mintupgrade, must be executed without sudo or without super user privileges.
4. Download Linux Mint 20 Ulyana packages
Step 1
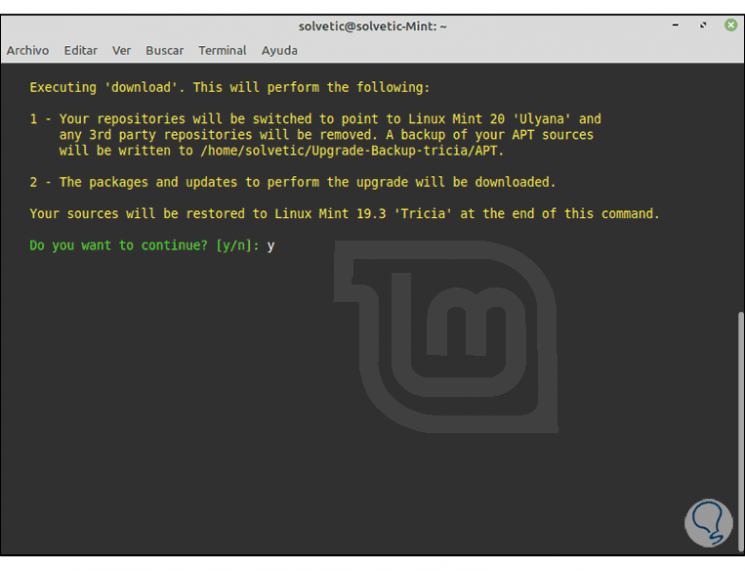
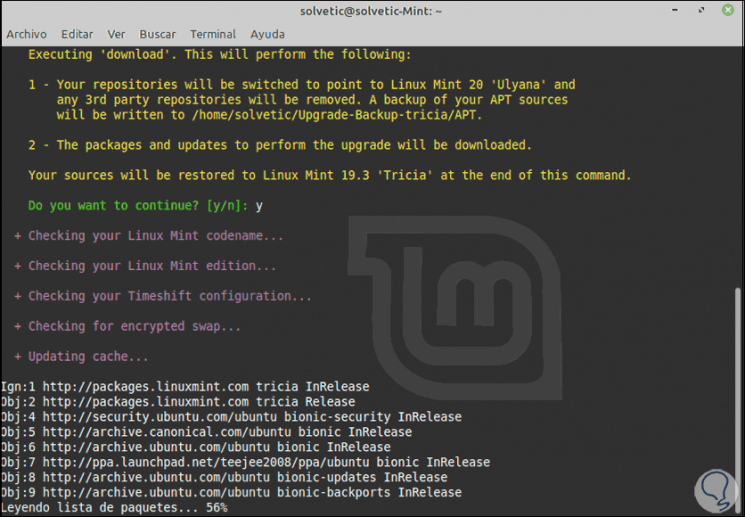
We are going to download the new version packages by executing the following in the terminal:
mintupgrade download
Step 2
Again we enter the letter “y” to confirm and we may see the following:
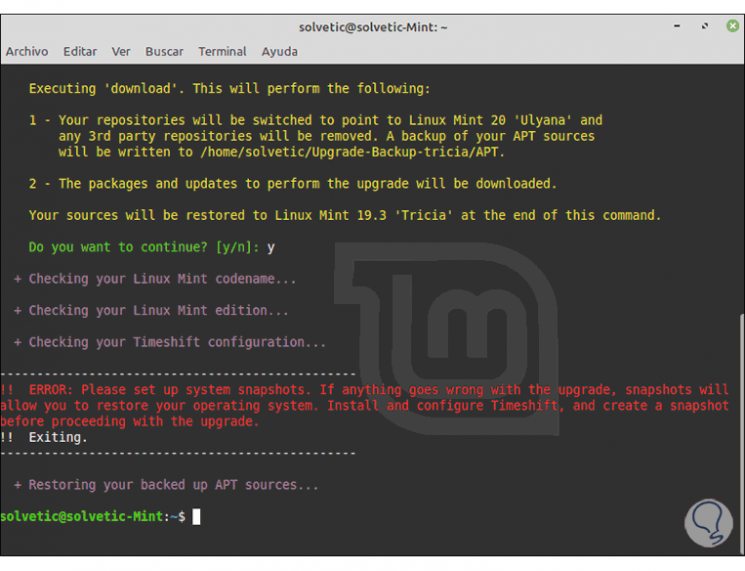
As we see, an error has been generated due to a security and availability issue and that is that to update the system it is required that we have made a backup with TimeShift..
5. Install and update Linux Mint 20 Ulyana repositories
Step 1
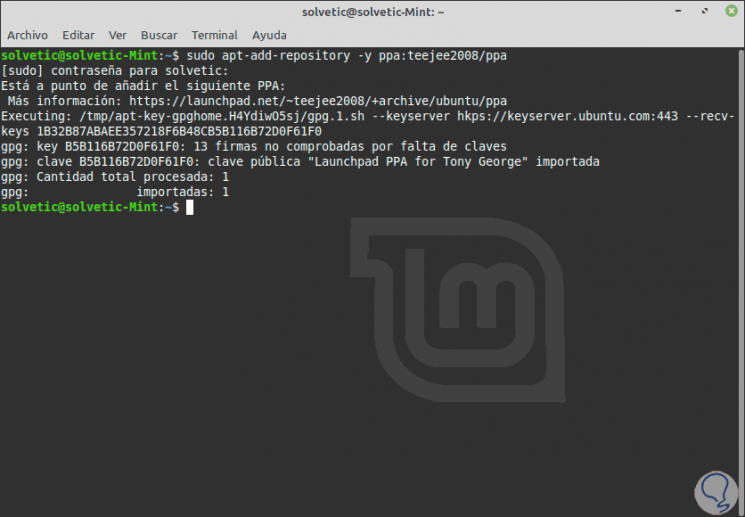
The first step to take will be to install the repository with the following command:
sudo apt-add-repository -y ppa: teejee2008 / ppa
Step 2
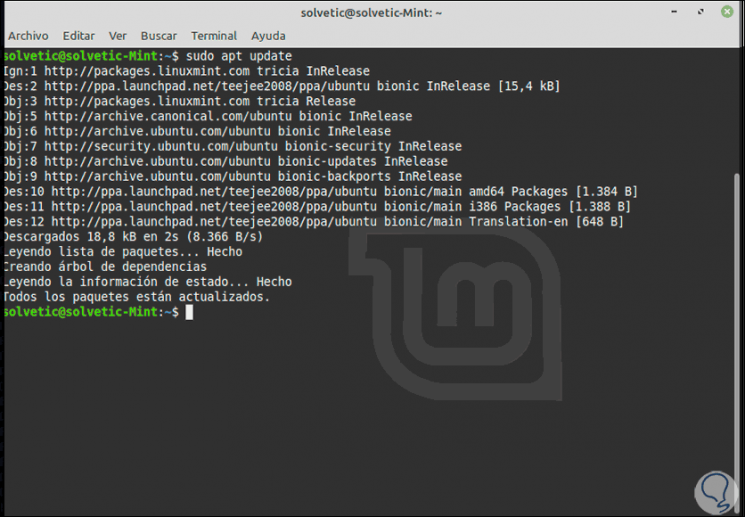
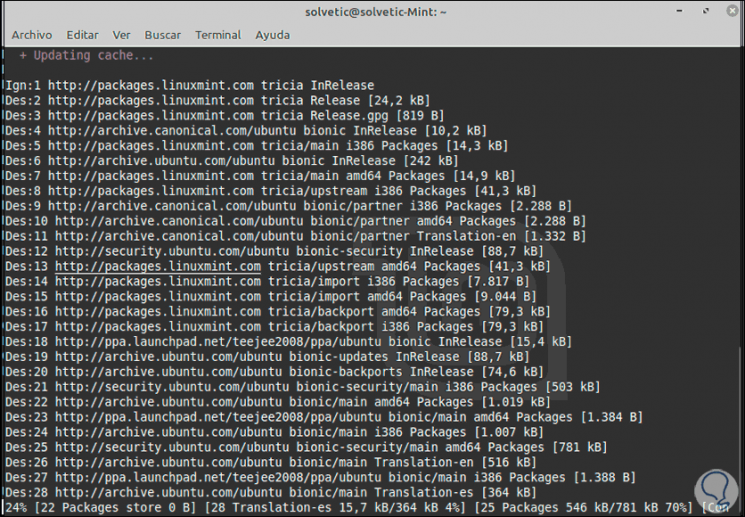
After this we update the repositories:
sudo apt update
Step 3
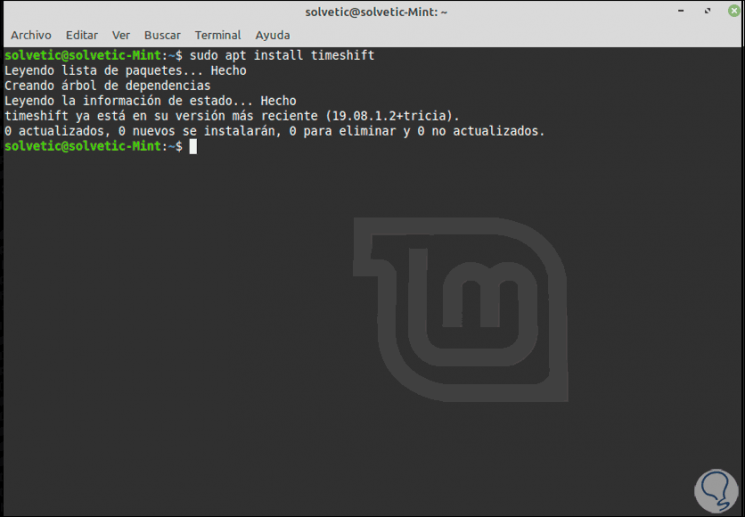
Then we install TimeShift with the command:
sudo apt install timeshift
Step 4
It is time to access the utility from the search engine in Linux Mint:
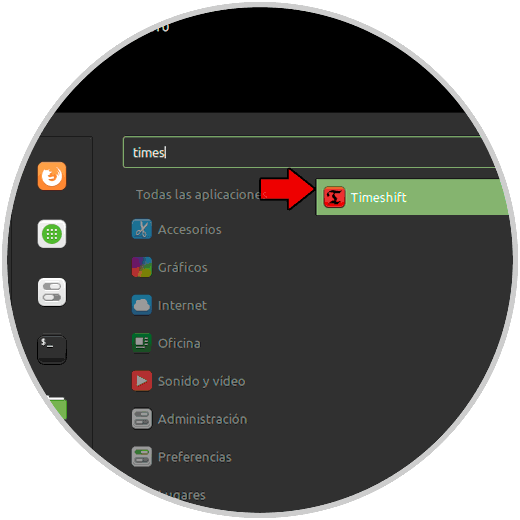
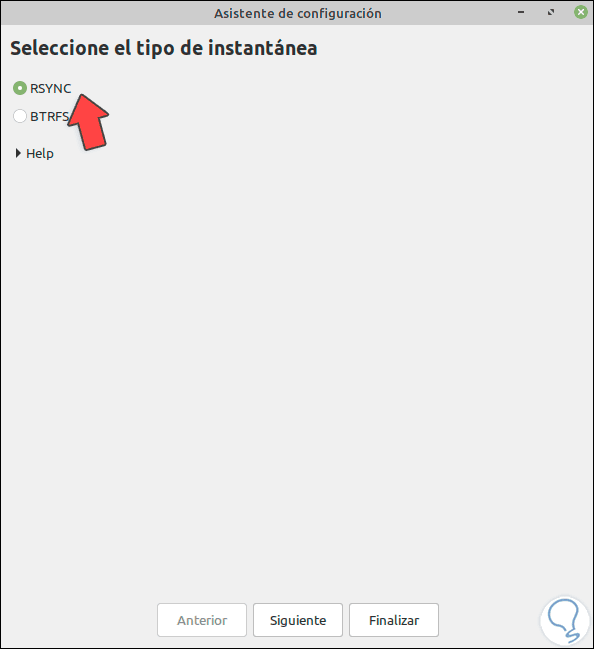
Step 5
When running, we select the type of backup to use, in this case RSYNC:
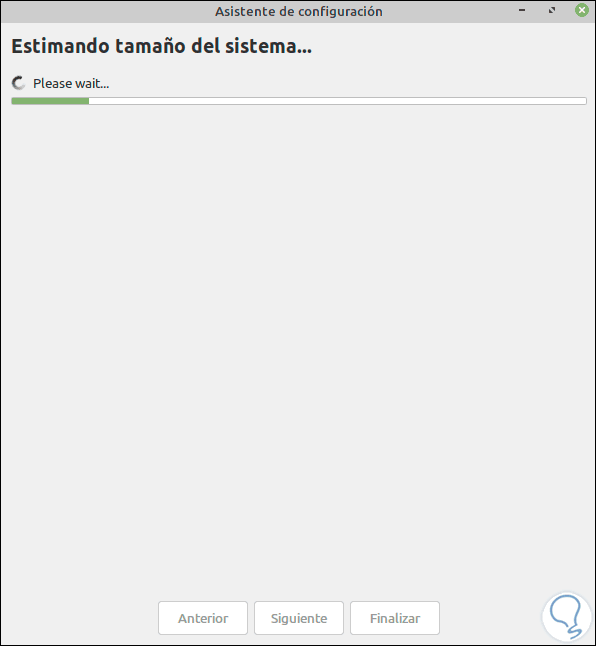
Step 6
We click Next to start the analysis process:
Step 7
After this we will see the local disks from where the copy originates and where it will be backed up:
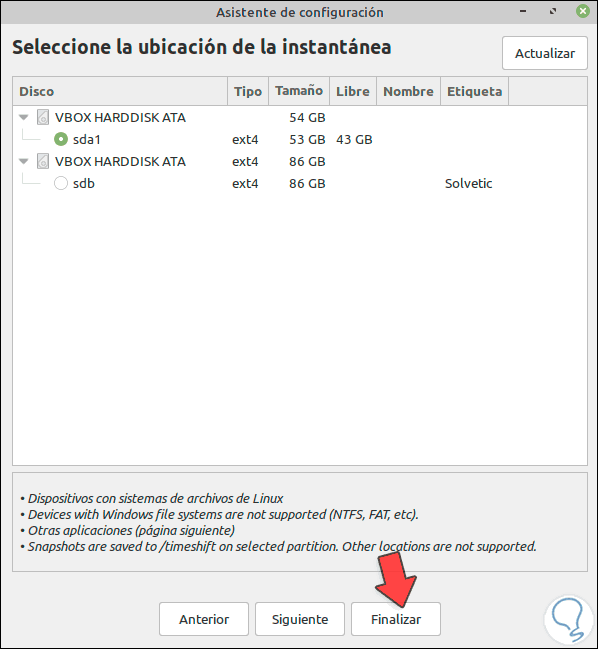
Step 8
We click Finish and we will see that the TimeShift utility is active:
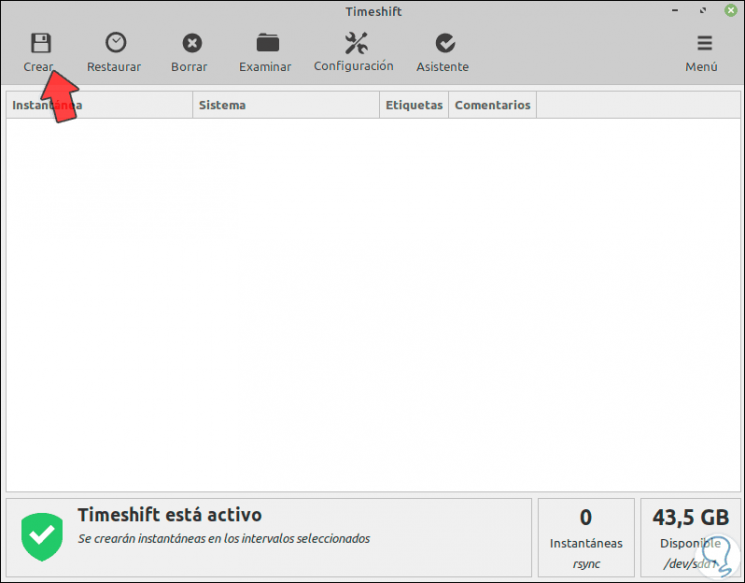
Step 9
To create the backup we click on "Create" at the top and this process will start in Linux Mint 19.3:
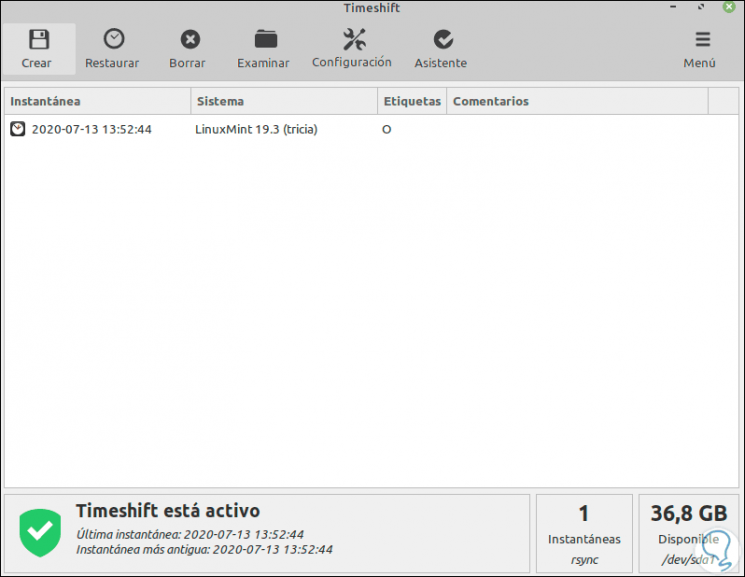
Step 10
When this is finished we will see the following:
Step 11
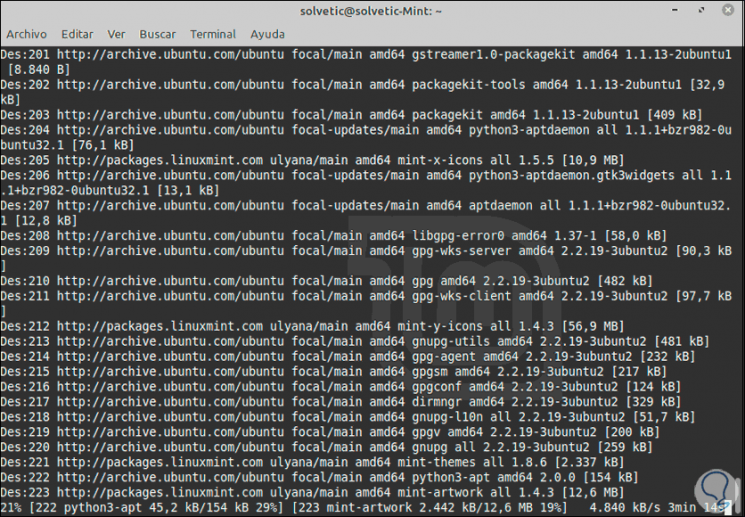
We have created the backup of the files and we are ready to run the download of the Linux Mint 20 packages again with the command "mintupgrade download":
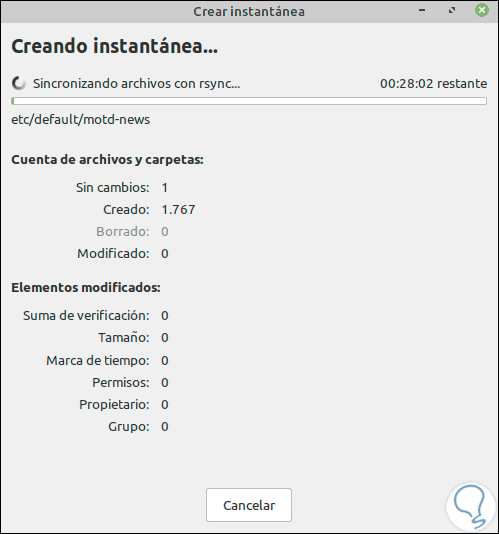
Step 12
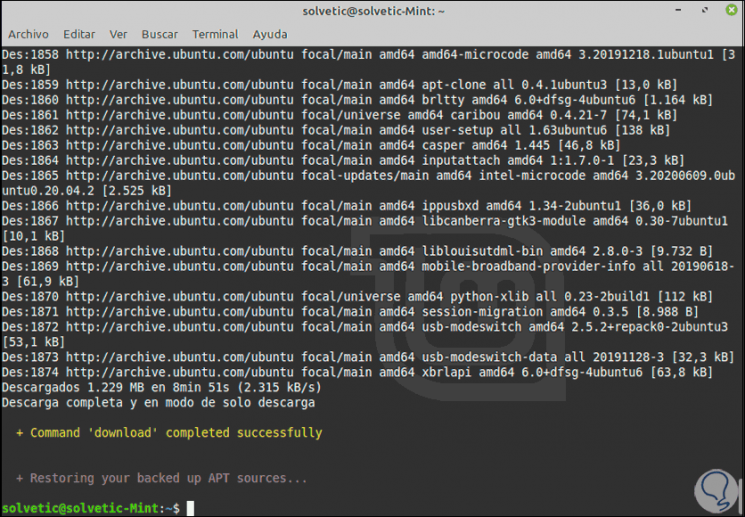
This process will download each of the necessary packages, services and repositories:
Step 13
When this comes to an end we will see the following:
6. Update Linux Mint 19.3 to Linux Mint 20
Step 1
With the downloaded packages it is time to update the system, for this we execute the following:
mintupgrade upgrade
Step 2
Again we must enter the letter "y" to proceed with the process:

Step 3
Pressing Enter will give way to the update process to Mint 20 Ulyana:
Step 4
This process will be specified by segments:
Step 5
The video and other properties will be adjusted and after that we must confirm the update:
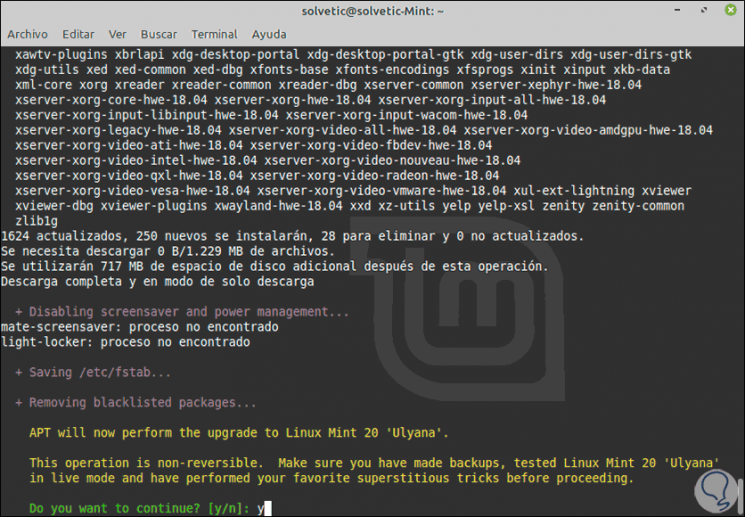
Step 6
We enter "y" and press Enter to continue:
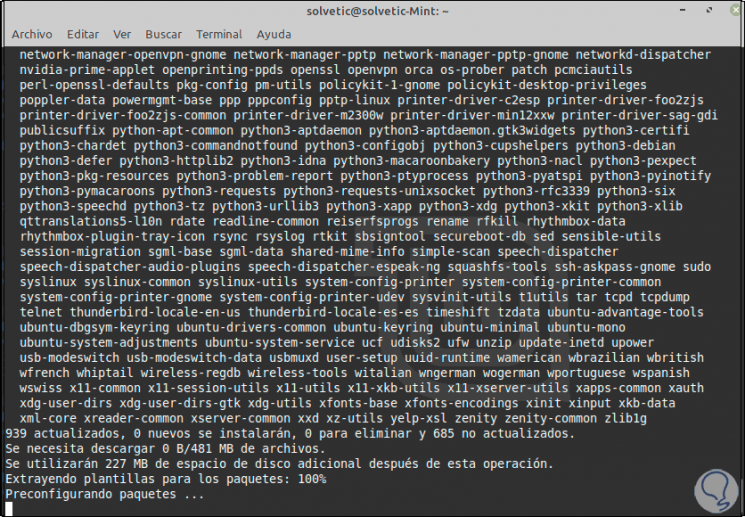
Step 7
After this the following window will be launched:
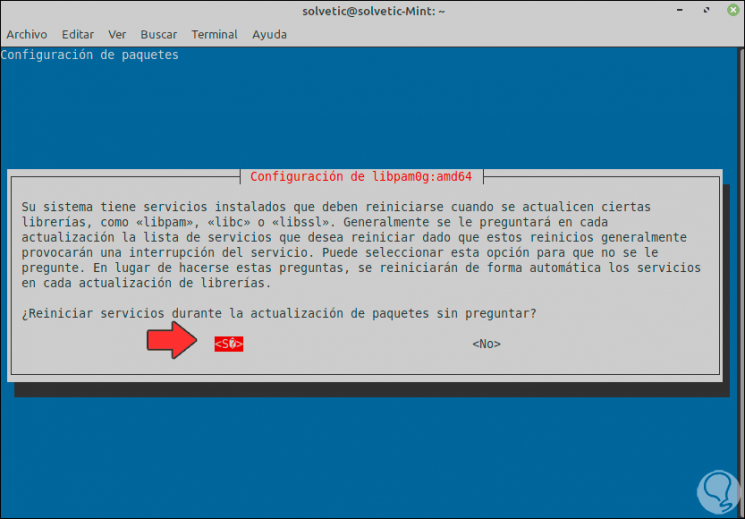
Step 8
There it is indicated if we want the services to restart automatically during the process, select "Yes" and press Enter to continue:
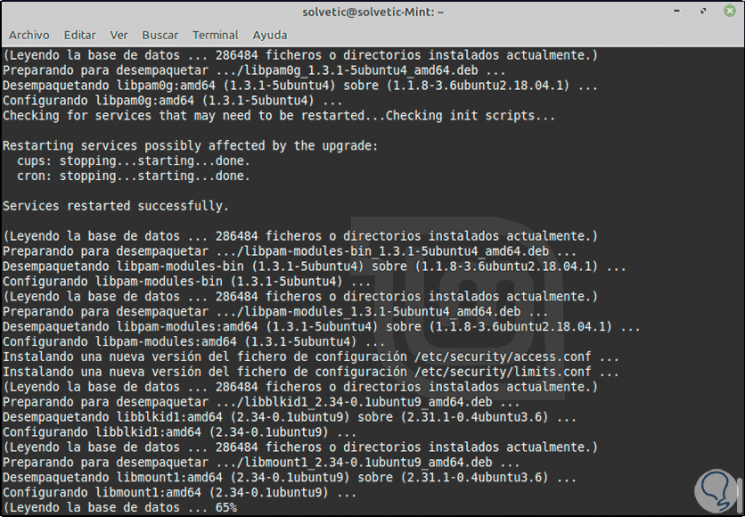
Step 9
When the update process reaches its end we will see the following:
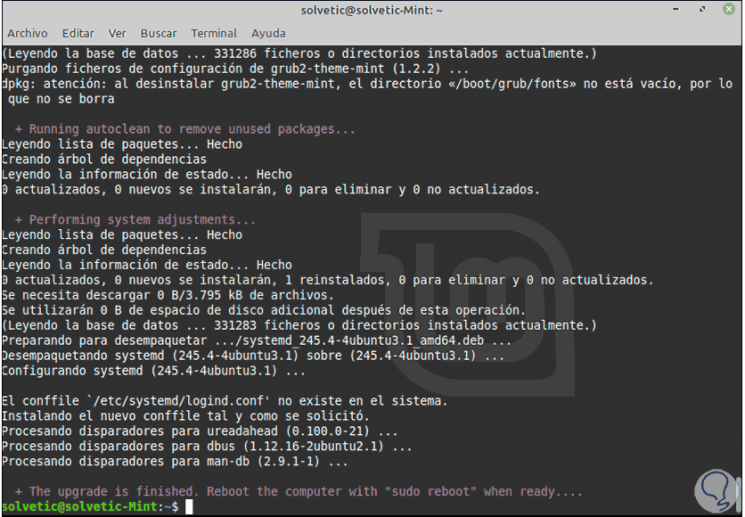
Step 10
As we see the system must be restarted, we are going to restart it to complete the process:

Step 11
Once we log in, we will see the welcome wizard where we detect that we are already in Linux Mint 20:
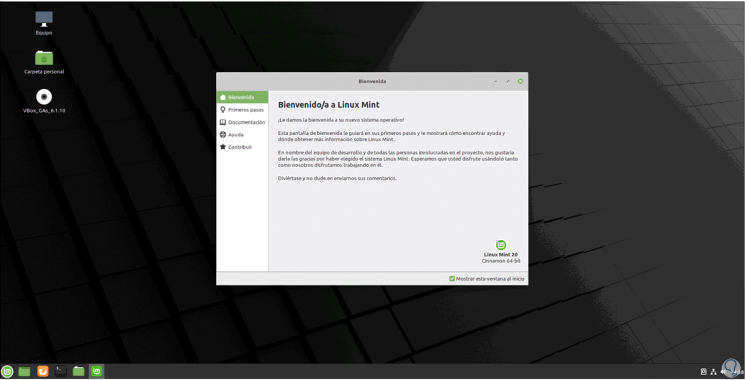
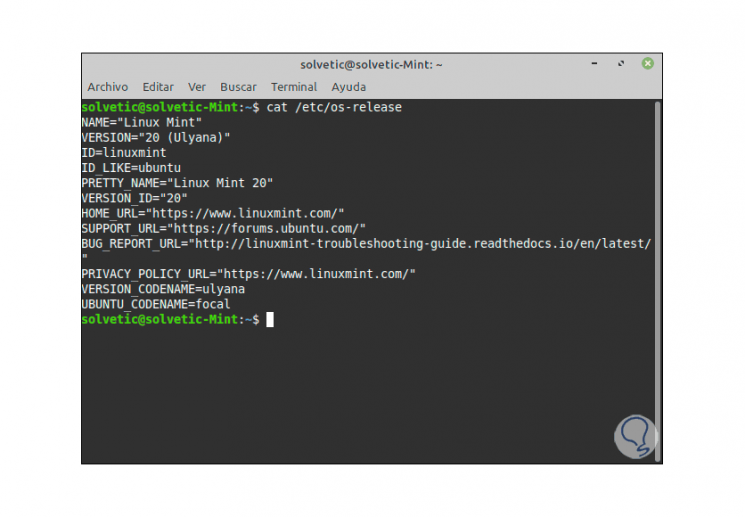
Step 12
We go to the terminal and to be sure that it is Linux Mint 20 we execute the following:
cat / etc / os-release
Step 13
If we want we can run the command "neofetch" to access system details:
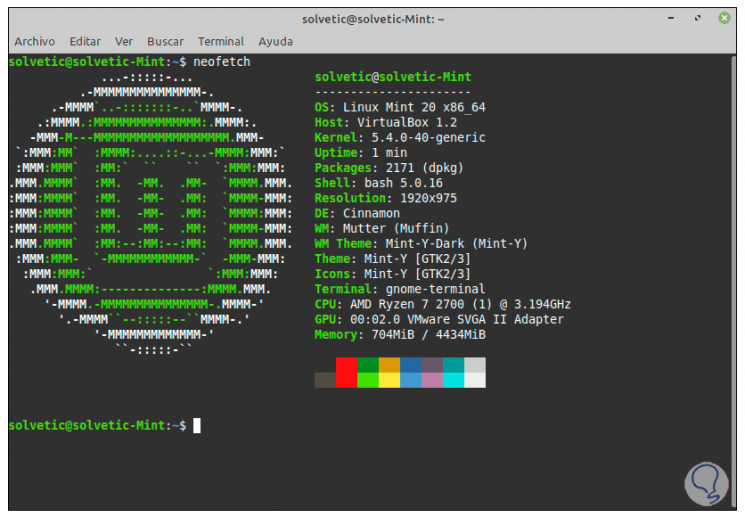
So we have seen how to update Linux Mint 19.3 to Linux Mint 20 in a functional and safe way.