Among the various distributions of Linux available today we find Linux Mint which has been developed as a modern , elegant and simple operating system but has the best features for the end user..
features
Some of its main features are:
- It is completely free and open source.
- It is based on Debian and Ubuntu, with which we have an average of 30,000 packages available and is listed as one of the best software administrators.
- It has full multimedia support
- Thanks to its architecture, it has a dynamic update manager, which requires very little maintenance.
We currently have the version of Linux Mint 19 which can be downloaded at the following link:
Linux Mint 19
There we can select one of the following desktop environments:
With Linux Mint 19 it was created as a long-term support version, LTS, which will be supported until 2023 and integrates updated software and new features to enhance the desktop experience.
features
Some of the new features found in Linux Mint 19 are:
- Timeshift: With this function it will be possible to go back in time and restore the equipment to the last snapshot of the functional system.
- Update Manager: The Update Manager no longer manages surveillance and selective updates, this is left to Timeshift to ensure system stability and recommends applying all available updates so that Mint is always up to date. Now the updates are sorted by type, security updates and kernel at the top.
- The mintupdate-tool command has been replaced by mintupdate-cli, with this new command dconf is not used, thus offering better options and is much simpler to use in scripts and in the terminal.
- Welcome screen: A new welcome screen is now integrated in which the documentation was improved, an installation guide, a troubleshooting guide and a translation guide were added.
- Software Manager: Improvements have been added such as transition animations, keyboard navigation is improved, the search is faster and now you can search within the categories and an internal cache for APT and Flatpak was developed in Linux Mint.
- HiDPI: HiDPI support was improved since all tools in Linux Mint use GTK3 and support HiDPI, Mint-Y, which is the default icon theme, ships with "@ 2x" and Gksu icons, which used GTK +, it was removed and all the tools that used it were migrated to pkexec.
- Improvements in XApps: Xed, the text editor, makes use of a new preferences window, the appearance for GTK 3.22 was improved, a keyboard shortcut window was added in the help menu, a new add-on was added with the In order to complete words automatically.
Improvements
Some other improvements are:
- The USB format tool is now compatible with exFat.
- Whisker was updated to version 2.1.7
- The Software Sources tool can now display packages installed from a PPA.
- A new option was added to the login screen to improve compatibility with multiple monitors
- Gnome-system-logs was replaced by gnome-logs
- Multimedia codecs now include Microsoft sources.
- All Linux Mint tools support HiDPI, GTK3 and Python3
- Pidgin was removed from the default software selection
- The PIA Manager, which is the configuration tool for PIA VPN connections (available in the repositories), will now store the username, password and gateway configuration.
Now let's see how to install Linux Mint 19..
1. Install and update Linux Mint 19
Step 1
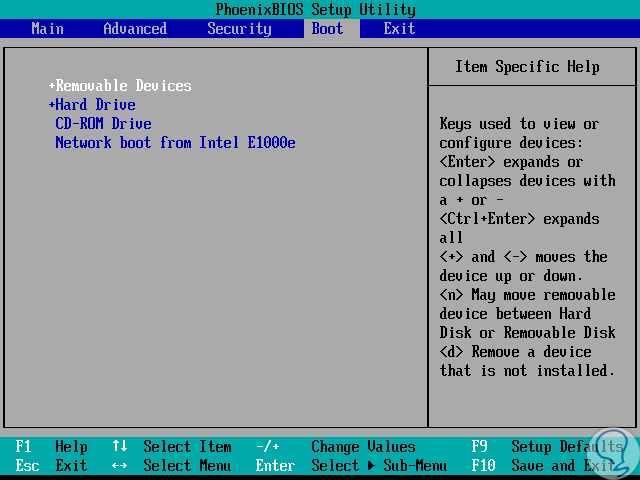
Once we download the ISO image, we proceed to burn it to a DVD or USB media, then we configure the device to boot from that unit, for this we access the BIOS or UEFI and in the Boot section we define the correct option:
Step 2
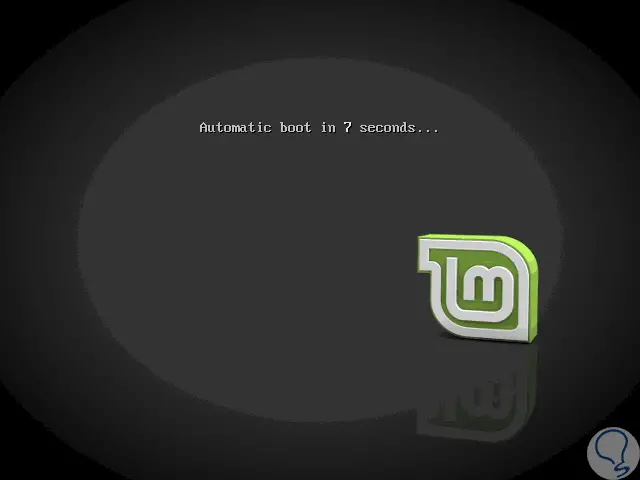
Once this is defined, we will see that the automatic startup of Linux Mint 19 starts:
Step 3
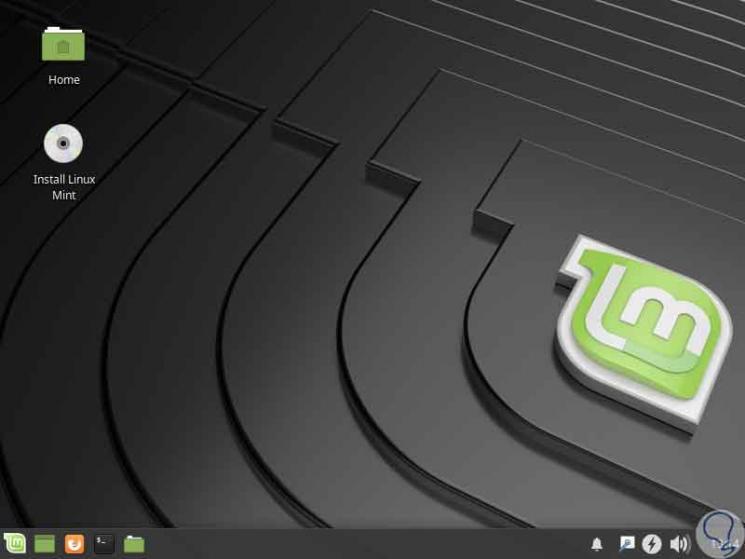
This will automatically load Mint 19 to perform tests or know your environment without installing it locally, we will see the following:
Step 4
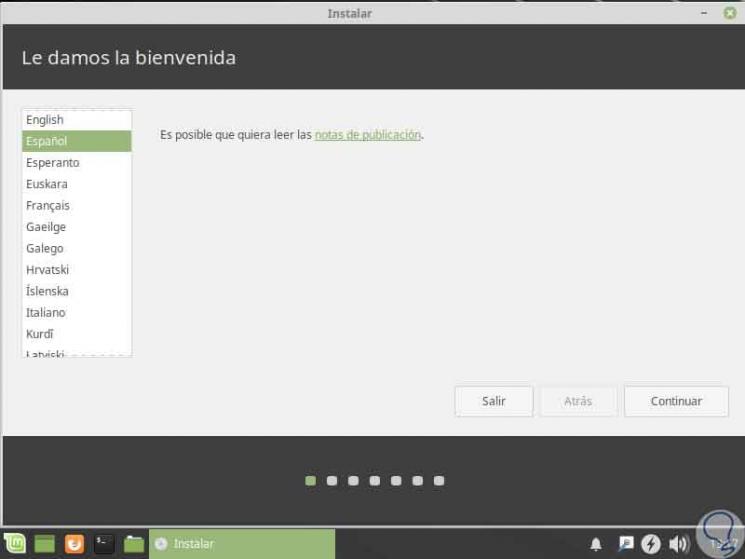
There we click on the CD icon “Install Linux Mint†to carry out the installation process and the following window will be displayed where we will select the language to use:
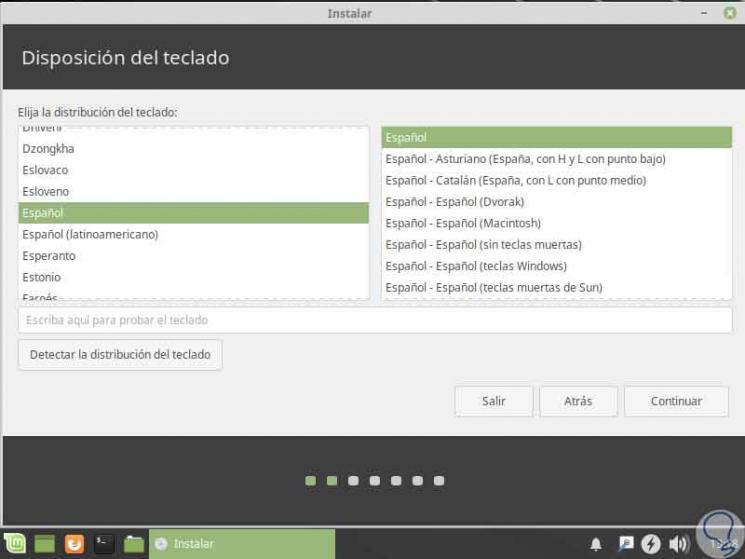
Step 5
Click on the Continue button and now we will define the keyboard language:
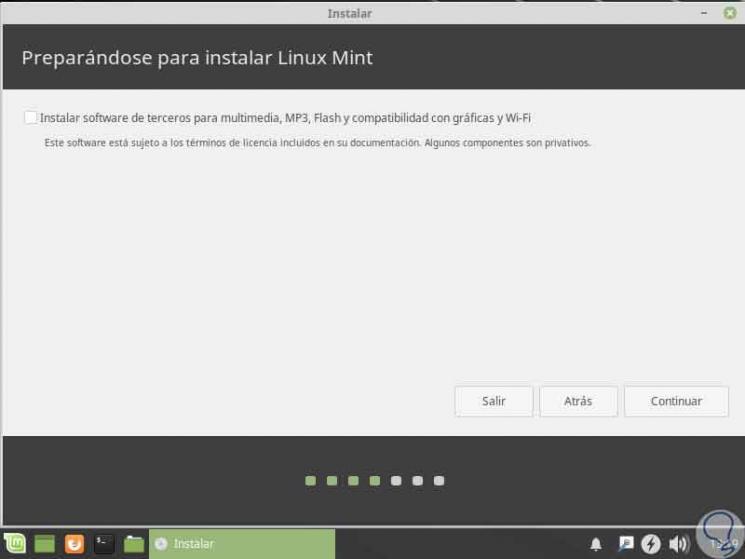
Step 6
Now, in the following window we can define whether the utilities for third-party software are installed in order to improve the general compatibility of Linux Mint 19:
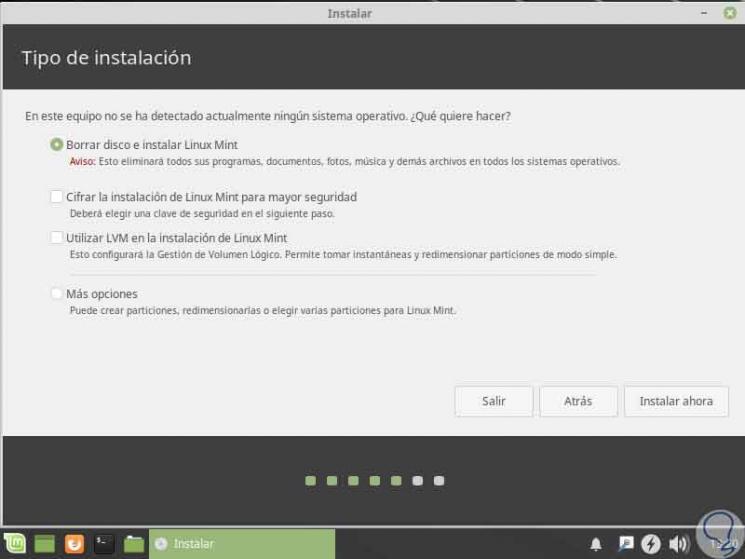
Step 7
Click on "Continue" and we will face the disk configuration, the options to use are as follows:
- Erase the disk and install Linux Mint
- Encrypt the installation process to increase security
- Make use of LVM to manage the partitions
- Customize disk partitioning
Step 8
If we want to create our own structure on the disk, we activate the “More options†box and click Continue to see the following:
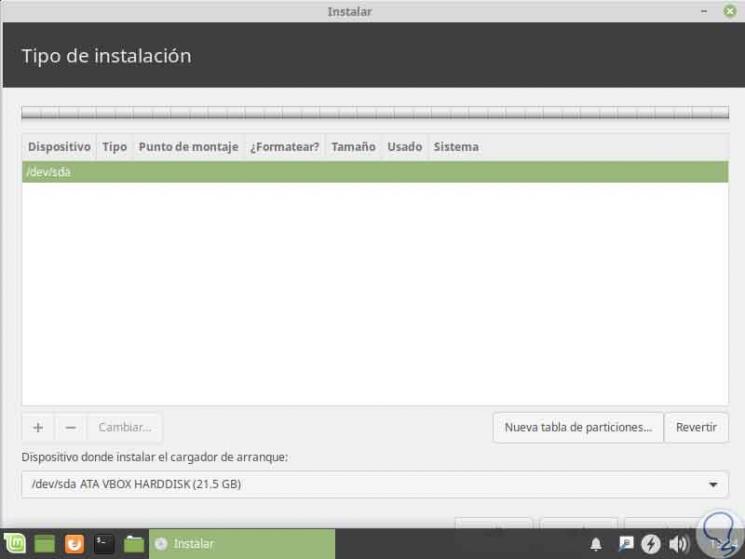
Step 9
There we select the current device and click on the “New partition table†button and we will see the following:
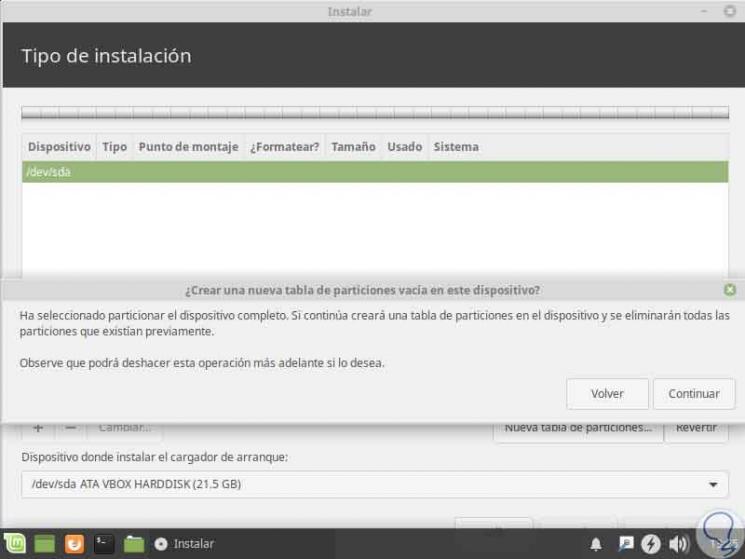
Step 10
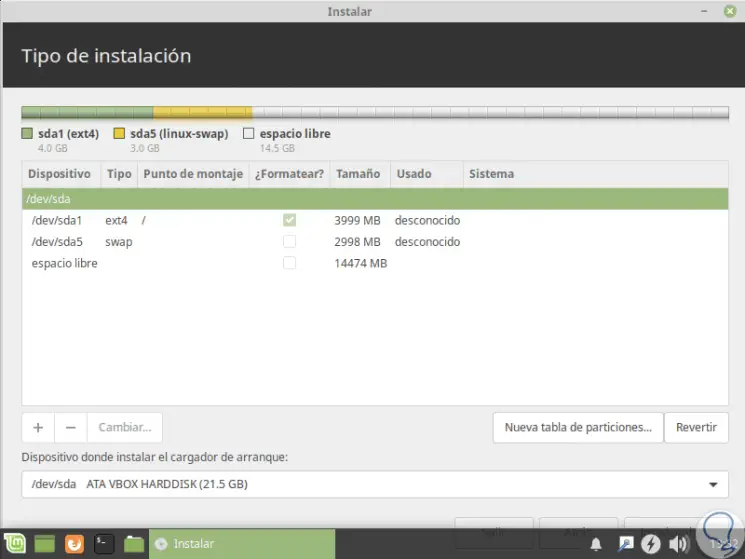
There we click Continue and in the new section displayed we double click on the “Free space†line and define first the following:
- In the "Size" field we define the space to use
- In the “Mount point†field we select / (root)
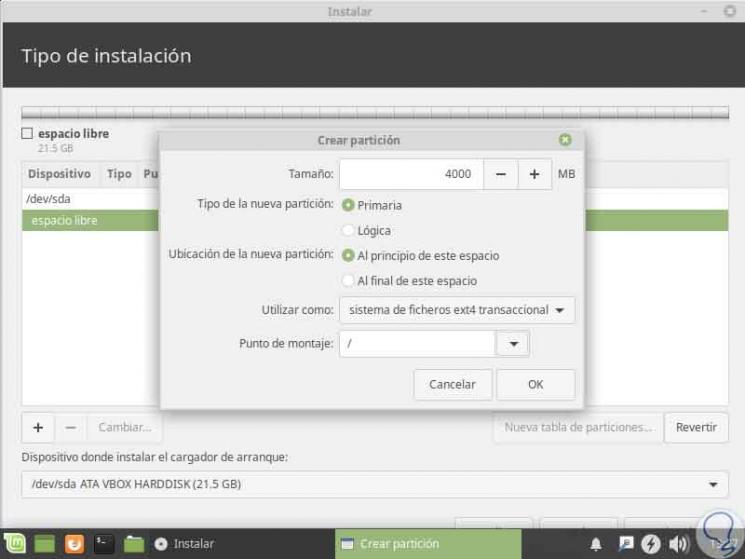
Step 11
Click on Ok and we will see that this point has been created:
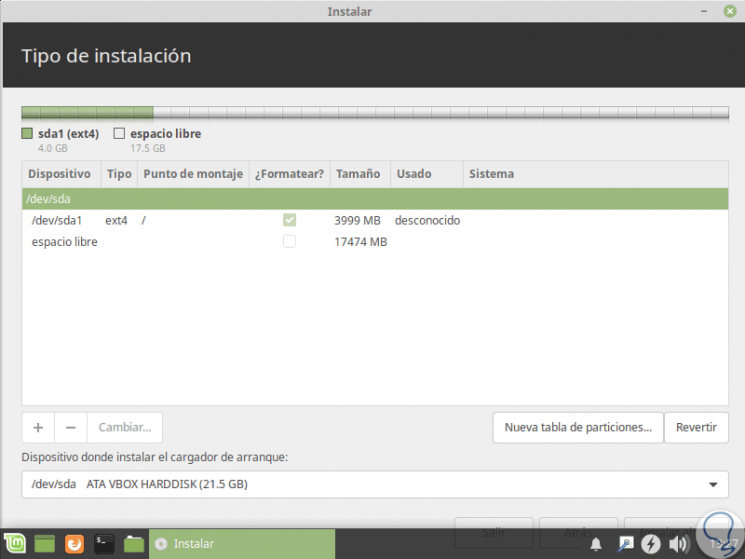
Step 12
Now we click again on “free space†and now we define the following:
- In the "Size" field we define the space to use
- In the "Use as" field, select "Swap area"
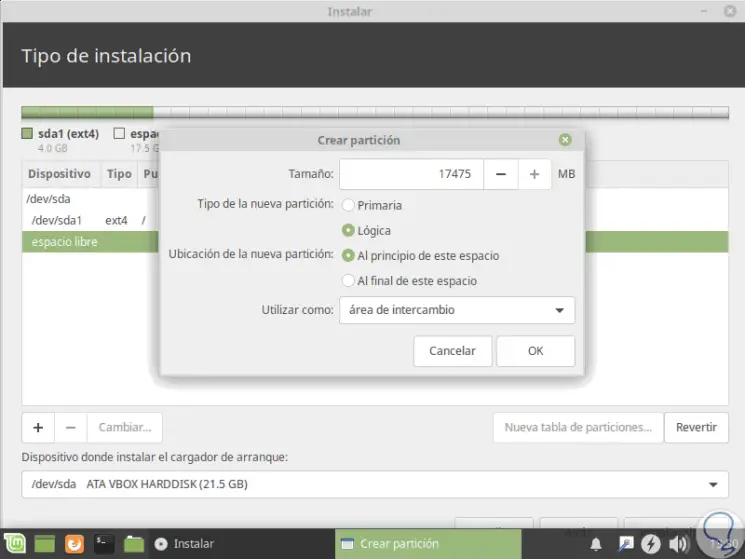
Step 13
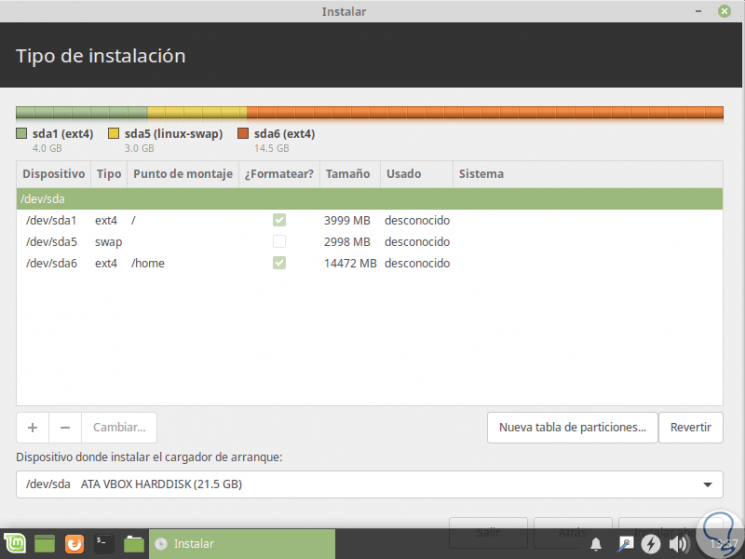
Click on Ok and we will see the following:
Step 14
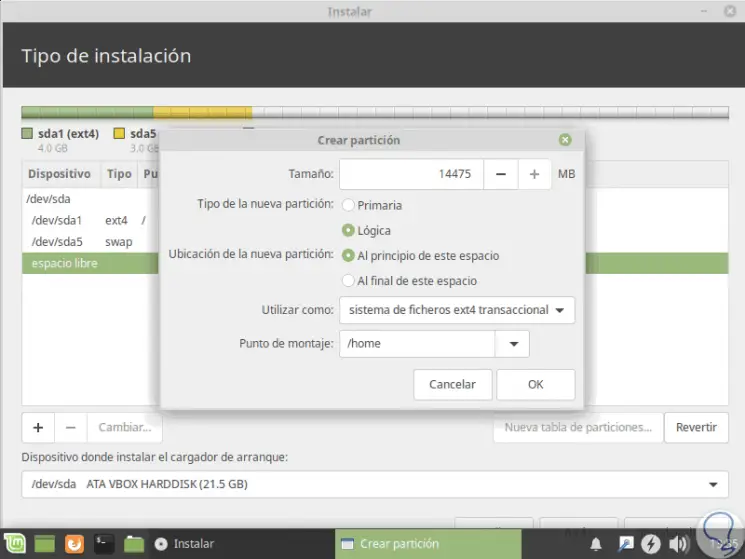
Again click on free space and define the following:
- In the "Size" field we define the space to use
- In the field "Mount point" we select "/ home"
Step 15
Click on Ok and now, with this configured, click on the "Install now" button:
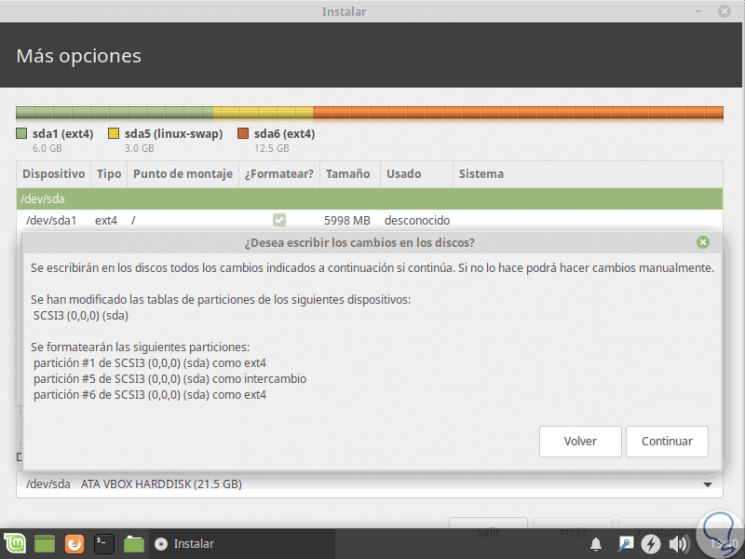
Step 16
The following message will be displayed:
Step 17
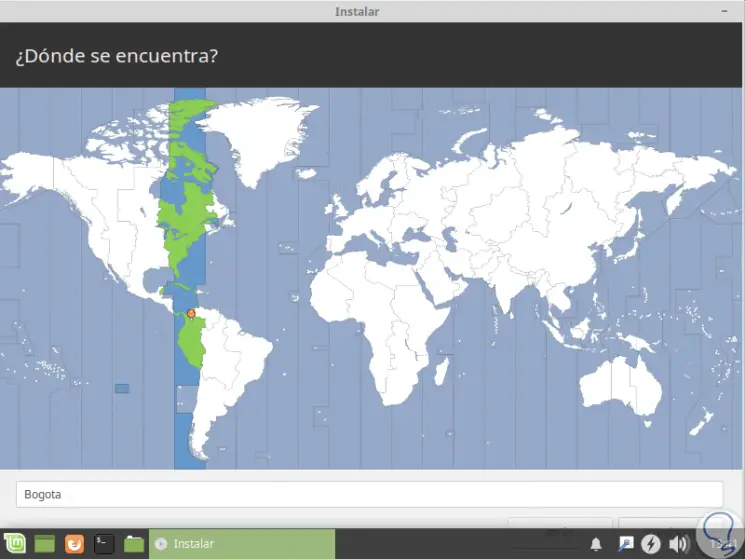
Next, we define our geographical location:
Step 15
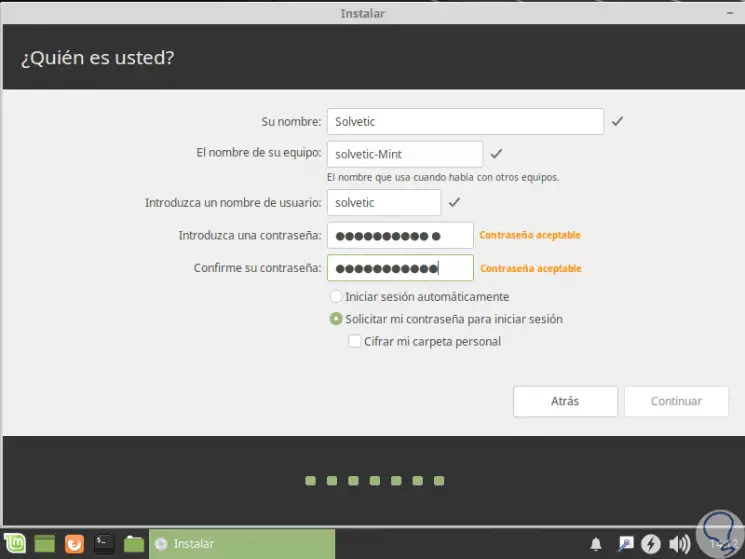
We proceed to create the username and password:
Step 16
If we wish we can check the box to automatically log in or encrypt the personal folder. Click on Continue to start the installation process:
Step 17
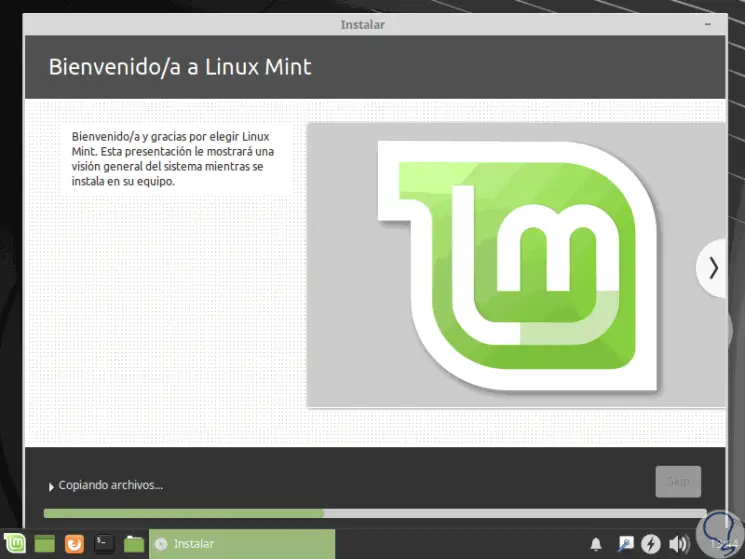
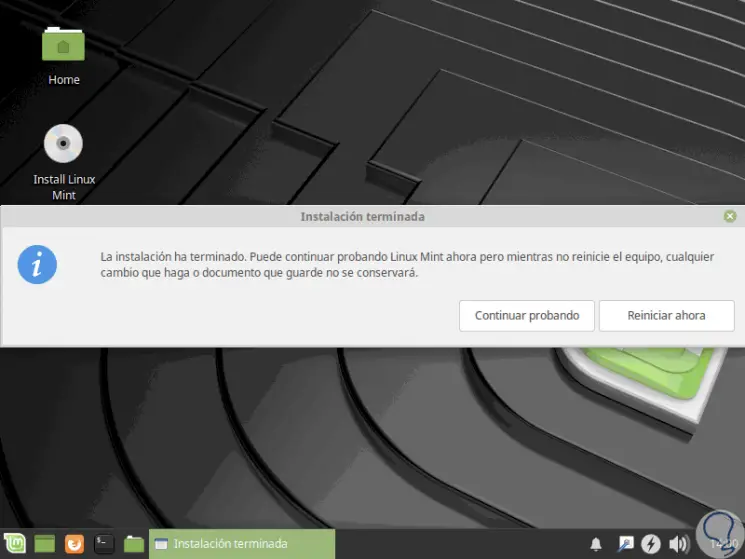
Once the installation process is finished we will see the following.
Step 18
There we click on the "Restart" button and we will see the following warning:
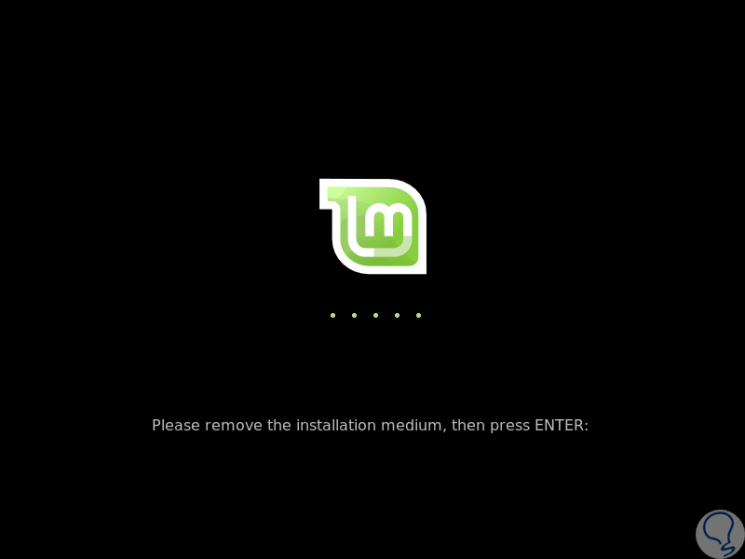
Step 19
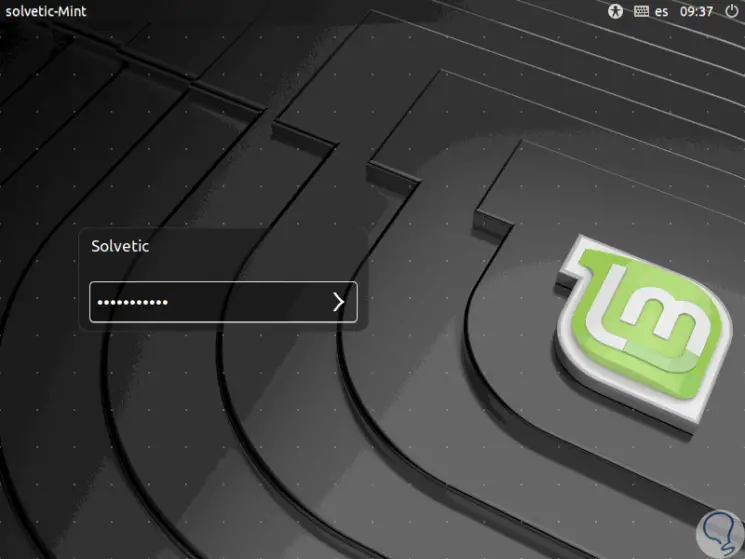
Remove the USB or eject the DVD and restart the computer again to access the login screen:
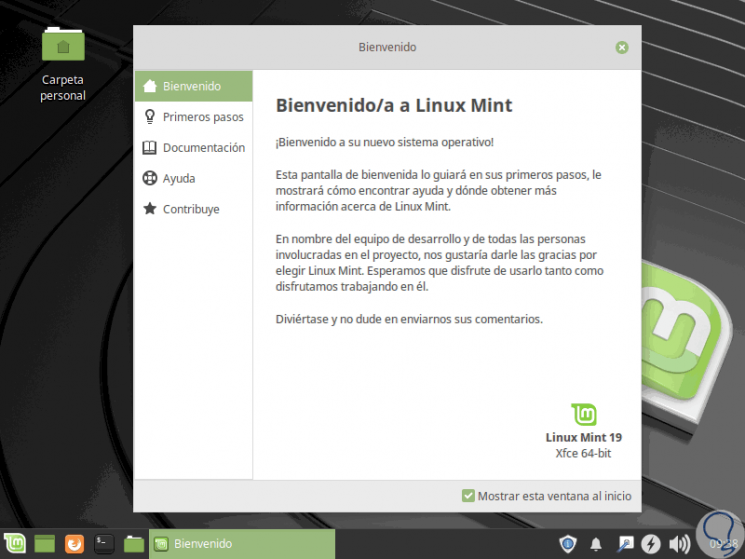
Step 20
When accessing Linux Mint 19 this will be the environment offered. The welcome screen mentioned above will be displayed where we can go to the first steps, documentation and more:
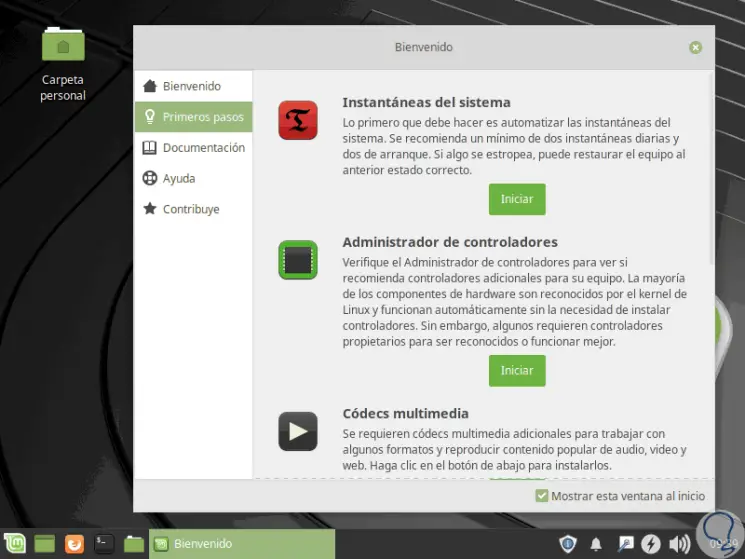
Step 21
From the "First steps" section it will be possible to access the various utilities of Linux Mint 19:
2. Additional tasks to run on Linux Mint 19
Some control and support tasks can be carried out after the installation of Linux Mint 19, some of these are:
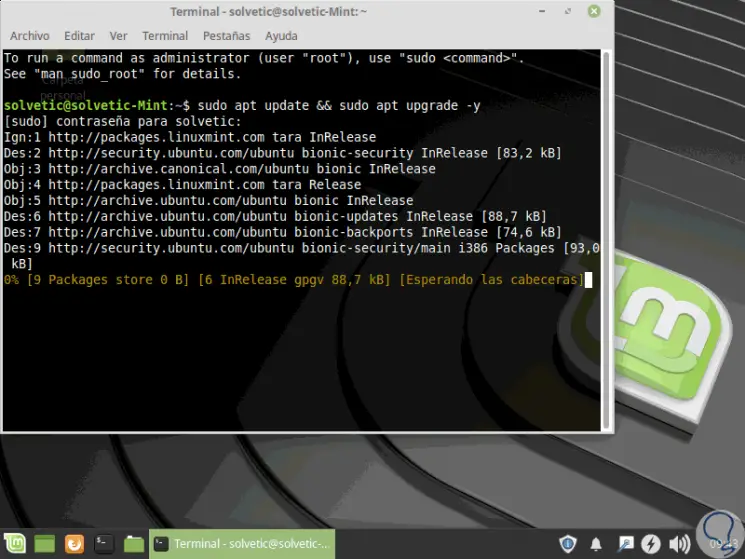
Update the system
This is one of the most basic, but at the same time most important since they allow the system to be with the latest updates available, for this, just open the terminal and execute the following:
sudo apt update && sudo apt upgrade -y
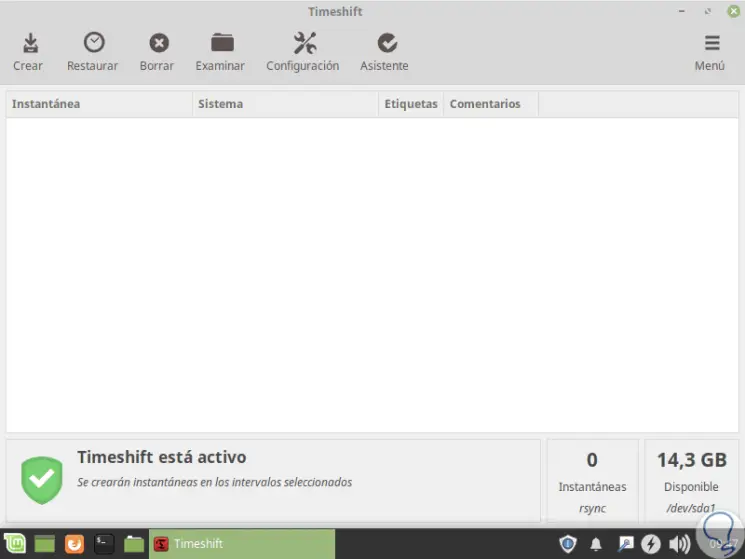
Create system snapshots
Mint 19 gives us the possibility to create system snapshots using the Timeshift application which is integrated with the update manager. This tool will create system snapshots, to restore the system to an earlier state in case of errors.
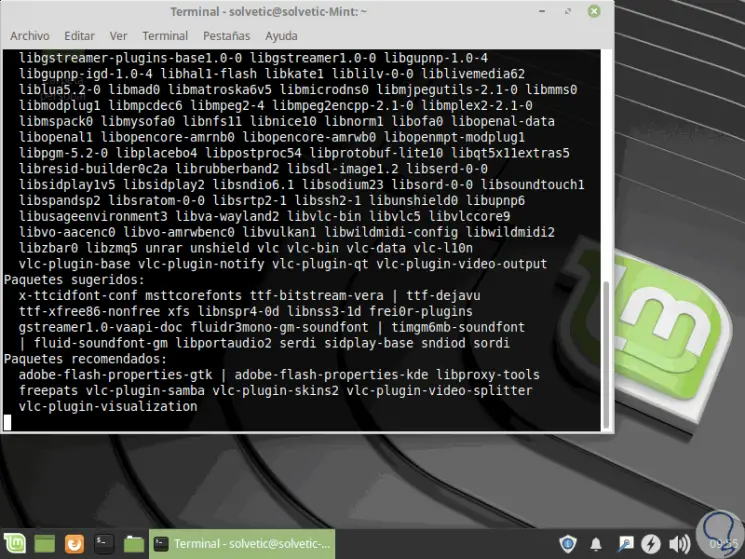
Codec Installation
Linux Mint 19 offers us a simple alternative to install audio codecs, video and more using a package called Mint Codecs. For installation, we execute the following from the terminal. This option will also be possible to execute from the welcome screen.
sudo apt install mint-meta-codecs
Use snap
Snap is a universal Ubuntu packaging format through which you can easily install various applications through Snap packages. Recall that Linux Mint is based on Ubuntu, but does not provide Snap support by default. Mint uses Flatpak instead, which is another Fedora format.
To enable Snap support in Linux Mint 19 we will execute the following command:
sudo apt install snapd
Install KDE
Linux Mint 19 is offered in three desktop environments that are Mate, KFCE and Cinnamon, so if we are frequent users of the KDE environment we can install it by running the following:
sudo apt install kubuntu-desktop konsole kscreen
It is important to have a system backup before carrying out this process.
[/ panelplain]
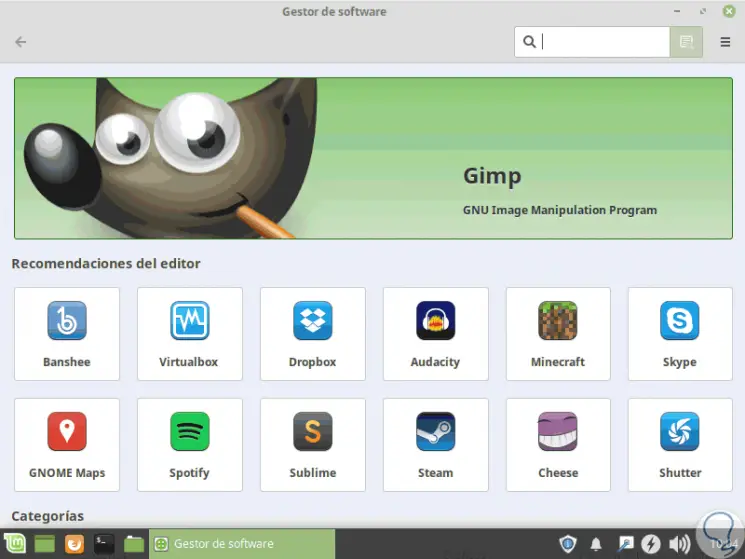
Install useful software
Linux Mint 19 has several pre-installed applications that are useful and practical for various tasks to be carried out in the daily use of this, but we have many more available in the Software Manager and just access it to download and install applications such as Atom, Skype, Google Chrome and more.
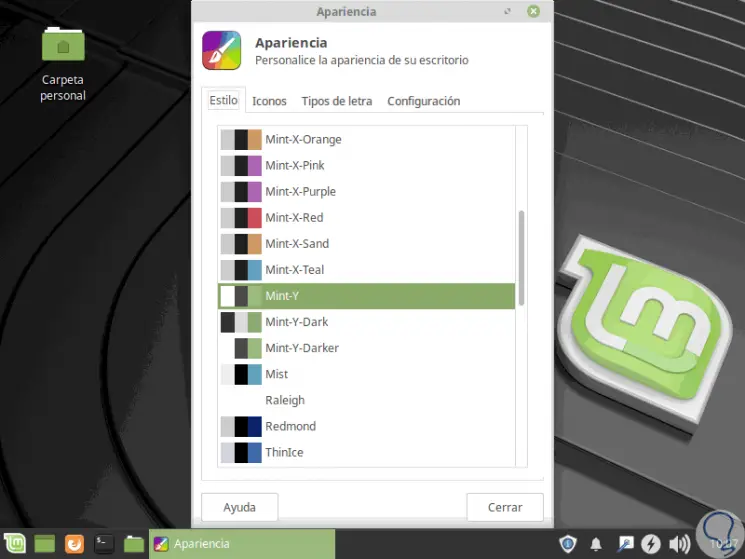
Modify themes and icons
System customization is one of the main virtues of Linux Mint 19, for this we go to System Configuration and we can edit values ​​such as icons, appearance and more:
Take care of our vision using Redshift
Redshift is installed by default in Mint 19 and is a function that filters blue light at night and reduces fatigue in the eyes. To do this we will execute it and configure it for automatic startup:

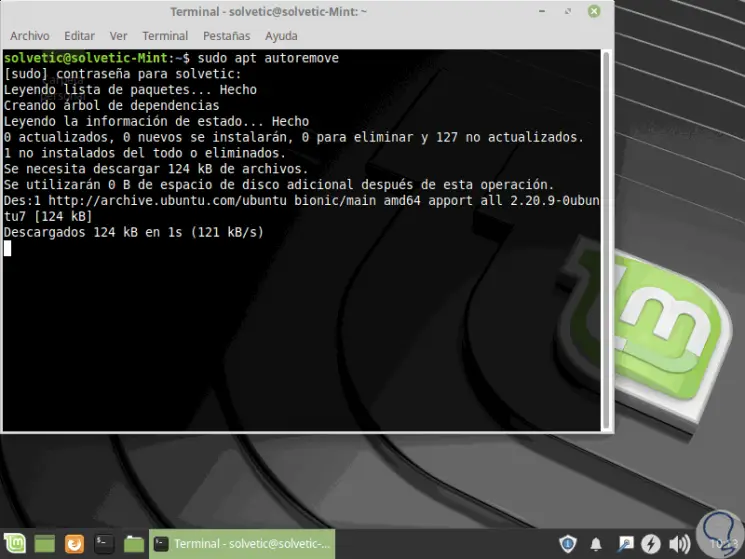
Clean the system
It is normal for us to install and uninstall one and another application, but many times this process leaves in the background elements that can have a negative impact at the performance level.
To do this we can execute the system self-cleaning by executing the following command from the terminal:
sudo apt autoremove
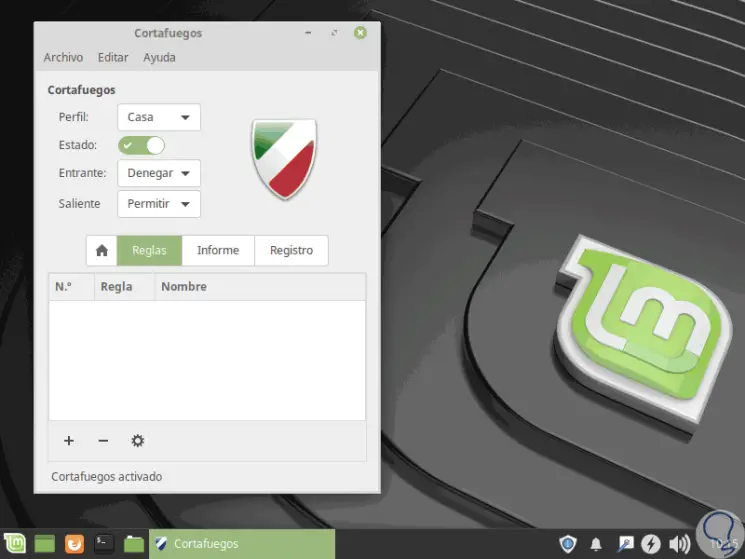
Configure the firewall
This is one of the best security options because it allows us to create rules for the entry and exit of packets to the network and a defense mechanism is available to prevent access by intruders or malicious software. Linux Mint 19 has UFW in graphic mode to manage all these rules in a centralized way:
We have learned to install and configure in a basic way Linux Mint 19 and thus enjoy this great Linux operating system.