Linux Mint is one of the most popular Linux distributions for its various operational features, but above all for its simple but enriching interface. Mint's development group aims to create a modern, elegant and comfortable operating system that is at the same time powerful and easy to use for its millions of users..
Linux Mint
There are several reasons to use Linux Mint as:
- It is based on Debian and Ubuntu, thanks to this we have around 30,000 packages and is integrated with one of the best current software administrators.
- It has full multimedia support.
- Few hardware requirements.
Recently, Linux Mint 19.1 has been released, which is a long-term support version that will be available until 2023. Linux Mint 19.1 has updated software and includes improvements and many new features in order to improve User experience
Requirements to install and use Linux Mint
The requirements to install and use Linux Mint 19.1 are:
- 1 GB of RAM and 2 GB is recommended.
- 15 GB of free hard disk space recommended 20 GB.
- A resolution of 1024 × 768 for the screen.
As an additional point of requirements we can mention:
- The 64-bit ISO can be executed in BIOS or UEFI.
- The 32-bit ISO can only be executed in BIOS.
- The 64-bit ISO is advisable for all modern equipment.
Linux Mini editions
Linux Mint 19.1 is codenamed Tessa and is available in the following editions:
- Cinnamon Edition (use the Cinnamon desktop)
- MATE Edition (use the MATE desktop)
- KDE edition (use the KDE desktop)
- XFCE edition (use the XFCE desktop)
In case of not knowing which edition to use, we can select the Cinnamon edition for current equipment or the MATE edition for equipment with less graphic resources.
1. Features of Linux Mint 19.1
Next, we will discover what new features are integrated in Linux Mint 19.1 or what current features have been improved.
Update Manager
With the new Update Manager it will be possible to list the cores of the main line and show their support status and additionally a new button has been added in order to allow the elimination of unused cores.
Software resources
With the software sources tool its appearance has been edited, it is now identical to the welcome screen using an Xapp sidebar and a header bar. A new button has also been added within the "Maintenance" tab designed to eliminate duplicate entries in the repositories.
Input methods
In Linux Mint 19.1, the language settings and input methods are now two separate applications, and the user interface for the Input Methods tool has been renewed since it now uses an icon sidebar and displays a dedicated page for each language compatible with the system.
XApps enhancements
At this point there are improvements in parameters such as Xreader (improvements were made to the appearance of the document viewer), Xed (it is a text editor which has been moved to libpeas, python3 and the MESON compilation system), LibXApp which It has four new widgets that are XAppStackSidebar (which facilitates the creation of icon sidebars), XAppPreferencesWindow (which provides a multi-page preferences window with an integrated icon sidebar), XAppIconChooserDialog (which provides a box of dialog that allows you to choose an icon name or an icon path) and XAppIconChooserButton (which provides a button that displays an icon or an image allowing us to select a new one by clicking on it).
Other features
- The firewall configuration has been integrated into the "First steps" section of the welcome screen.
- Linux Mint 19.1 now has a large collection of backgrounds by Alessio Soggetti, Alex Ruban, Bruno Fantinatti, Drew Coffman, Dking, Felix Haller, George Hiles, Ivan Bandura, Jan Kaluza, Kalen Emsley, Mark Tegethoff, Ricardo Gomez Angel, Sezgin Mendil , Stefan Kunze and Tom Grimbert in order to personalize our user experience.
- Mint-Y, Mint-Y-Dark and Mint-Y-Darker themes are now available in Aqua, Blue, Brown, Green, Orange, Pink, Purple, Red, Sand and Teal tones.
- In the case of the Cinnamon edition, a new panel design has been added since as we go through the "First steps" section of the Linux Mint 19.1 welcome screen, you will be asked to select the favorite desktop layout.
- Cinnamon 4.0 is delivered with a new panel design which adds a list of windows with application pool and window preview
- For Cinnamon, Nemo has been improved, which is a fast, lightweight file manager and in which navigation directories are very easy to access.
Linux Mint 19.1 includes Cinnamon 4.0, a Linux 4.15 kernel and an Ubuntu 18.04 package base. We can download the preferred edition of Linux Mint 19.1 in the following link:
Linux Mint 19.1 Cinnamon
Linux Mint 19.1 MATE
Linux Mint 19.1 Xfce
2. How to install Linux Mint 19.1
For this case we will use Linux Mint 19.1.
Once the ISO image has been downloaded, we proceed with its recording on a bootable DVD or USB and then configure the device in the BIOS or UEFI to boot from there.
Step 1
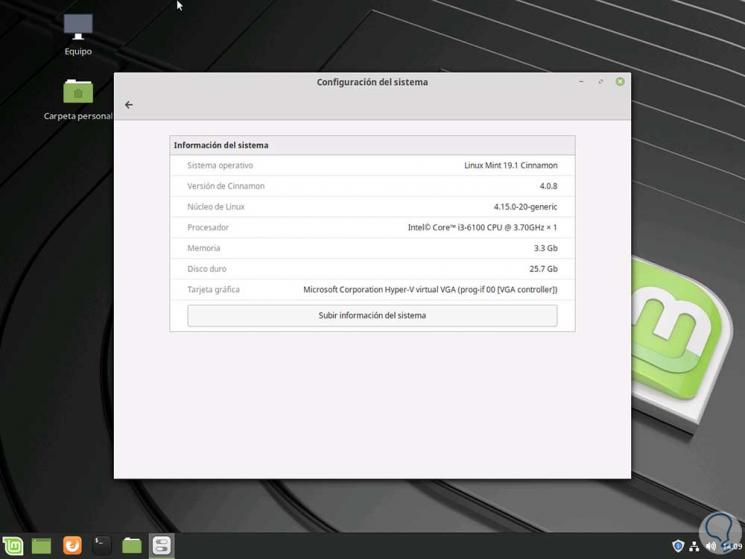
The first window that we will see will be the following one in which Linux Mint 19.1 will start a live session, it starts automatically with the user mint and a direct access to the system installer is shown on the desktop:
There we can know a little more about the system before installation, but all the changes made will be lost when you log out or restart the system..
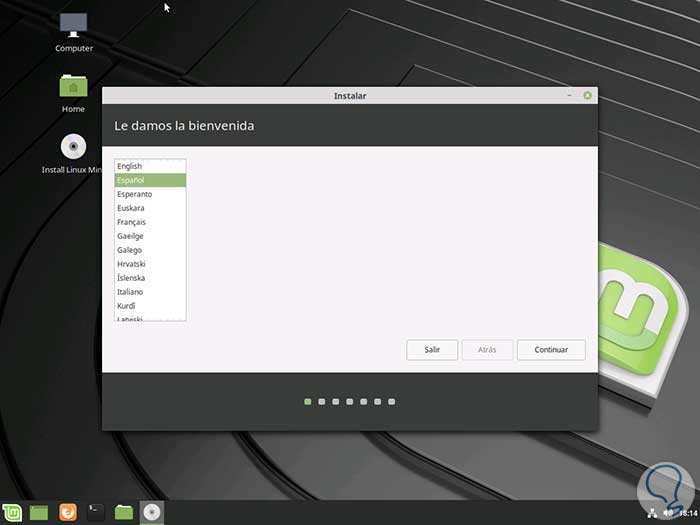
Step 2
To install Mint 19.1 locally, double click on the Install Linux Mint CD and the following window will be displayed where we will select the language to use:
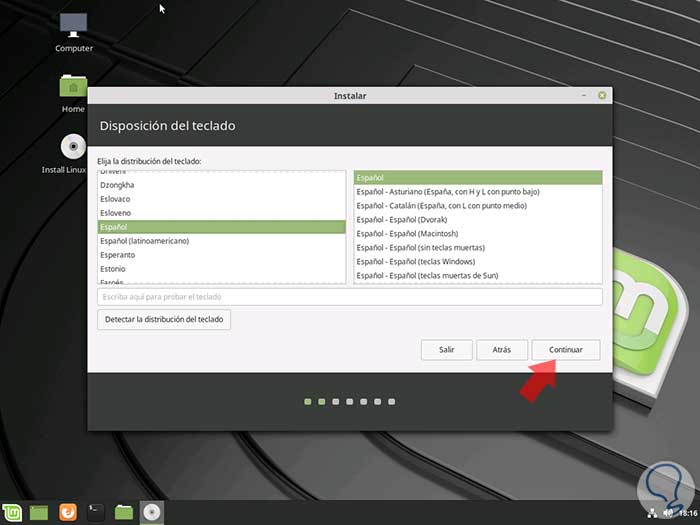
Step 3
Once the language is selected click on Continue and in the next window we configure the language and keyboard layout:
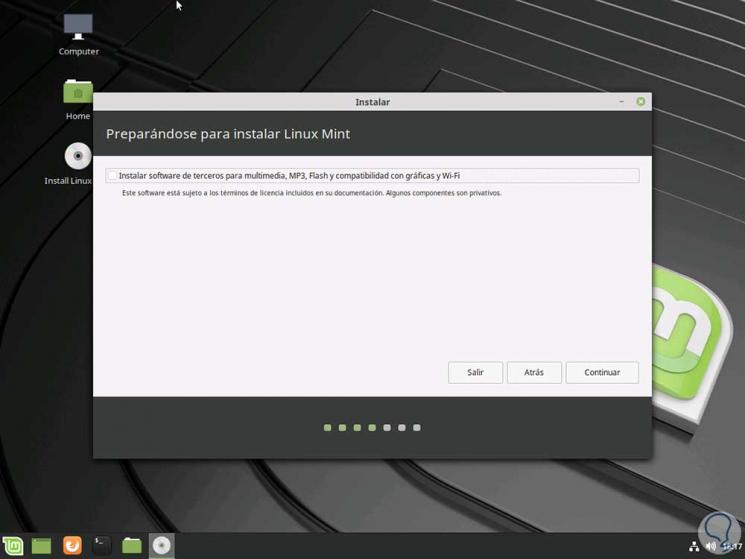
Step 4
In the next window is the possibility to download third-party software for multimedia execution and compatibility with graphics cards and Wi-Fi networks:
Step 5
Click on Continue and we will access the window where we can configure the type of installation to use:
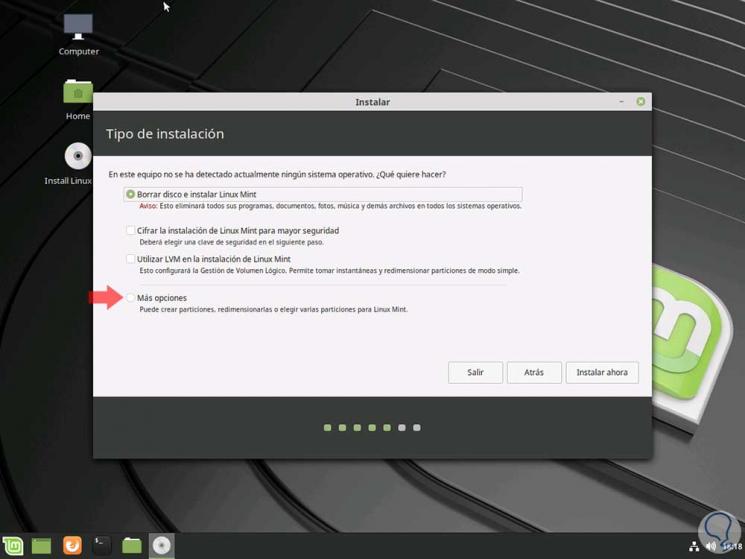
There we can select options such as:
- Erase disk and install Linux Mint: in case Linux Mint is the only operating system to run on the computer, we can erase all the information from the hard disk and install Linux Mint 19.1 there.
- Encrypt the installation of Linux Mint for greater security: with this option you can apply a complete disk encryption, it is important to note that this option causes problems with some NVIDIA drivers.
- Using LVM in the Linux Mint installation: LVM (Logical Volume Manager) is an implementation of a logical volume manager for the Linux kernel which can be applied in the hard disk configuration.
- More options: There we have additional options such as installing Linux Mint with other operating systems or creating partitions manually.
Step 6
For example, if the goal is to create new partitions such as root, swap (swap memory), etc., select the More options box and in the next window we will see the following:
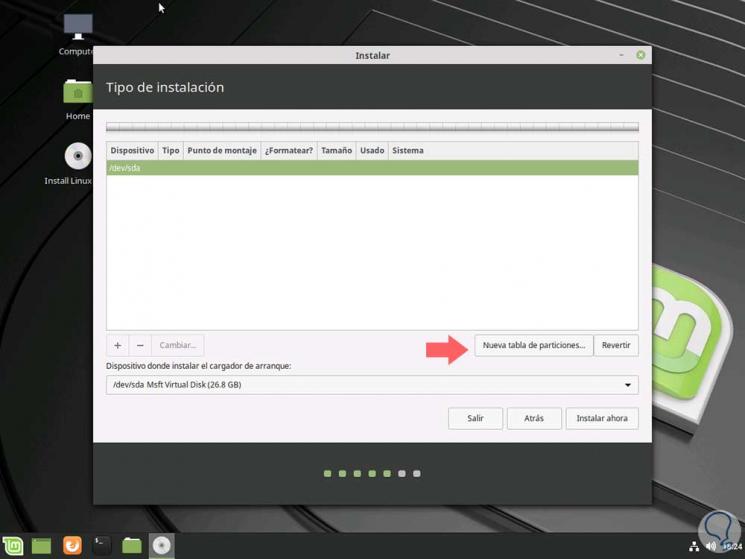
Step 7
There we click on the New partition table line and the following message will be displayed:
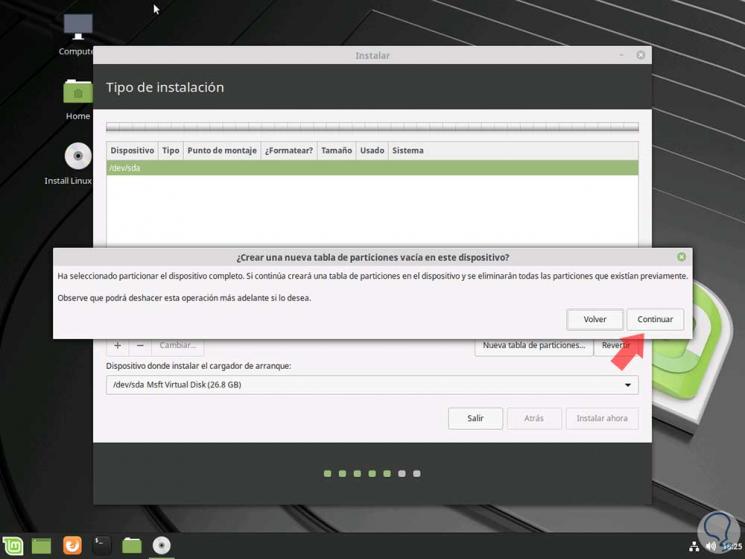
Step 8
Click on Continue and in the next window select the line Free space:
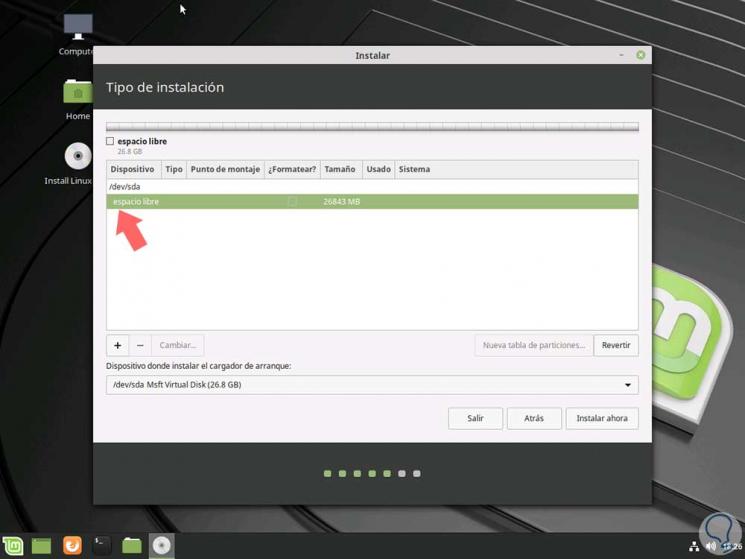
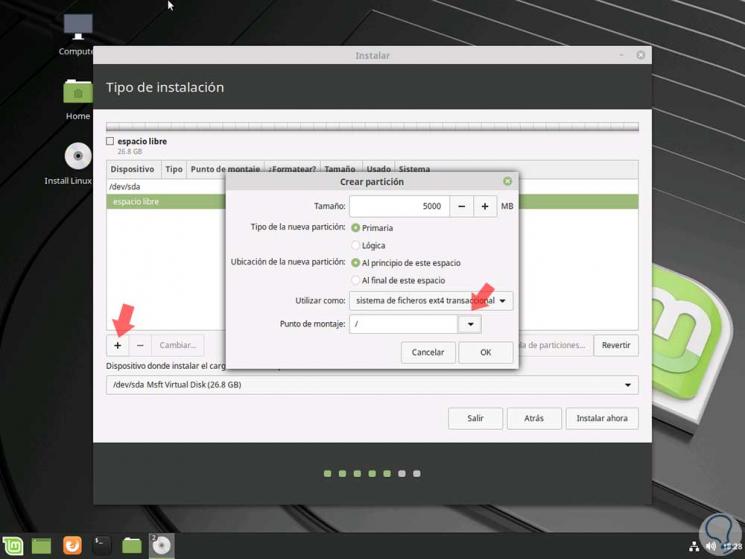
Step 9
There we click on the + sign and in the pop-up window we will indicate the type of mounting point (/, swap, / boot, / home, etc.) as well as the space to be allocated. Click on Ok and this process is repeated for each desired partition.
Step 10
Regardless of the installation method used we must click on the Install now button and the following window will be displayed:
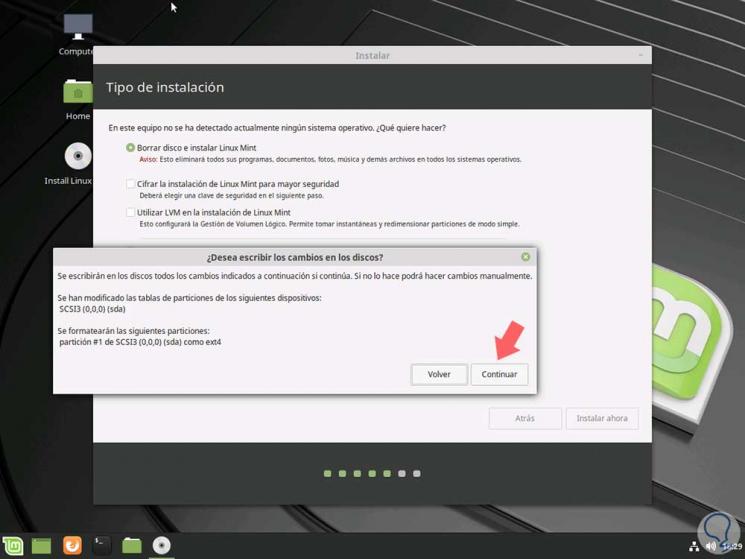
Step 11
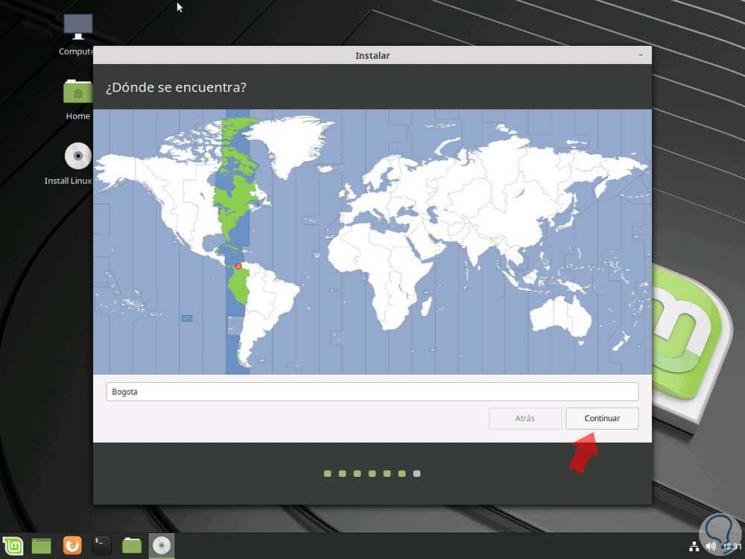
There we click on Continue to begin the installation process of Linux Mint 19.1 and it will be necessary to define our geographical location:
Step 12
Again click on Continue and now define the user's name, as well as their access password:
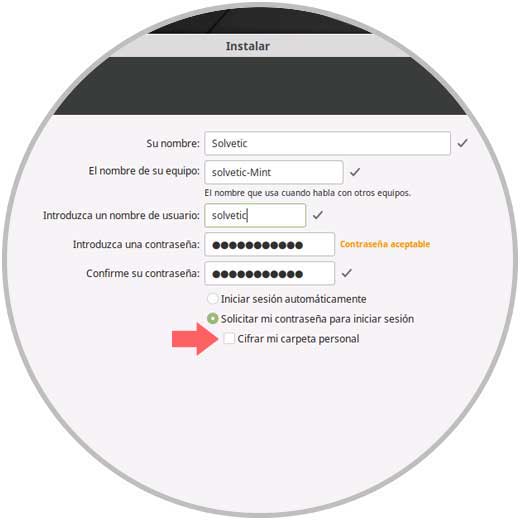
Note
In order to protect personal information against local attacks, we must check the Encrypt my personal folder box.
Step 13
Click on Continue to install Linux Mint 19.1 on the hard disk:
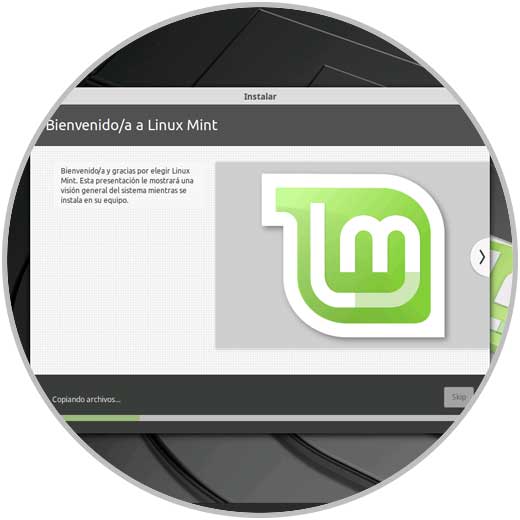
Step 14
When this process ends we will see the following:
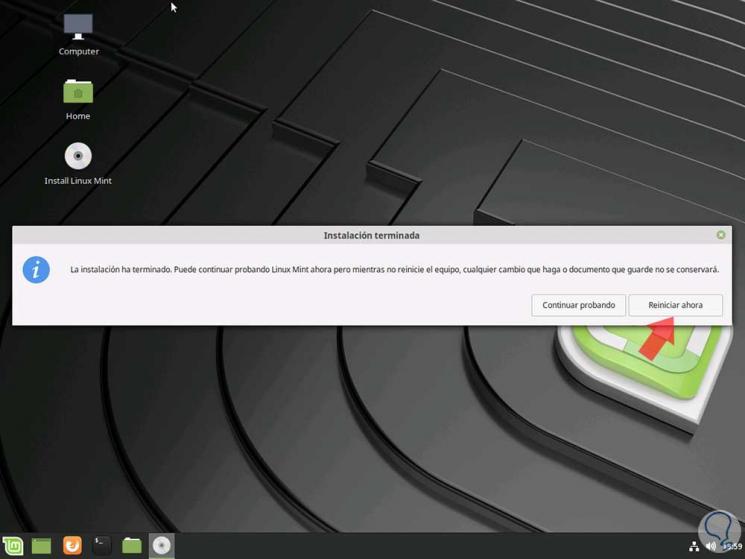
Step 15
There we click on the Restart now button and we must remove the DVD or USB with the Linux Mint 19.1 ISO, once the system is restarted we will enter the assigned password:
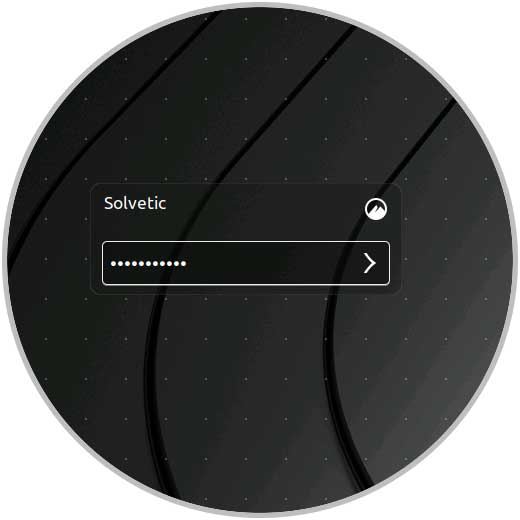
Step 16
When accessing Linux Mint 19.1 we will go to the welcome screen:
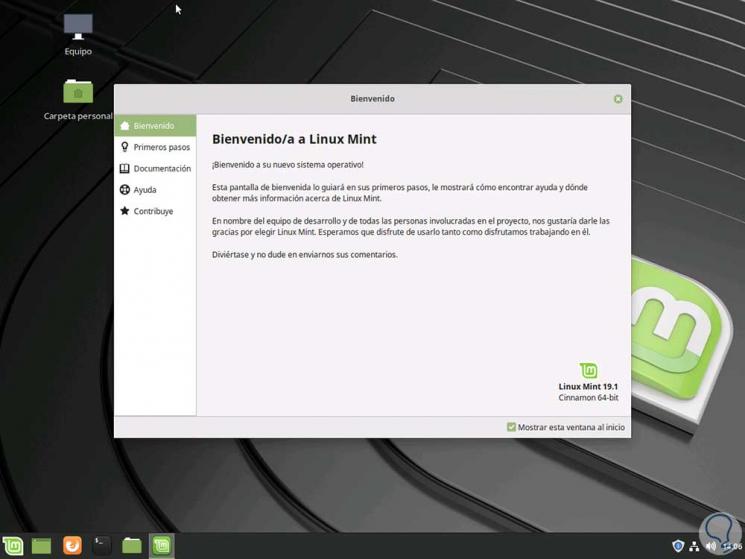
Step 17
From there we can access the system documentation or a guide in the First steps section.
Later it will be possible to access the entire environment of the Cinnamon edition of Linux Mint 19.1:
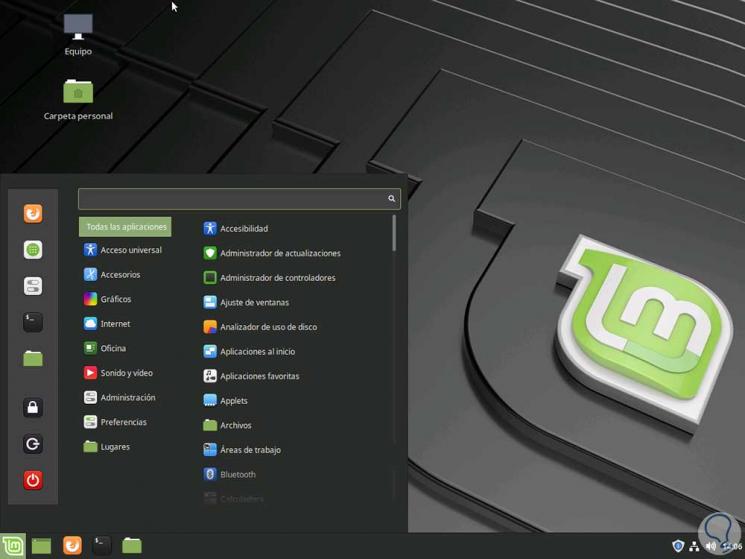
Step 18
Thus, Linux Mint 19.1 gives us a series of options and new functions focused on improving the daily use experience of the system and its apps.
Finally we will have installed version 19.1 of Linux Mint on our computer.