Choosing a good operating system is essential so that we feel comfortable when working on it and our activity is more productive. Today the operating systems we have are Windows, Linux and Mac , each offering different features and utilities, as well as applications and services. That is why, depending on the use we want to give to our computer, we choose one or the other..
Many Windows users who have had to migrate to Linux systems for different reasons and find themselves in a totally new world, both in terms of environment, performance, execution, applications and others, which can affect their productivity in one way or another.
This situation is natural but the worst thing is that possibly some of your favorite applications can only be run on Windows operating systems. To prevent this, a very popular utility called Wine (Wine Is Not an Emulator) has been developed, which has the essential task of allowing an .exe application (Windows executable) to run in Linux environments without any problem. This will make Windows users feel the drastic system change..
characteristics
Some of its main characteristics are:
- Allows Windows applications to be available on the web with the use of VNC and the Java / HTML5 client
- We can access Windows applications remotely
- Integrates Linux functions
- Facilitates the use of scripts to call applications
With this utility we have a wide range of resources and applications, both software and hardware to use.
Let's see how to install Wine in Ubuntu 20.10..
1. Configure Ubuntu system architecture
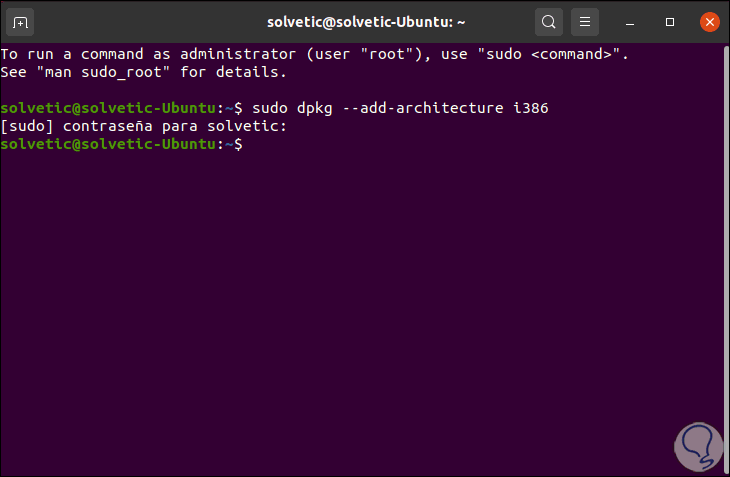
As a general rule, Ubuntu is installed on a 64-bit system, so that Wine functions must simultaneously handle the 32-bit architecture, for this we access the terminal and execute the following:
sudo dpkg -- add -architecture i386
2. How to download repositories and keys from Wine Linux
Step 1
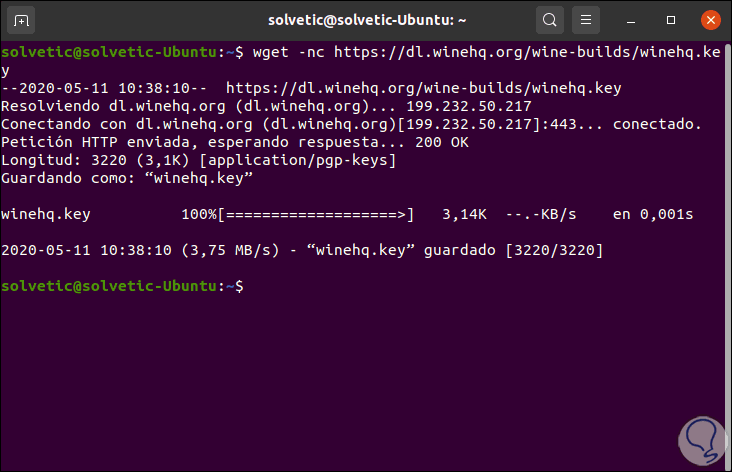
We are going to download the Wine repositories by executing the following command:
wget -nc https: //dl.winehq.org/wine-builds/winehq.key
Step 3
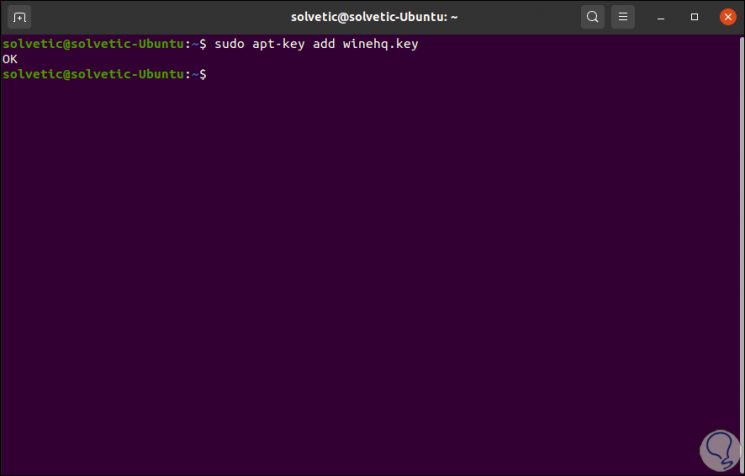
Now we add this key to the system by executing:
sudo apt-key add winehq.key
Step 4
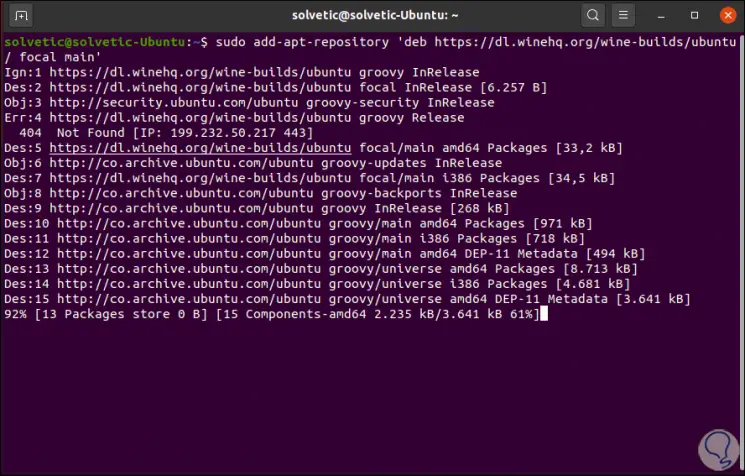
The next step will be to install the Wine repositories which are available for download at the following link:
Wine repositories
In this case compatibility with the Ubuntu 20.04 repositories is offered, we execute the following:
sudo add -apt-repository 'deb https://dl.winehq.org/wine-builds/ubuntu/ focal main'
Step 5
Once installed we will update the operating system and the respective packages:
sudo apt update
Step 6
When it has been updated, we can install Wine using one of the following options:
Stable Wine:
sudo apt install --install-recommends winehq-stable
Step 7
Wine in development:
sudo apt install --install-recommends winehq-devel
Step 8
Wine of evidence:
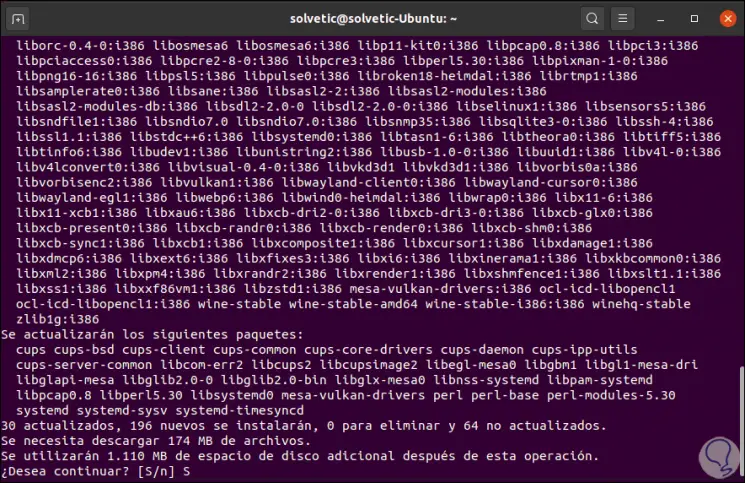
sudo apt install --install-recommends winehq-staging
Step 9
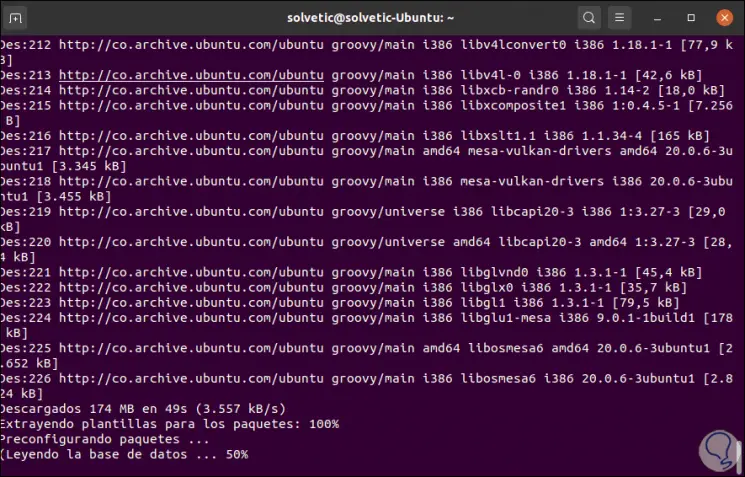
We enter the letter S to confirm the download and installation of Wine (in this case the stable version).
Step 10
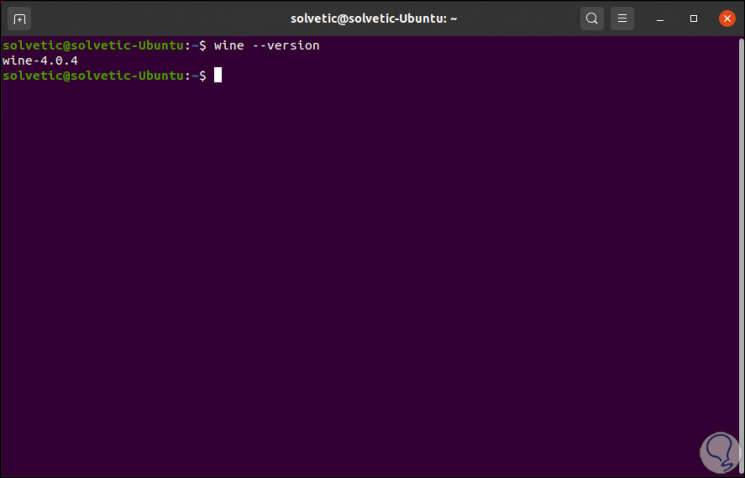
When this has been installed, we can validate the version of Wine installed with the following command:
wine –version
3.
3. How to configure Wine in Ubuntu 20.10
Step 1
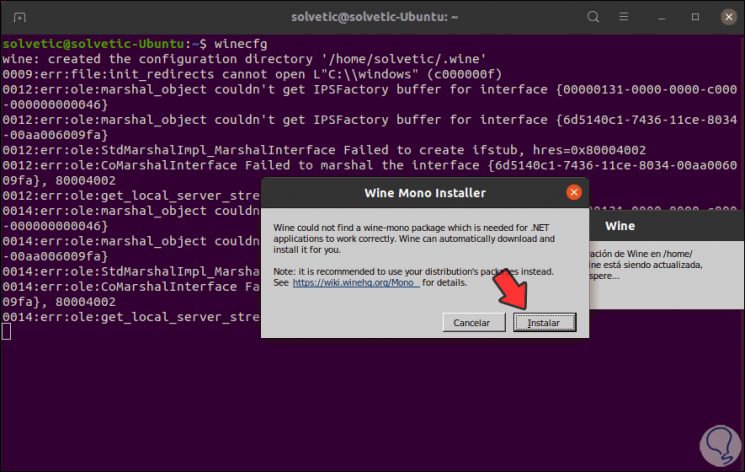
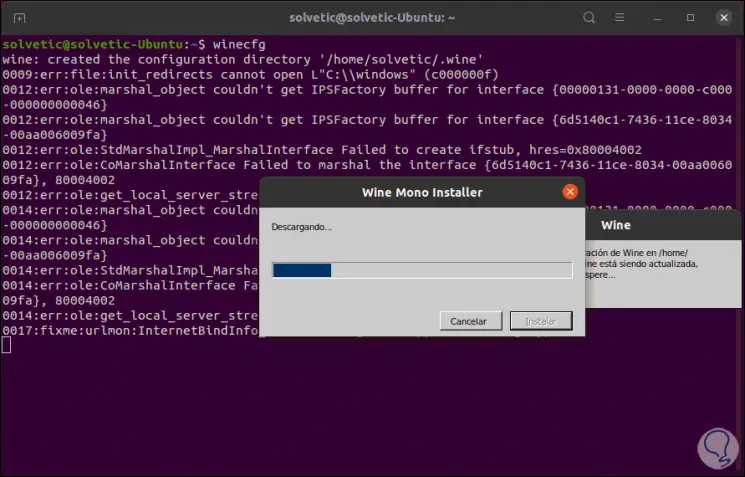
It is time to configure Wine on the system, for this we execute the following command in the terminal:
winecfg
Step 2
We click on the “Install” button to download and install this Wine function in Ubuntu 20.10:
Step 3
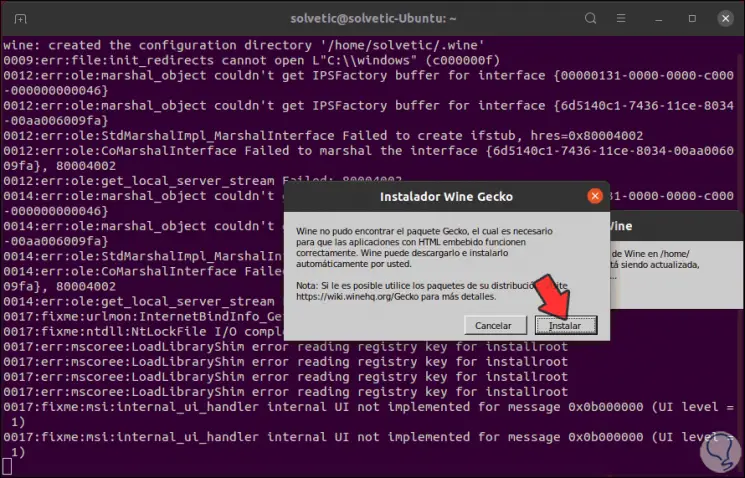
During this process you will be asked to install additional packages:
Step 4
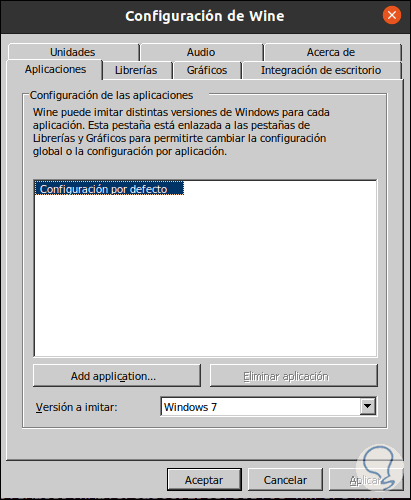
Once this is finished the following pop-up window will be launched:
Step 5
From there it is possible to manage all the Wine functions in Linux, these options are:
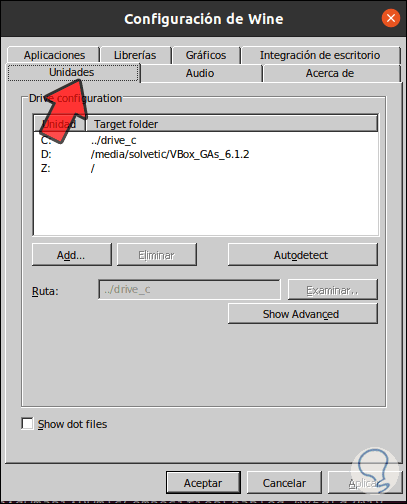
Units
There it allows us to access the virtual units created or to manage them
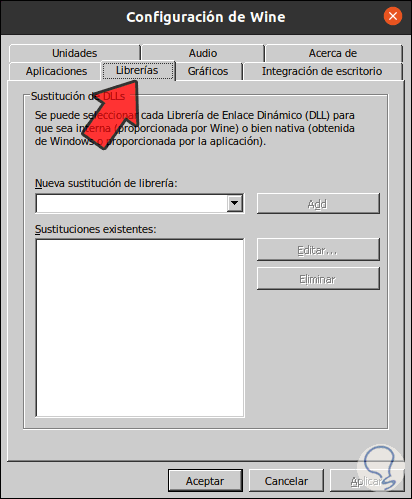
Bookstores
From here it will be possible to enter Windows .dll libraries:
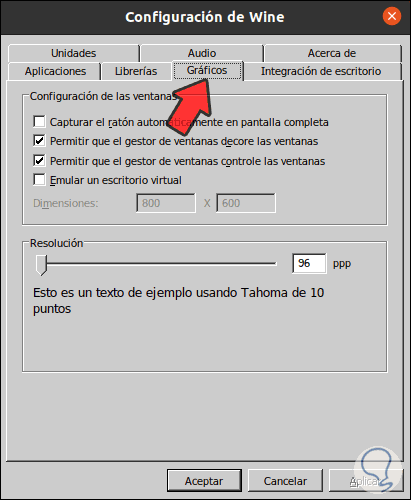
Graphics
From there it is possible to manage the way the application windows will operate in Ubuntu 20.10.
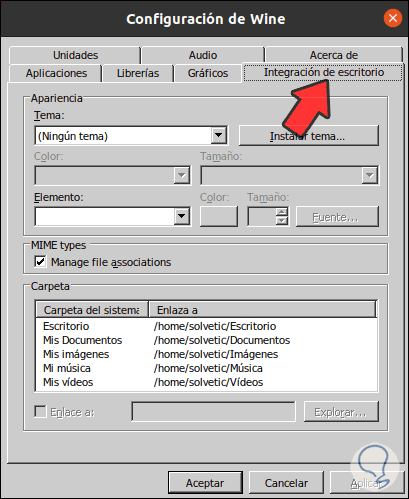
Desktop integration
It allows us to identify the Linux paths of traditional Windows libraries:
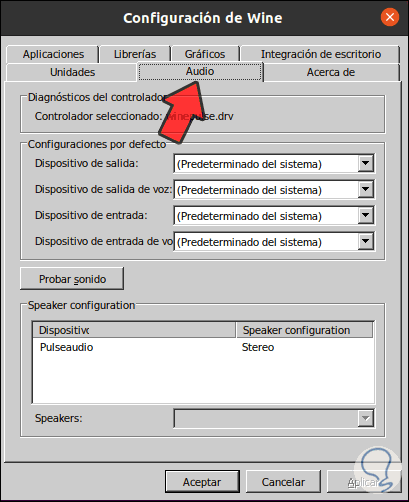
Audio
It allows us to manage audio devices in Linux for Windows:
Step 6
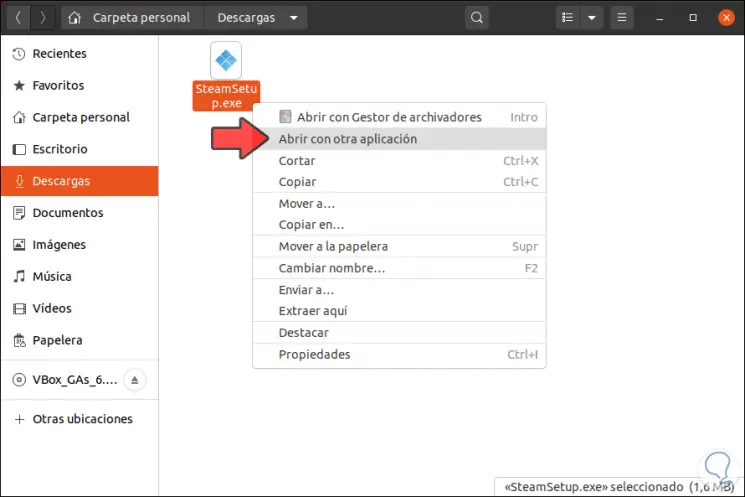
Then we download some Windows own .exe application, right-click on it and select "Open with another application":
Step 7
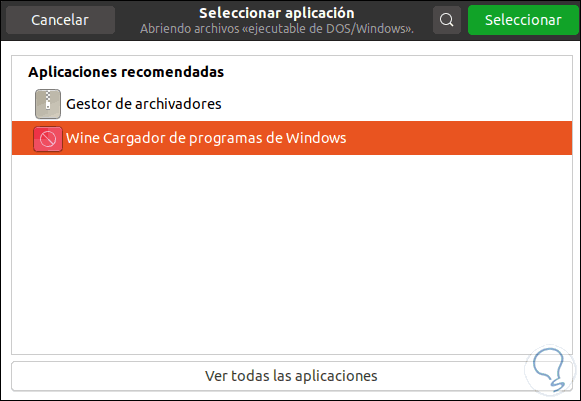
In the pop-up window we select "Wine Windows Program Loader"
Step 8
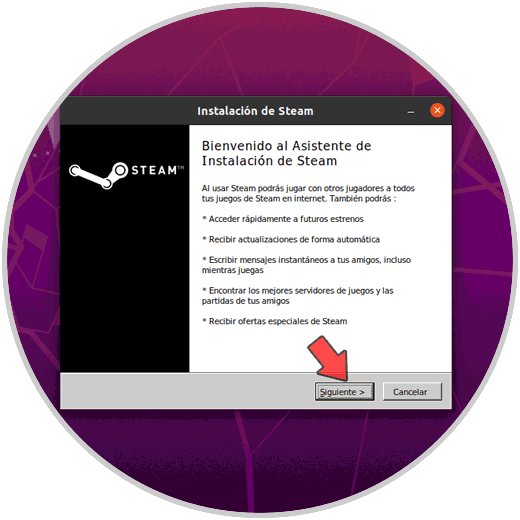
We click "Select" and this will allow the installation wizard to be loaded:
Step 9
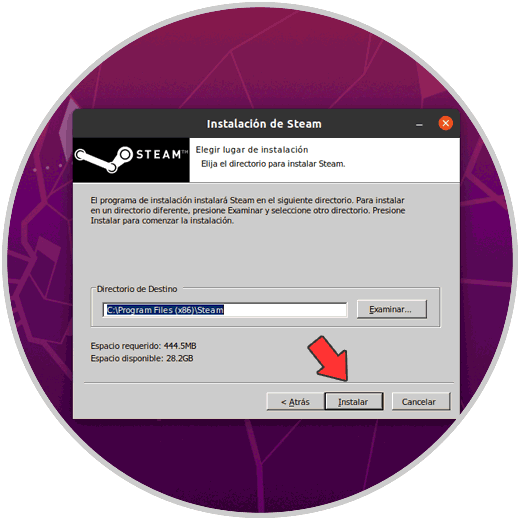
We follow the steps of the wizard and we will see that it is an identical process to Windows:
Step 10
Finally the Windows application is installed in Linux thanks to Wine:
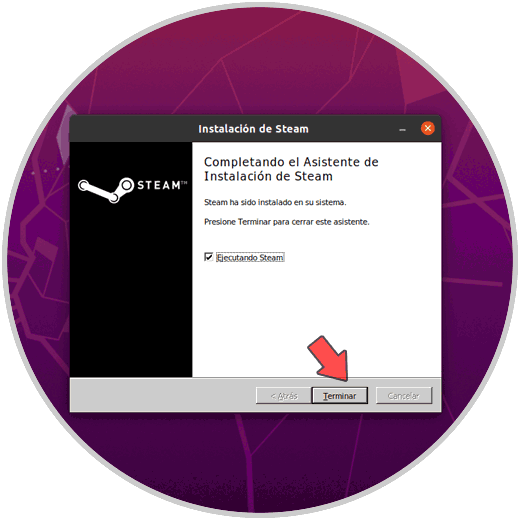
So we are ready to use Windows applications in Linux environments without any problem and with full functionality thanks to Wine. In this way we will have greater possibilities on our Linux PC when working with different applications and services.