Would you like to run Windows applications on Ubuntu? If your answer is “Yes†you are in the right place since TechnoWikis will talk about an application that has been developed for all those who want to run Windows .exe applications on Linux. As you may have noticed, when you download a Windows application, it will be impossible to install it on Ubuntu 19.04 due to the file system, and the Windows applications are varied and too many. So in order to execute them we will see a utility called Wine and you will understand how it is useful for this type of process..
What is wine?
Wine (Wine Is Not an Emulator), was created as a compatibility layer where it is possible to run Windows applications on POSIX- compatible operating systems, such as Ubuntu 19.04. This is achieved because Wine translates Windows APIs into POSIX calls instead of using virtualization methods and this will include improvements in execution, performance and compatibility.
So, instead of having a dual boot (Windows and Linux) separately, the best solution is to use Wine to achieve this compatibility by managing all internal instructions for Linux to recognize Windows applications as executable.
Wine features
Among the characteristics of Wine we find:
- It offers graphics support for macOS and Android.
- Supports alternative input devices such as graphic tablets.
- It is compatible for the execution of Win64, Win32, Win16 and DOS programs.
- X11-based graphic display which supports remote access to terminal X.
- Supports optional use of DLL files from external providers.
- DirectX compatible for games and multimedia.
- Compatible with sound drivers such as ALSA, OSS, PulseAudio and CoreAudio.
- Winsock TCP / IP network support.
- Integrates a PostScript interface driver to use standard PostScript Unix printing services.
- Compatible with the ASPI (SCSI) interface which supports scanners, CD drives and more devices.
- Advanced Unicode support and world languages.
Now we will see how to install Wine on Ubuntu 19.04.
1. How to install Wine on Ubuntu 19.04
Step 1
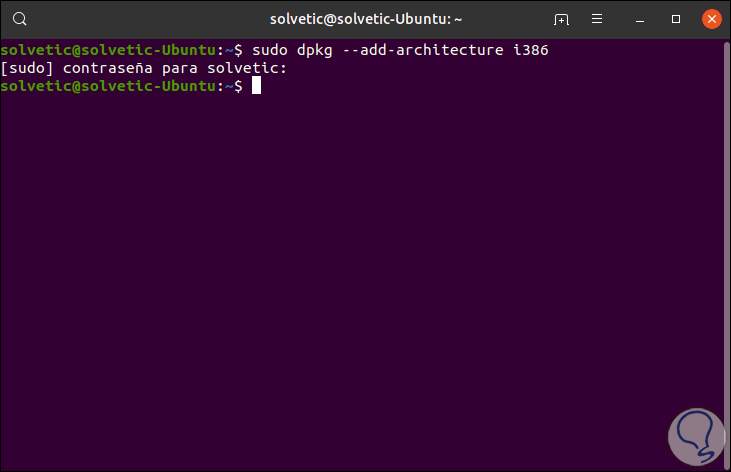
The first step to take will be to add the 32-bit architecture (x86) since many applications are compatible only with said architecture, for this we execute the following:
sudo dpkg --add-architecture i386
Step 2
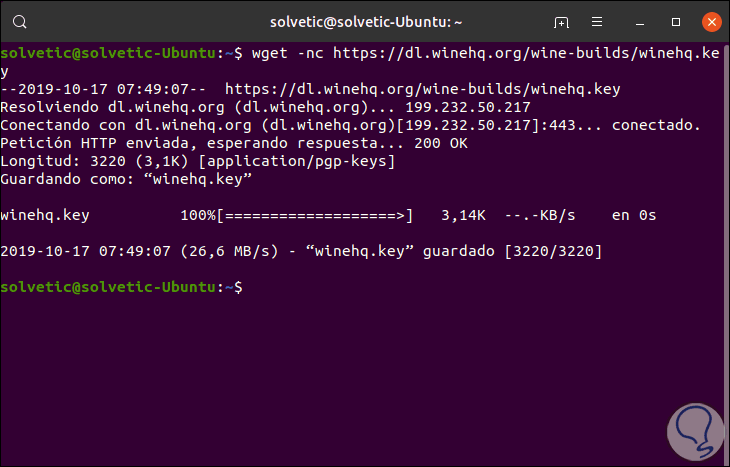
Once we have done this, we will import the WineHQ key by executing the following:
wget -nc https://dl.winehq.org/wine-builds/winehq.key
We will make a parenthesis to explain what WineHQ is. Wine is normally known as WineHQ by development issue and WineHQ offers releases based on two branches that are stable and development..
Step 3
The stable branch uses an annual release schedule, and offers minor updates usually every 2 weeks while the development branch has a biweekly release schedule with new features.
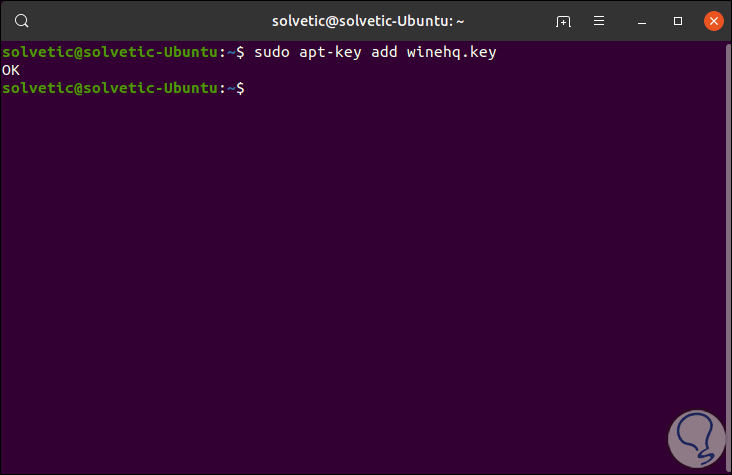
Once we import the key we proceed to add it by executing:
sudo apt-key add winehq.key
Step 4
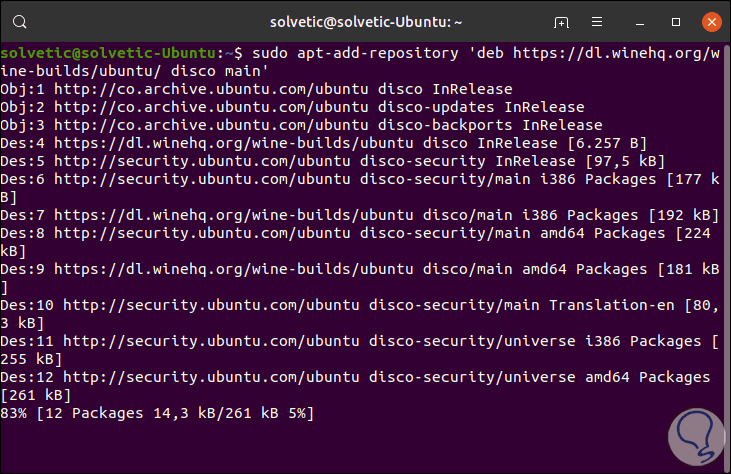
The next step will be to add the Wine repository so that its installation is possible, for Ubuntu 19.04 we execute the following:
sudo apt-add-repository 'deb https://dl.winehq.org/wine-builds/ubuntu disk main'
Step 5
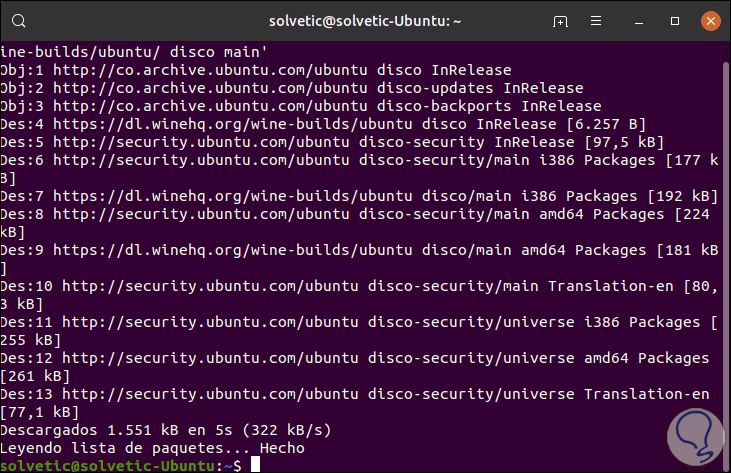
When this process ends we will see the following:
Step 6
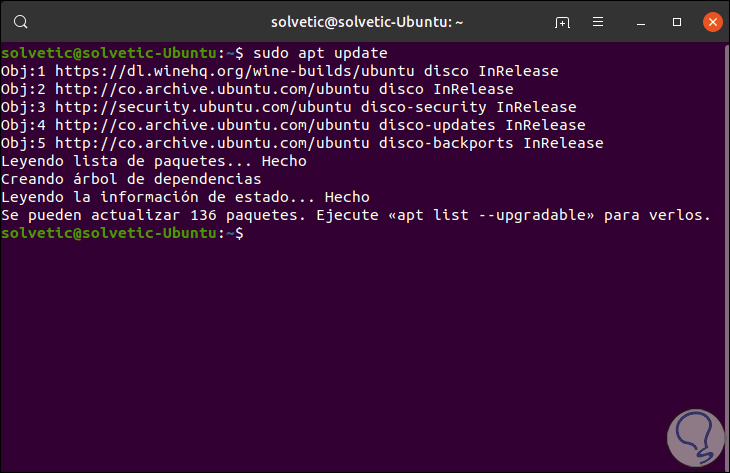
After this we update the system packages including the repositories:
sudo apt update
Step 7
Finally we proceed with the installation of the stable version of Wine on Ubuntu 19.04 by running the following:
sudo apt install --install-recommends winehq-stable
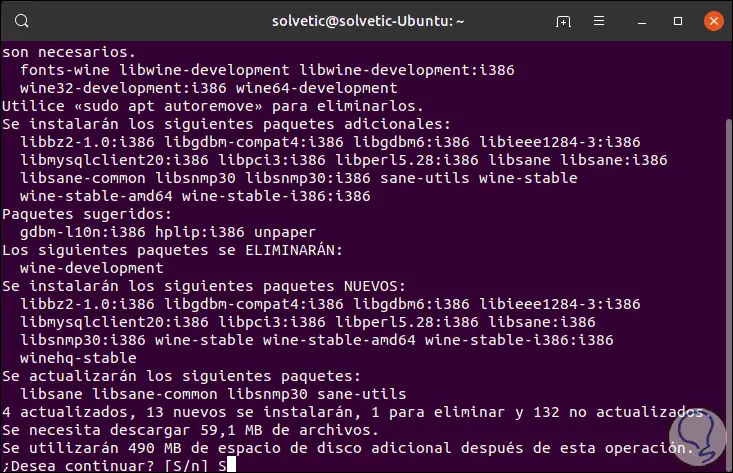
There we enter the letter "S" to proceed with the download and installation of the stable version of WineHQ in Ubuntu 19.04.
Step 8
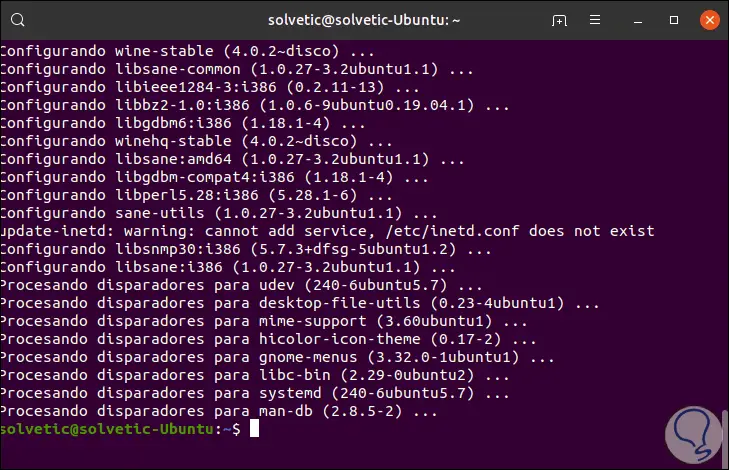
When this process comes to an end we will see the following:
Step 9
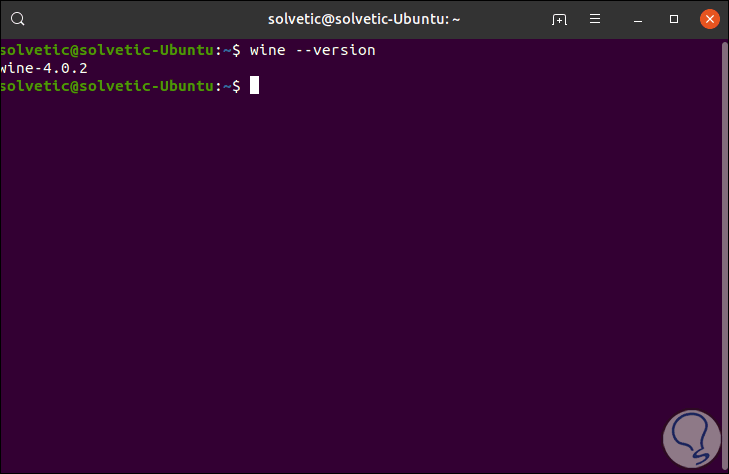
We can check the version of Wine installed by running:
wine --version
2. How to configure Wine on Ubuntu 19.04
Step 1
We will configure some aspects of Wine, for this we will use the following command:
winecfg
Step 2
The following message will be displayed:
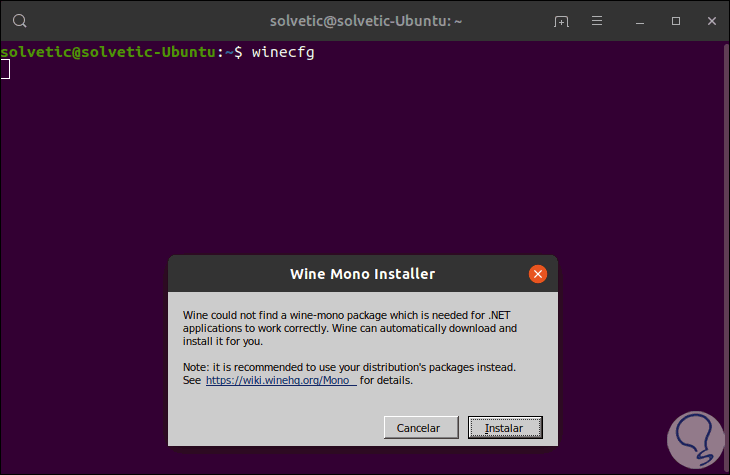
Step 3
There we click on Install to proceed with these dependencies:
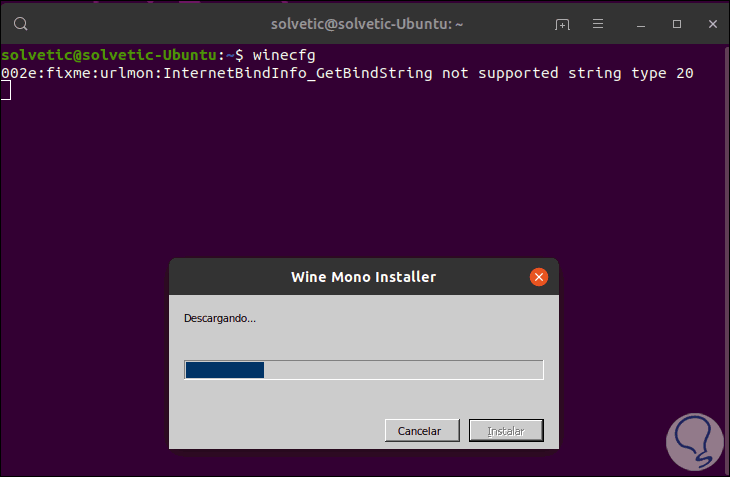
Step 4
After that, the following pop-up window will be displayed where we can configure details such as:
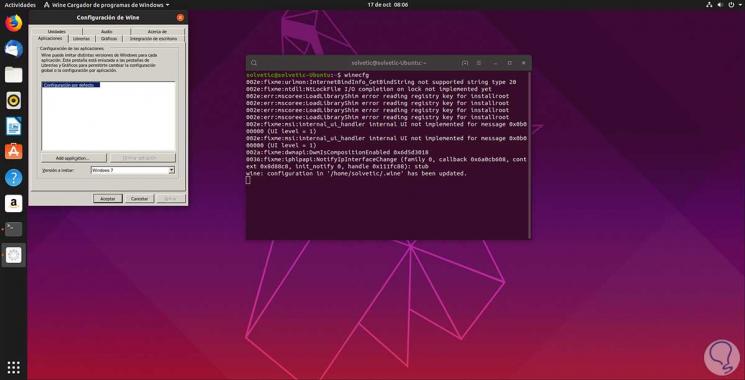
Step 5
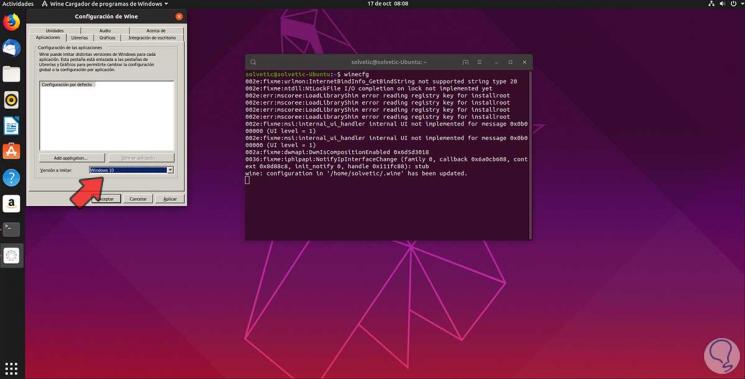
We will see that in the "Applications" tab it is possible to select the edition of Windows to imitate, these range from Windows 7 to Windows 10:
3. How to use Windows applications with Wine in Ubuntu 19.04
We will be ready to run Wine on Ubuntu 19.04.
Step 1
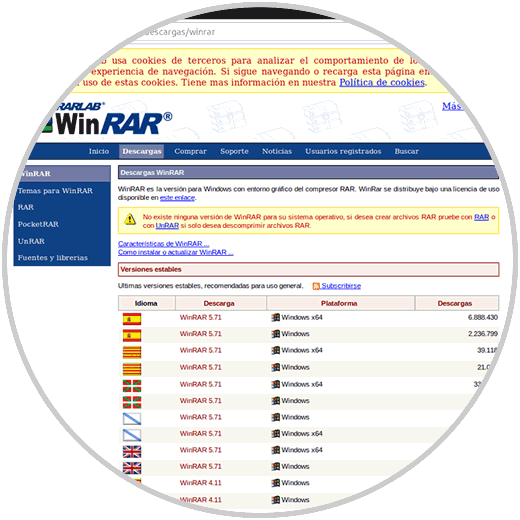
We will go to the browser and download a Windows application:
Step 2
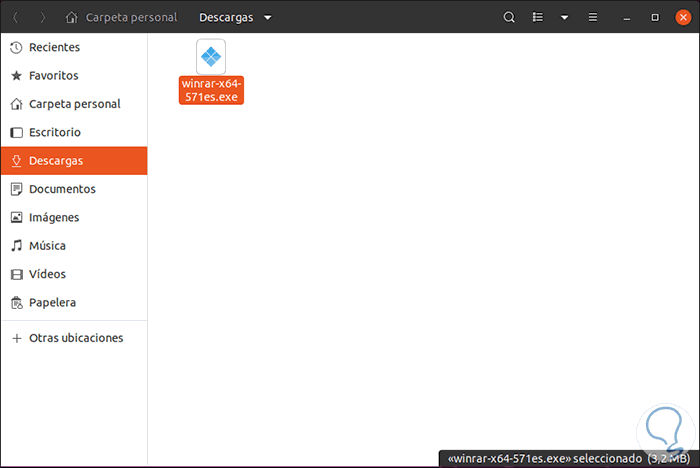
Once downloaded we verify that it is an executable file:
Step 3
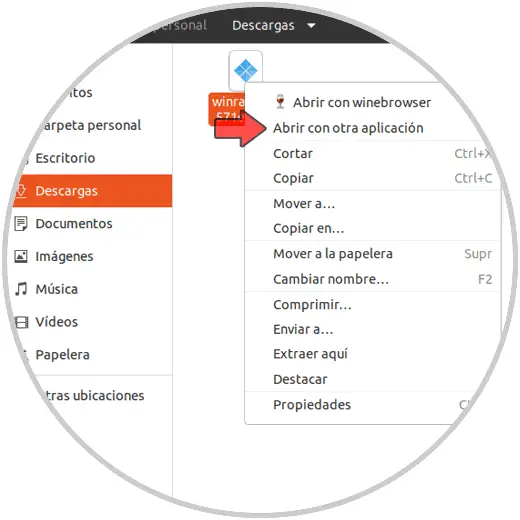
We right click on the application and select "Open with another application":
Step 4
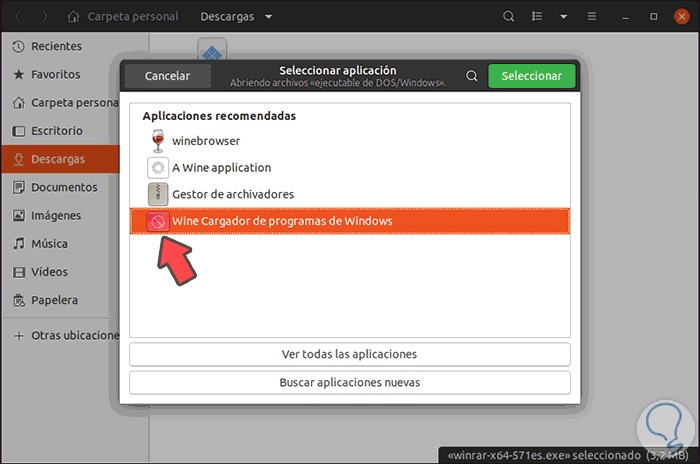
In the options window we select “Wine Windows Program Loaderâ€:
Step 5
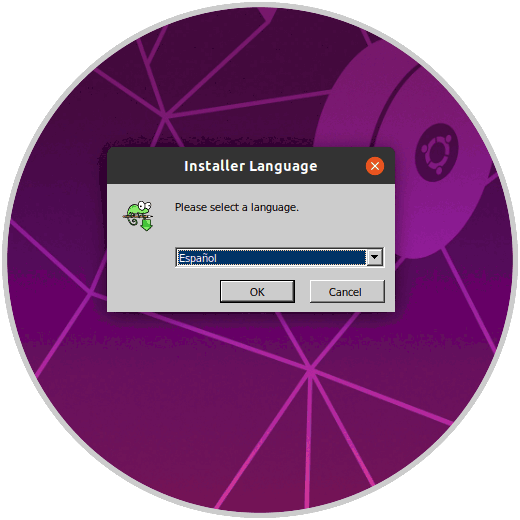
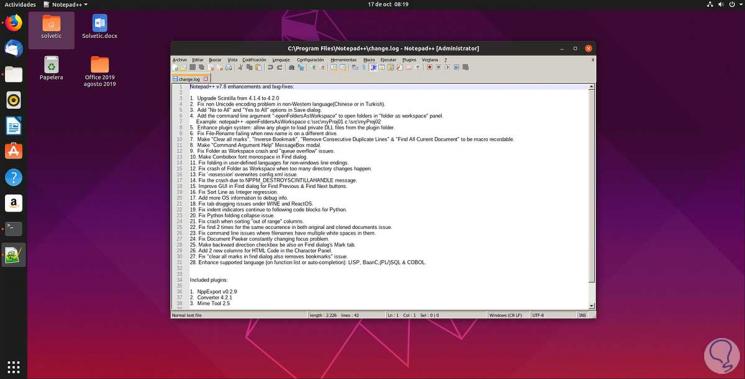
We click on “Select†to open this application, based on the downloaded application you will be deployed the wizard, for example, if we download Notepad ++ we will see the following:
Step 6
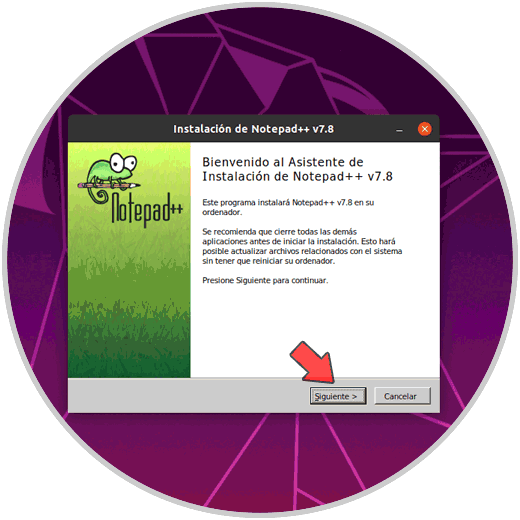
There we select the language and click OK and the typical Windows wizard will open:
Step 7
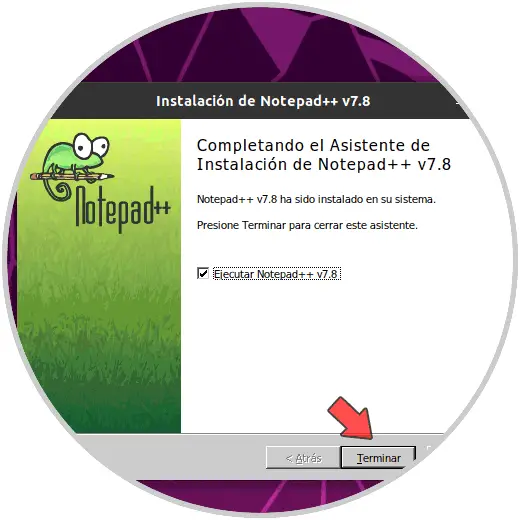
After completing the steps of the wizard we will see that the installation is correct:
Step 8
We can easily access the application installed on Ubuntu 19.04:
Step 9
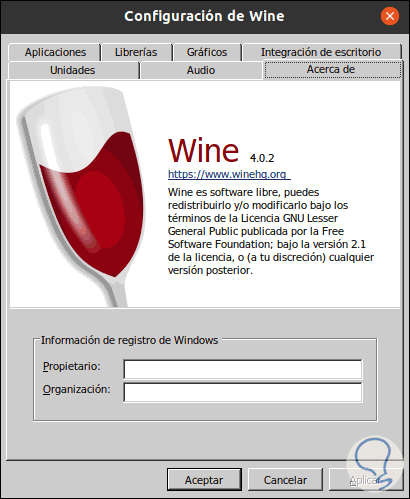
We check that Wine 4.0 has been updated:
4. How to upgrade to WineHQ 4.17 in Ubuntu 19.04
This is the new version of Wine recently launched which gives us functions such as:
- Support for MSI patch files
- Unicode data updated to Unicode 12.0
- Joystick support improvements
- Compatible with most programs in PE format
- Correction of various errors
Step 1
The first step is to import and install the key which we did previously:
wget -nc https://dl.winehq.org/wine-builds/winehq.key && sudo apt-key add winehq.key
If we don't have it, we must add the repository as seen in previous steps:
sudo apt-add-repository 'deb https://dl.winehq.org/wine-builds/ubuntu/ disco main'
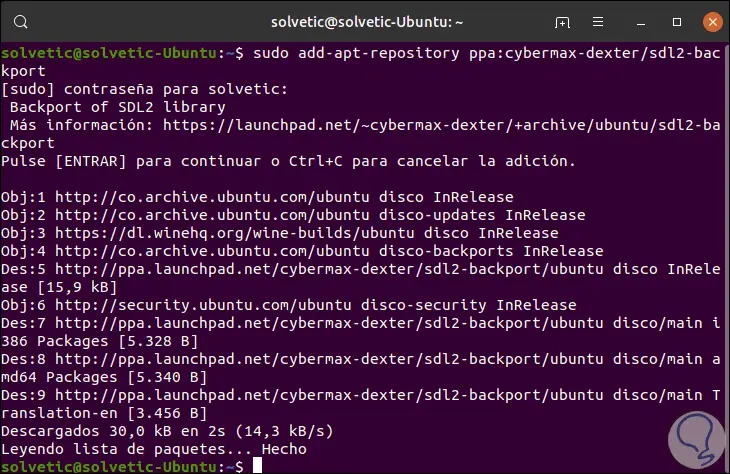
Now it is time to install dependencies not satisfied, in this case wine devel requires the libfaudio0 library which is not available in the Ubuntu 19 repositories, to solve this we will execute the following:
sudo add-apt-repository ppa: cybermax-dexter / sdl2-backport
Step 2
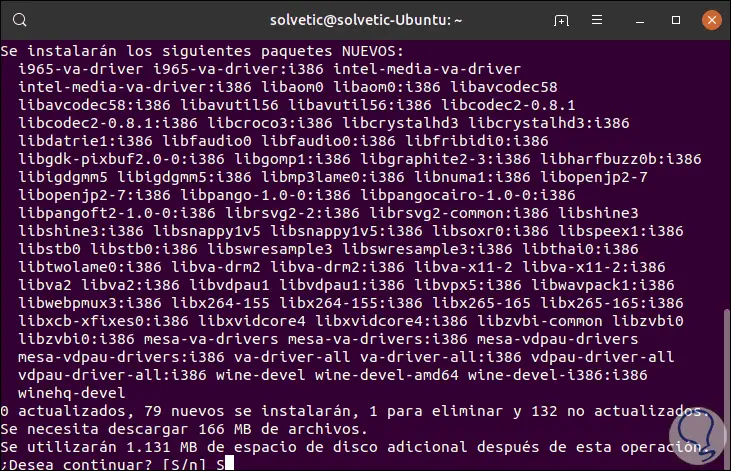
After this we install Wine 4.17 by executing the following:
sudo apt install --install-recommends winehq-devel
Step 3
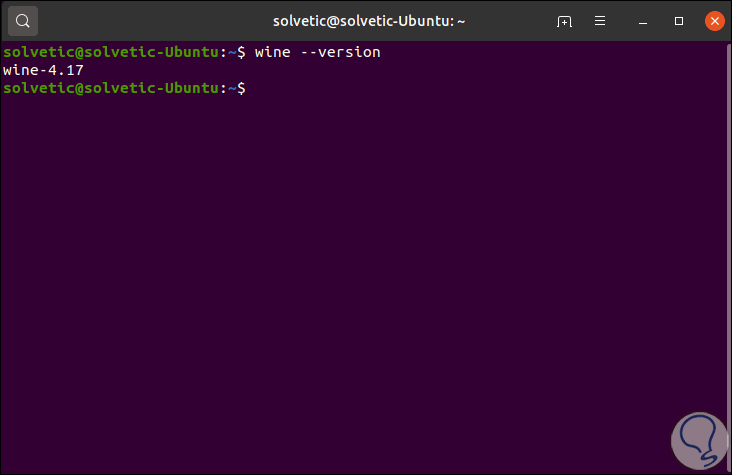
Let's see that in this case the term “devel†(Development) has been used and not the term “stableâ€. Once this process is finished we can validate the Wine version:
wine –version
Step 4
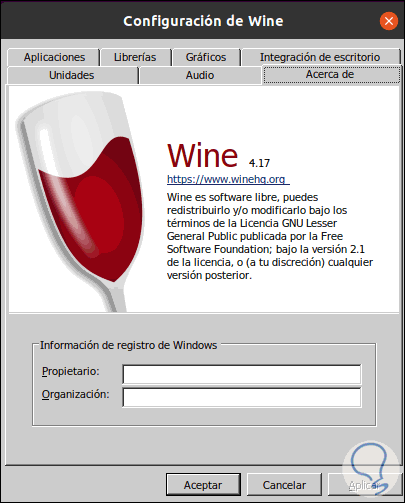
Also, we can check it from the winecfg command:
Uninstalling Wine in Ubuntu 19.04
If for some reason we do not want to use more Wine, just run the following for uninstallation:
sudo apt remove --auto-remove winehq-devel
We have seen how we can run Windows applications in Ubuntu 19.04 with the same compatibility features, but it is good to clarify that not all 100% of the applications can be executed successfully in Ubuntu 19 but the vast majority..