Linux operating systems provide us with a large number of functionalities to develop and execute hundreds of tasks of all kinds and within this set of Linux functions and features is the installation of certain additional applications or add-ons. One of these is Java which is an ideal technology for the development of applications accessible from the web with numerous functionalities..
Java is made up of some plugins such as:
Java is made up of some plugins such as:
- Java Runtime Environment (JRE) which is added when installing Java.
- JRE is integrated with Java Virtual Machine (JVM), various Java platform core classes and platform libraries
- JRE acts at the Java software runtime so that it can be used on the network.
TechnoWikis will explain how to install Java in Ubuntu 19.10 or Ubuntu 20.04 and thus have this technology at your fingertips.
1. How to check available OpenJDK packages Ubuntu
Step 1
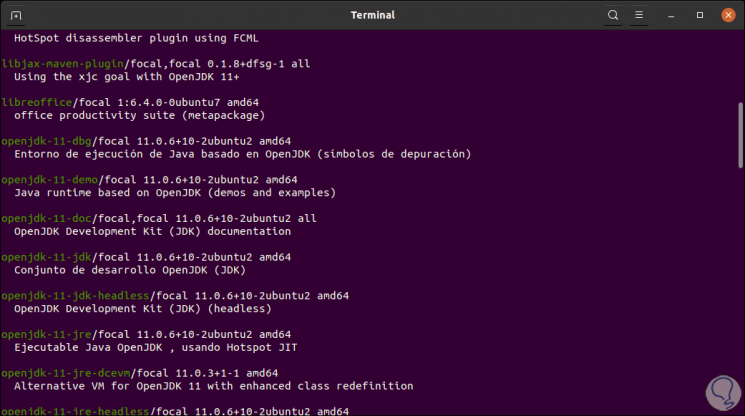
The first step will be to find out what OpenJDK packages are available in Ubuntu, for this we execute:
sudo apt search openjdk
Step 2
Next we will install OpenJDK based on the desired version as:
sudo apt install openjdk-8-jdk sudo apt install openjdk-11-jdk sudo apt install openjdk-13-jdk sudo apt install openjdk-14-jdk
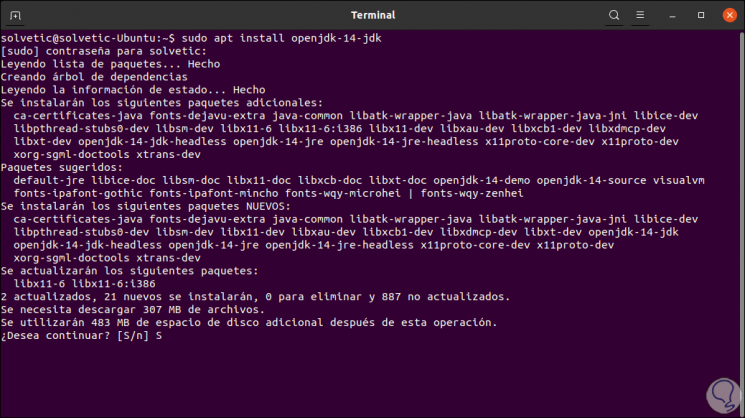
We enter the letter S to confirm the download and installation of the selected version..
Step 3
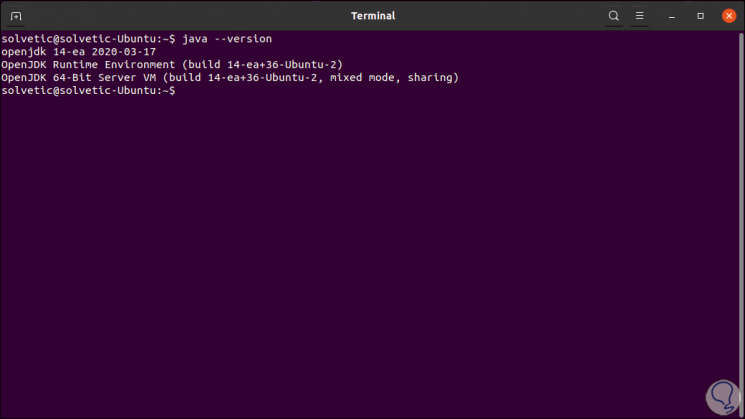
After this we can check the version of Java installed in Ubuntu by executing the following:
java –version
Step 4
It will be possible to change the Java version, for this we execute the following commands to select the Java version to use:
sudo update-alternatives --config java sudo update-alternatives --config javac
2. How to install Oracle Java JDK in Ubuntu 19.10 or 20.04
Step 1
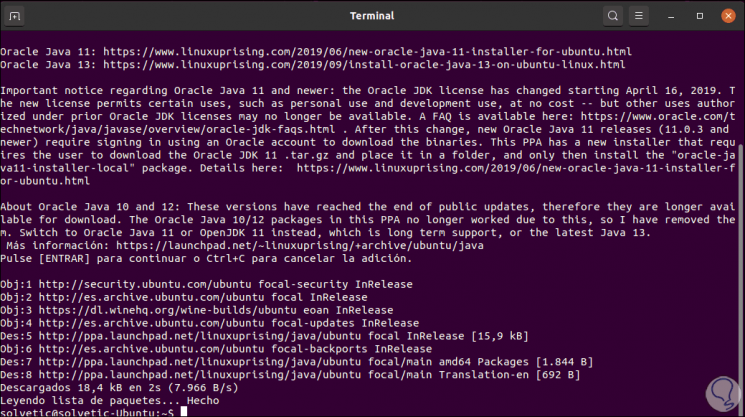
First, we will install the necessary repository:
sudo add-apt-repository ppa: linuxuprising / java
Step 2
We must press the Enter key to confirm the action:
Step 3
Then we can execute any of the following commands based on the desired java version:
sudo apt install oracle-java12-set-default sudo apt install oracle-java13-set-default
Step 4
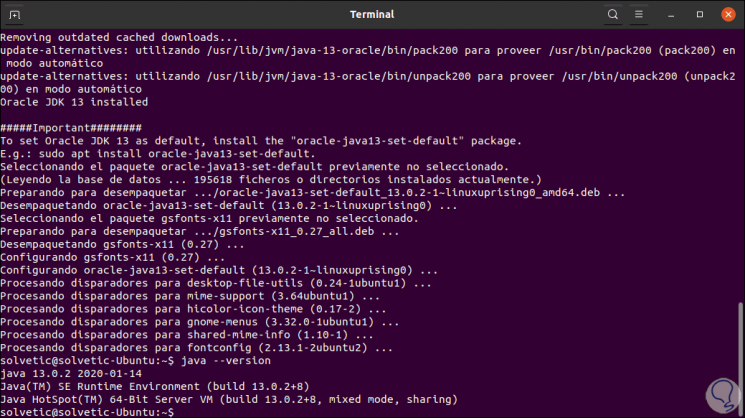
We enter the letter S to confirm and we must accept the license terms, after this we check the installed version:
java –version
Step 5
Finally, if we want to switch between the installed Java versions, we will execute the following, for example, version 13:
sudo apt install oracle-java13-set-default
So we have learned to install Java in Ubuntu 19.10 or 20.04 thanks to TechnoWikis.