Managing operating systems is not always a simple task since many processes are sometimes conflicting. But beyond this there are some tasks that must be carried out with certain frequency, to help that as administrators or Ubuntu users these tasks are even simpler there is a utility called Jenkins and TechnoWikis will talk a little about it and how to use it in Ubuntu 20.04 or Ubuntu 20.10..
What is Jenkins
Jenkins has been developed as a fully autonomous open source automation server thanks to which it will be possible to automate different tasks such as creating, testing and delivering or implementing software on client computers.
The Jenkins application can be installed using the native system packages, Docker, or it can be run independently on any machine with a Java Runtime Environment (JRE) installed there.
Jenkins Requirements
The requirements to use Jenkins are:
- 1 GB of hard disk space, it is recommended to have 10 GB in case you run Jenkins as a Docker container
At the software level it is required:
- Java: Java 8 in 32 and 64 bit versions, Java 11 runtime (in Jenkins 2.164 and 2.164.1), Java 9, 10 and 12 is not supported
- Web browser like Chrome, Edge, Firefox or Safari
- Policy support required in Windows operating system
Jenkins Features
Among the Jenkins characteristics we find:
- Integration of plugins which are available in the Update Center facilitating integration with other utilities.
- Continuous integration and continuous delivery.
- Simple installation since Jenkins is a Java based program, this means it offers installation packages for Windows, macOS and Unix operating systems.
- Ease to be distributed in other work teams.
Let's see how to install Jenkins in Ubuntu 20.04 or 20.10..
1. Update Java in Ubuntu 20.10, 20.04
Step 1
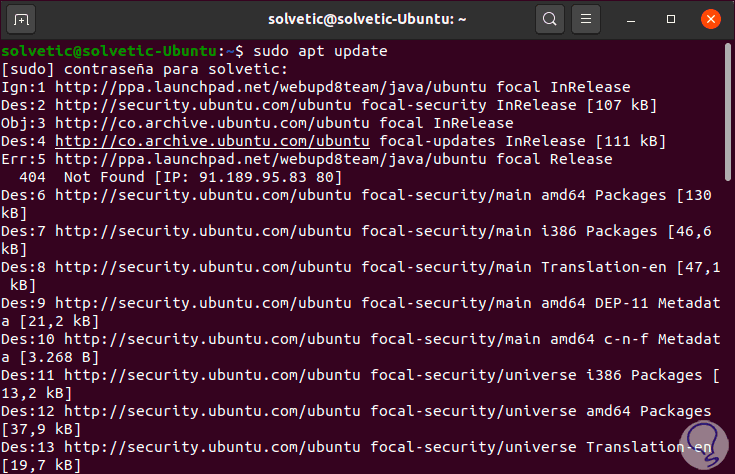
As always the first thing will be to update the packages and system repositories with the following command:
sudo apt update
Step 2
After this we validate that we have the version of Java compatible with Jenkins, for this we execute the following command:
java -version
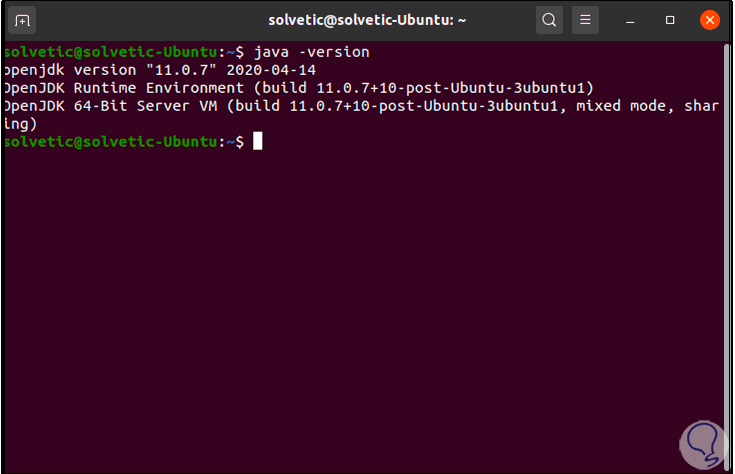
In this case we have Java 11 which is compatible.
2. Install Jenkins on Ubuntu 20.10, 20.04
Step 1
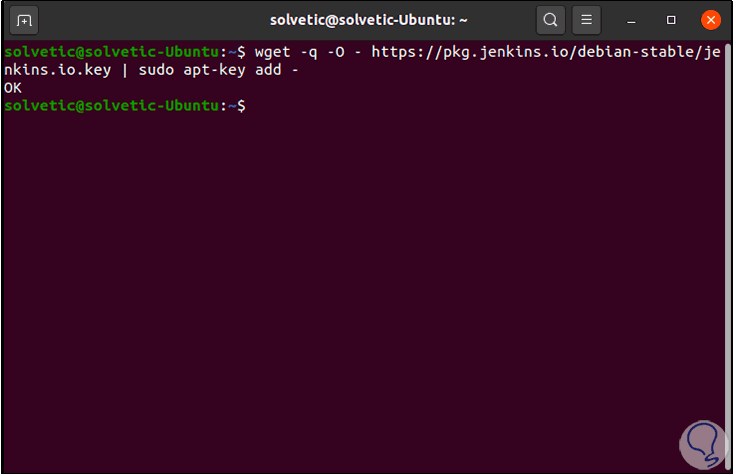
The Jenkins version integrates the default Ubuntu packages, in order to install the latest available version we are going to execute the following command to add the key to the Ubuntu system:
wget -q -O - https://pkg.jenkins.io/debian-stable/jenkins.io.key | sudo apt-key add -
Step 2
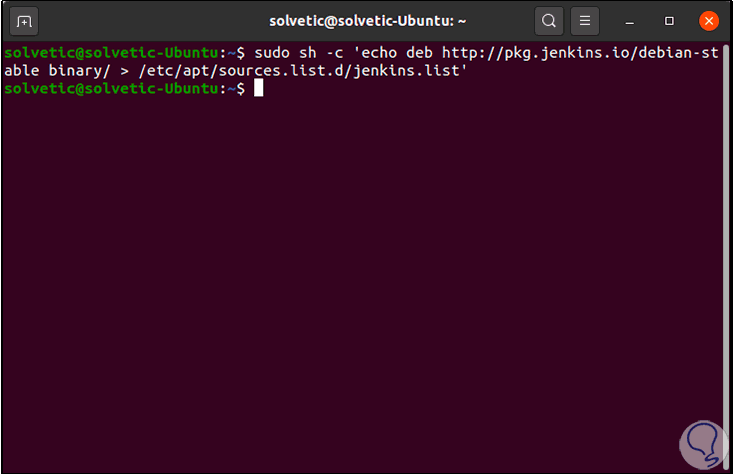
After this we are going to add the Debian repositories to the sources.list directory:
sudo sh -c 'echo deb http://pkg.jenkins.io/debian-stable binary /> /etc/apt/sources.list.d/jenkins.list'
Step 3
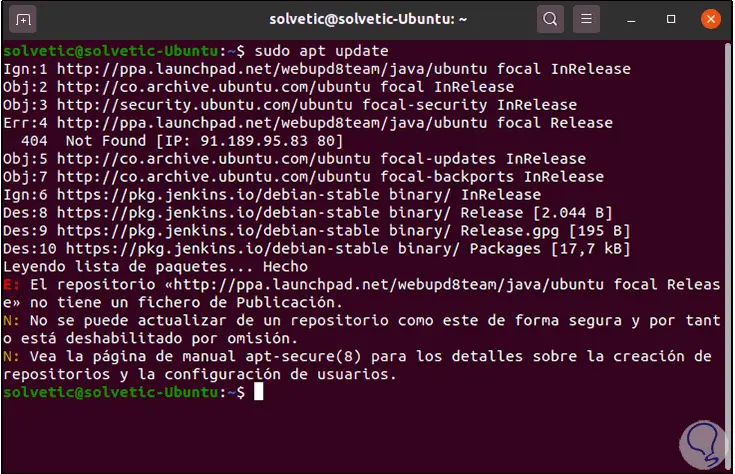
Once we have carried out this process, we update the system again:
sudo apt update
Step 4
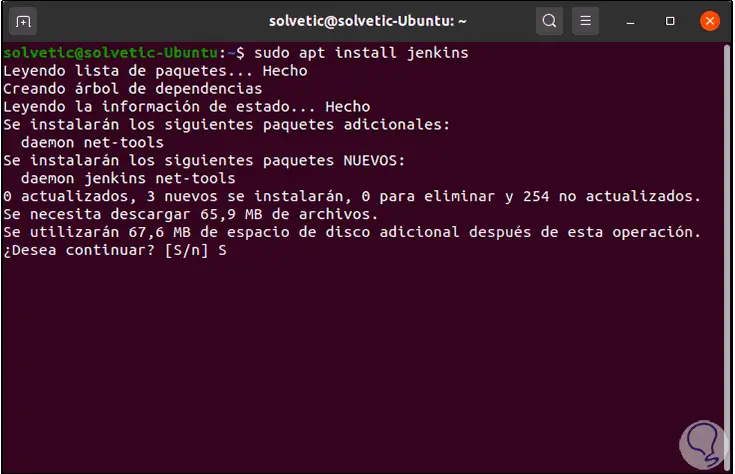
We are ready to install Jenkins on Ubuntu 20.04 or 20.10 with the following command:
sudo apt install Jenkins
Step 5
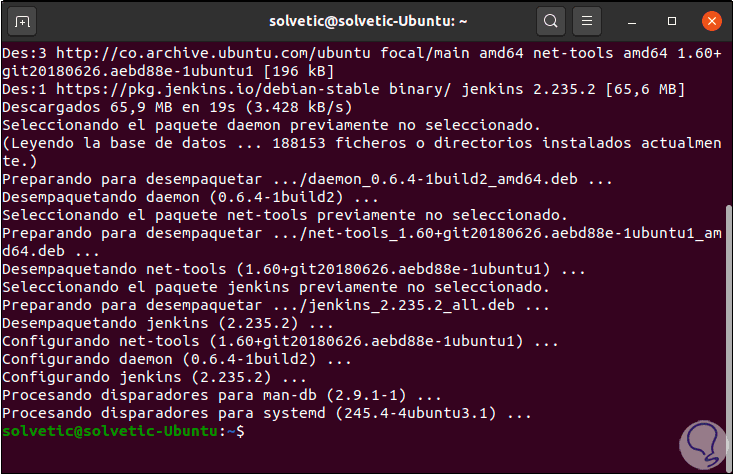
We enter the letter "S" to confirm the download and installation of Jenkins:
3. Run Jenkins on Ubuntu 20.10, 20.04
Step 1
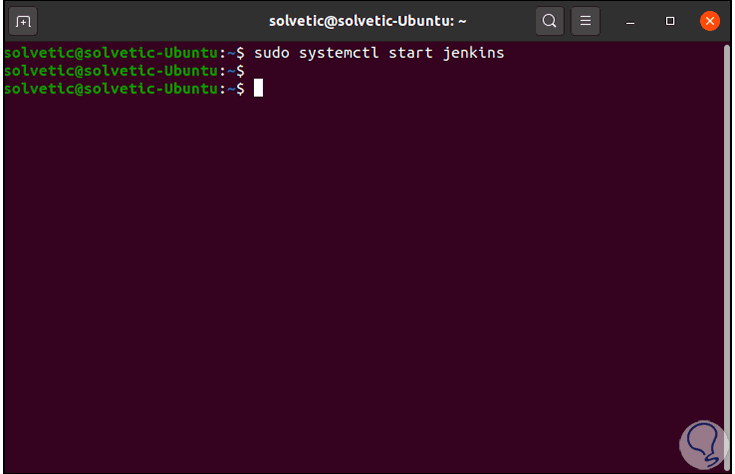
We start the application with the following order:
sudo systemctl start Jenkins
Step 2
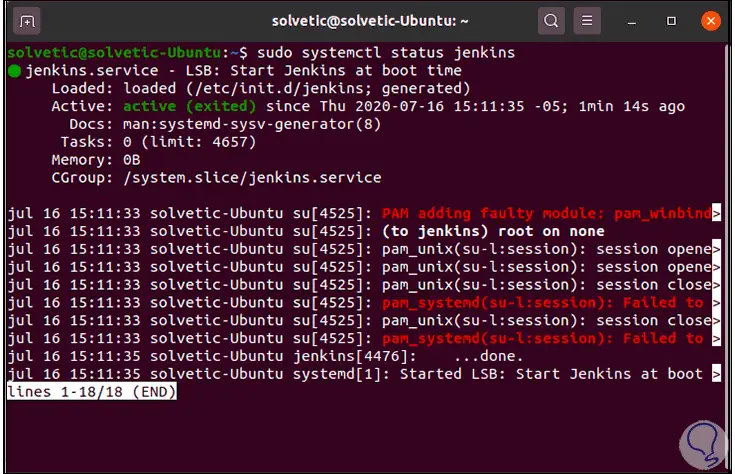
We check Jenkins status with the following command. We see that its state is active.
sudo systemctl status Jenkins
4. Configure Firewall in Ubuntu 20.10, 20.04
Step 1
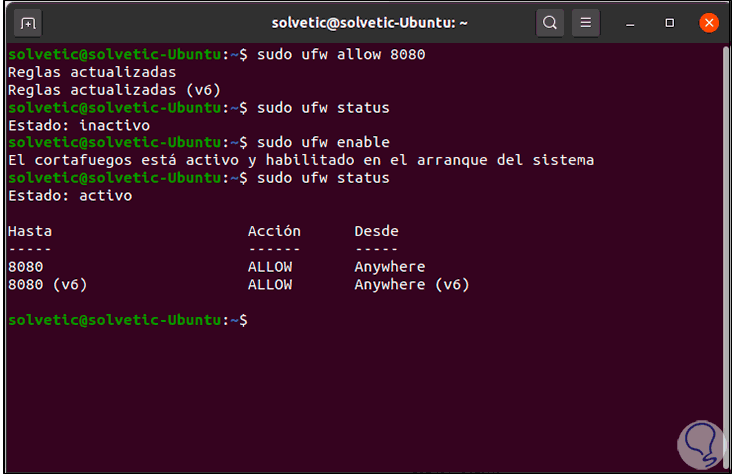
It is time to configure the permissions in the Firewall for remote and local access, Jenkins will use port 8080 for listening, we configure this port with the following command:
sudo ufw allow 8080
Step 2
We see the status of the Firewall with the following command:
sudo ufw status
Step 3
In case the Firewall is not enabled, we will execute the following. We check that port 8080 has been linked to the Firewall.
sudo ufw enable
5. Install Jenkins on Ubuntu 20.10, 20.04
Step 1
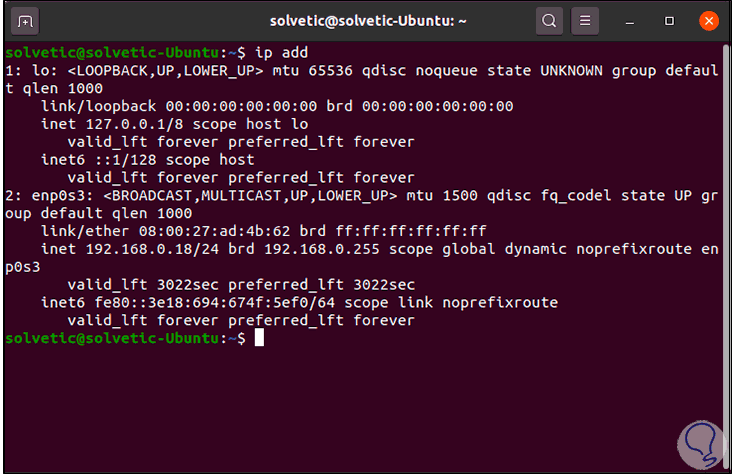
Now it is possible to complete the Jenkins configuration process. First, we will identify the IP address of the equipment with the command "ip add":
Step 2
With this IP we can access externally with the following syntax:
http: // IP_Ubuntu: 8080
Step 3
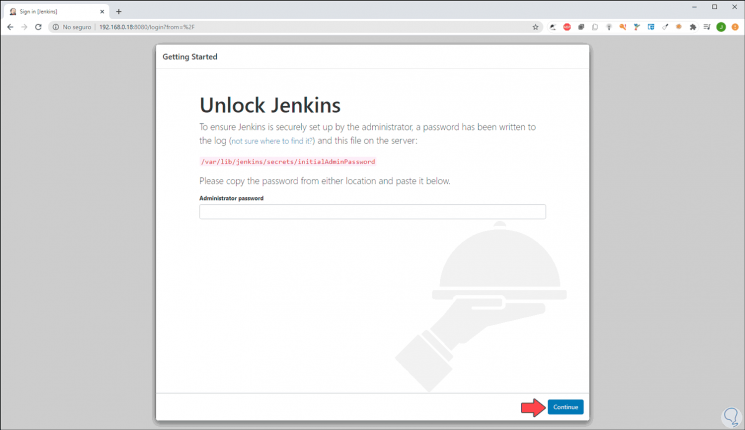
We will see the following:
Step 4
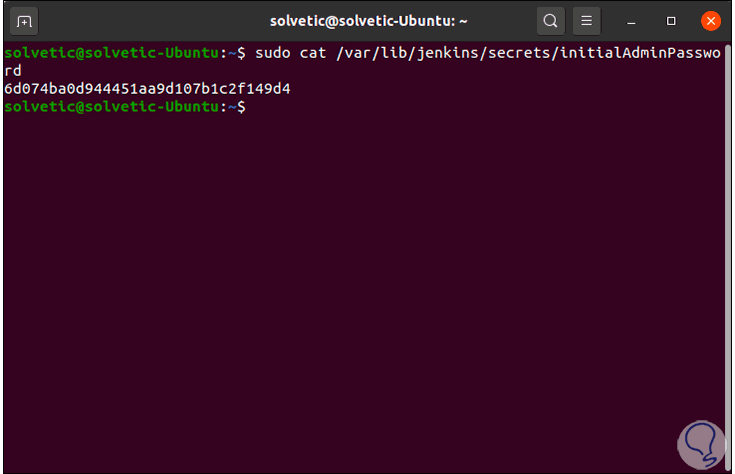
It is necessary to enter the administrator password that is generated automatically by the application, for this in the terminal we must execute the following for its display:
sudo cat / var / lib / jenkins / secrets / initialAdminPassword
Step 5
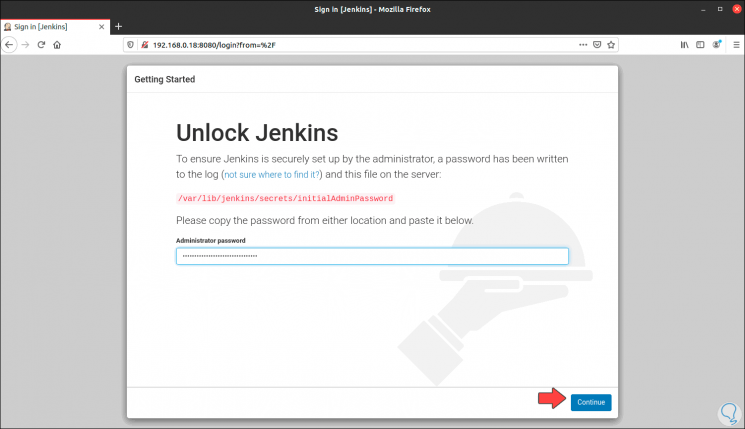
We must copy the 32 characters of the password and paste them in the respective field, this process can be done locally in Ubuntu 20:
Step 6
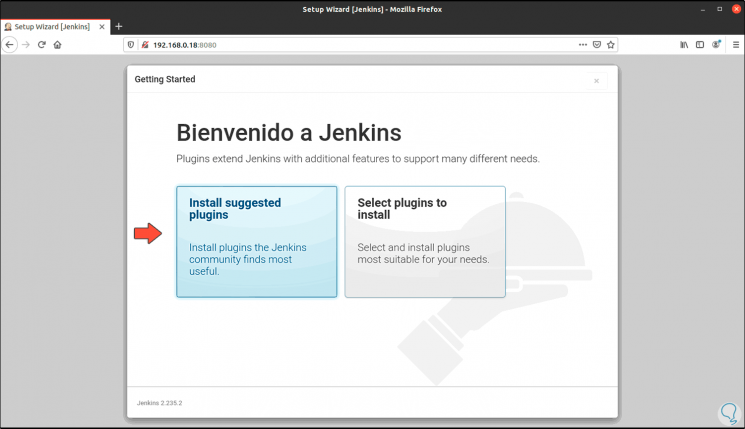
Paste the password and click "Continue", we will see the following:
Step 7
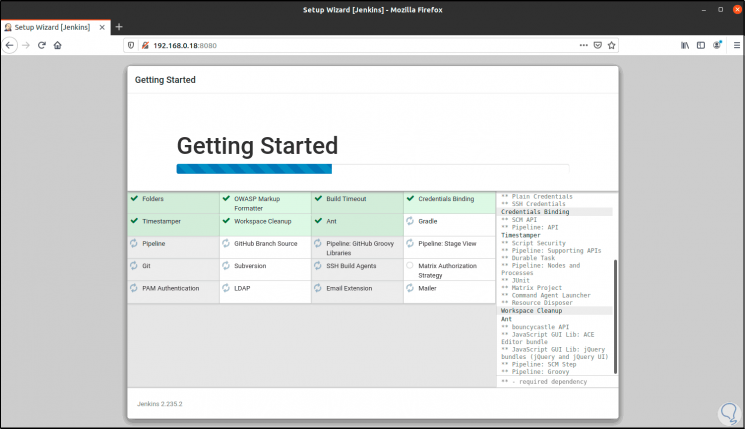
We click on “Install suggested plugins” and we can see that all the necessary plugins are installed in Ubuntu for the correct operation of Jenkins:
Step 8
Once this process is completed, the following will be displayed where we must create the user to administer the Jenkins platform, there we enter the following:
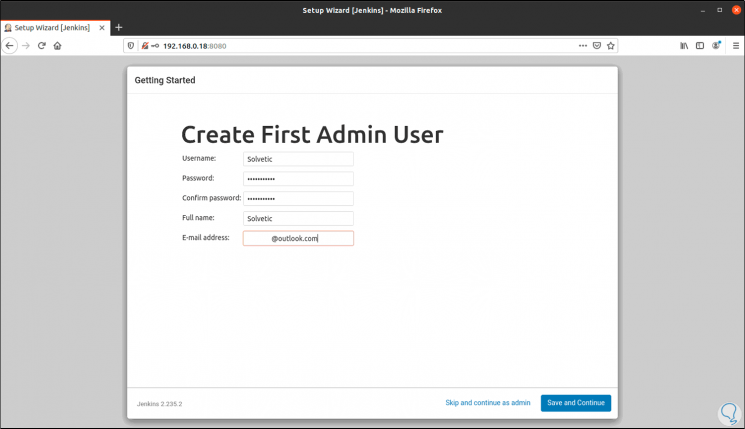
Step 9
We click on “Save and Continue” and then this will be redirected to the Jenkins instance where we will see the URL to access the platform, there we will see the IP or domain next to port 8080:
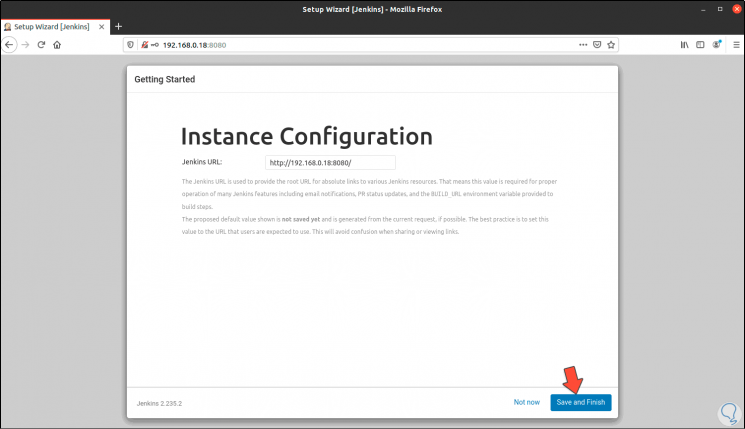
Step 10
We complete the process by clicking on "Save and Finish".
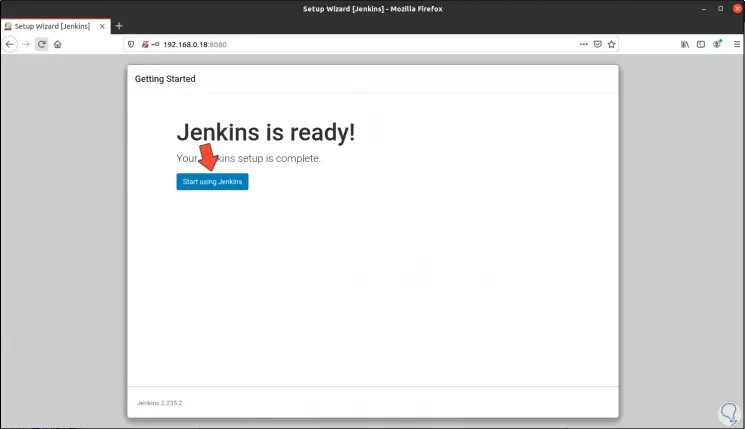
Step 11
We access Jenkins by clicking on "Start using Jenkins" and this will be the environment that we will see:
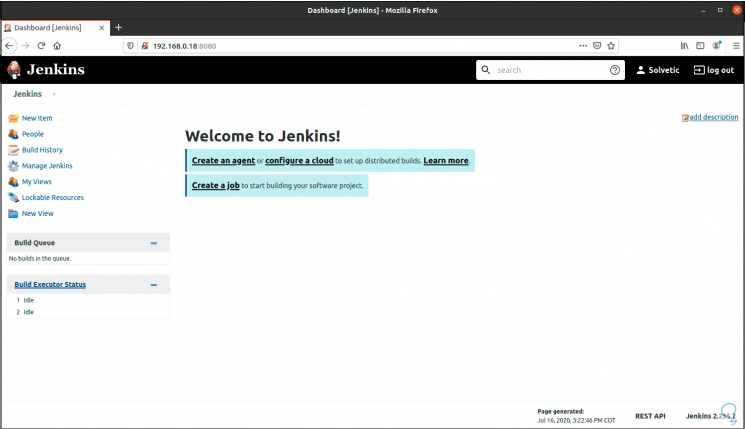
Step 12
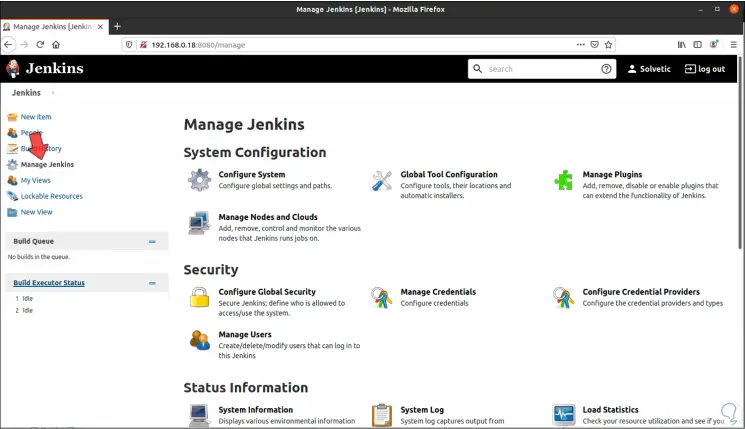
We click on "Manage Jenkins" and access the Jenkins variables to be configured:
Step 13
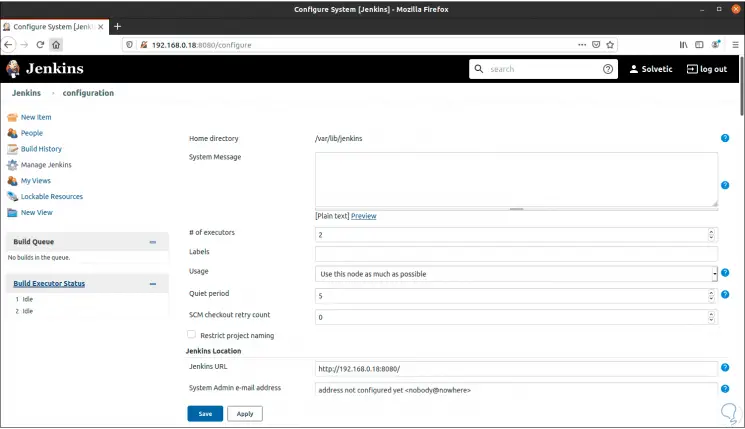
In system configuration we can establish new parameters if necessary:
With these steps we have installed and configured Jenkins in Ubuntu 20.04 or 20.10 and we will be ready to automate all the tasks that are necessary with the best integrity and performance functions..