KVM (kernel-based Virtual Machine) is one of the many technologies that we find in Linux and KVM operating systems or virtual machine based on the kernel. It is basically an open source virtualization technology integrated into the Linux operating system which has the task of allowing Linux to act as a hypervisor where a host machine is capable of executing isolated virtual environments which we know as virtual machines (VM) or guests.
KVM can make Linux a Type 1 hypervisor, that is, without an operating system, as we know, hypervisors require components based on the operating system such as I / O components, device drivers, etc., in order to be in full capacity to run virtual machines, by default, since KVM has these parameters and components since it is directly integrated with the Linux kernel .
The created virtual machines will be implemented as a regular Linux process only, with dedicated virtual hardware, for example, the network card, the CPU, the memory or the disks.
Through this tutorial we are going to learn how to install KVM in Ubuntu 20.04 or 20.10 and see how we can create a virtual machine through it.
1. How to check if the hardware is compatible with KVM
Before doing the KVM installation process in Ubuntu, let's check if the hardware of the equipment is compatible with KVM. The minimum requirement to install KVM is to have CPU virtualization extensions like AMD-V and Intel-VT.
Step 1
We verify this by executing the following command:
egrep -c '(vmx | svm)' / proc / cpuinfo
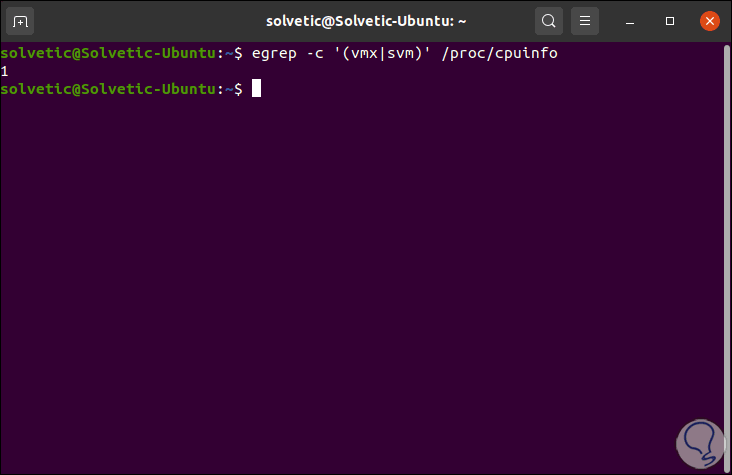
For hardware to be compatible, the result must be greater than 0.
Step 2
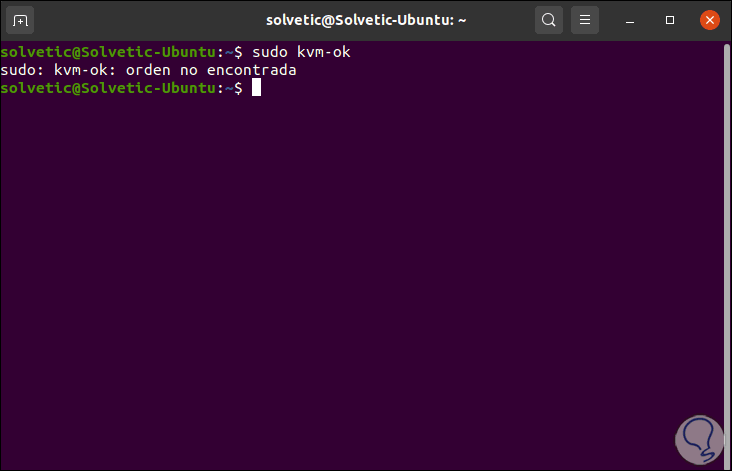
Now it's time to check if the system supports KVM, for this we execute the following:
sudo kvm-ok
The first time we do this, it is normal for an error to be displayed:
Step 3
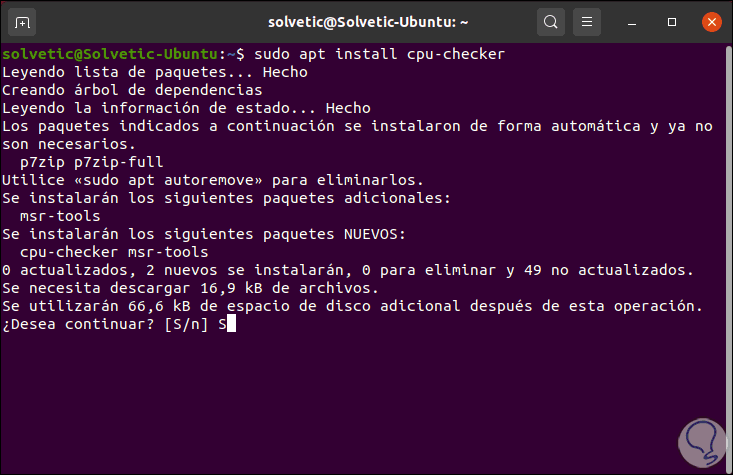
This is because this utility is not installed, we are going to install it by executing the following:
sudo apt install cpu-checker
Step 4
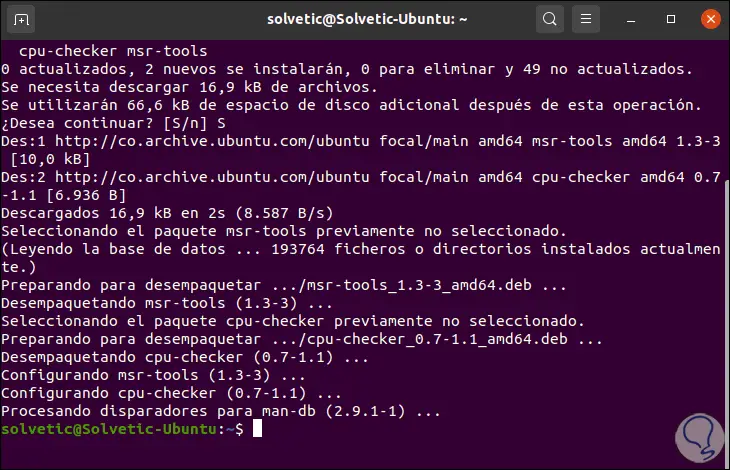
We enter the letter "S" to confirm the download and installation of this utility:
Step 5
Now we can run sudo kvm-ok again to see the state of the system against KVM:

As we see, KVM is ready to be used.
2. How to install KVM in Ubuntu 20.04 or 20.10
Step 1
We are going to run the following command in order to install KVM and its associated dependencies like virt-manager and bridge-utils:
sudo apt install -y qemu qemu-kvm libvirt-daemon libvirt-clients bridge-utils virt-manager

Step 2
When this process reaches its end we will see the following:
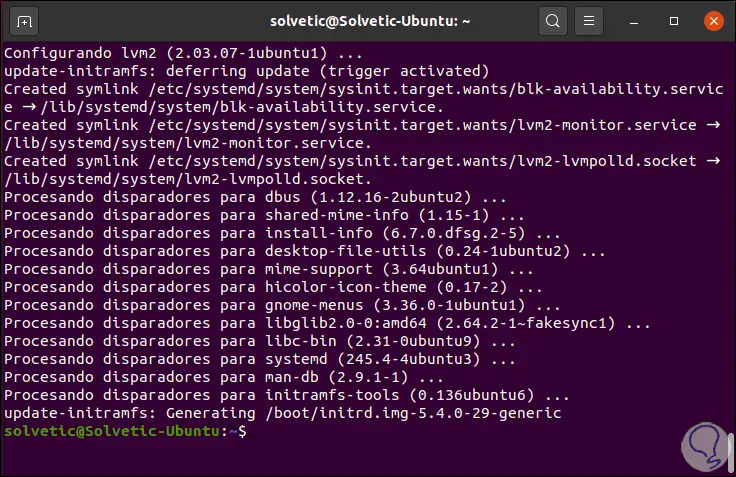
Step 3
The dependencies that we have installed have been:
- The qemu package (fast emulator) which is an application whose mission is to enable hardware virtualization
- The qemu-kvm package which is the main KVM package
- The libvritd-daemon which acts as the virtualization daemon
- The bridge-utils package with which the bridge connection is created allowing other users to access the virtual machine which is not the host system
- The virt-manager which is an application with which it is possible to manage virtual machines using a graphical user interface
We are going to check if the libvritd-daemon daemon is running, for this we use the following command:
sudo systemctl status libvirtd
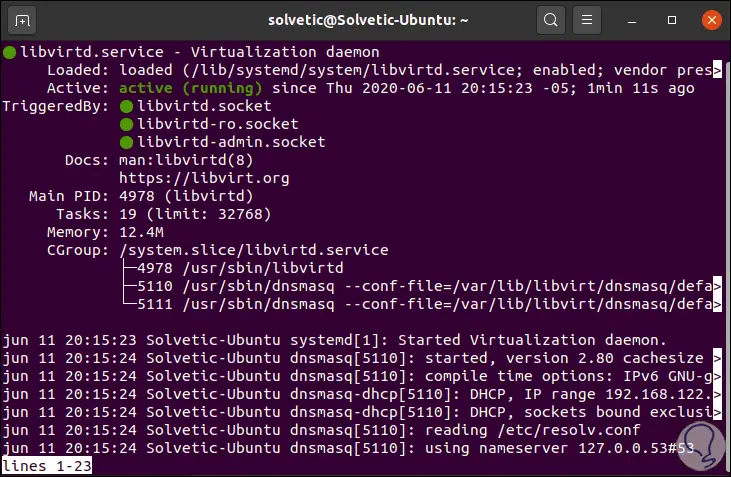
As we see it is active and running.
Step 4
We enable this service with Ubuntu 20.04 and 20.10 startup:
sudo systemctl enable --now libvirtd
Then we check that the KVM modules are running with the following command:
lsmod | grep -l kvm

3. How to create virtual machine with KVM in Ubuntu 20.4 or 20.10 commands
KVM gives us the possibility to create virtual machines using two methods which are:
Step 1
In this case the command “virt-install” will be useful and we must enter the following, for example, in this case to install Debian 10:
sudo virt-install --name = Debian --os-variant = debian10 --vcpu = 412 --ram = 2048 --graphics spice --location = / home / technowikis / Downloads / debian-10.4.0-amd64-netinst .iso --network bridge: enp0s3

By giving Enter we can see that the process of creating the virtual machine starts.
The --os-variant indicator refers to the family of the operating system or derived from the VM, to consult all the available options we can execute the following command:
osinfo-query os
3. How to create virtual machine with KVM in Ubuntu 20.4 or 20.10
Step 1
Before this we are going to install a series of KVM utilities with the following command:
sudo apt install uvtool
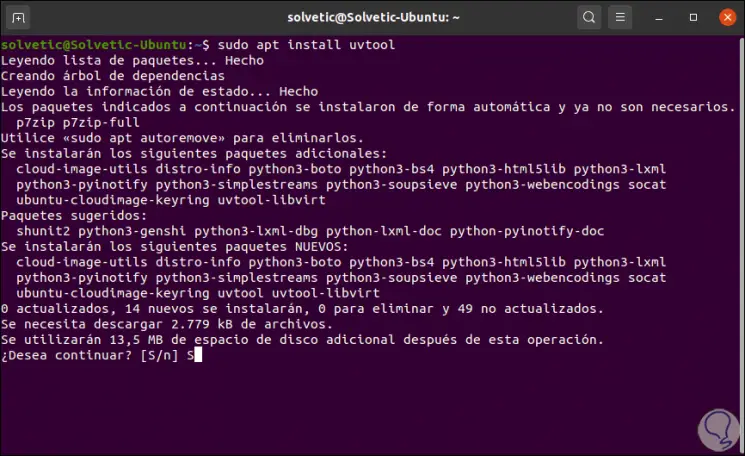
We enter the letter S to confirm the download.
Step 2
Now we can access the graphical interface by executing "virt-manager" in the console or directly from Ubuntu Activities, doing so will display the following:
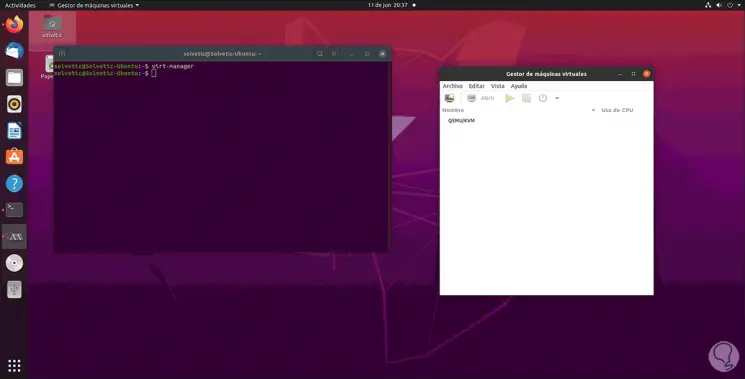
As we can see, the KVM virtual machine manager opens.
Step 3
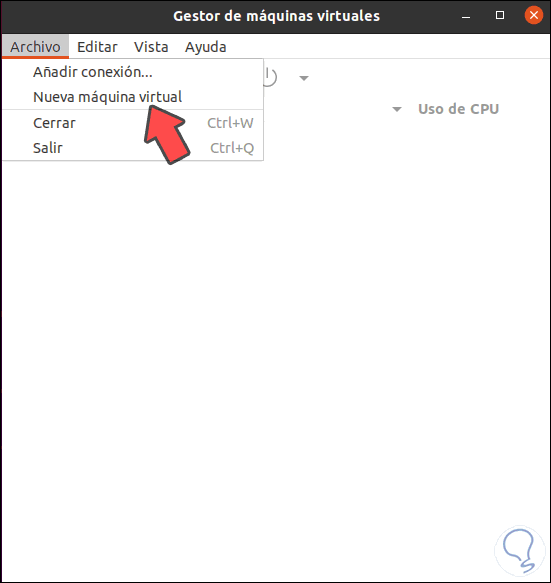
To create our virtual machine we go to the menu "File - New virtual machine":
Step 4
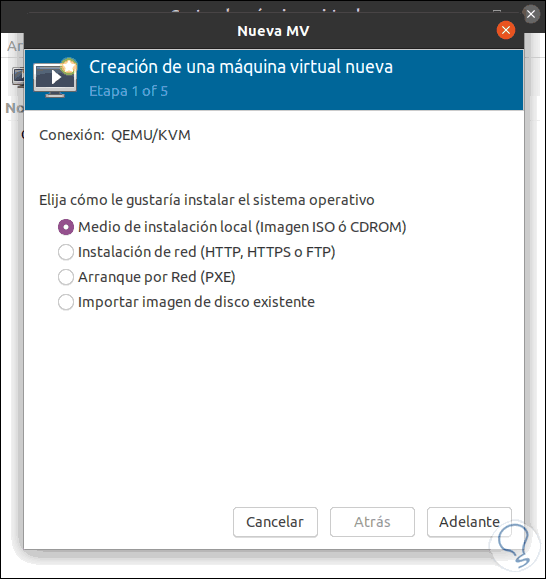
The following window will be displayed where we can define how we will install the system:
Step 5
Select “Local installation medium” and click on Forward and we will see the following:
Step 6
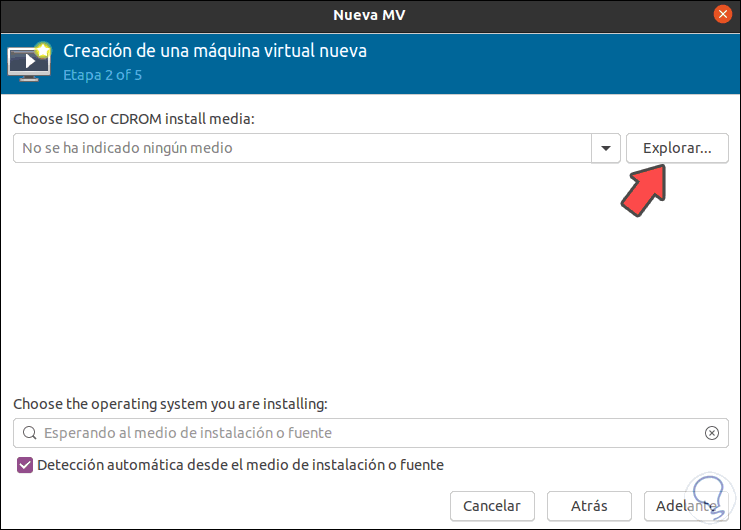
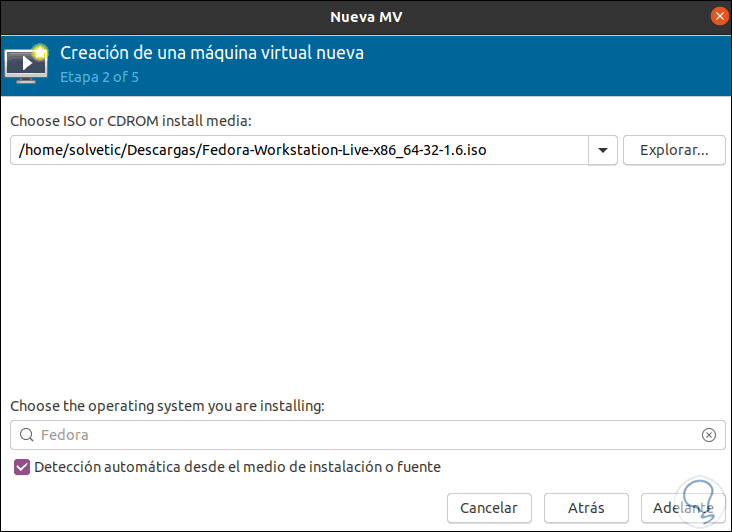
There we click on “Explore” and select the ISO image that we have downloaded:
Step 7
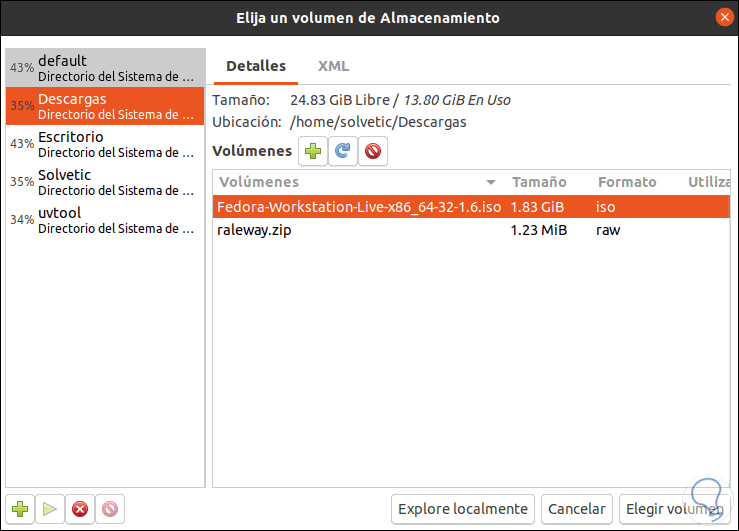
We click on "Choose volume" and we can see that it is loaded and the ISO operating system is automatically recognized:
Step 8
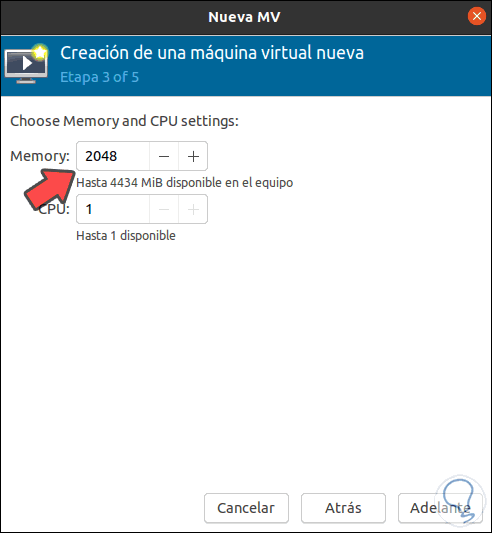
We click on Forward and now we can define the RAM and CPUs for this machine:
Step 9
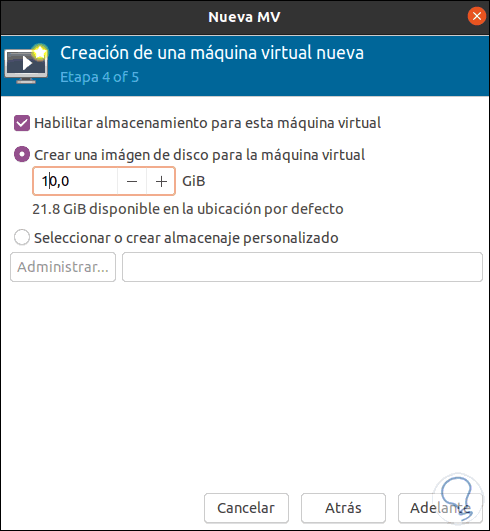
We click on Forward again and in this step we assign the size for the storage of the virtual machine to create:
Step 10
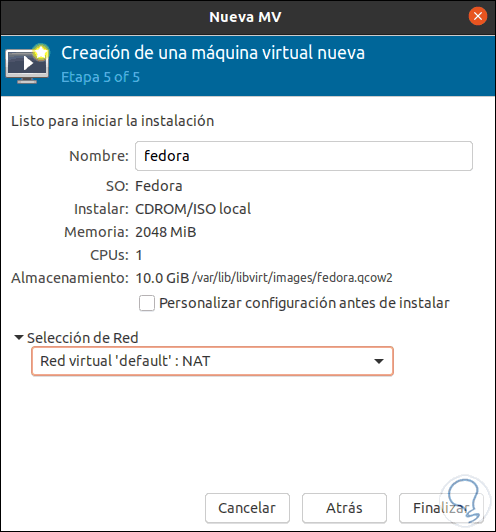
In the next window it is possible:
- Assign the name to the virtual machine
- Select the network adapter to use
Step 11
We click "Finish" to complete the process and we will see that the process of creating this machine begins:
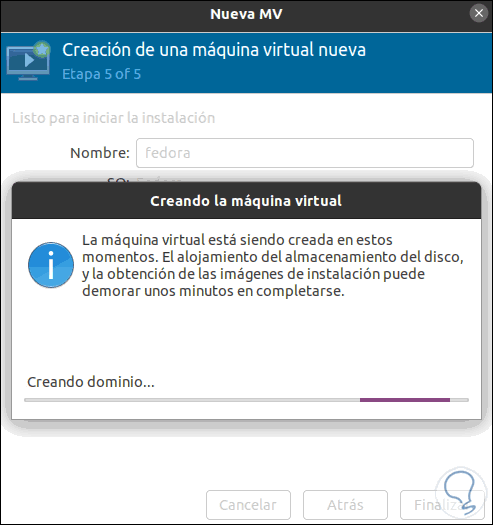
Step 12
When it is created it will give way to the normal system installation process:
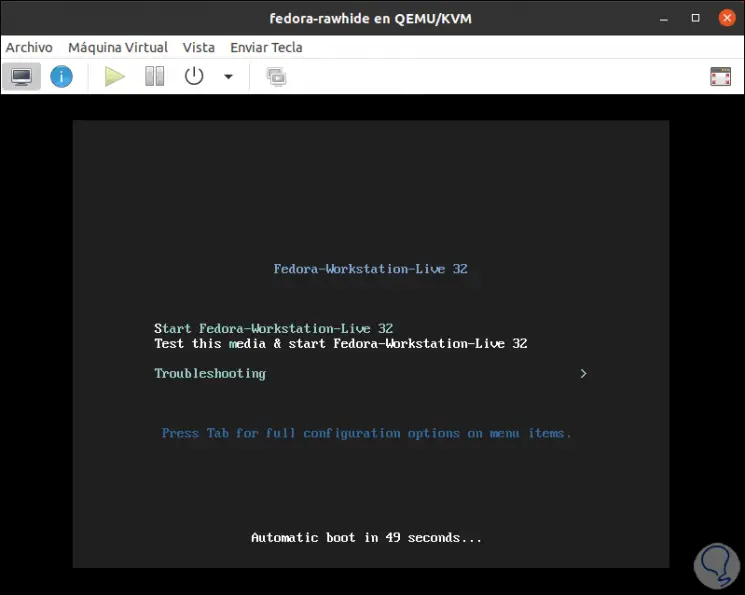
Step 13
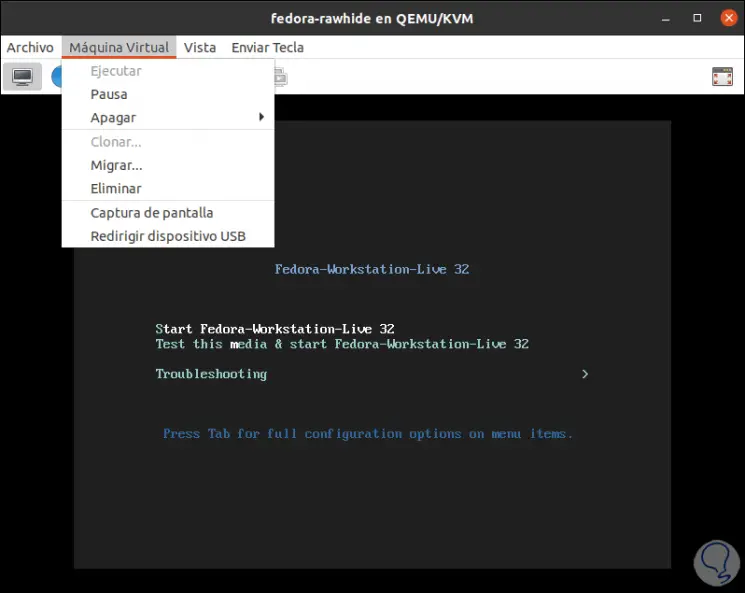
KVM allows us to perform various actions on the virtual machine such as:
From the "Virtual machine" menu, turn it off, restart it, clone it, migrate it, etc:
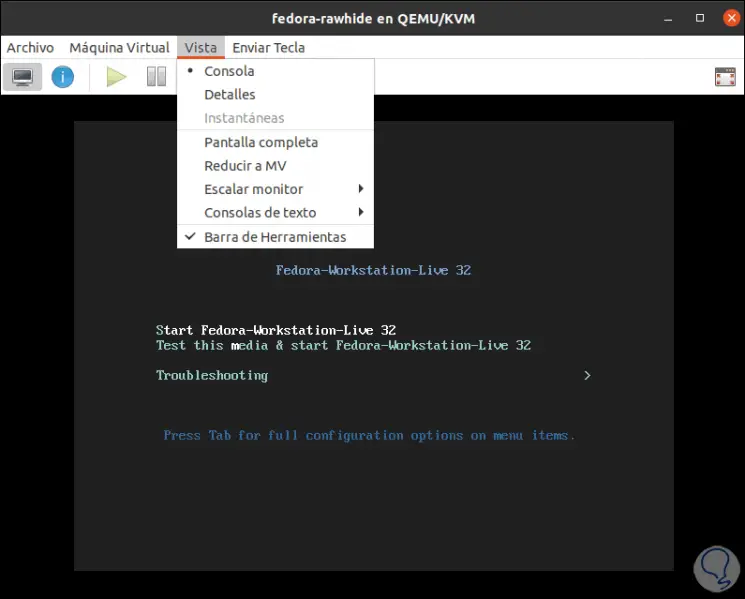
Step 14
From "Vista" we will have different options to manage the machine:
Step 15
By clicking on the information button we will see the details of the selected machine which we can edit if it is the case:
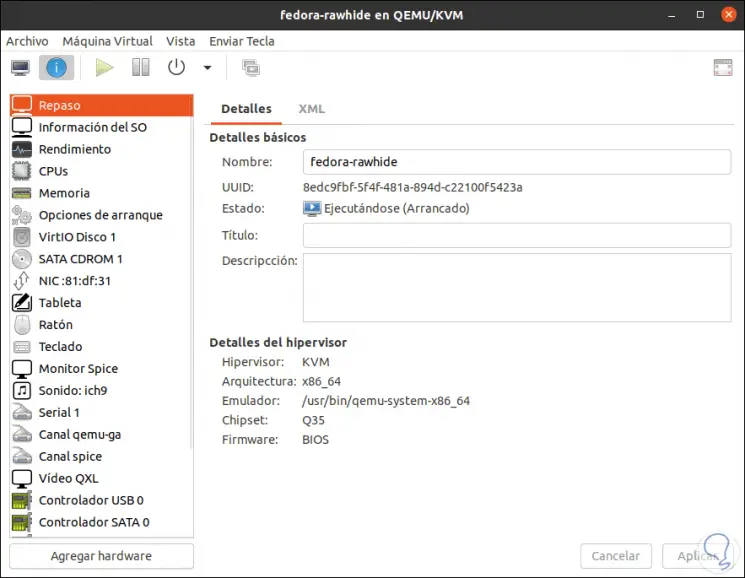
Step 16
Finally we access the KVM console where we find the created machines:
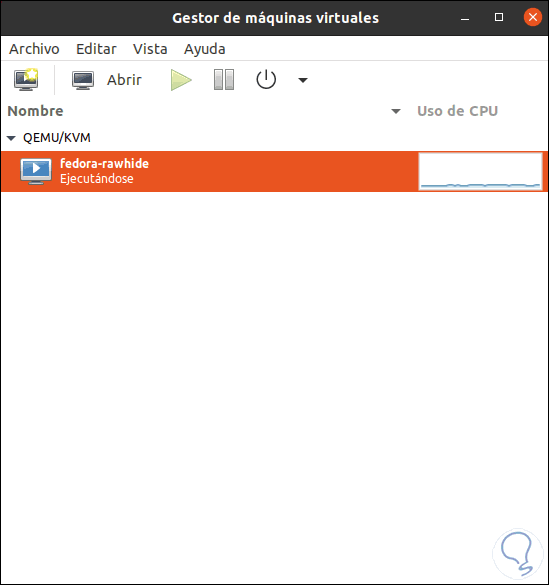
There we can see a graph of the CPU usage of this machine in Ubuntu 20.04 / 20.10.
With KVM it is possible to perform virtualization tasks in a much more centralized way, but with the best hardware and performance benefits.