The development of Linux applications every day takes more and more force in our world due to the multitude of languages and platforms available for it, and one of the great advantages of this is that we have some special ones such as Eclipse IDE which is a open platform focused on developers. The Eclipse platform has been structured as a subsystem in which it is possible to implement various plugins simultaneously, these subsystems are built on a small runtime engine so that performance is as optimal as possible. Each of these plugins contains
the code where the functions of the selected product are housed..
The Ubuntu plugins of a product are adjusted in features format and a feature is worked as the functionality that can be downloaded and installed separately.
Eclipse IDE Advantages
When using Eclipse IDE we will have advantages such as:
- Supports the latest version of Java 14
- Completely free and open source
- Enhanced themes and styles in Eclipse IDE
- Enables you to create Eclipse workgroups where users and organizations work under a vendor neutral governance model
We will learn how to install Eclipse IDE in Ubuntu 20.04 or 20.10..
To stay up to date, remember to subscribe to our YouTube channel! SUBSCRIBE
1. Install Eclipse IDE in Ubuntu 20.04 or 20.10
Step 1
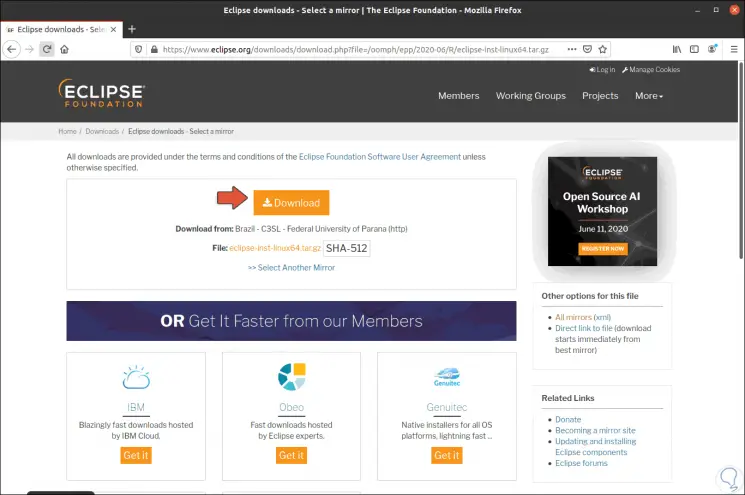
The first step to take will be to go to the Eclipse IDE download site at the following link:
Eclipse IDE

Step 2
We click on “Download 64-bit” and then we must download the tar.gz file:
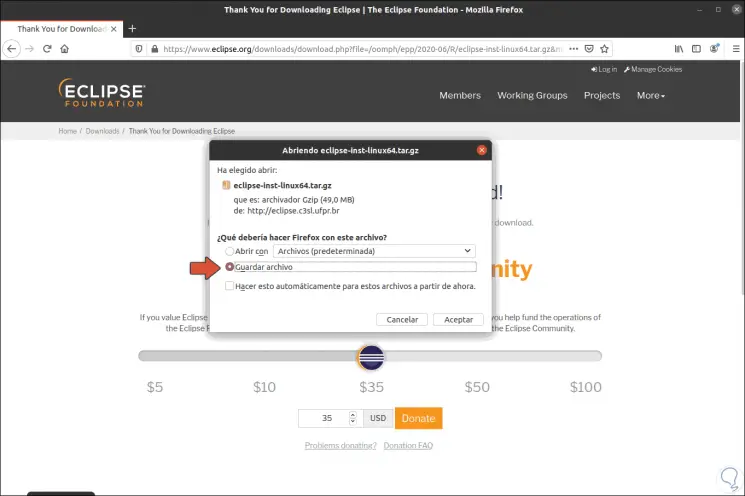
Step 3
We must save this locally in Ubuntu 20:
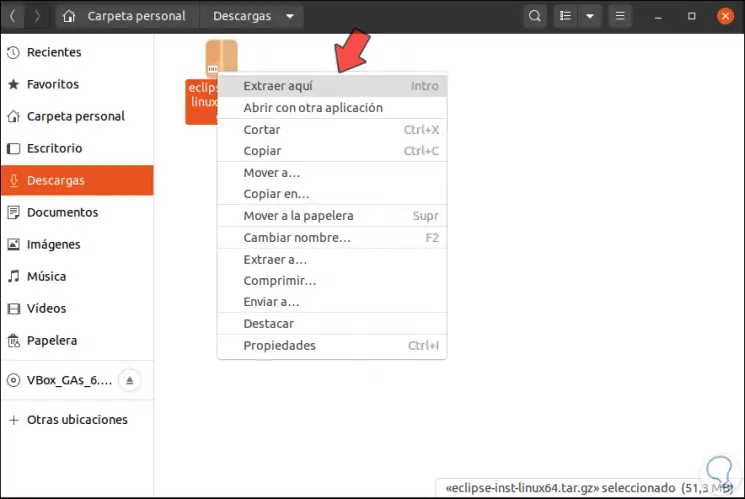
Step 4
We go to the Downloads folder and there we right-click on the downloaded file and select "Extract here":
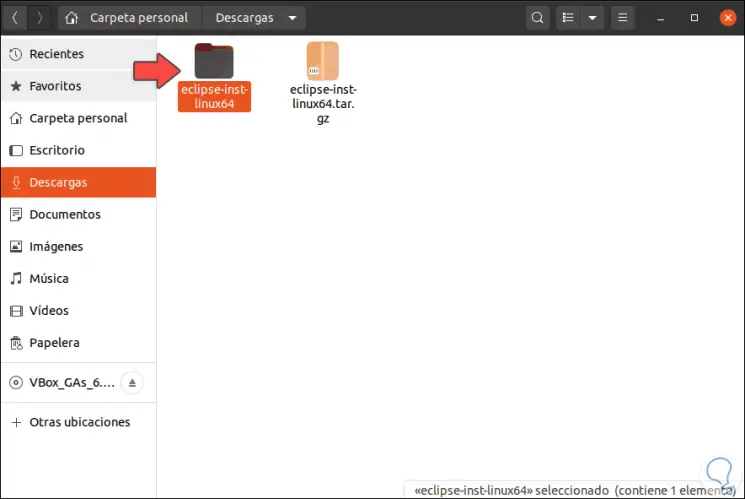
Step 5
We can see the extracted file correctly:
Step 6
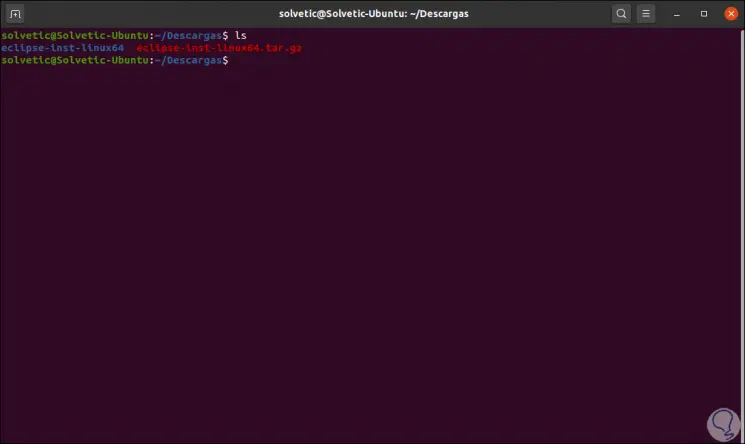
We go to the terminal and with the CD command we access the Downloads directory and use LS to list the content hosted there:
Step 7
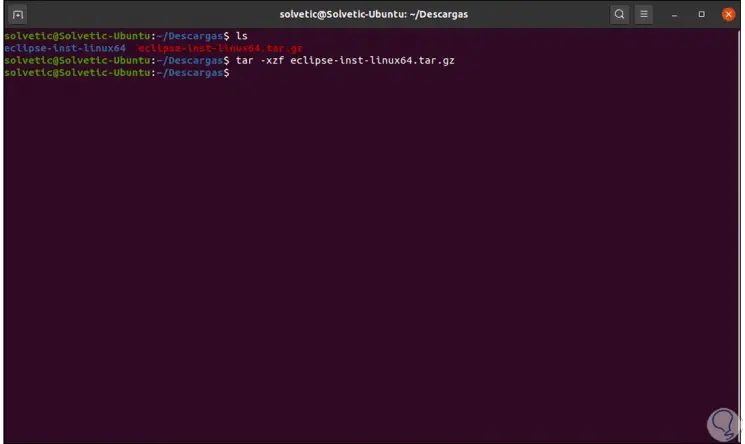
We can see the Eclipse IDE file, we execute the following command to extract the tar.gz file:
tar -xzf file.tar.gz
Step 8
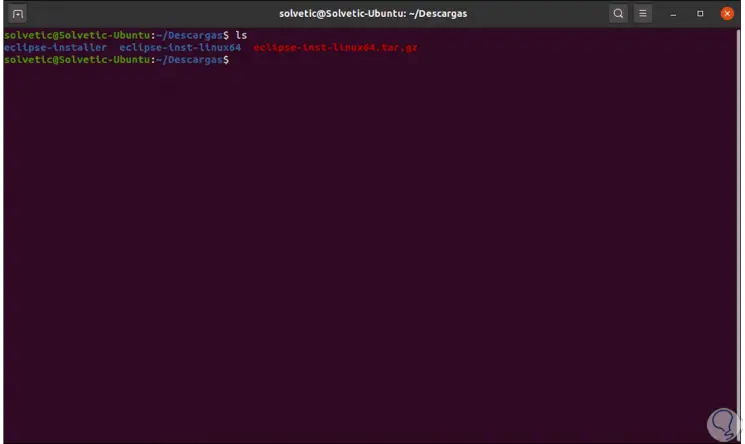
Again we run LS to see what has been extracted there:
Step 9
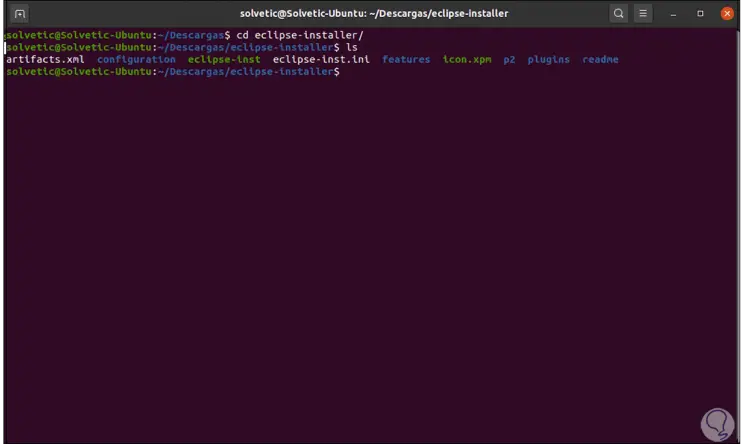
We check that we have the eclipse-installer folder, we access it and we list its contents:
cd eclipse-installer / ls
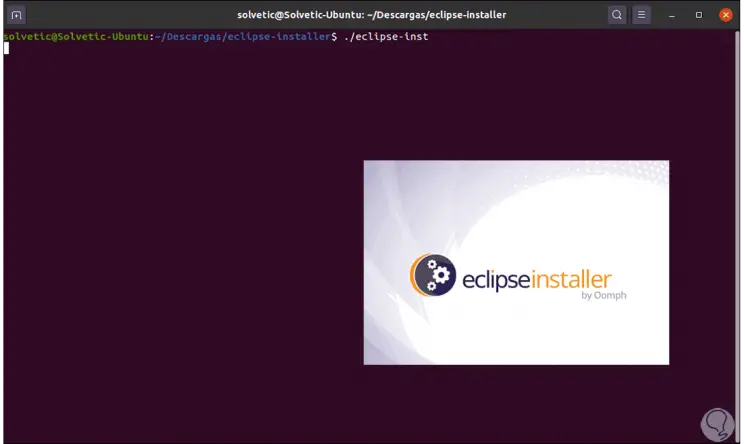
Step 10
To install Eclipse we will use the eclipse-inst file in the following way:
./eclipse-inst
Step 11
Pressing Enter will launch the Eclipse IDE installation wizard:
Step 12
We will see the following options:
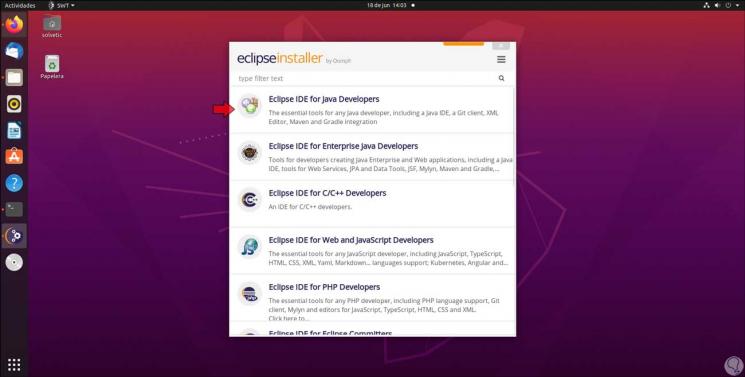
Step 13
For this case we must select the option "Eclipse IDE for Java Developers", obviously if your profile is another you can select the one that best suits the need, by clicking on this option we will see the following:
There we can select the path where it will be installed Eclipse IDE, as well as Java 1.8 path.
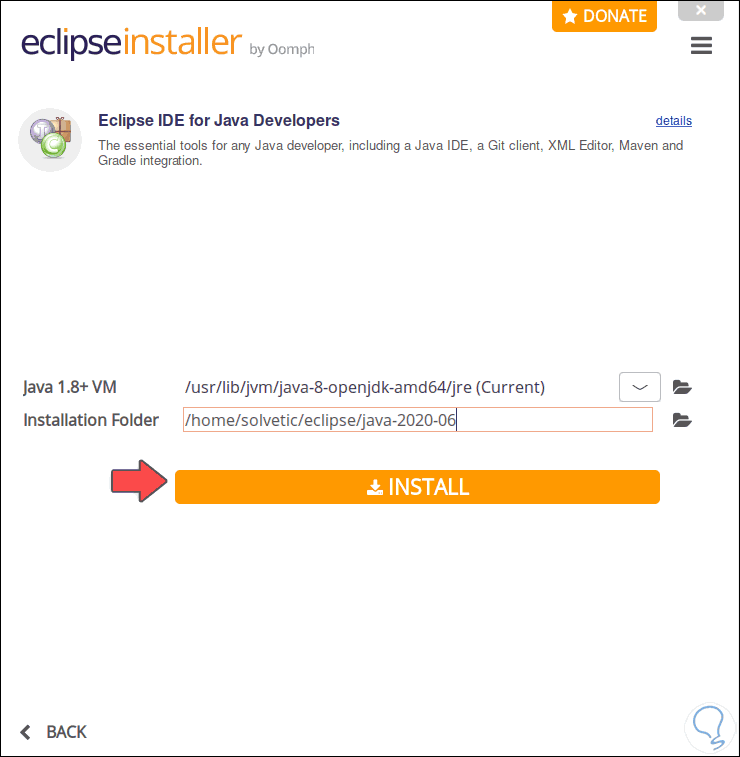
Step 14
We click on the "Install" button and the following window will be launched where we must accept the Eclipse IDE license terms:
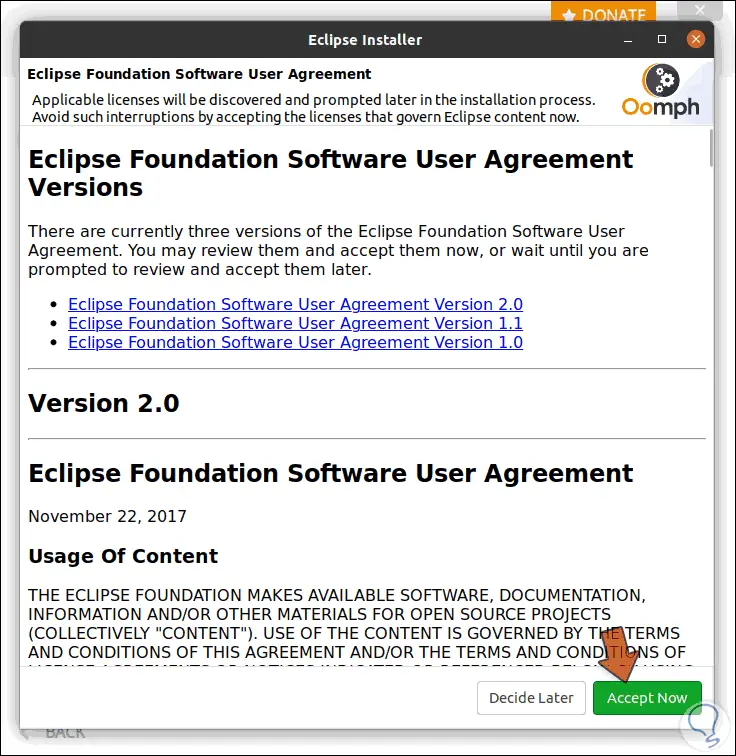
Step 15
We click on “Accept Now” and the installation of Eclipse IDE will start in Ubuntu 20.04 or 20.10:
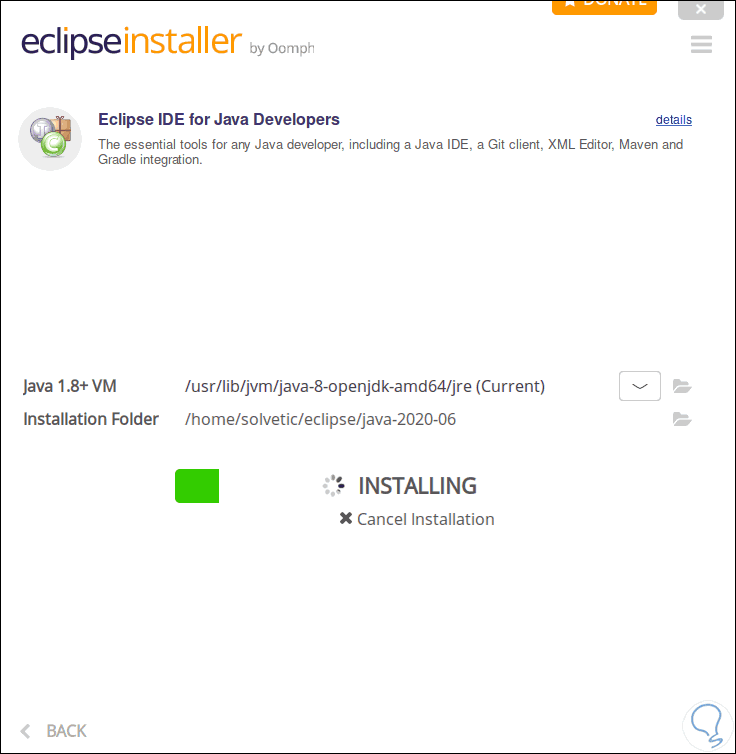
Step 16
We will likely see the following:
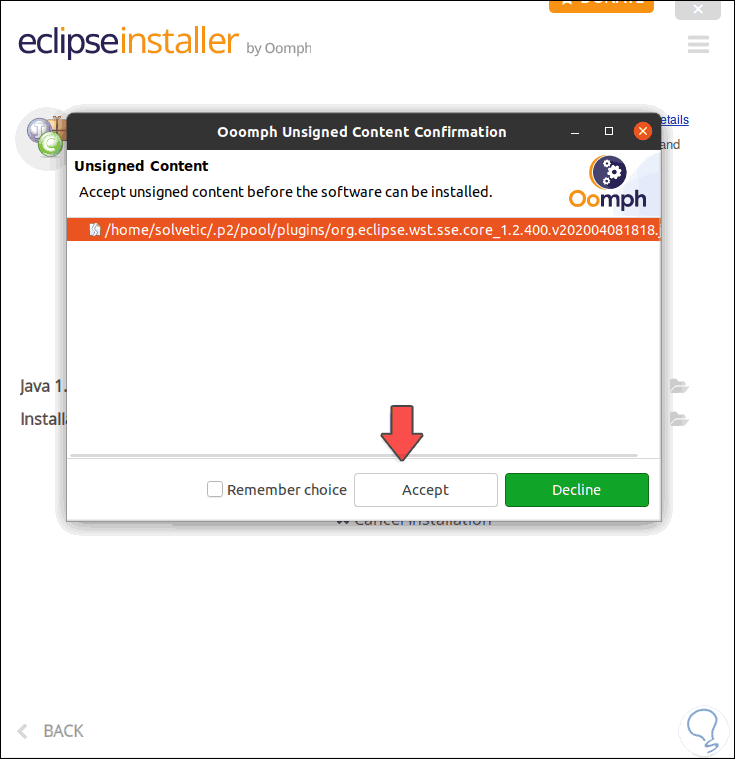
Step 17
We click Accept and when this installation process finishes we will see the following:
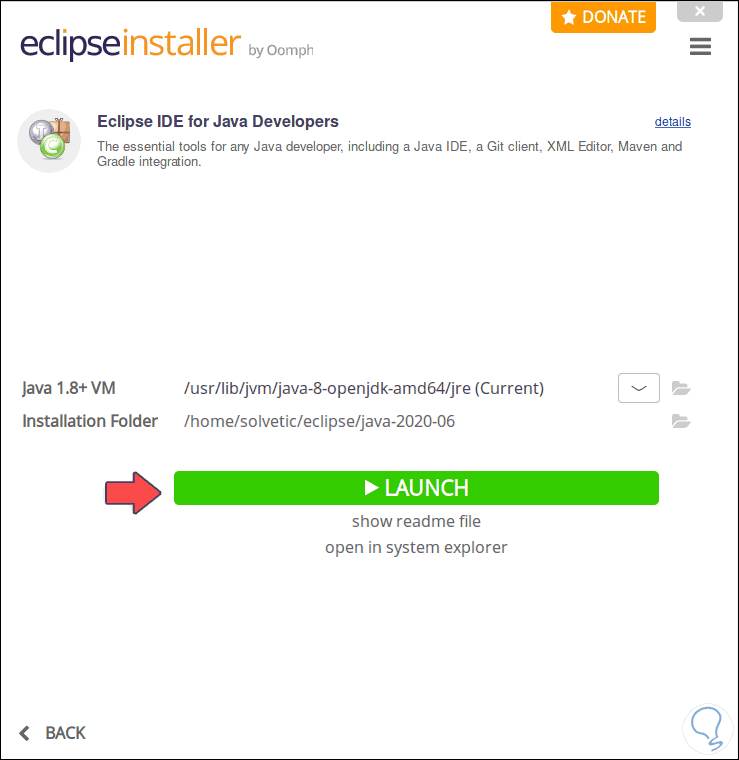
Step 18
We click on the "Launch" button and Eclipse IDE will start loading:

2. Open Eclipse IDE in Ubuntu 20.04 or 20.10
Step 1
We will see the following window where the default launcher directory is set:
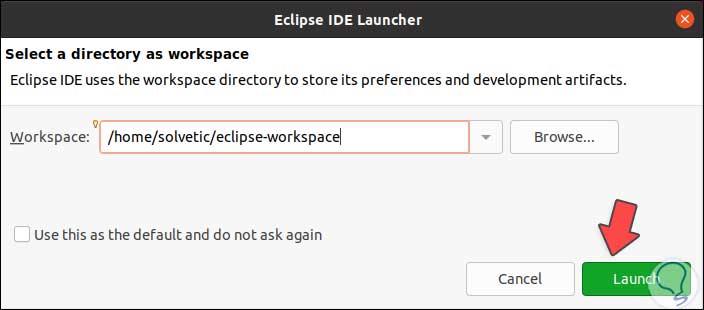
Step 2
If this is correct we click on “Lauch” to continue with the start of Eclipse IDE which offers us the following environment:
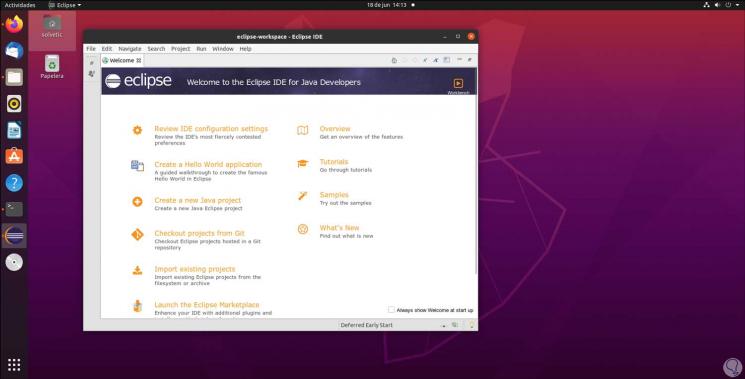
Step 3
There are different menus such as:
File
from here it is possible to carry out actions such as:
Edit
In this option it is possible:
- Cut, copy, or paste elements
Navigate
In this section it will be possible:
- Go to different levels of the application
- Open, activate or deactivate tasks
Search
from here we are able to:
- Find items normally or quickly
- View text properties, etc.
Project
in the project section we can:
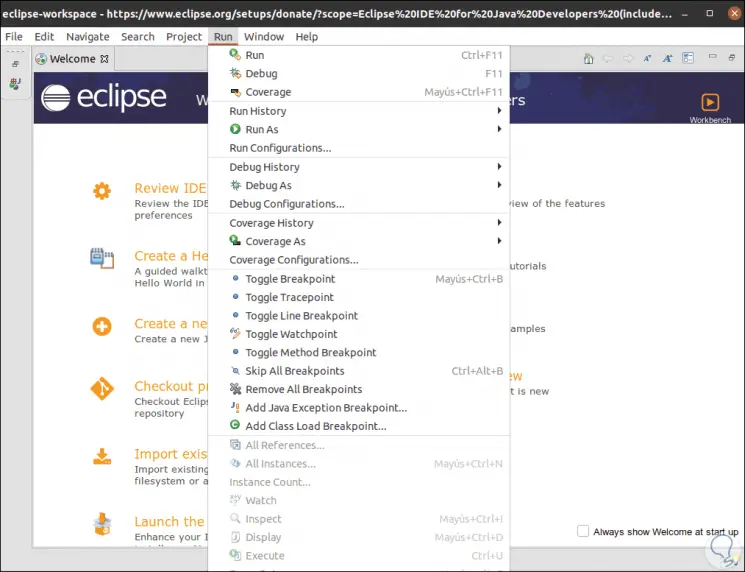
Run
in the execution section it is possible:
Window
in this section we can:
- Adjust Eclipse IDE display levels
Step 4
We can click on the "List" button to access a differential task view:
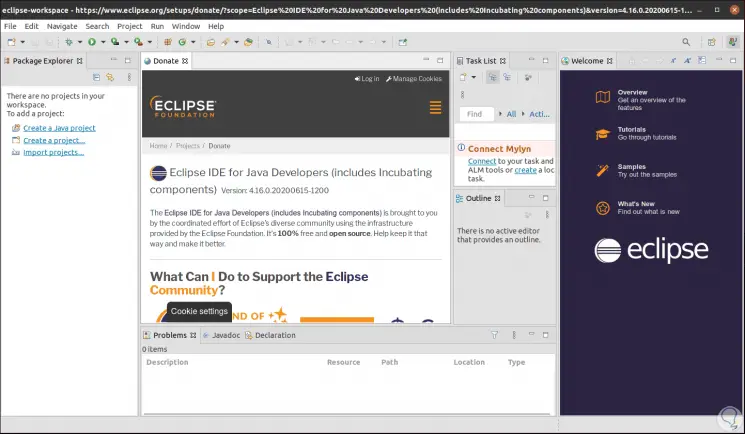
With this platform we are able to create and manage projects based on the type of language selected and enjoy the different options that Eclipse IDE provides us.