In our operating system we like to have different programs and software installed, to ensure that their operation and options are as safe and complete as possible, and in this way we have a device adapted to our needs. The world of web applications every day demands more and better applications that are reliable, powerful, scalable and that allow the user to have the best tools for work in this segment. One of the most prominent in this field is the Eclipse IDE..
The Eclipse IDE has a design that makes it easy to structure subsystems to be able to deploy multiple add-ons at the same time, without losing performance or stability. This translates into better results.
Eclipse Features
Eclipse provides us with benefits such as:
- Supports the latest versions of Java
- Improved themes and styles in Eclipse IDE
In this tutorial we will explain how to install Eclipse IDE in Ubuntu 21.04 and thus get the most out of it..
To stay up to date, remember to subscribe to our YouTube channel! SUBSCRIBE
How to install Eclipse IDE on Ubuntu 21.04 Hirsute Hippo
Step 1
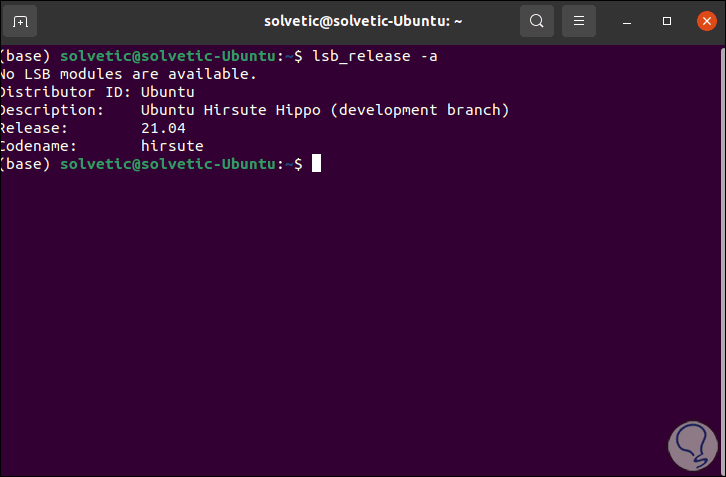
To do this, we validate that we are on Ubuntu 21.04 by executing the following in the terminal:
lsb_release -a
Step 2
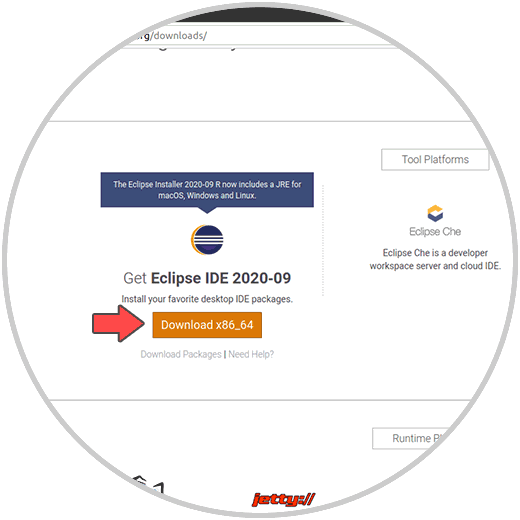
Now we go to the following link:
Eclipse IDE
Step 3
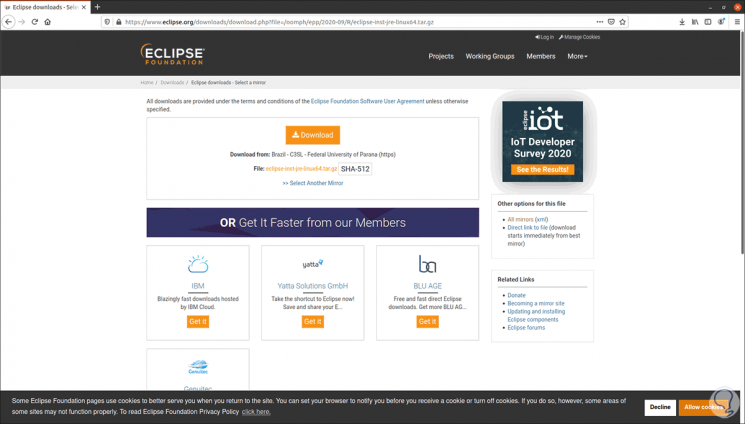
We click on the download button and we will be redirected to the following window:
Step 4
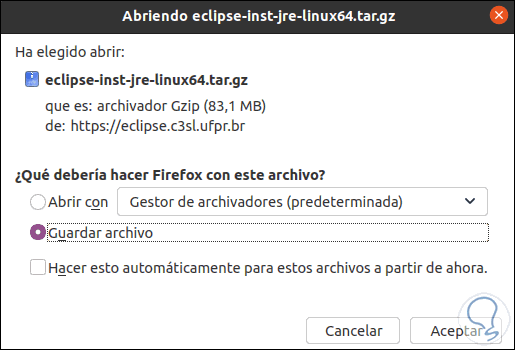
We click on Download to save the file in Ubuntu 21.04:
Step 5
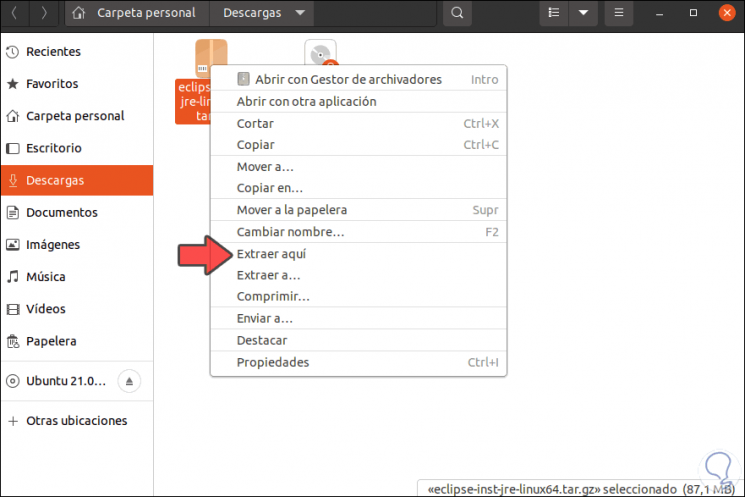
Once downloaded, we go to the Downloads folder, right-click on the compressed file and select "Extract here":
Step 6
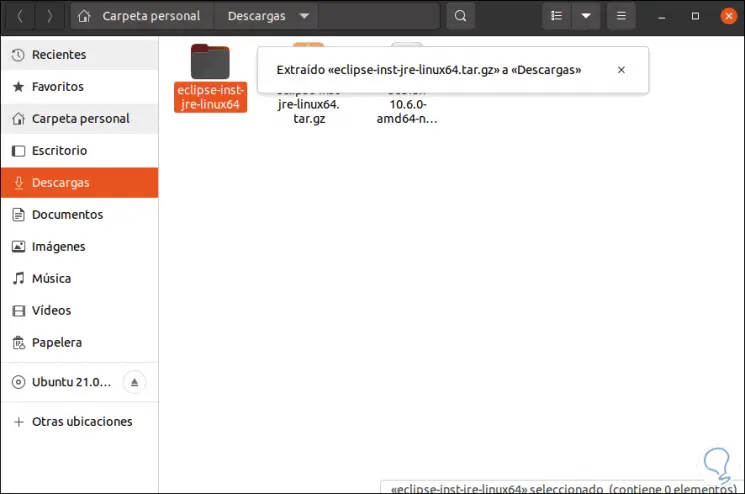
We can see the extracted folder:
Step 7
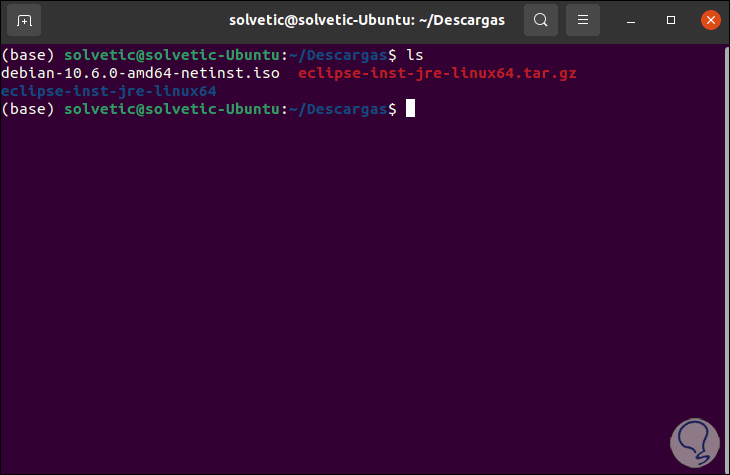
We open the terminal and access the Downloads folder to see its content:
cd Downloads
ls
Step 8
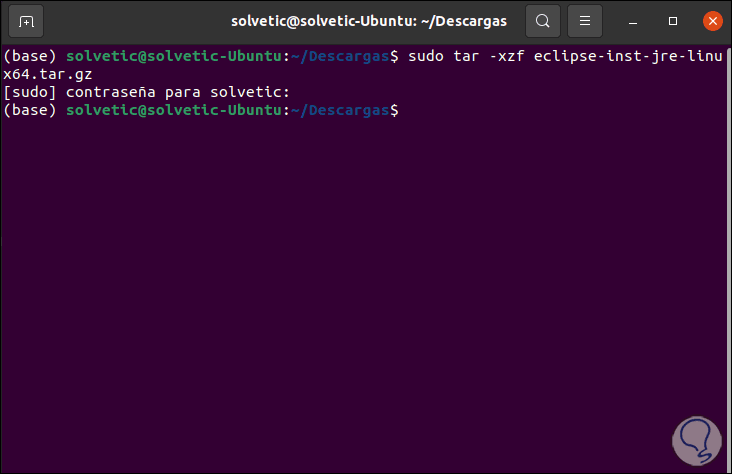
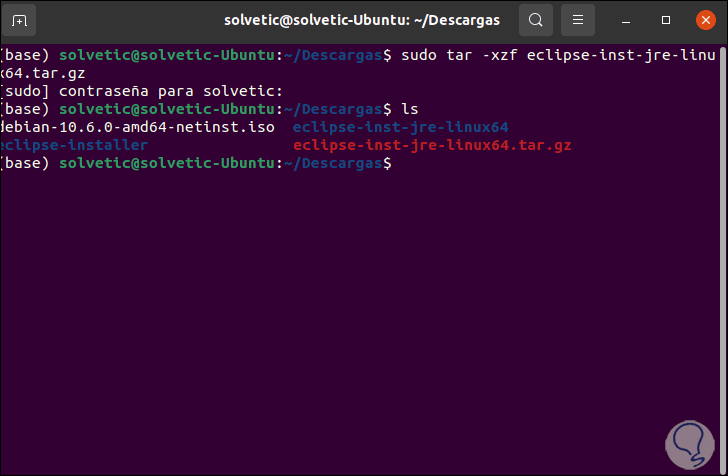
We extract the tar file with the following command:
sudo tar -xzf file.tar.gz
Step 9
We use "ls" to see the unzipped folder:
Step 10
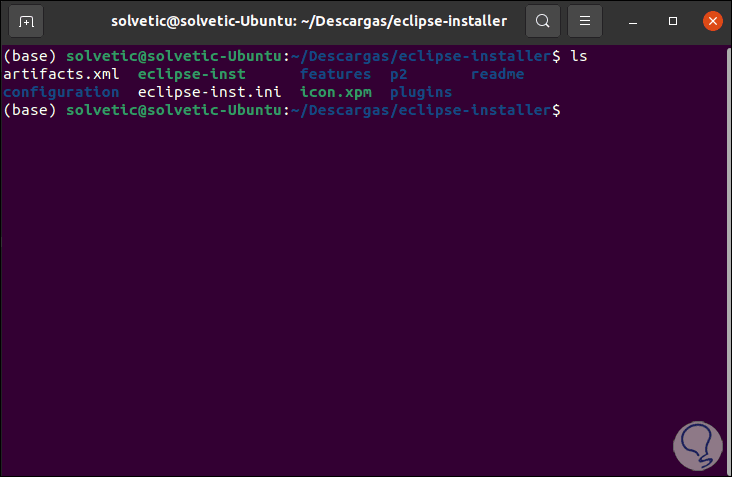
We access the Eclipse folder using cd:
Step 11
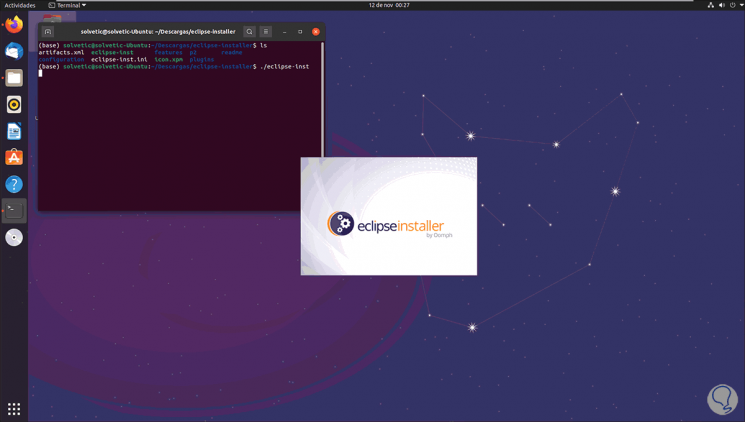
There we install Eclipse IDE with the following command:
./eclipse-inst
Step 12
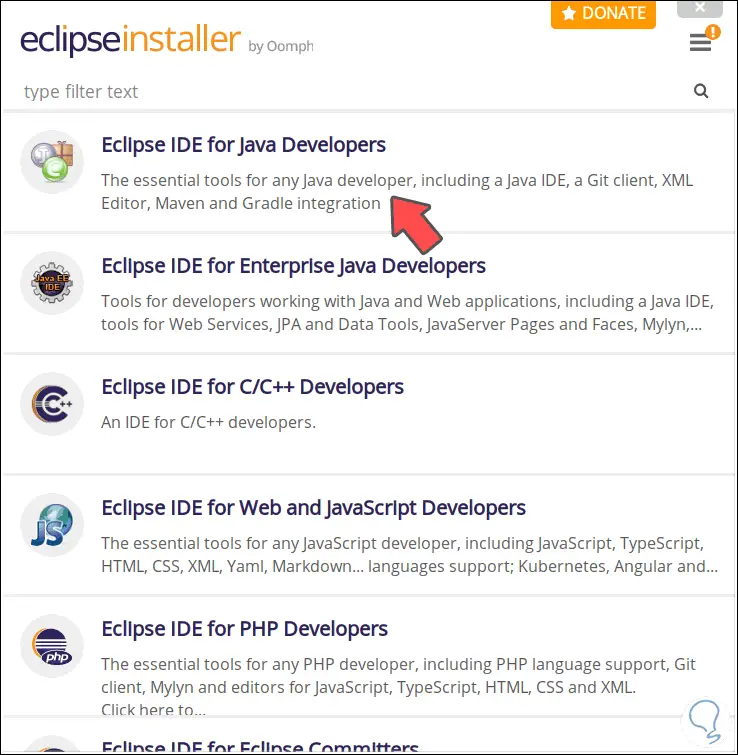
We can see that the Eclipse IDE installer opens, then we will see the following:
Step 13
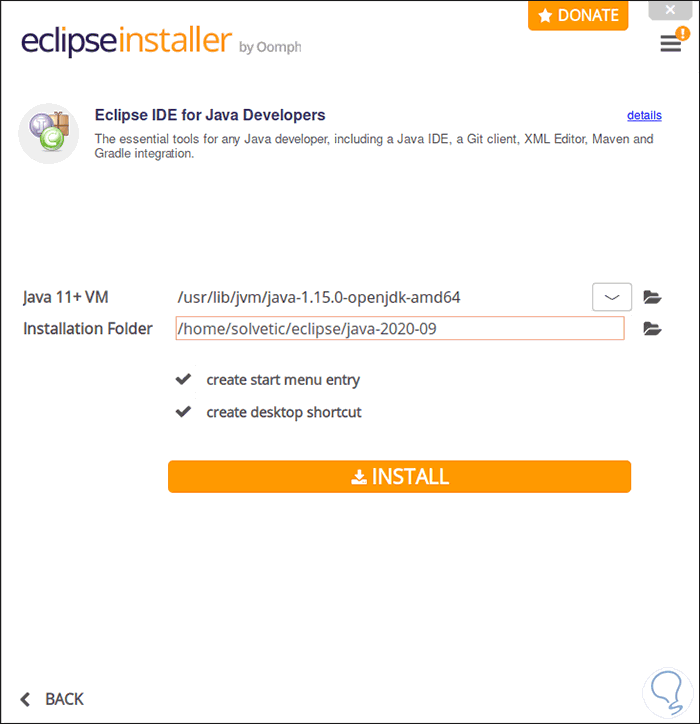
In this example we are going to select the option "Eclipse IDE for Java Developers", then the following will be displayed:
Step 14
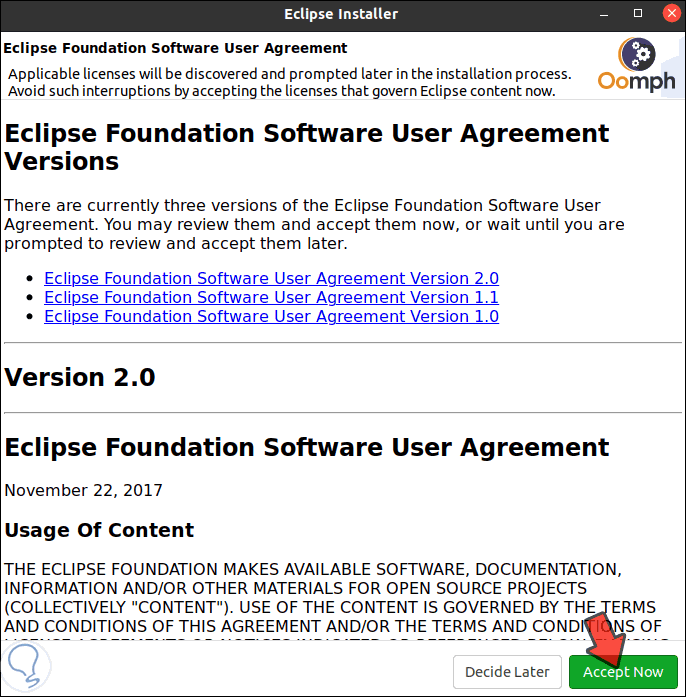
There we find the paths where Java will be installed and the Eclipse IDE installation folder, we click Install to start the process and first it will be necessary to accept the license terms:
Step 15
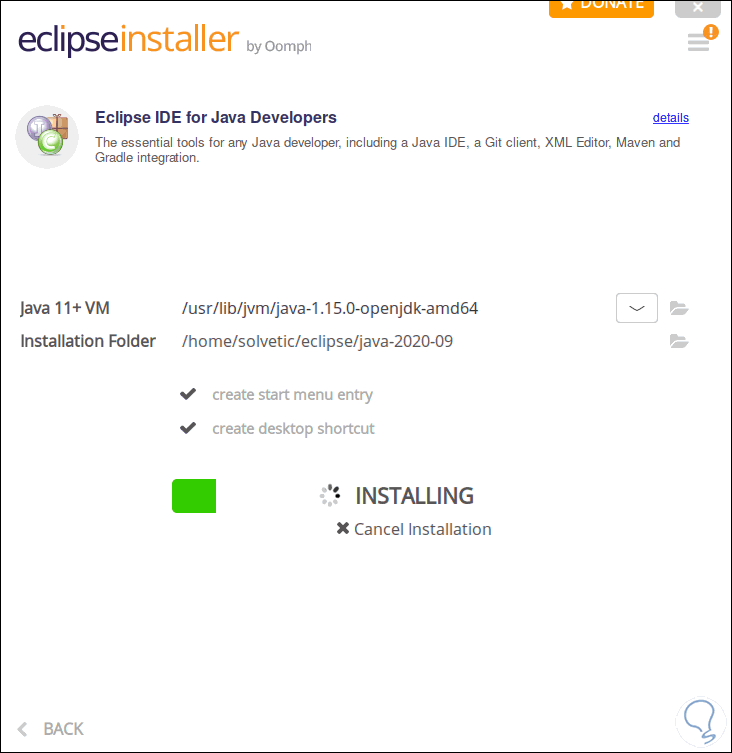
We click on "Accept Now" and we will see the installation process:
Step 16
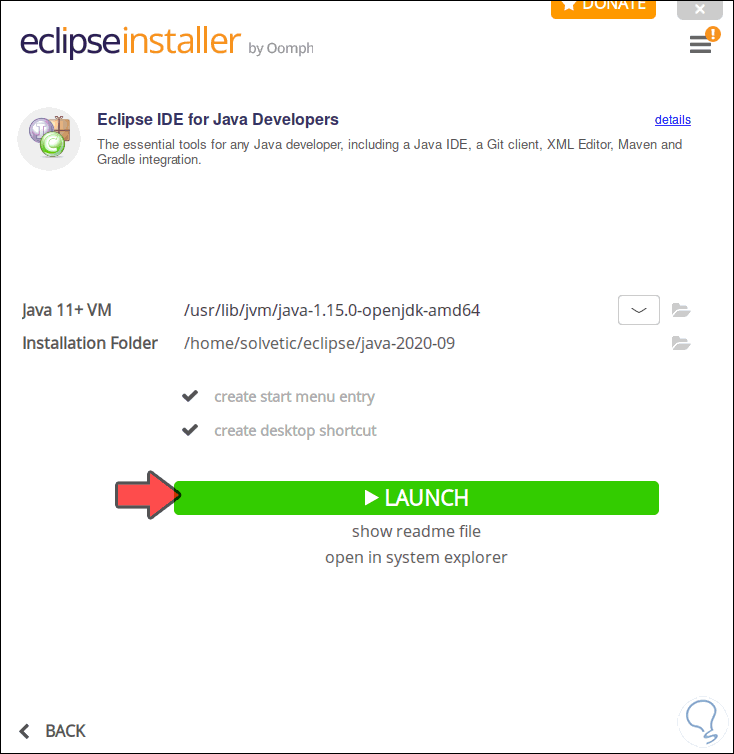
At the end of this we will see the following:
Step 17
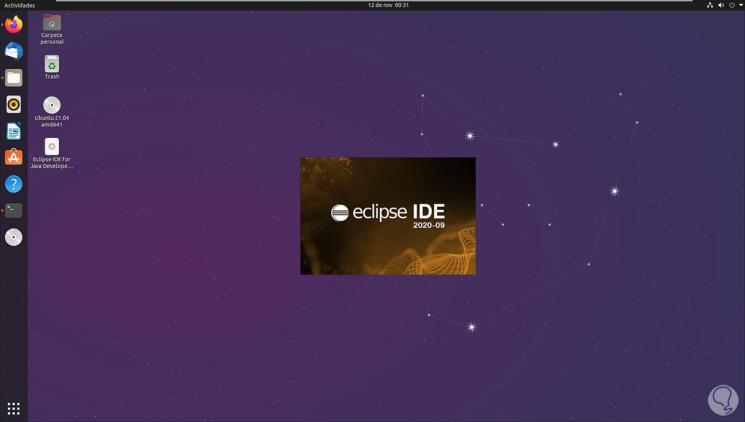
We click on "Launch" to start the application:
Step 18
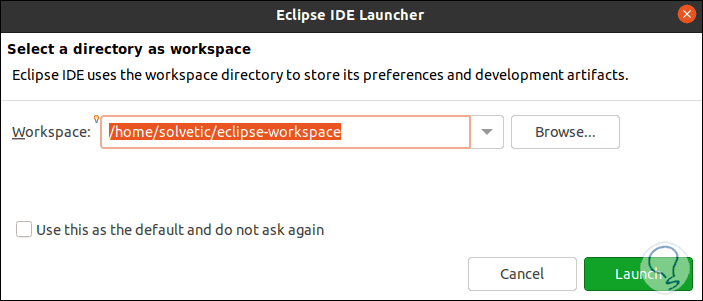
After this we will see the following window:
Step 19
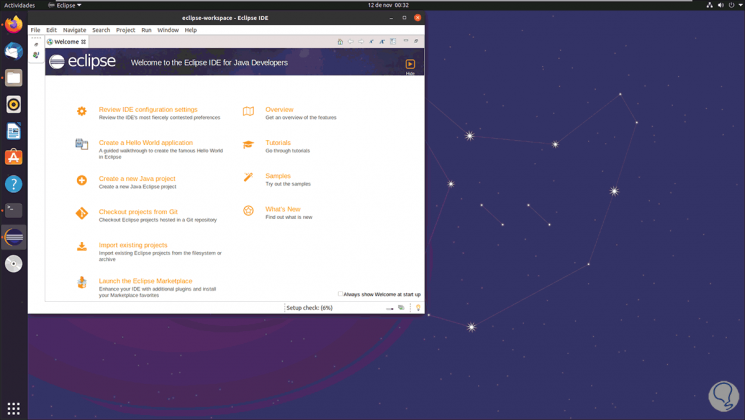
There we can see the path of the Eclipse IDE workspace in Ubuntu 21.04, we click on Launch to access the environment:
Step 20
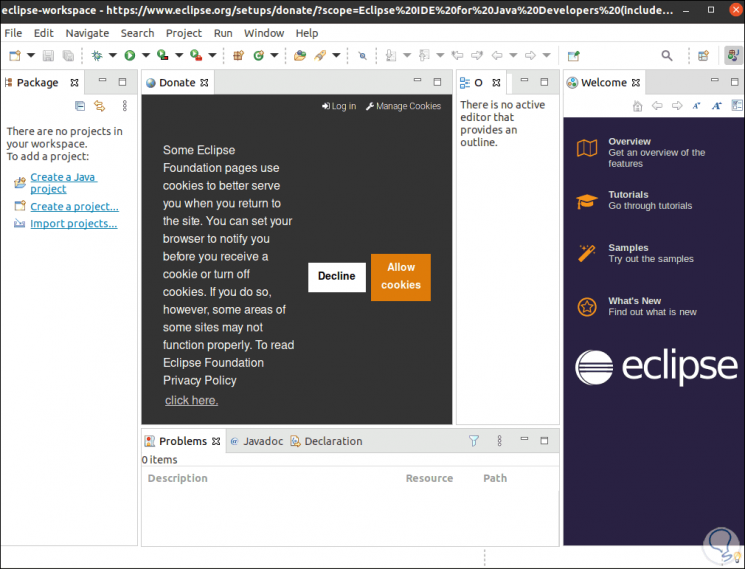
There we can navigate in its different options or types of view.
TechnoWikis has explained the step by step to install Eclipse IDE in Ubuntu 21.04. In this way, you can use this service whenever you need it.