Having platforms that adapt to our needs installed on the computer has become essential for the work we do through it to be as complete and efficient as possible..
Today, we see how the educational segment has taken on new strength and not only because of global situations but because the IT sector has such a boom, there are different platforms designed exclusively for the educational part. This is ideal when our time is limited or we do not want to physically move to a place.
Among the most popular modern educational platforms we find Moodle. Moodle allows its users to have access to a platform with a robust and secure integrated system. This guarantees that everything that takes place there is managed centrally with the best tools for this purpose..
Moodle offers a simple user interface with features like drag and drop and a plus is that it supports more than 120 languages.
Environments
Moodle integrates two essential environments such as:
characteristics
Among the most outstanding features of Moodle we find:
- Constant monitoring of the progress of the activities carried out
- Integrates a personalized dashboard with current and previous courses, additionally a section is integrated to review pending work
- Accessible user interface
- Compatible with open standards such as IMS-LTI or SCORM
- It gives us the ability to upload files to the cloud through OneDrive, Dropbox and Google Drive
- It has activities and cooperation tools such as forums, wikis, glossaries, database activities
- Notifications about new events
- Constant security updates
- It has secure authentication and massive enrollments in a secure way
- Integrate an all-in-one calendar
If you see that it is a viable option, TechnoWikis will teach you how to install Moodle on Ubuntu 21.04..
To stay up to date, remember to subscribe to our YouTube channel! SUBSCRIBE
1. How to install Moodle on Ubuntu 21.04
Step 1
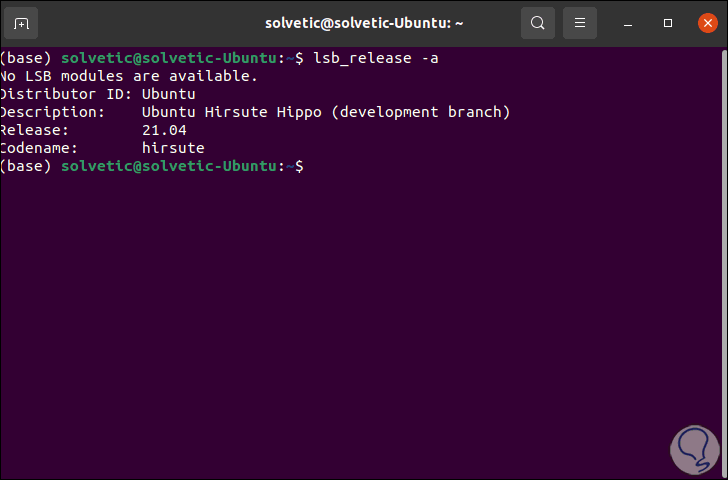
The first thing is to check that we are using Ubuntu 21.04, for this in the terminal we execute the following:
lsb_release -a
Step 2
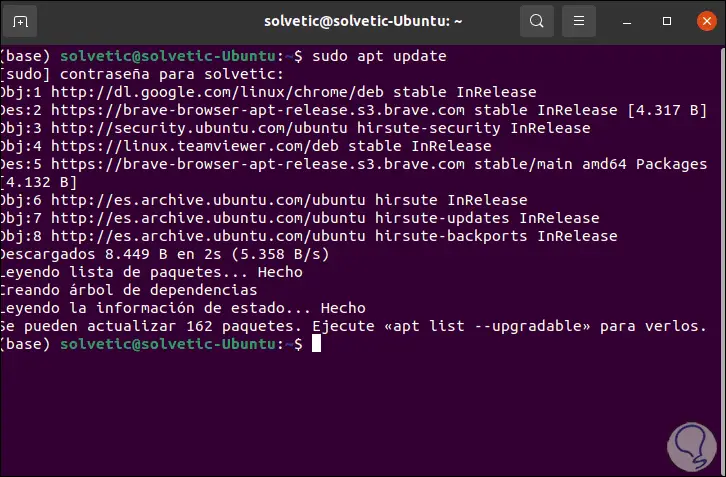
After this we will update the system with the command:
sudo apt update
Step 3
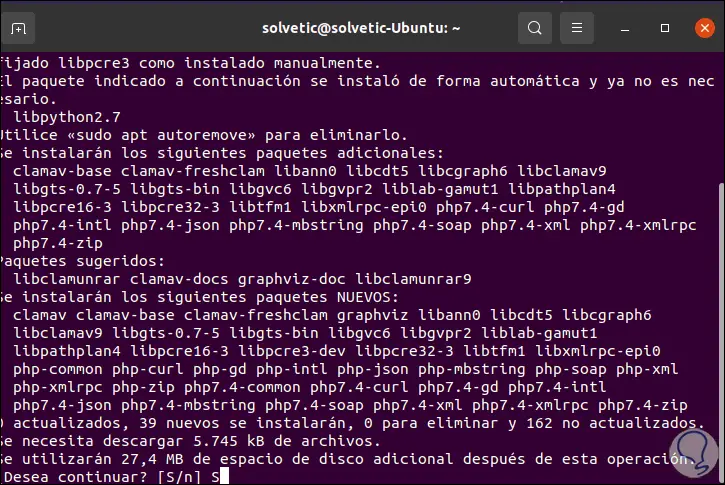
Now we are going to install the PHP extensions and libraries required so that Moodle can work as expected, we execute:
sudo apt install php-common php-iconv php-curl php-mbstring php-xmlrpc php-soap php-zip php-gd php-xml php-intl php-json libpcre3 libpcre3-dev graphviz aspell ghostscript clamav
Step 4
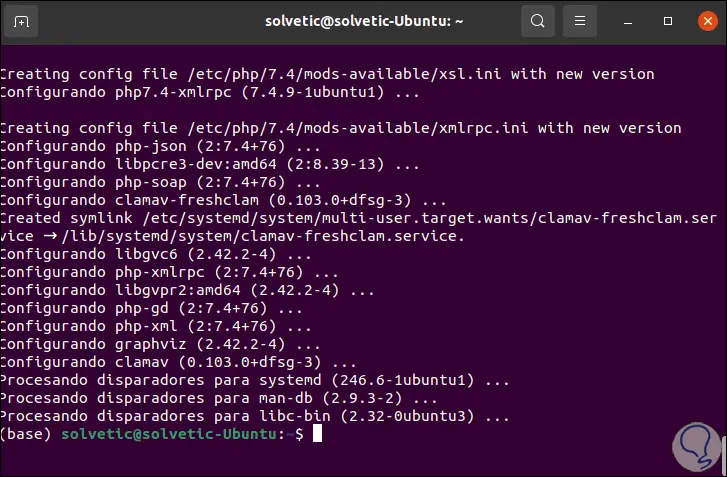
We enter the letter S to confirm the download and installation of these add-ons:
After this we are going to install the LEMP stack on the system, LEMP (Linux, Nginx (EngineX), MariaDB and PHP) have been developed as a set of utilities to implement and manage web applications, therefore it is necessary to install this stack before install and fully configure Moodle on Ubuntu 21.04.
Step 5
The first thing to install will be Nginx with the following command:
sudo apt install nginx
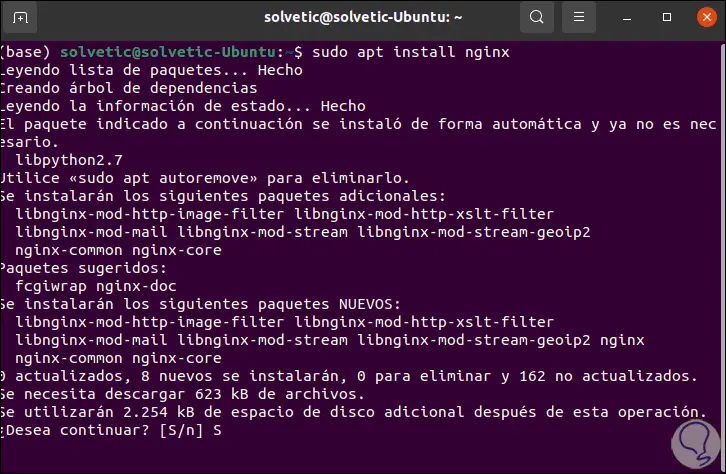
Step 6
We confirm the installation with the letter S:
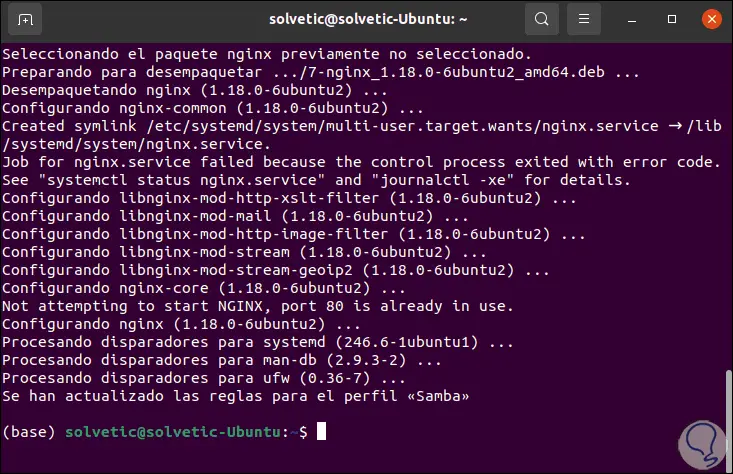
Step 7
All Nginx configuration files will be stored in the / etc / nginx directory and the main configuration file is /etc/nginx/nginx.conf.
We check the state of Nginx with the command:
sudo systemctl status nginx
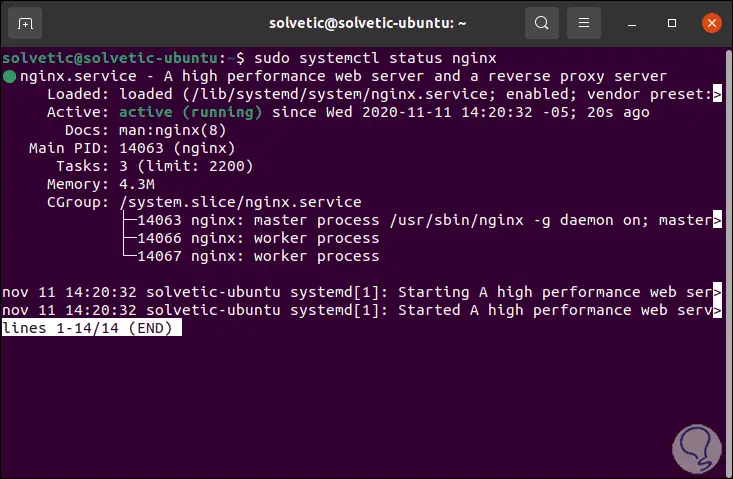
Step 8
We see that its status is active and running, now we enable Nginx with Linux startup:
sudo systemctl is-enabled nginx
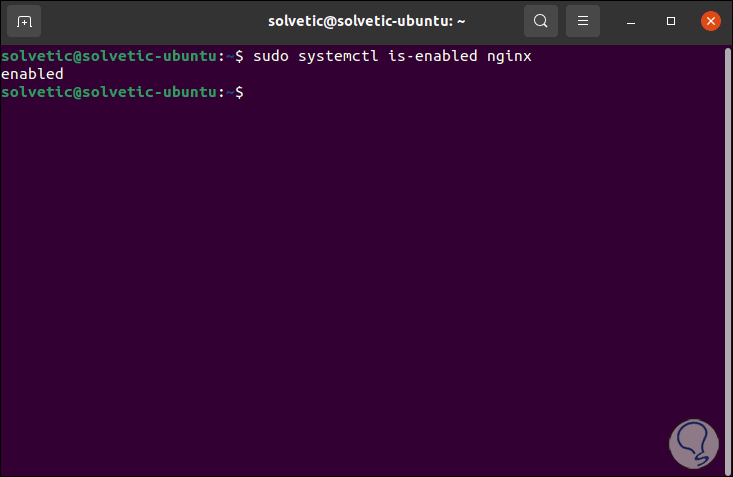
Step 9
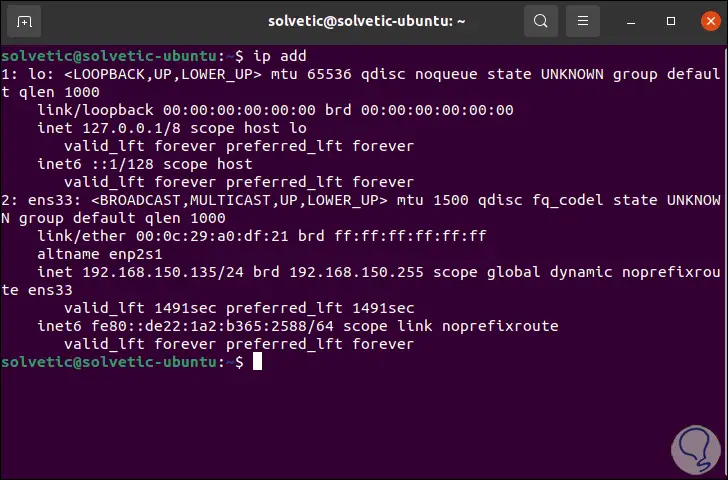
We execute the command "ip add" to see the IP address of Ubuntu 21.04:
Step 10
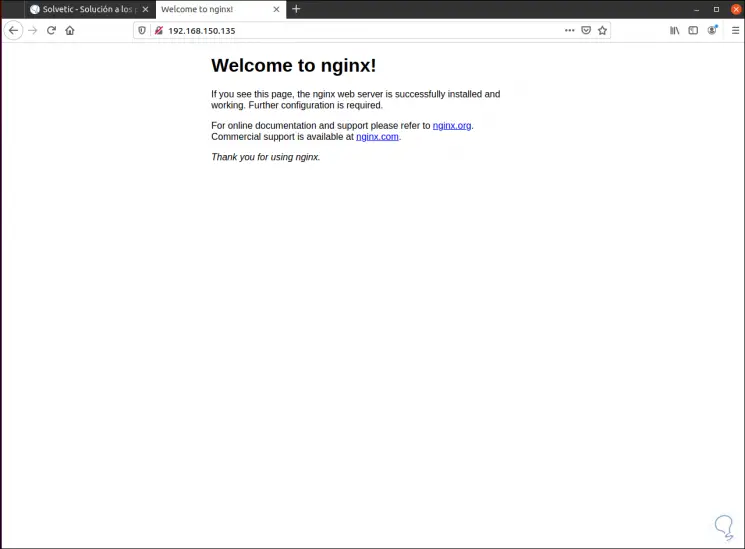
With that IP address we go to a browser and when entering it we will see the Nginx home page:
Step 11
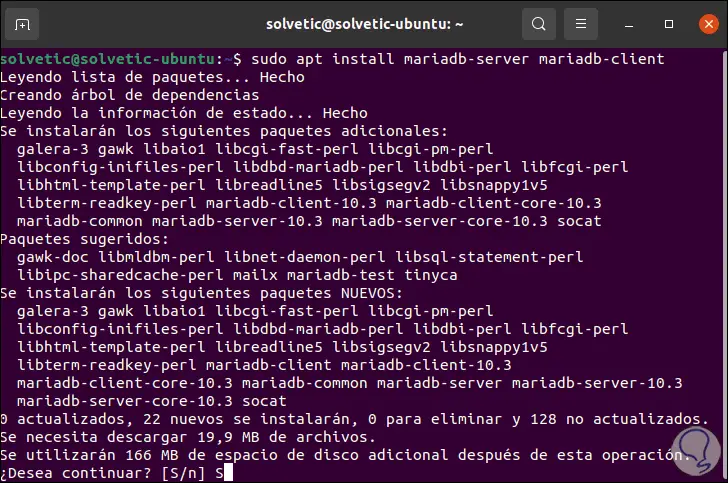
Now we are going to install MariaDB, with MariaDB we will have a relational database administration system, for its installation we execute:
sudo apt install mariadb-server mariadb-client
Step 12
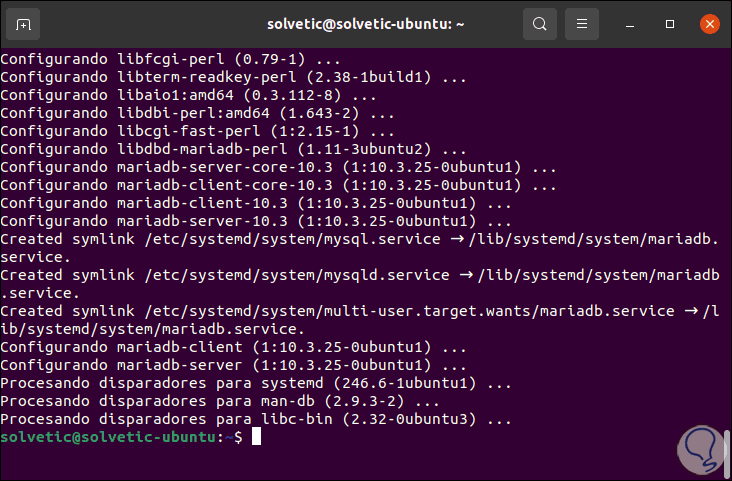
We confirm the download and installation with the letter S:
Step 13
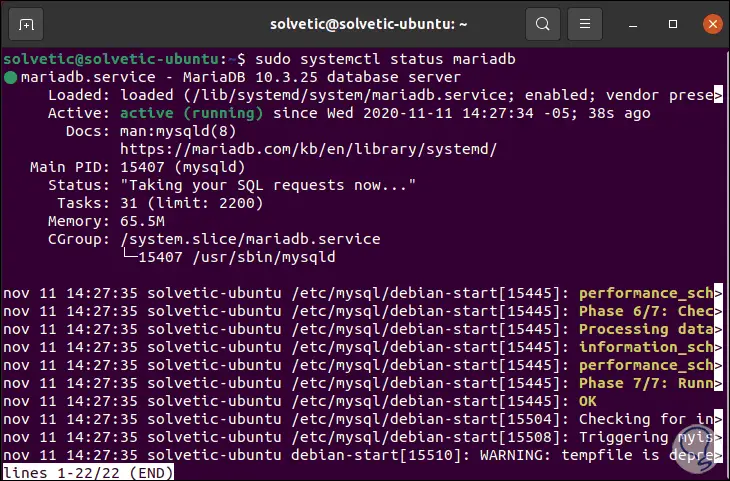
We check the status of MariaDB:
sudo systemctl status mariadb
Step 14
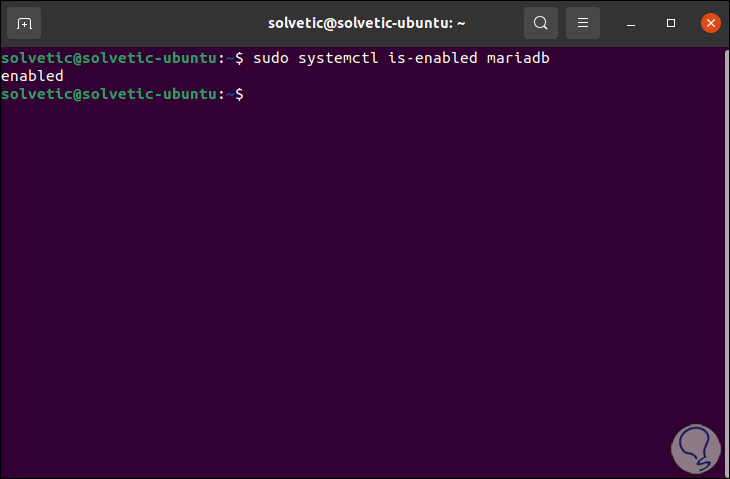
Now we enable MariaDB with Ubuntu 21.04 boot:
sudo systemctl is-enabled mariadb
Step 15
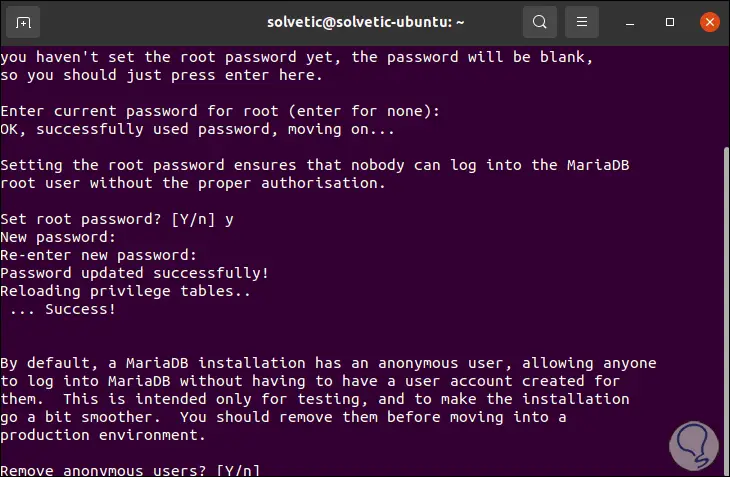
It is time to ensure the installation of MariaDB since by default some parameters are insecure, for this we execute the following:
sudo mysql_secure_installation
When pressing Enter we will assign the root password:
Step 16
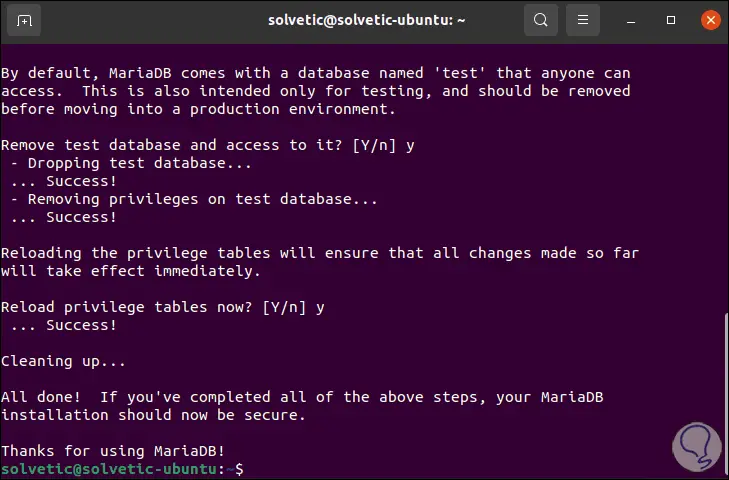
We will see the following questions which we answer with the letter "y":
- Remove anonymous users? [Y / n] and
- Disallow root login remotely? [Y / n] and
- Remove test database and access to it? [Y / n] and
- Reload privilege tables now? [Y / n] and
Step 17
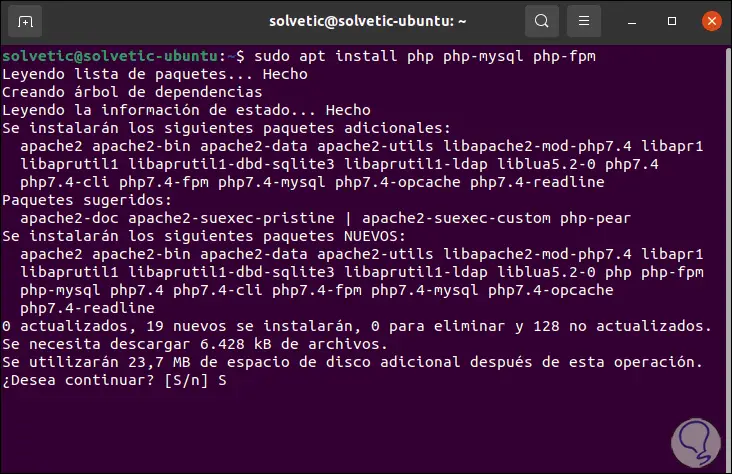
To create websites we must install PHP which is a dynamic and open source programming language, to install it in Ubuntu 21.04 we will execute:
sudo apt install php php-mysql php-fpm
Step 18
We confirm the process with the letter S:
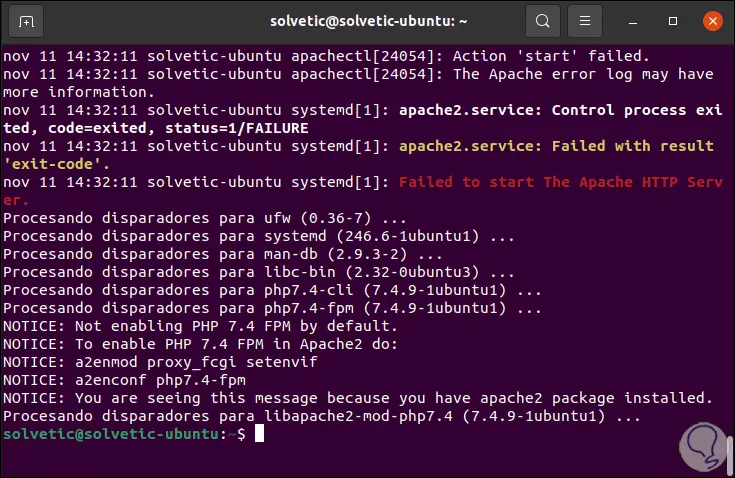
Step 19
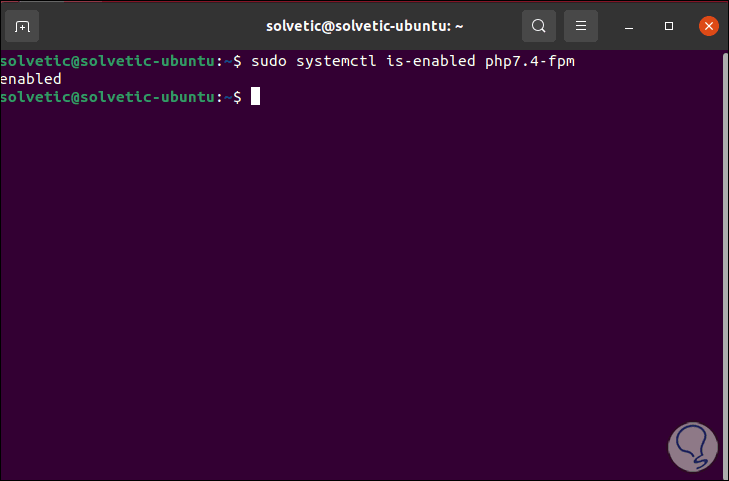
We enable PHP with Ubuntu 21.04 startup:
sudo systemctl is-enabled php7.4-fpm
2. Create Moodle Ubuntu Server 21.04 database and download repositories
Step 1
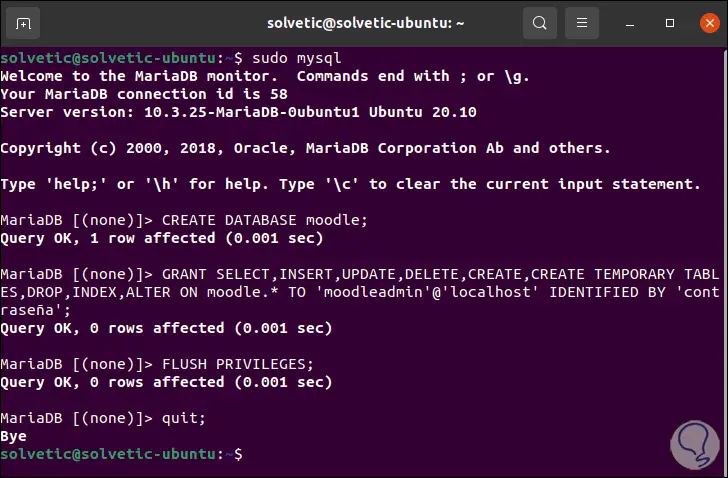
We must create the database in MySQL to administer Moodle, for this we access MySQL with the command:
sudo mysql
There we execute each of the following lines:
CREATE DATABASE moodle; GRANT SELECT, INSERT, UPDATE, DELETE, CREATE, CREATE TEMPORARY TABLES, DROP, INDEX, ALTER ON moodle. * TO 'moodleadmin' @ 'localhost' IDENTIFIED BY 'password'; FLUSH PRIVILEGES; quit;
Step 2
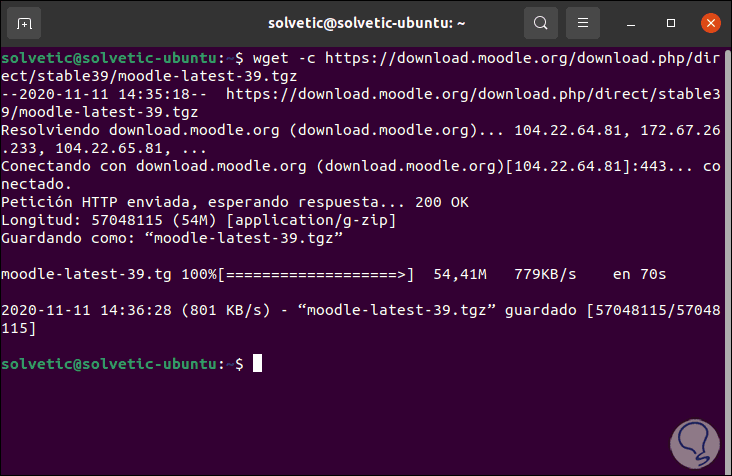
After this, we are going to download the Moodle repositories with the command:
wget -c https://download.moodle.org/download.php/direct/stable39/moodle-latest-39.tgz
Step 3
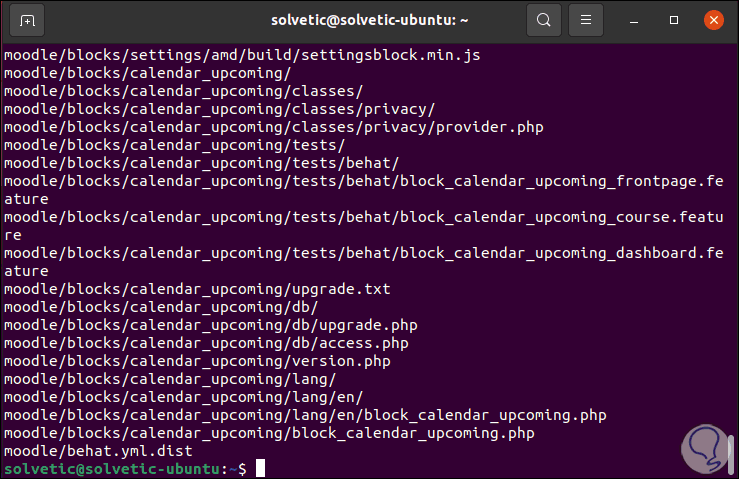
We are going to extract the contents of the compressed file to the / var / www / html directory:
sudo tar -zvxf moodle-latest-39.tgz -C / var / www / html /
Step 4
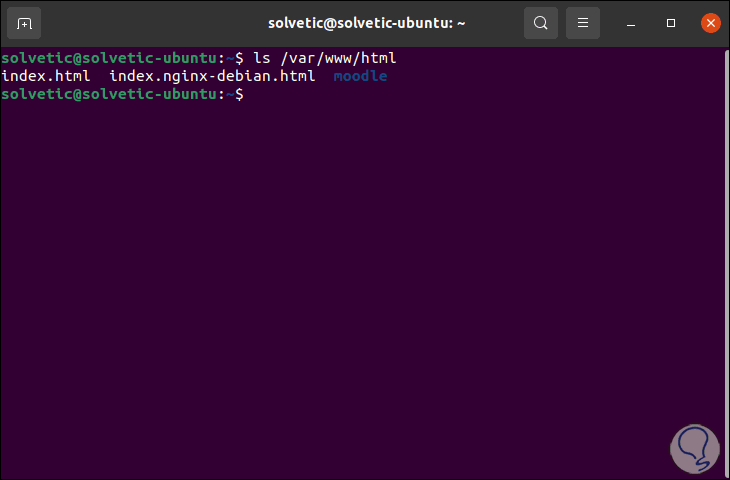
We are going to list the extracted content:
ls / var / www / html /
Step 5
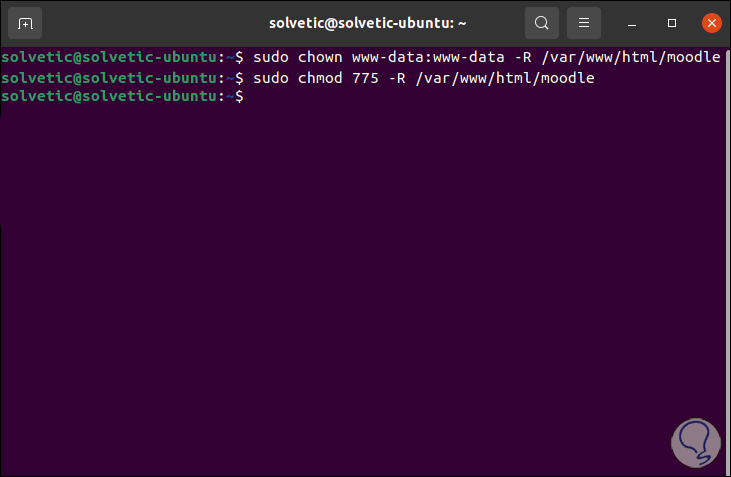
We grant the necessary permits:
sudo chown www-data: www-data -R / var / www / html / moodle sudo chmod 775 -R / var / www / html / moodle
Step 6
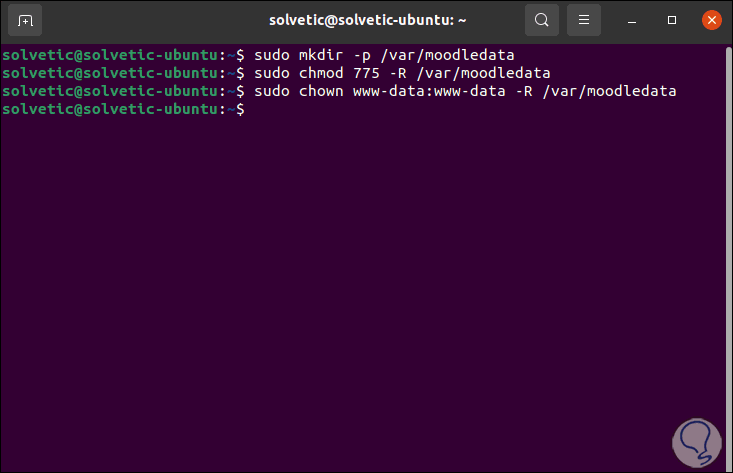
We create the directory where the Moodle data will be:
sudo mkdir -p / var / moodledata
We grant the necessary permits:
sudo chmod 775 -R / var / moodledata sudo chown www-data: www-data -R / var / moodledata
Step 7
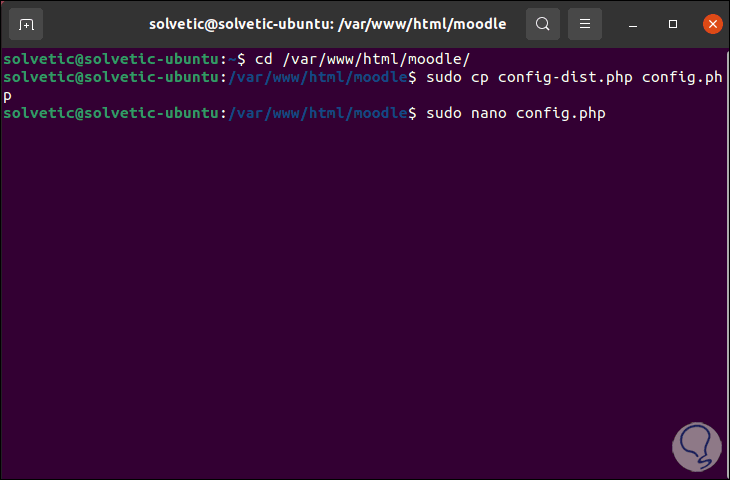
The next step will be to edit the Moodle configuration file, for this we execute the following:
cd / var / www / html / moodle / sudo cp config-dist.php config.php sudo nano config.php
Step 8
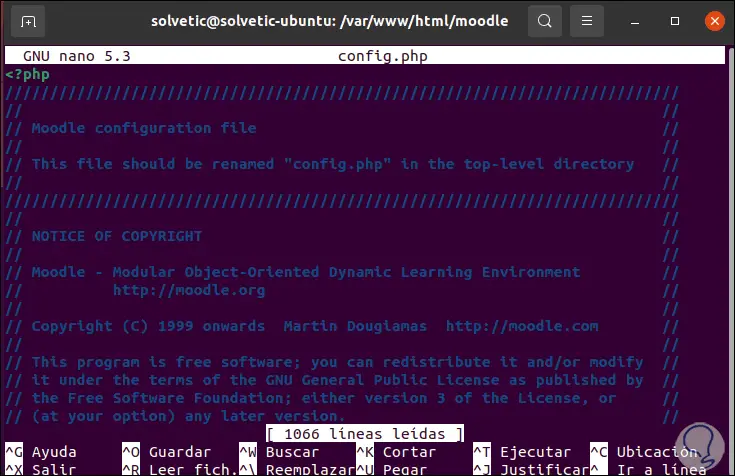
We will see the following:
Step 9
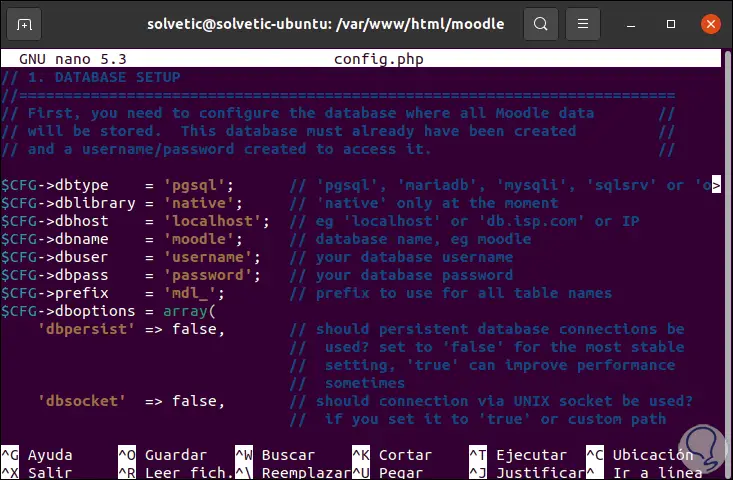
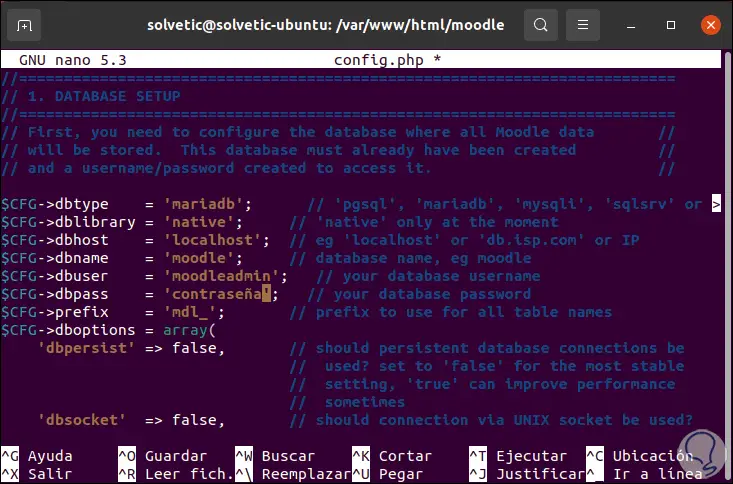
We go to the following lines:
$ CFG-> dbtype $ CFG-> dblibrary $ CFG-> dbhost $ CFG-> dbname $ CFG-> dbuser $ CFG-> dbpass $ CFG-> prefix
Step 10
There we must edit the values with the data that we have registered in MySQL:
Step 11
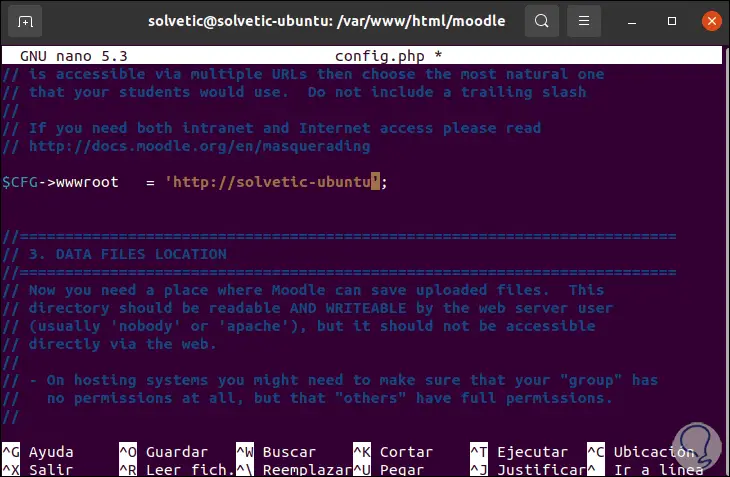
Below we locate the following lines and assign these values:
$ CFG-> wwwroot = 'http: // computer_name';
$ CFG-> dataroot = '/ var / moodledata';
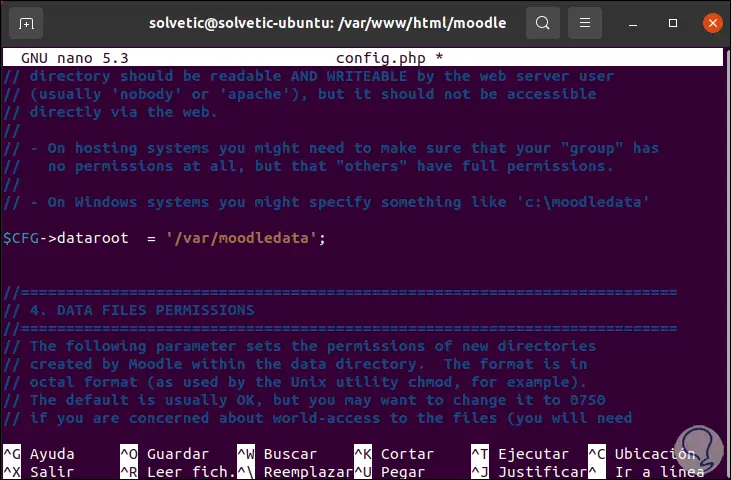
We save the changes with the Ctrl + O keys and exit the editor with Ctrl + X.
Step 12
It is vital that NGINX supports the Moodle site, for this we are going to create a new server block configuration in the /etc/nginx/conf.d/ directory, we use the following command:
sudo nano /etc/nginx/conf.d/moodle.conf
There we enter the following syntax:
server { listen 80; server_name "Team"; root / var / www / html / moodle; index index.php; location / { try_files $ uri $ uri / /index.php?$query_string; } location ~ ^ (. + \. php) (. *) $ { fastcgi_split_path_info ^ (. + \. php) (. *) $; fastcgi_index index.php; fastcgi_pass unix: /run/php/php7.4-fpm.sock; include /etc/nginx/mime.types; include fastcgi_params; fastcgi_param PATH_INFO $ fastcgi_path_info; fastcgi_param SCRIPT_FILENAME $ document_root $ fastcgi_script_name; } } 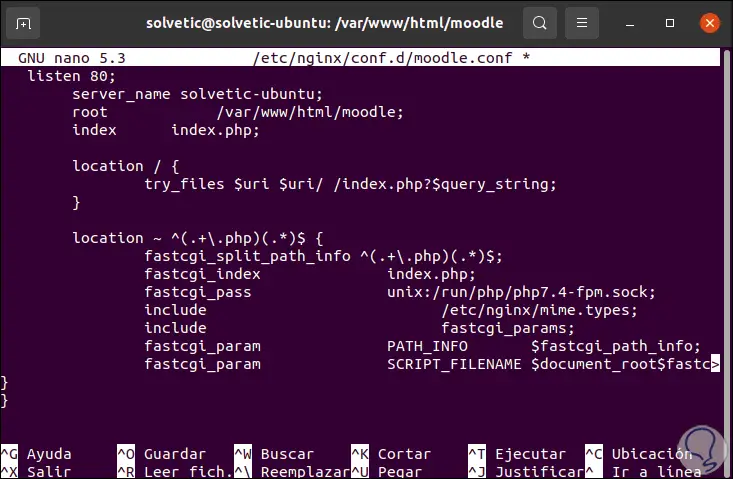
We save the changes and exit the editor.
Step 13
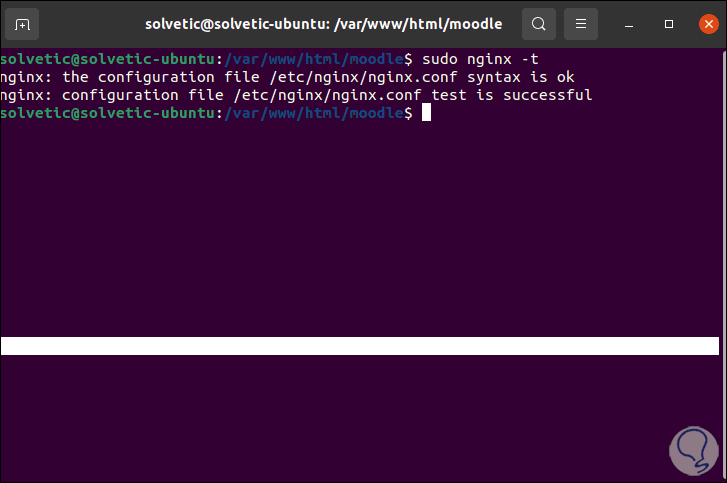
We validate the Nginx configuration and reload the service:
sudo nginx -t
sudo systemctl reload nginx
Step 14
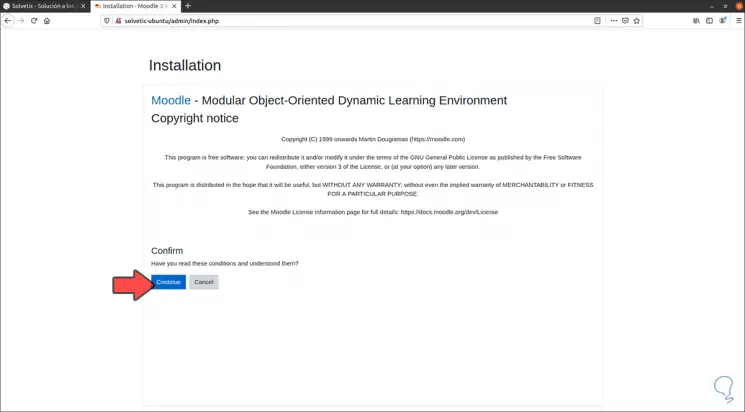
To complete the process we go to a browser and enter the IP address of Ubuntu 21.04, we will see the following:
Step 15
There we click on "Continue" and in the next window we validate that the installation requirements are met:
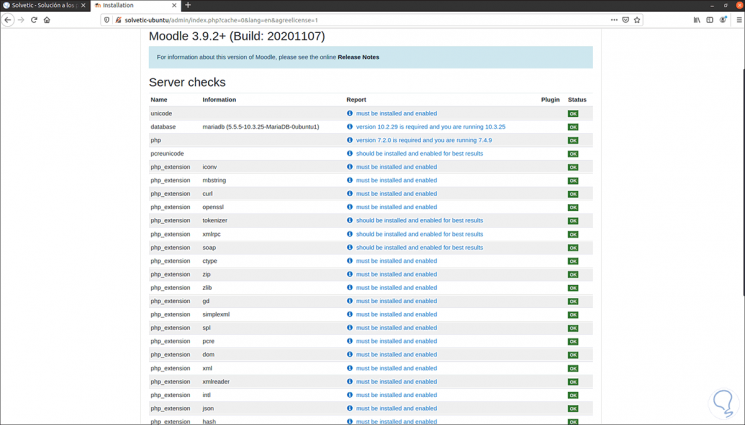
Step 16
At the bottom we click on "Continue" to proceed to the installation process of these components:
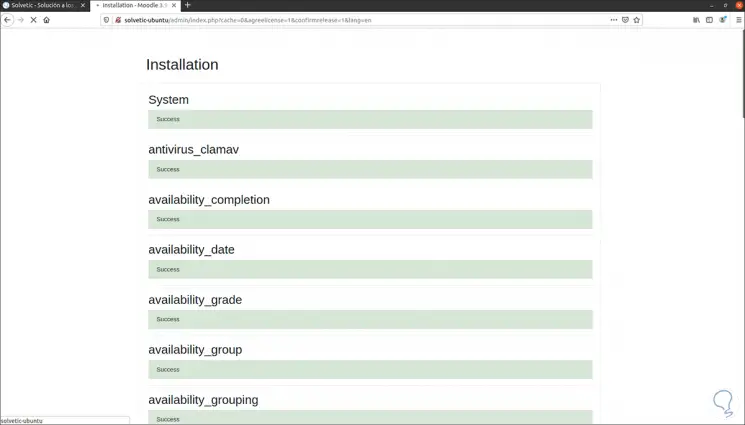
Step 17
When this process ends we will see this:
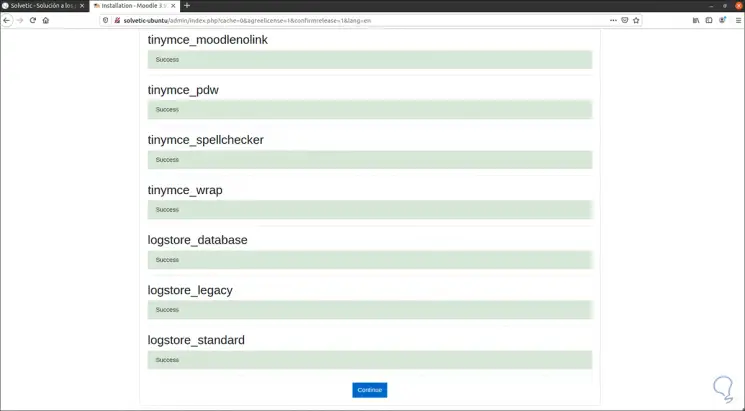
Step 18
We click on Continue and now we must register some data as an administrator user, email, country and zone:
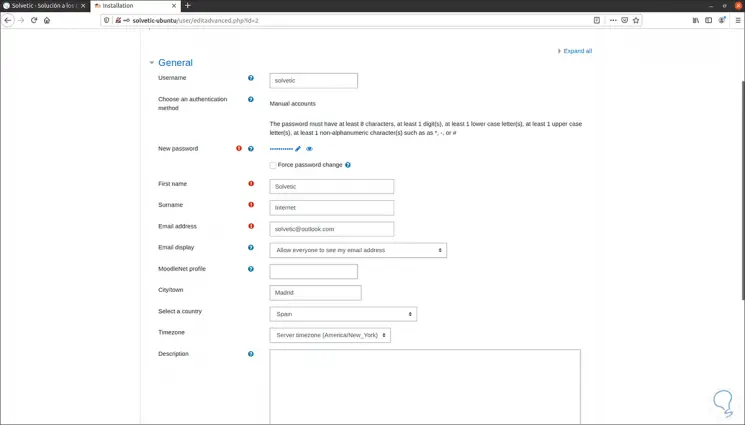
Step 19
We click on "Update profile" and now we will see the following:
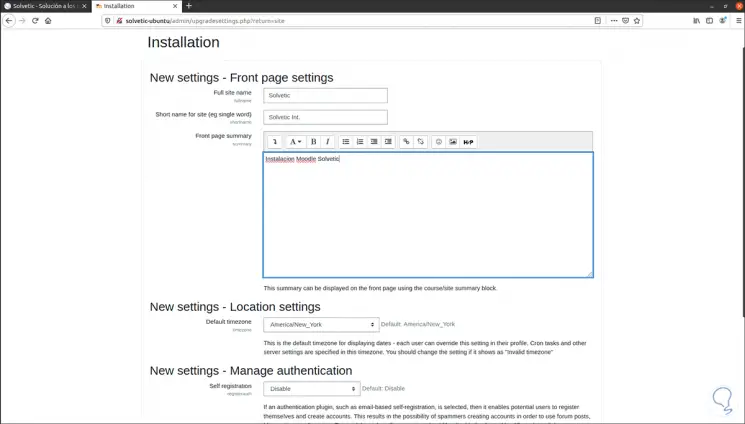
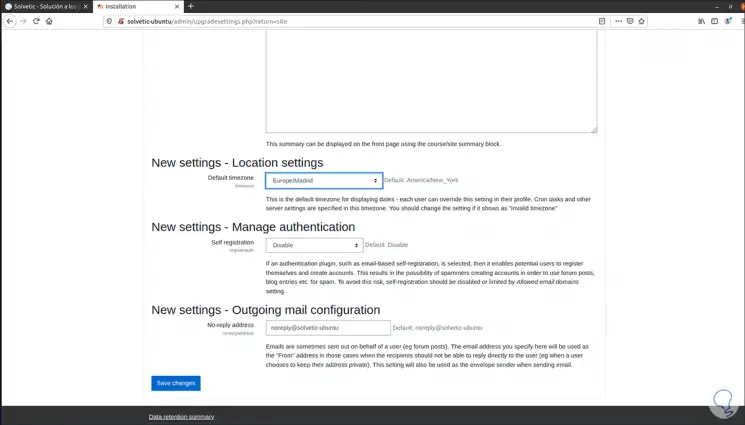
Step 20
There we register the desired information for the site in Moodle, at the bottom we can assign geographic region:
Step 21
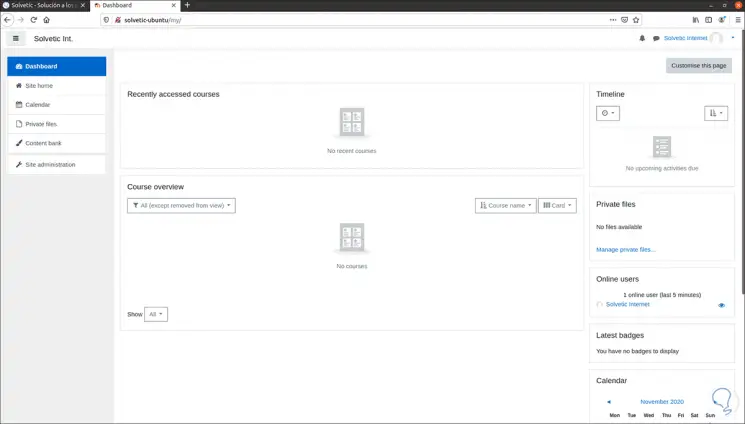
We click on "Save changes" and we will access Moodle:
Step 22
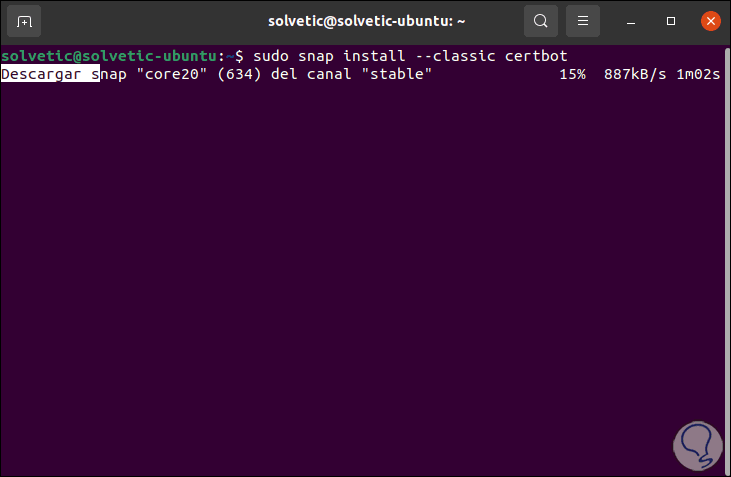
It is possible to configure HTTPS in Moodle for greater security, if we want to do it we go to the terminal and execute:
sudo snap install --classic certbot
Step 23
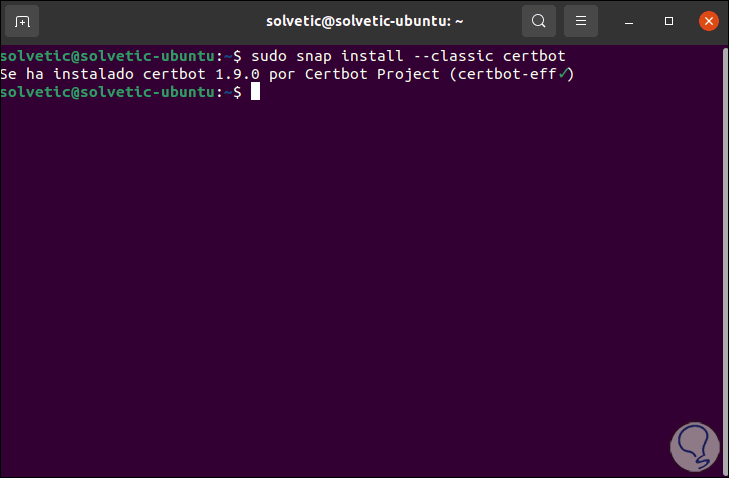
At the end of the installation we enter:
Step 24
We now generate the Nginx certificate with the following command:
sudo certbot –nginx
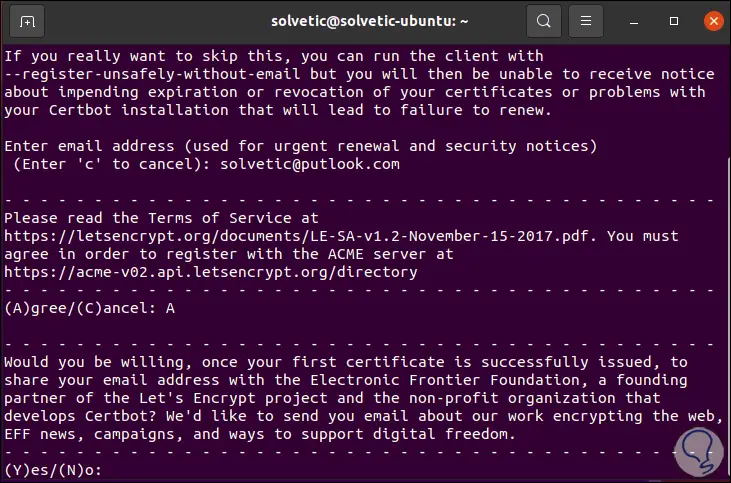
Step 25
There we enter our email and then accept the terms of the license:
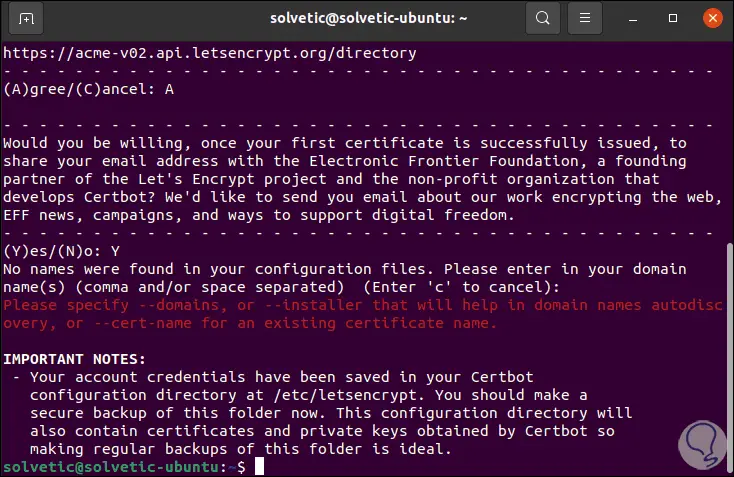
Step 26
Once this is done, we go to the configuration file:
sudo nano /var/www/html/moodle/config.php
We locate the line "CFG-> wwwroot":
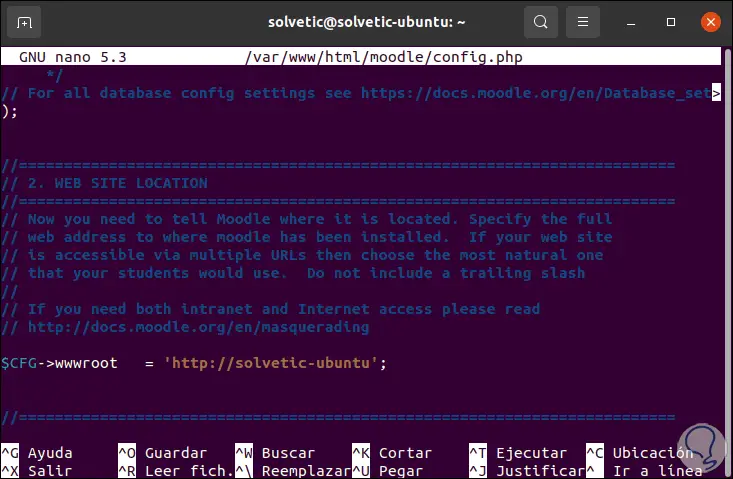
Step 27
There we establish HTTPS:
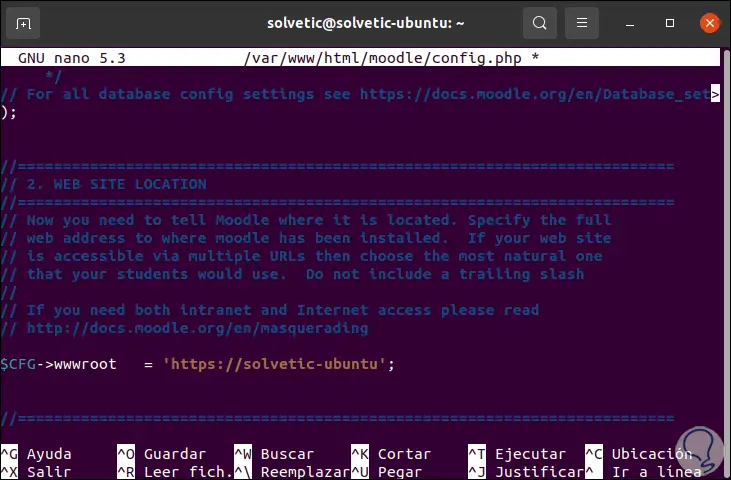
We save the changes.
Step 28
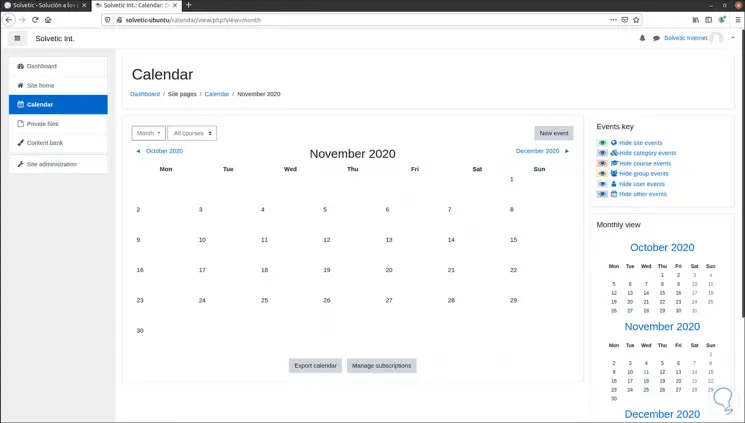
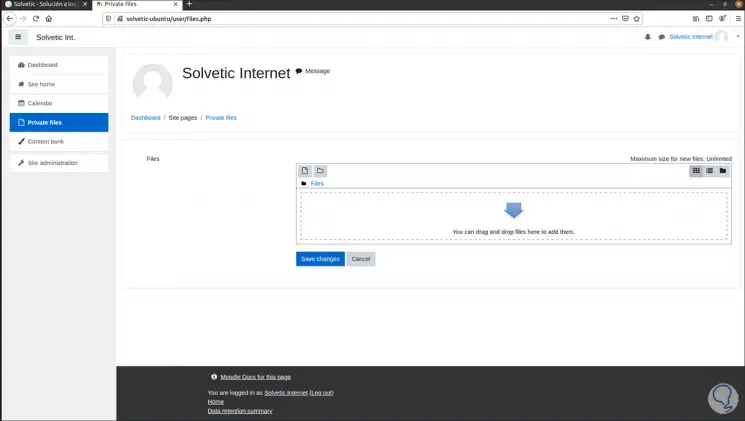
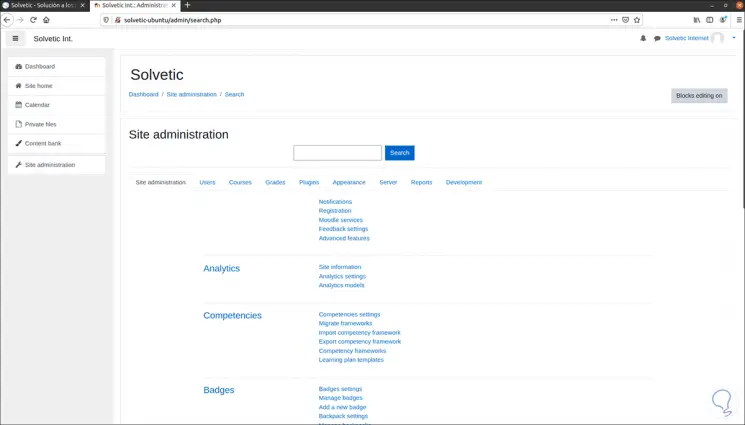
After this we can access Moodle safely and navigate through its options such as:
Calendars:
Step 29
Personal Notes:
Step 30
Site administration:
In this way you will have installed and correctly configured Moodle in Ubuntu 21.04. It is an extensive process that is worth it to have the best options of an online platform at an educational level.