Sharing files between Windows and Linux operating systems can usually be a tedious task (unless we use removable media or email), due to the file system of both systems which are incompatible with each other, we cannot always resort to removable media or mail due to the size or the sensitivity of the information, so to avoid this and improve file sharing options between both systems Samba has been developed..
What is Samba
Samba is free software which has the GNU General Public License which integrates printing services and secure files for all clients that make use of the SMB / CIFS protocol, this improves the way we can exchange files between one system and another.
Samba can integrate Linux / Unix servers and desktops into Active Directory environments and is also capable of working as a domain controller or as a regular member of the domain.
characteristics
Among its characteristics we find:
- Allows sharing of one or more distributed file system (Dfs) trees
- One or more directory trees can be shared
- Makes it easy to share server-installed printers with Windows clients on the local network
- Help in Windows Internet Name Service (WINS) name server resolution
- Allows users to browse the web
Now TechnoWikis will explain how to install Samba on Ubuntu 21.04..
To stay up to date, remember to subscribe to our YouTube channel! SUBSCRIBE
How to install Samba on Ubuntu 21.04
Step 1
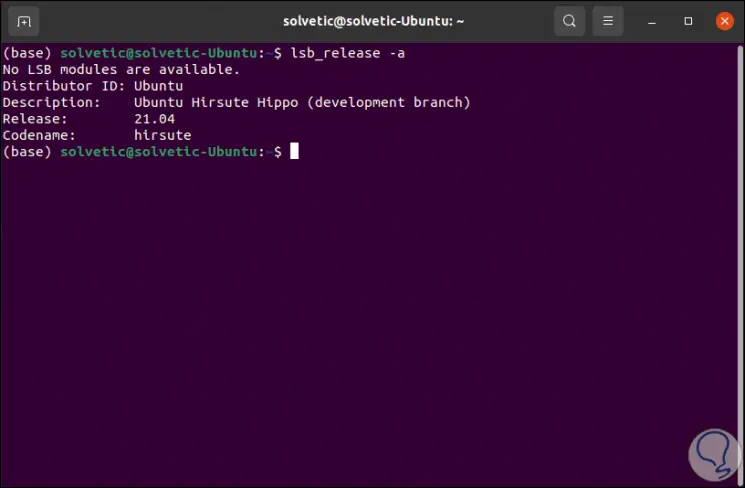
We check the use of Ubuntu 21.04 with the following command:
lsb_release -a
Step 2
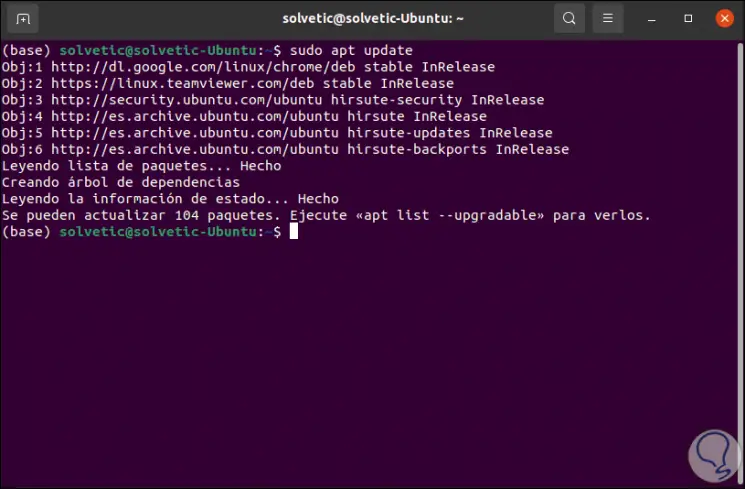
Now we update the system with the command:
sudo apt update
Step 3
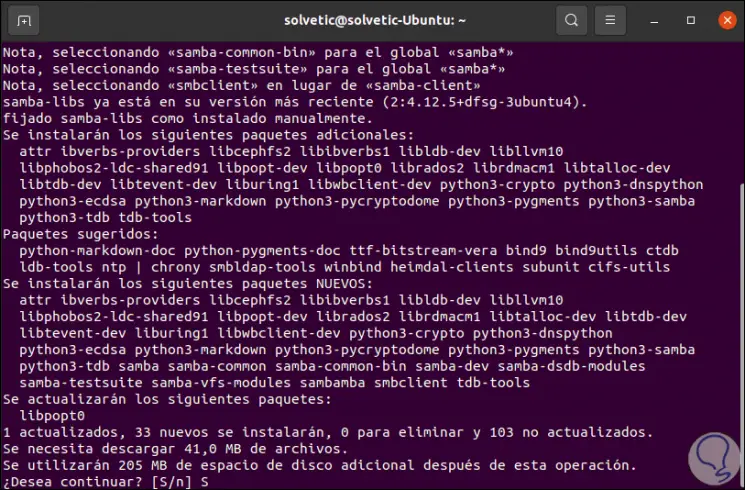
After this we will install Samba with the following command:
sudo apt install samba *
Step 4
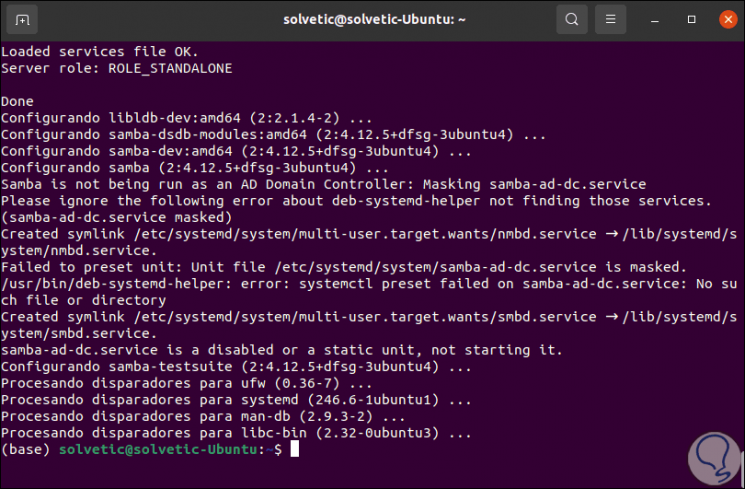
We enter the letter S to confirm the download and installation of Samba:
Step 5
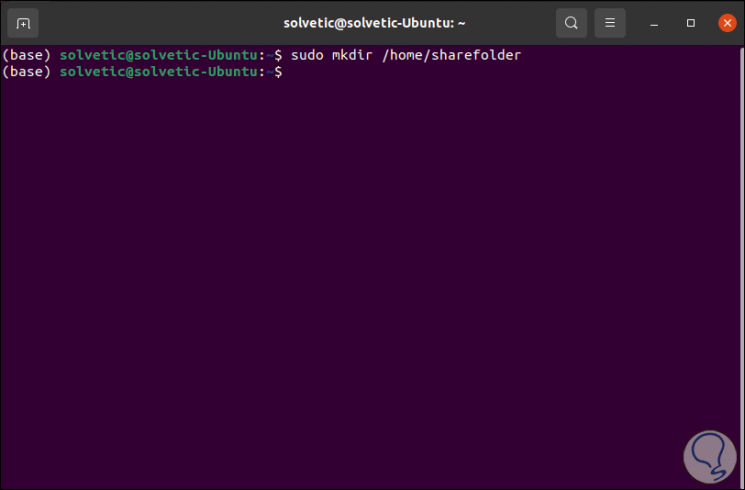
We will create the folder to be shared:
sudo mkdir / home / sharedfolder
Step 6
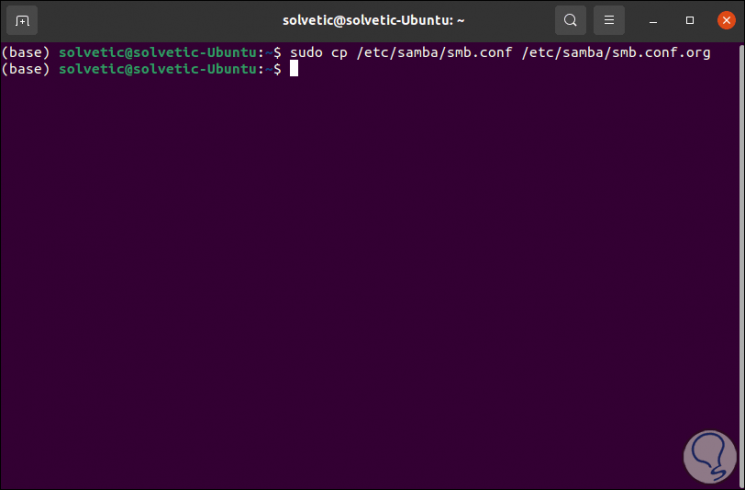
We copy the Samba configuration files to have a backup of them:
sudo cp /etc/samba/smb.conf /etc/samba/smb.conf.org
Step 7
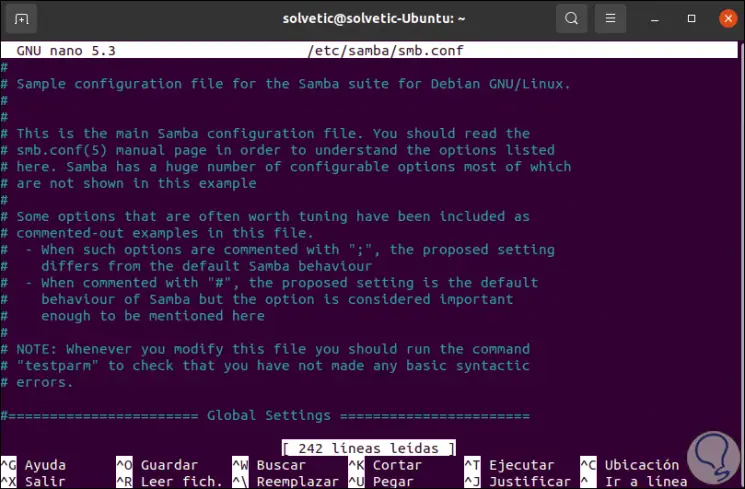
Now we will edit this configuration file with the desired editor:
sudo nano /etc/samba/smb.conf
Step 8
We go to the end of the file and enter the following:
[sharedfolder] comment = samba on Ubuntu path = / home / sharedfolder browseable = yes readonly = no
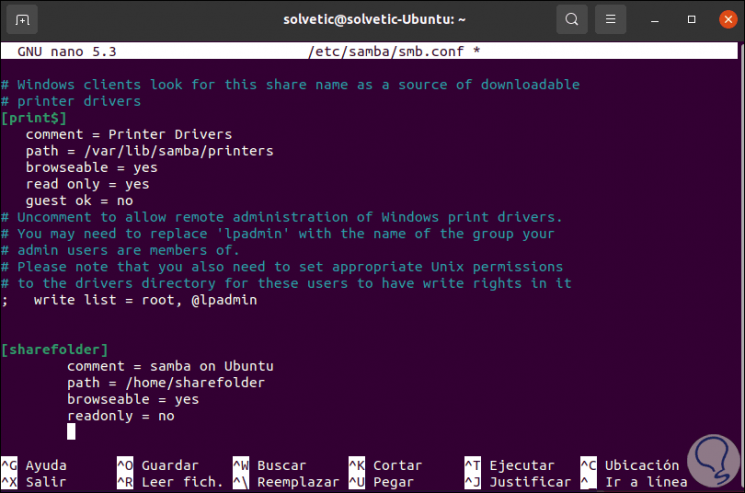
We save the changes with the Ctrl + O keys and exit the editor with the Ctrl + X keys.
Step 9
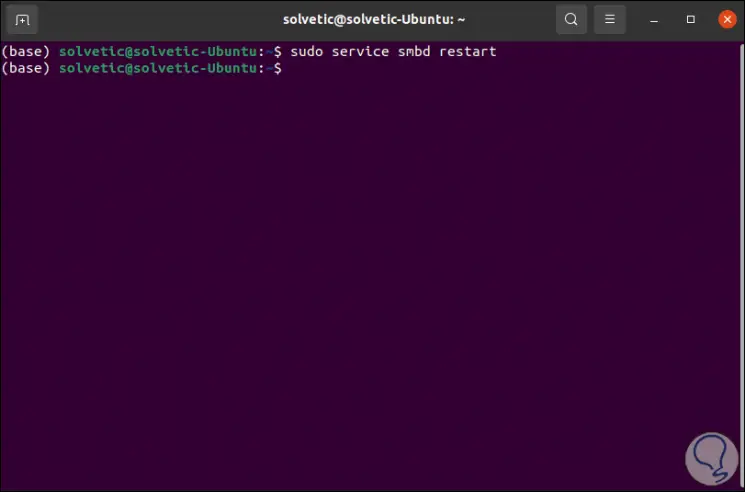
We restart the Samba service with the following command:
sudo service smbd restart
Step 10
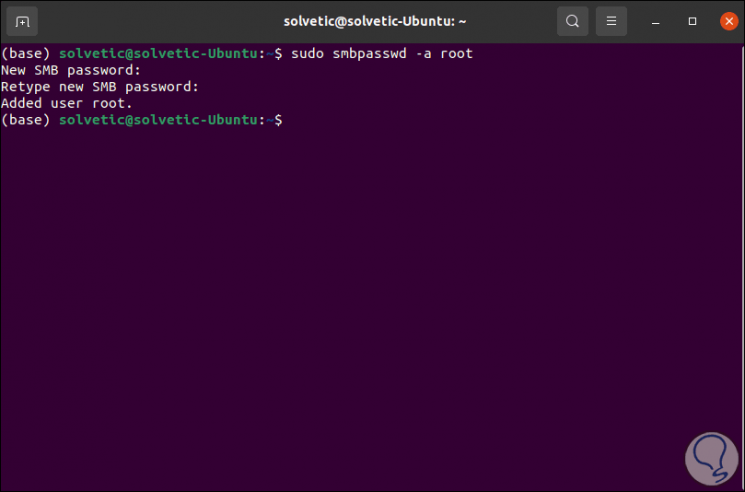
We create the root user for Samba and grant permissions:
sudo smbpasswd -a root
We enter and confirm the password of this root user:
Step 11
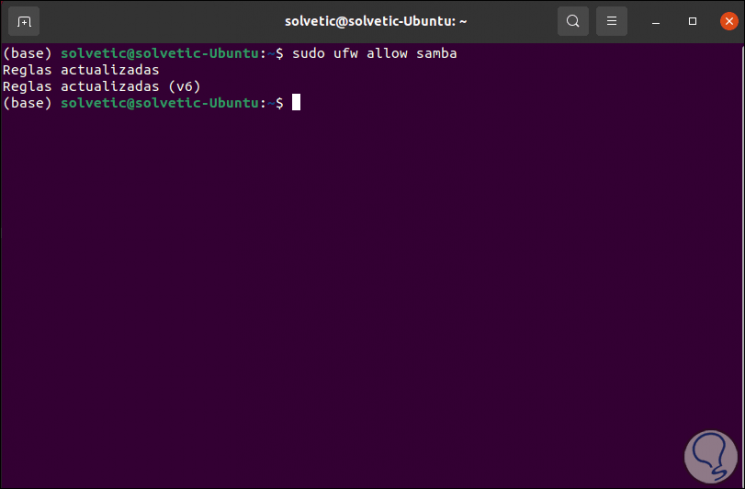
It is time to grant the permissions in the system Firewall with the command:
sudo ufw allow samba
Step 12
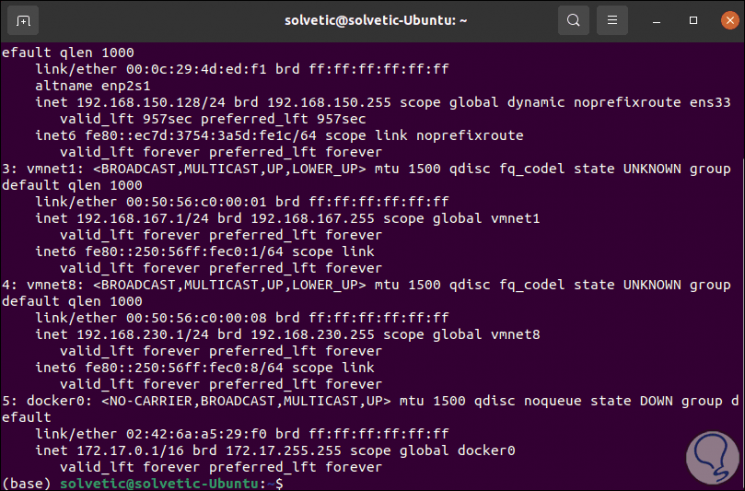
With the command "ip add" we validate the IP address of Ubuntu 21.04:
Step 13
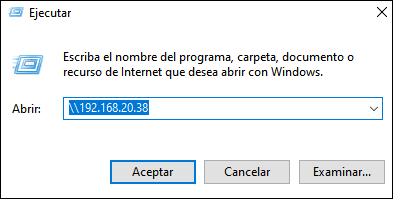
With this IP address in mind, we go to Windows 10 and open Run, there we enter the following syntax:
\\ IP_Ubuntu_21.04
Step 14
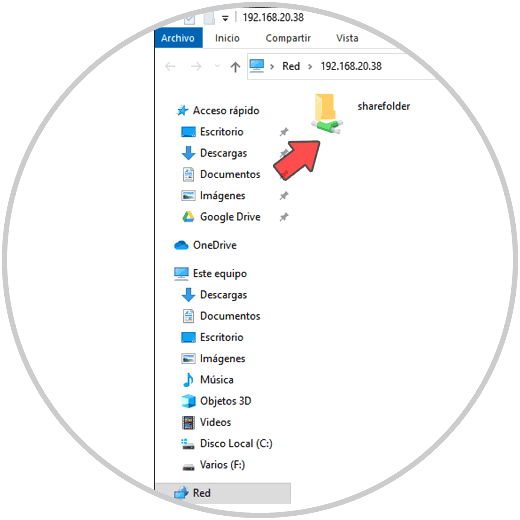
We click OK and this will open the folder that we have created to share in Ubuntu 21.04:
Step 15
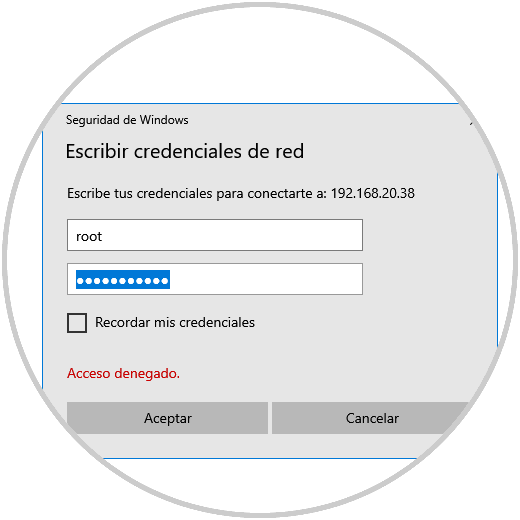
When accessing it we must enter the root user with the password that we have defined:
Step 16
We click OK and we can create a file in the folder:
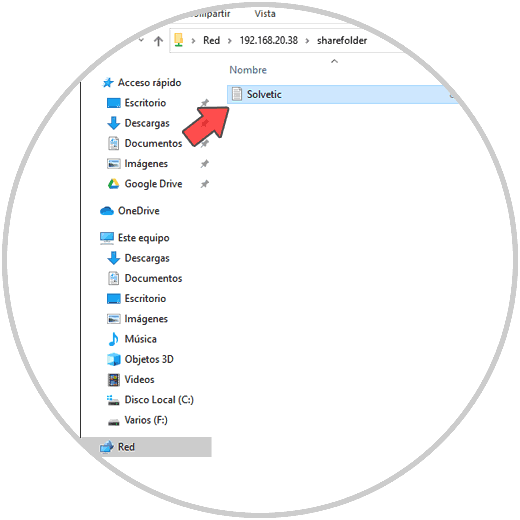
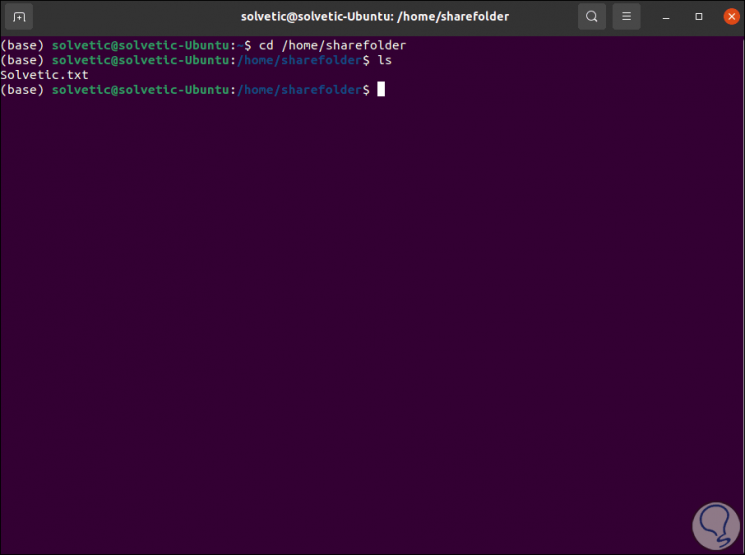
We confirm the operation of Samba in Ubuntu 21.04, in the terminal we enter the following:
cd / home / sharedfolder ls
Step 17
By listing the content we can see the file created in Windows 10:
Samba is an ideal functionality for the entire process of sharing files between Windows and Linux in a secure, agile and fully functional way..