When a Windows user migrates or must perform work on Linux systems, they will see a radical change in some aspects of the system and one of the most notable is associated with the installation of programs and applications. The reason for this is the file system that Linux uses, which is currently EXT4, compared to Windows NTFS, as they are different file systems, it will not be possible to perform any type of installation of executable files (.EXE) in Linux..
To help solve this we have Wine, Wine (Wine Is Not an Emulator), it avoids the use of virtual machines to use Windows programs in Linux and the reason for this is that Wine in Linux is responsible for creating a compatibility layer locally on the system to run Windows applications. Wine is compatible with all POSIX-compatible operating systems (Linux, macOS, and BSD).
Wine makes use of the simulation of the internal logic hosted in Windows operating systems, this allows translating the Windows API calls to turn them into POSIX calls and that is why we can fully use a Windows executable file there..
Characteristics Wine
Wine offers us:
- It can be accessed from any X terminal.
- It integrates Linux functions which can be used in Windows applications.
- Windows applications are allowed to run using scripts.
- It allows us to enable Windows applications so that they are available on the network through VNC and the Java / HTML5 client.
TechnoWikis will explain how to install Wine on Ubuntu 21.10.
To stay up to date, remember to subscribe to our YouTube channel! SUBSCRIBE
How to install Wine on Ubuntu 21.10
Step 1
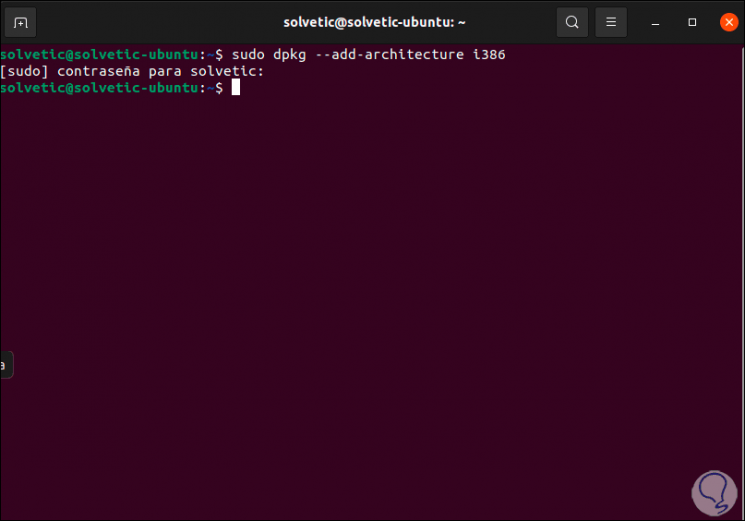
The first thing to do is to add the 32-bit architecture in Ubuntu, which by default is 64-bit, this allows us to run applications of this architecture, for this we open the terminal and add the 32-bit architecture to Ubuntu 21.10 with the command:
sudo dpkg –add-architecture i386
Step 2
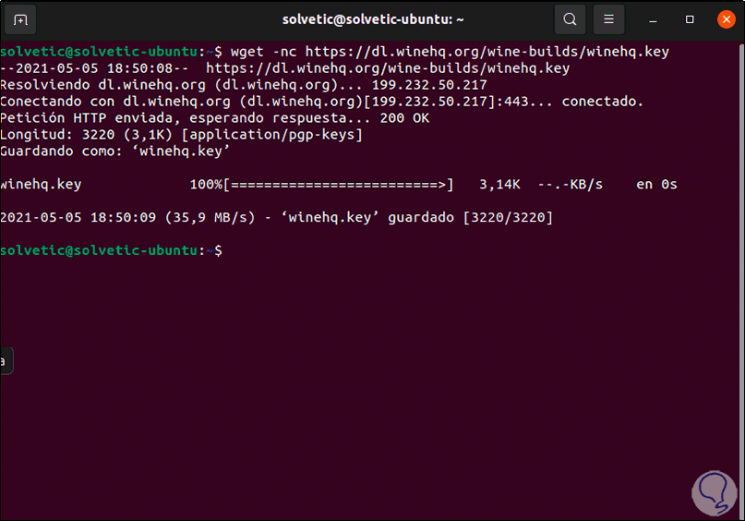
Now we are going to download the Wine key using the following command:
wget -nc https://dl.winehq.org/wine-builds/winehq.key
Step 3
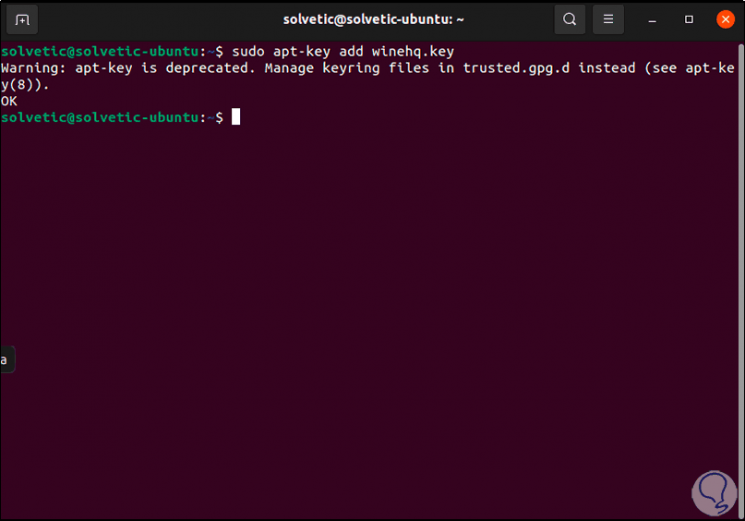
Once downloaded, we are going to install it locally in Ubuntu 21.10:
sudo apt-key add winehq.key
Step 4
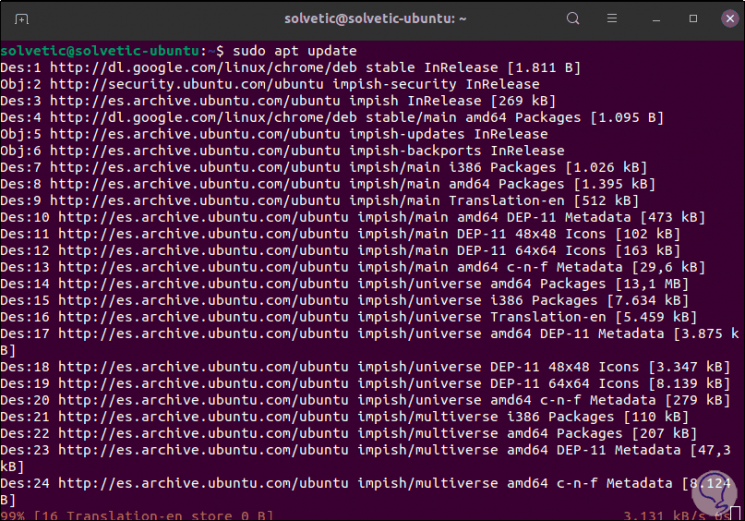
We update the system so that everything related to Wine is available:
sudo apt update
Step 5
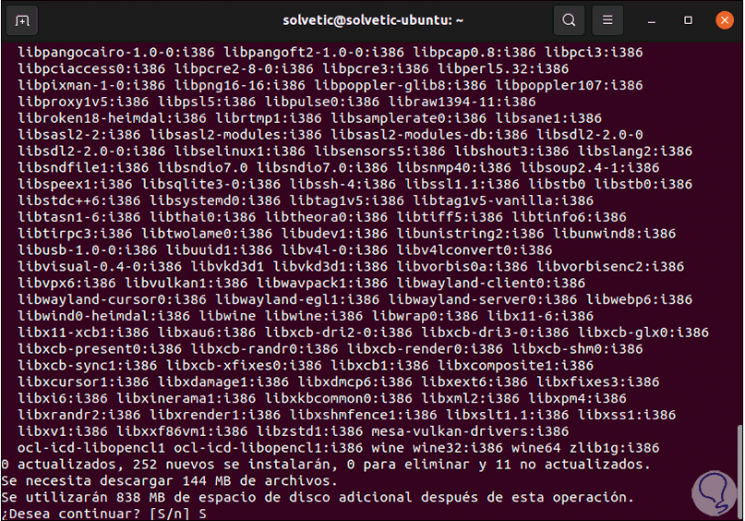
Once Ubuntu is updated, we are going to install Wine with the following command:
sudo apt install wine64
Step 6
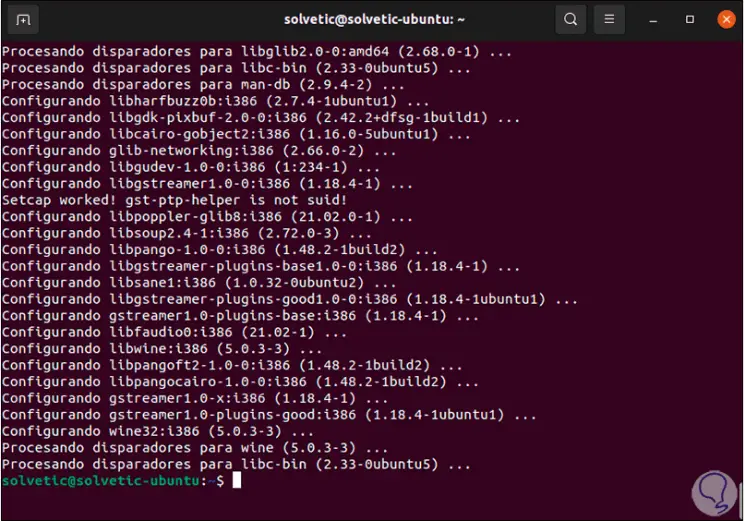
We apply the changes by entering the letter S:
Step 7
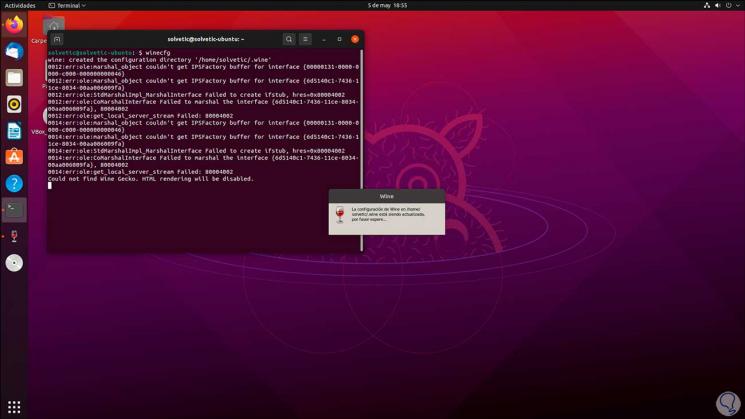
Once Wine is installed, it is time to configure it, for this we execute the following command:
winecfg
Step 8
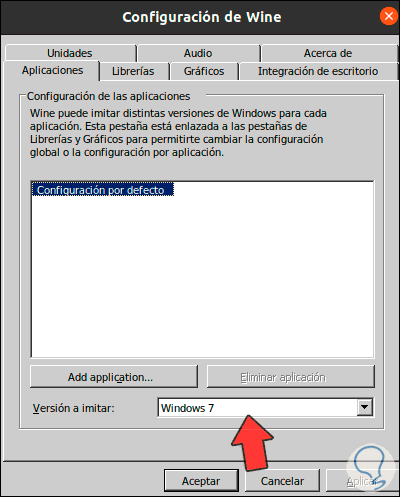
After the pop-up window completes its process, the following window will open:
Step 9
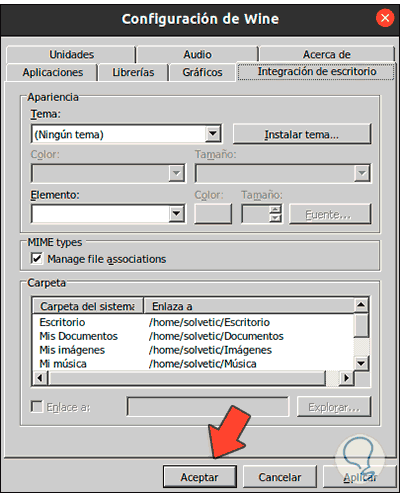
There we have various options to configure Wine, in Applications it is possible to define for which type of Windows version it will be used, it is available from Windows 7 to Windows 10, in the other tabs we can make the changes that we consider necessary. Apply the changes.
Note
In the tab "Desktop integration" we see the local paths in Ubuntu 21.10 as if we were in Windows.
Step 10
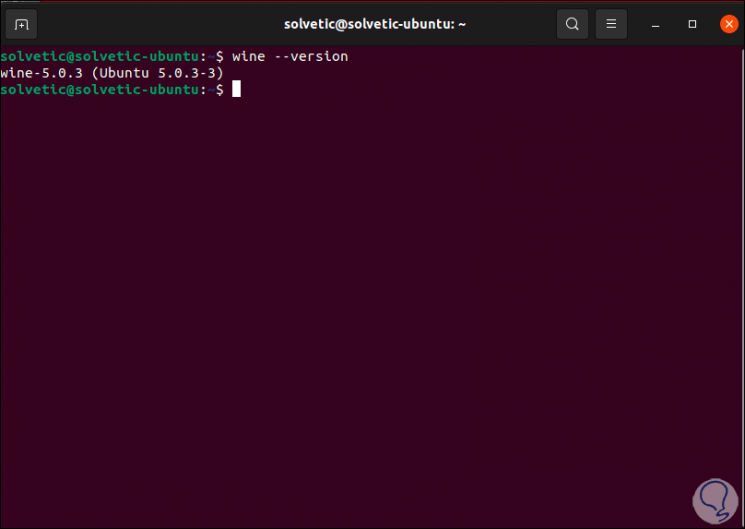
In the terminal we are going to check the version of Wine
wine –version
Step 11
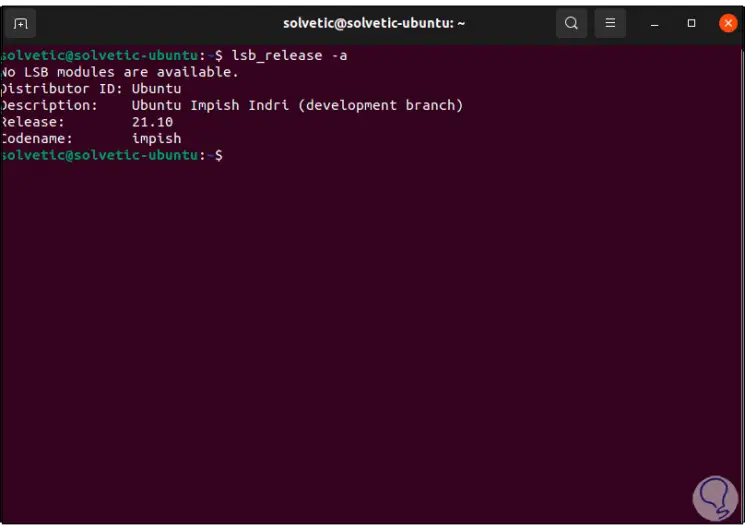
We check the Ubuntu version:
lsb_release -a
Step 12
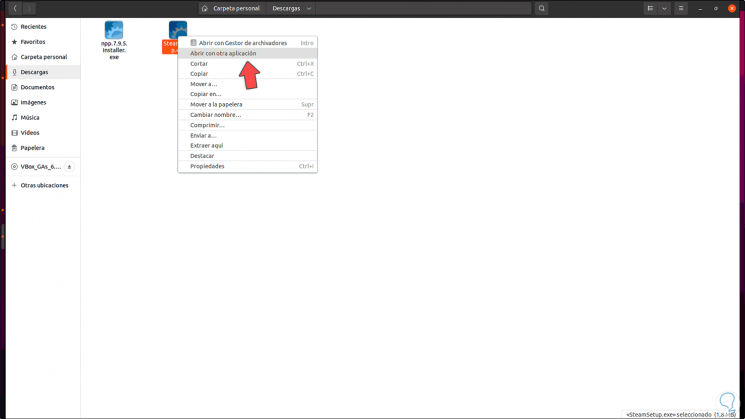
We are ready to use Windows applications, for this one of the methods is to click on the executable and select "Open with another application". Then search Wine.
Step 13
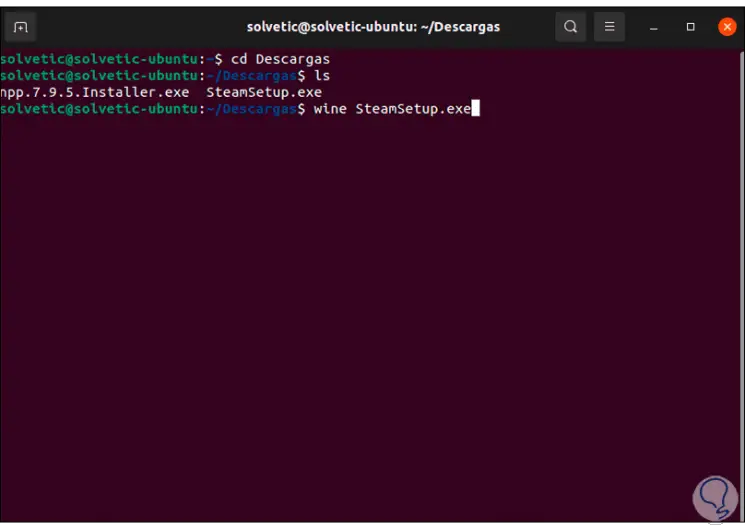
Optional in the terminal it is possible to execute the following syntax.
wine app.exe
Step 14
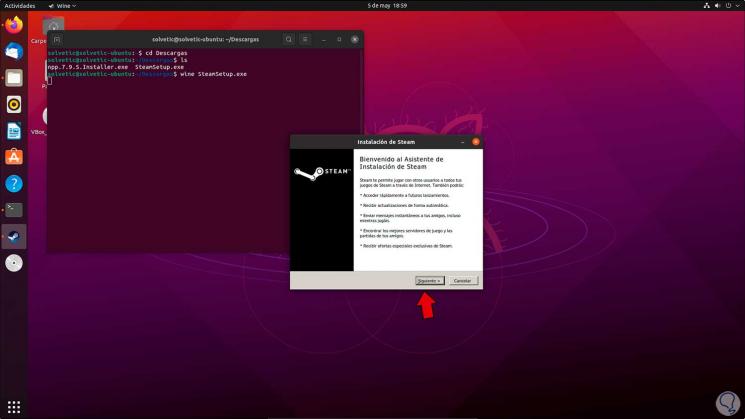
Pressing Enter will open the installation wizard:
Step 15
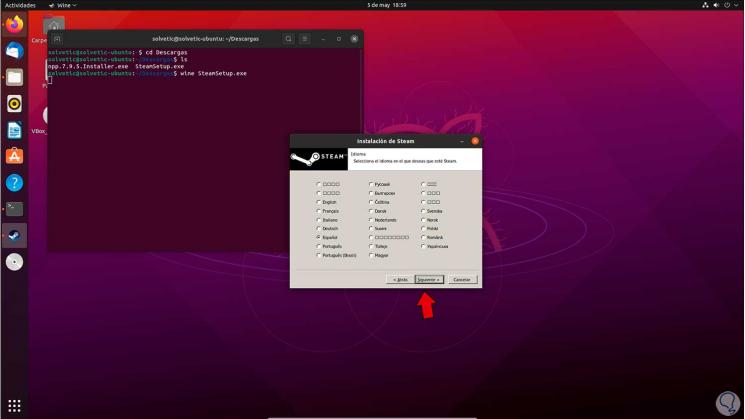
There we follow the steps of this:
Así de sencillo podemos aprovechar las ventajas de Wine para ejecutar aplicaciones de Windows en Ubuntu 21.10..