Virtualization is one of the most important advantages that we as users and system administrators have since virtualization gives us the opportunity to test both operating systems and applications completely without the need to put the real environment at risk and without having to buy additional hardware. Today we have virtual platforms for such a function, but something very functional (and by the way more secure and compatible) is to make KVM. If you do not know what we mean, we invite you to continue reading this tutorial so that you know more about this functionality and how it can be applied in CentOS 8 or RHEL 8..
What is KVM
KVM (Kernel Virtual Machine - Kernel-based Virtual Machine) has been developed as an open source virtualization technology integrated into the Linux operating system which gives us the opportunity to turn Linux into a hypervisor, that is, the real environment will be able to run environments virtual of various types and isolated which we know as virtual machines (VM) or guests.
KVM had its appearance in 2006 and was integrated into the version of the main Linux kernel in 2007. The basic operation of KVM is that KVM turns our CentOS 8 into a Type 1 hypervisor, that is, without an operating system. In this case, all hypervisors require components scaled to the operating system level so that virtual machines can be fully executed. For this, KVM integrates the necessary components for this because it is part of the kernel of the Linux operating system itself, this gives us the opportunity for a virtual machine to be implemented as a Linux process and to which hardware aspects such as memory are delivered, discs, video, network card or CPU.
KVM Features
Some of the KVM features are:
- KVM implements a combination of security-enhanced Linux (SELinux) and secure virtualization (sVirt) in the field of security, and it also has an isolation character that has been improved in machine virtualization.
- KVM is 100% compatible with certified hardware platforms and compatible with all Linux distributions.
- LVM is able to use all kinds of Linux compatible storage.
- KVM inherits the memory management functions of the system which integrates with the virtual machine.
- KVM inherits Linux performance by default, but does not affect the real environment when running one or more virtual machines.
Let's see how to install KVM on CentOS 8..
1. Check CentOS 8 Linux hardware
Step 1
The first step to take will be to validate that the hardware platform can support virtualization, for this we execute the following command:
grep -e 'vmx' / proc / cpuinfo (Intel) grep -e 'svm' / proc / cpuinfo (AMD)
Step 2
We validate that KVM is installed with the following command:
lsmod | grep kvm
Step 3
We can validate the information with the cat command. In the "flags" section we will look for the term "vmx".
cat / proc / cpuinfo

2. Configure Cockpit Web Console CentOs 8
The Cockpit console is integrated into the operating system itself in order to perform various tasks from a web browser, with this console it will be possible:
- Carry out general system tasks
- Create and manage virtual machines
- Access system and application logs
Step 1
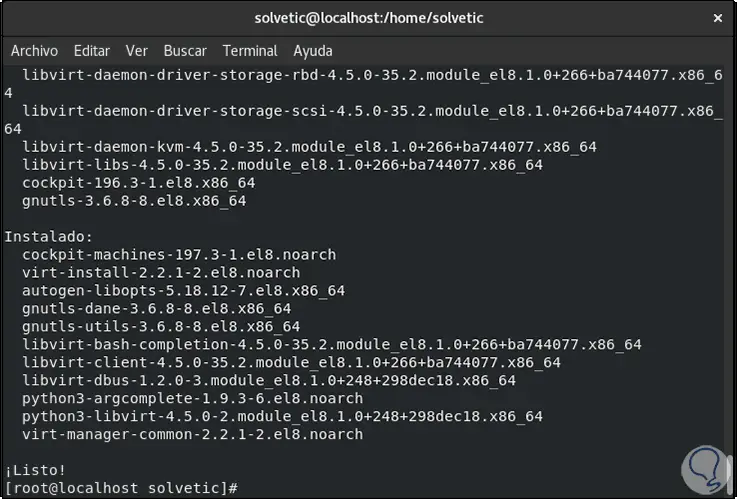
Cockpit is installed and enabled by default in CentOS 8 but we must add a plugin to manage virtual machines, we will do this with the following command:
dnf install cockpit cockpit-machines
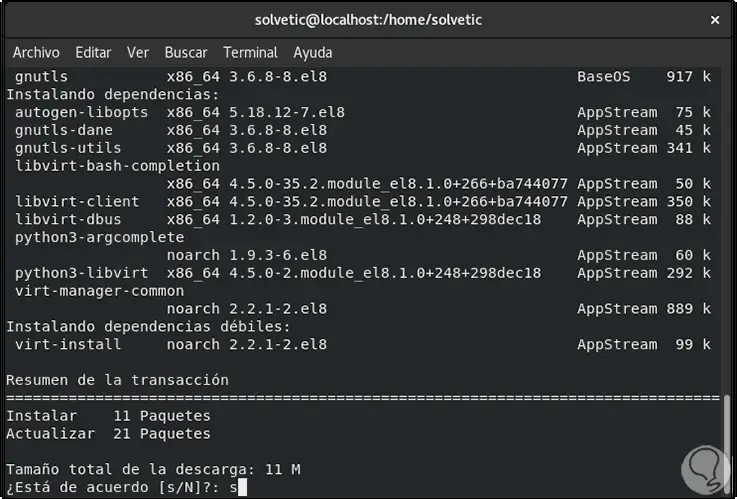
Step 2
We enter the letter "S" to confirm the download and installation:
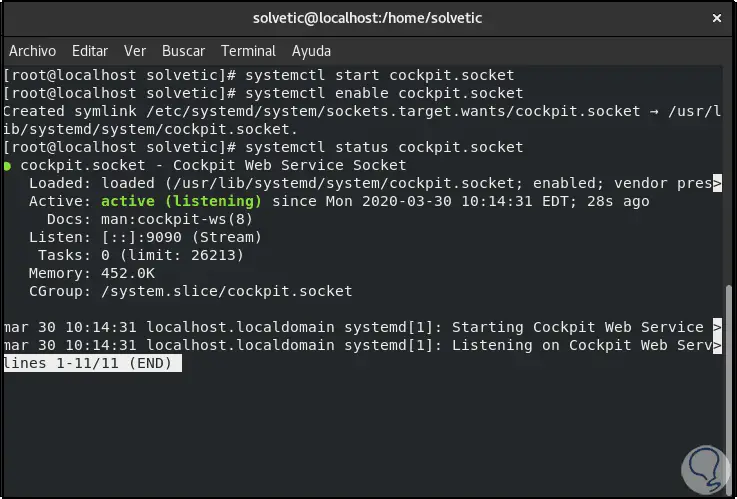
Step 3
Then we will execute the following lines to start, enable and view the status of the Cockpit service:
systemctl start cockpit.socket systemctl enable cockpit.socket systemctl status cockpit.socket
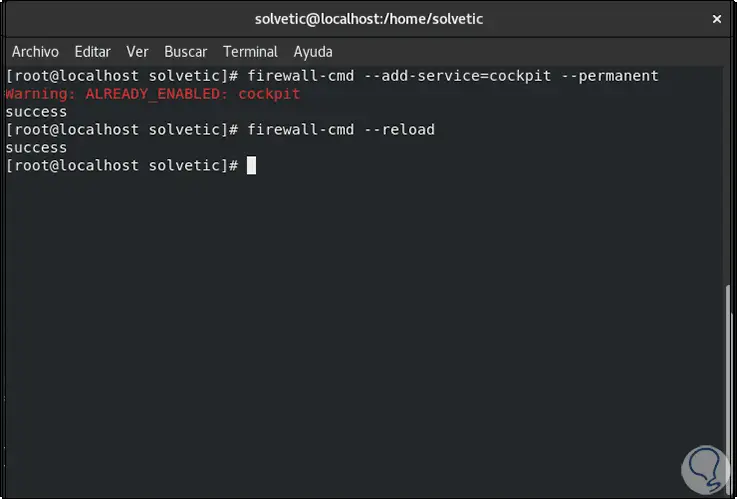
Step 4
We grant the permissions in the CentOS 8 Firewall:
firewall-cmd --add-service = cockpit --permanent firewall-cmd –reload
Step 5
We access the Cockpit console by accessing from a browser with the following syntax:
https: // computer_IP: 9090
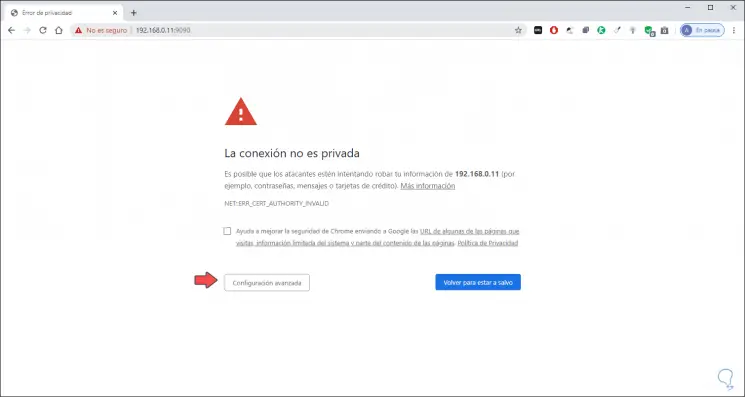
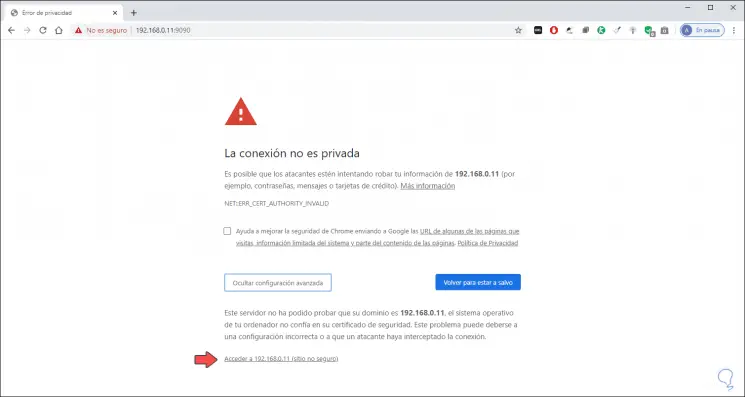
Step 6
This warning is given because Cockpit uses HTTPS certificates, to continue we click on "Advanced configuration" and there we click on the line "access IP":
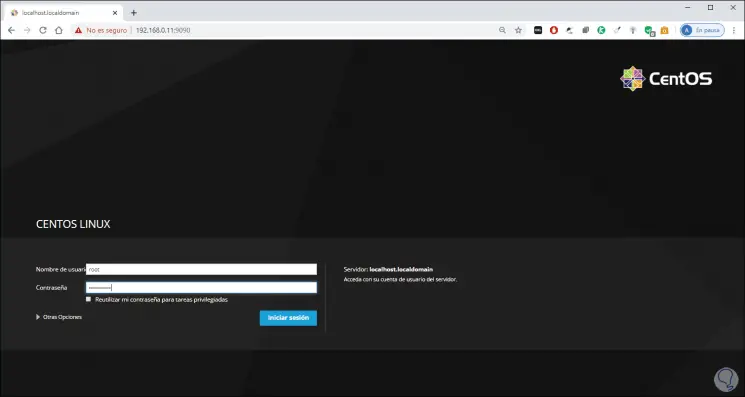
Step 7
With this we will go to the Cockpit central console where we enter the CentOS 8 root user data:
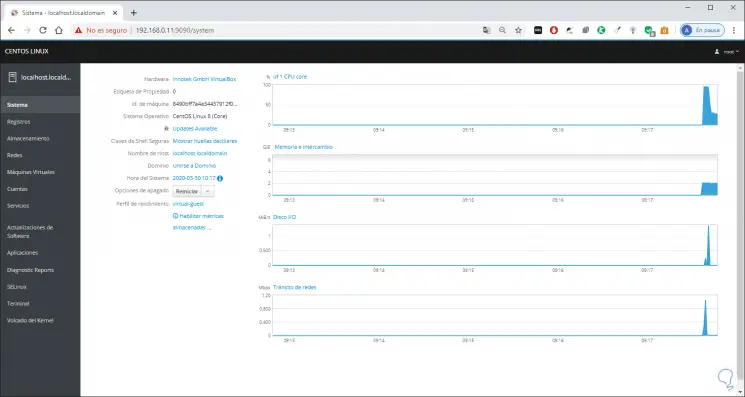
Step 8
We click on "Login" and this will be the Cockpit environment:
3. Virtualize KVM on CentOS 8
The next step will be to install the virtualization module as well as some virtualization packages necessary for optimal operation, for example, the virt-install package is a tool to install virtual machines directly from the command line interface and in the same way it integrates a virtual viewer to access virtual machines.
Step 1
We execute the following:
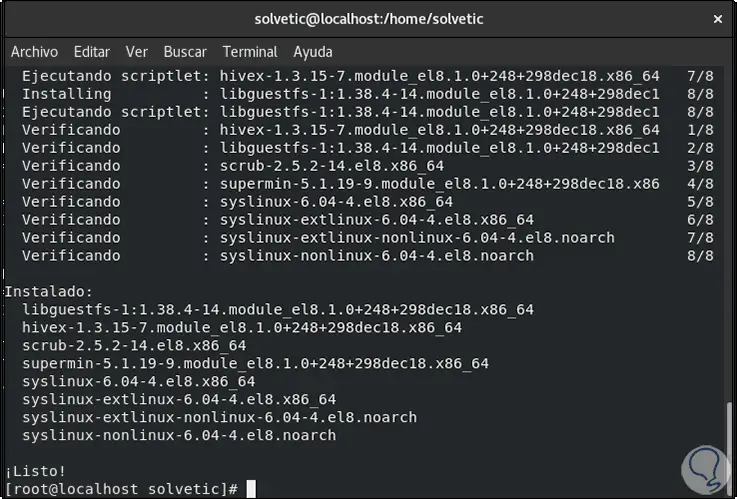
dnf module install virt
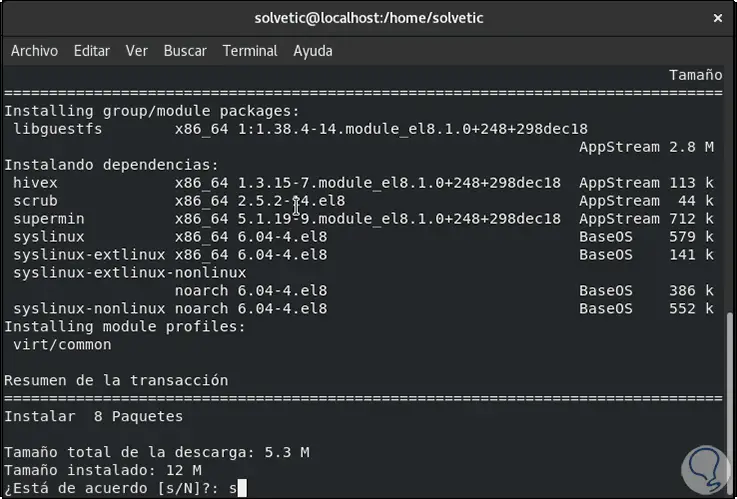
Step 2
We enter the letter "s" to accept the download and installation of the packages:
Step 3
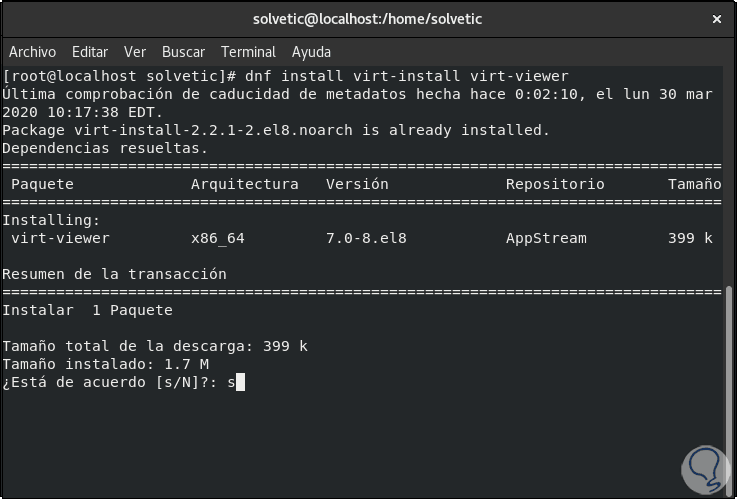
Now we execute the following. Again we confirm the download and installation.
dnf install virt-install virt-viewer
Step 4
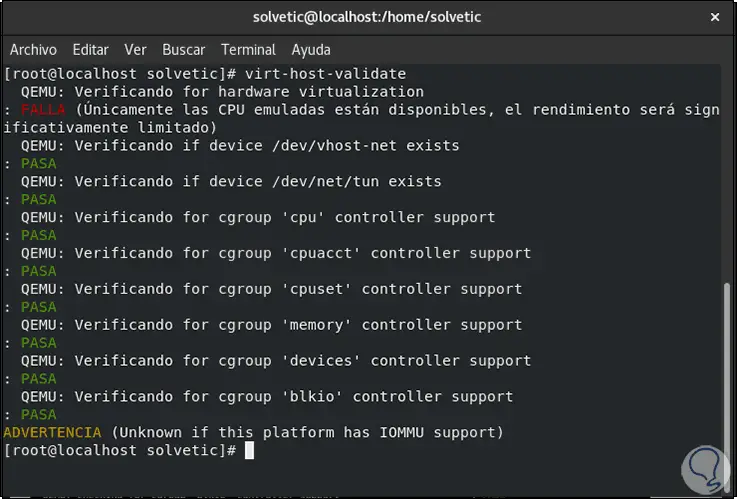
After this, we are going to run the following command in order to validate if the libvirt hypervisor drivers are run correctly. In this case we can see that the QEMU line has an error, later we will see what it affects and how to correct it.
virt-host-validate
Step 5
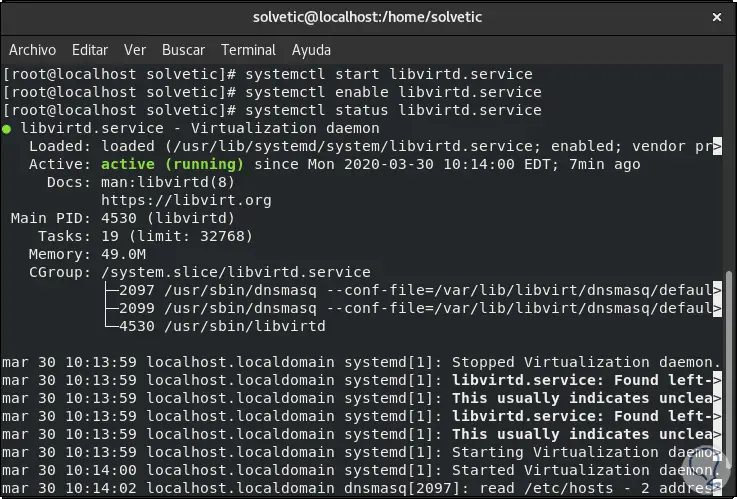
Let's start, enable and view the status of libvirtd:
systemctl start libvirtd.service systemctl enable libvirtd.service systemctl status libvirtd.service
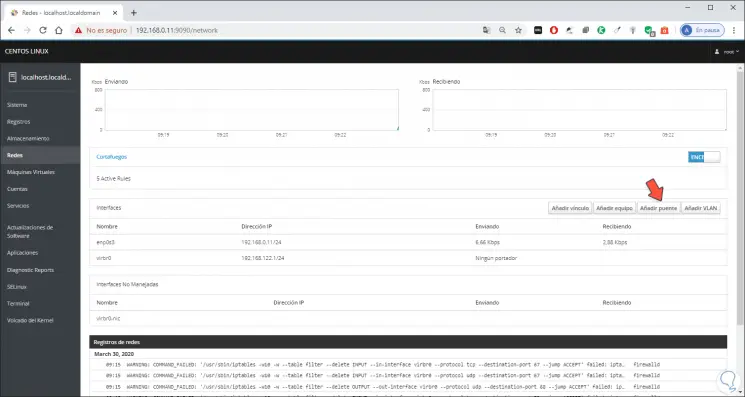
4. Configure Network Bridge adapter (virtual adapter) in Cockpit
CentOS 8
This step covers the creation of the virtual network switch with which it will be possible to integrate virtual machines in the same network of the real equipment, by default, when the libvirtd daemon starts, the default network interface virbr0 is activated, which refers to the virtual network switch acting in NAT mode by default..
Step 1
To create this switch, go to the "Networks" section and click on the "Add bridge" button:
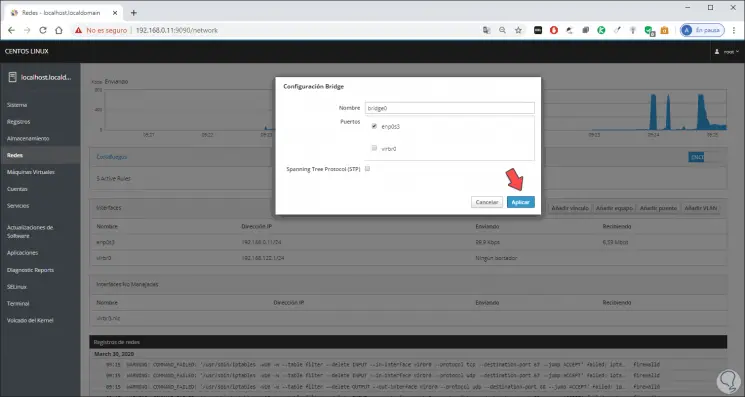
Step 2
In the displayed window we enter the desired name and select the name of the CentOS 8 network adapter. We click "Apply" to save the changes.
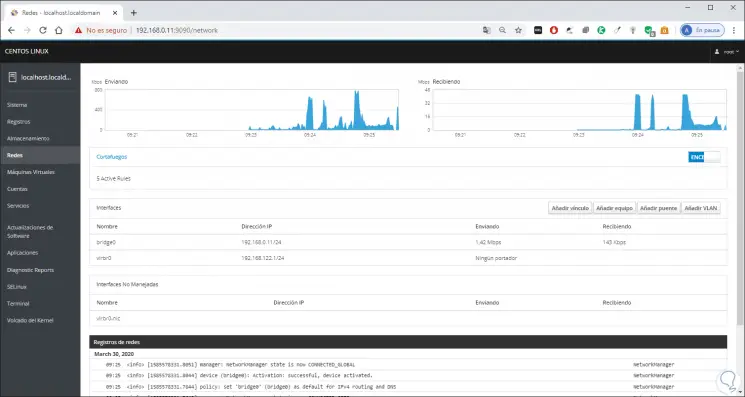
Step 3
We will see the new bridge adapter available from Networks:
5. Create and configure virtual machines with Cockpit
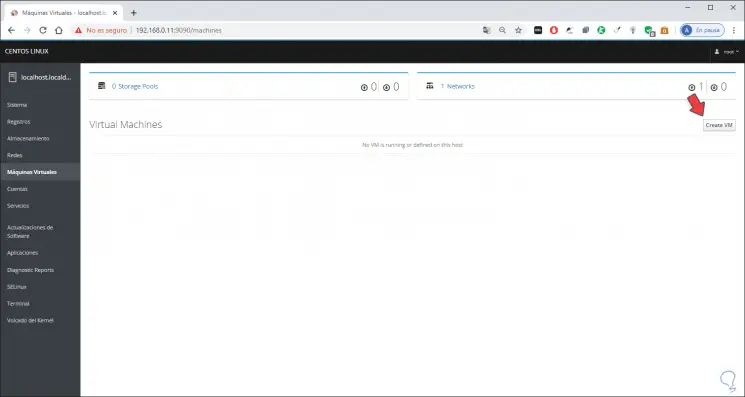
Step 1
It is time to create our virtual machine in Cockpit, for this we go to the "Virtual machines" section and click on "Create VM":
Step 2
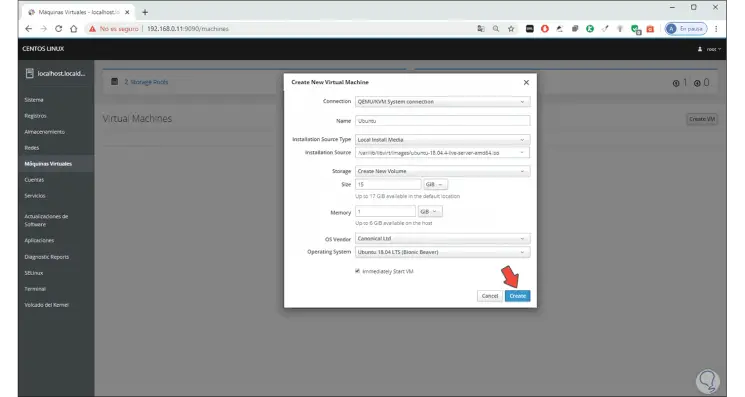
In the pop-up window we enter the following:
- In the field "" we leave the default value
- In the field "Installation Source Type" we select Local Install Media
- In “Installation Source†we enter the path / var / lib / libvirt / images / followed by the name of the ISO image to use
- In “Storage†we define Create New Volume
- In "Size" we assign the size of the virtual disk (can be in GB or MB)
- In "Memory" we assign the RAM memory (GB or MB)
Step 3
Cockpit will automatically detect the manufacturer and version of the ISO. There we click on “Create†to start the process
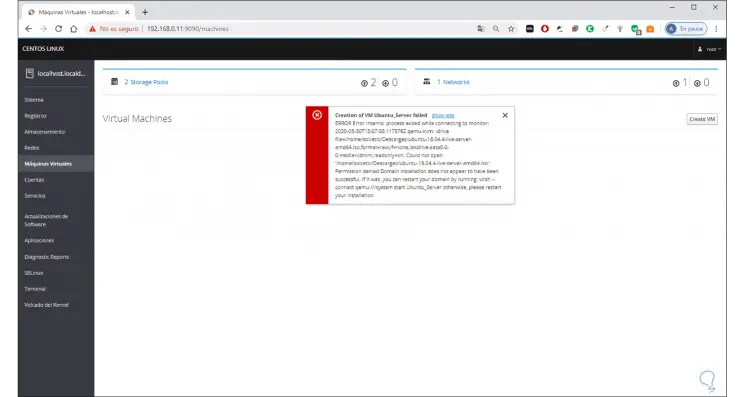
Step 4
and since QEMU is not present an error will be given when creating it:
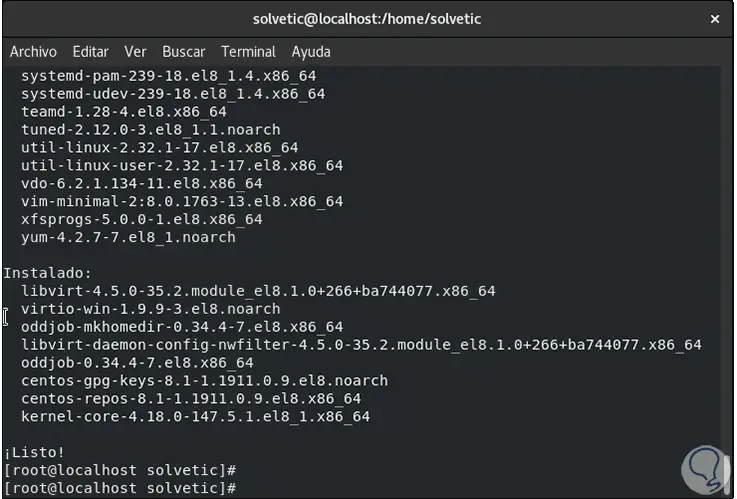
Step 5
To activate QEMU we will execute the following:
sudo yum groupinstall "Virtualization Host"
Step 6
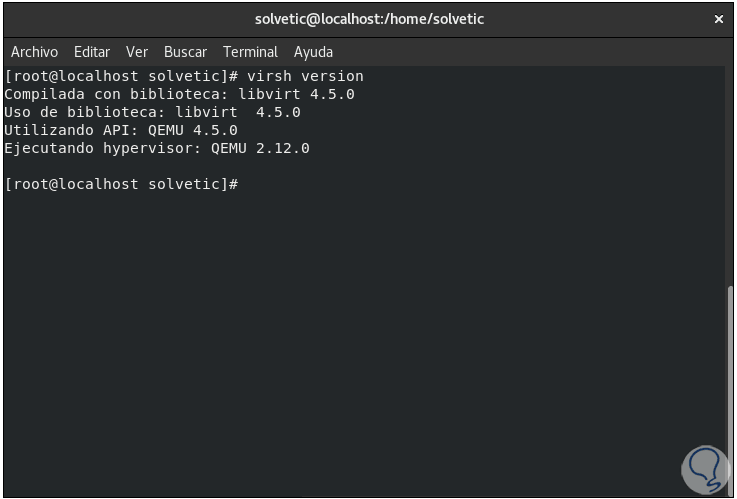
Once this is installed we validate that QEMU has been installed by executing the following:
virsh version
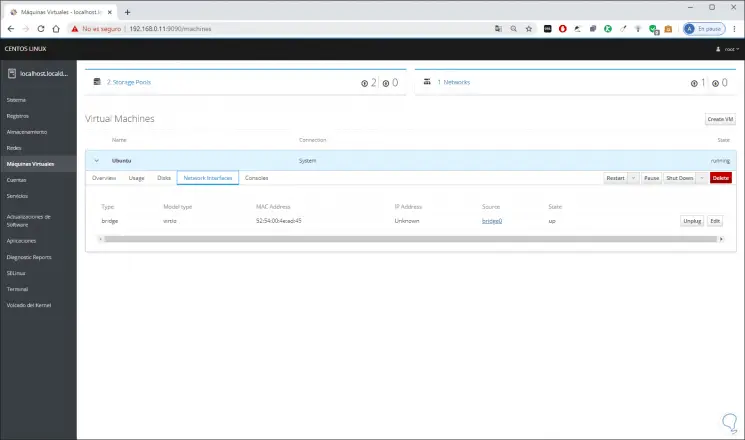
Step 7
Once QEMU has been validated, we go back to Cockpit and check that the network is active:
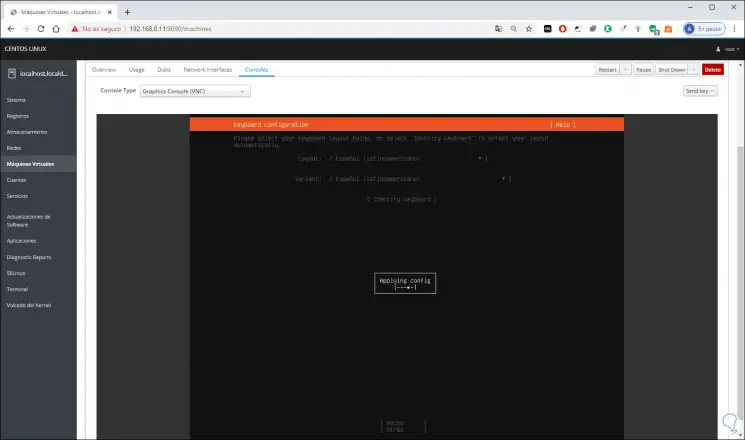
Step 8
With this we can start the virtual machine and we will see the whole normal system configuration process:
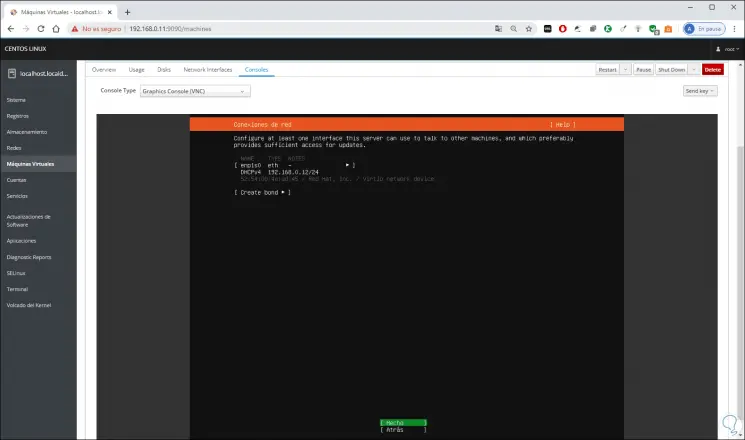
Step 9
By accessing the network section of the system we can verify that it uses the DHCP of the physical equipment:
Step 10
Then we enter username and password:
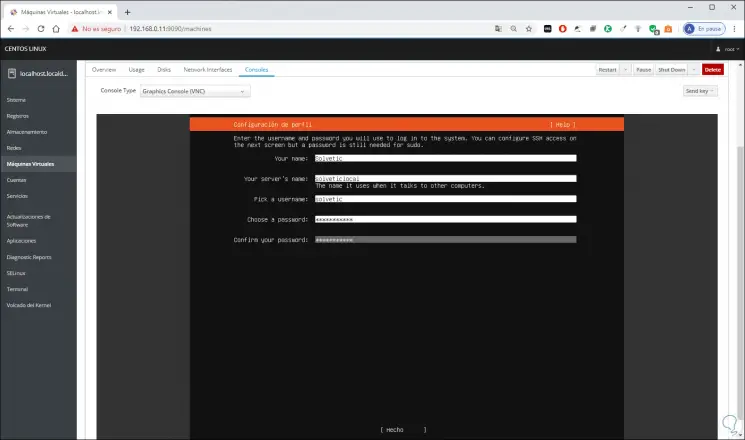
Step 11
to allow remote administration:

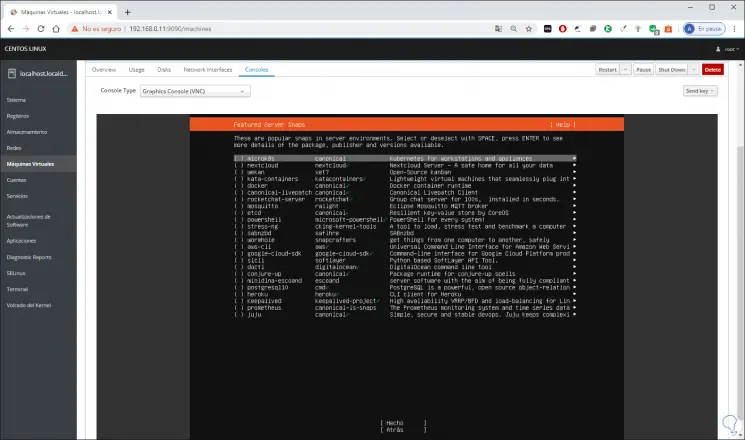
Step 12
We can install plugins:
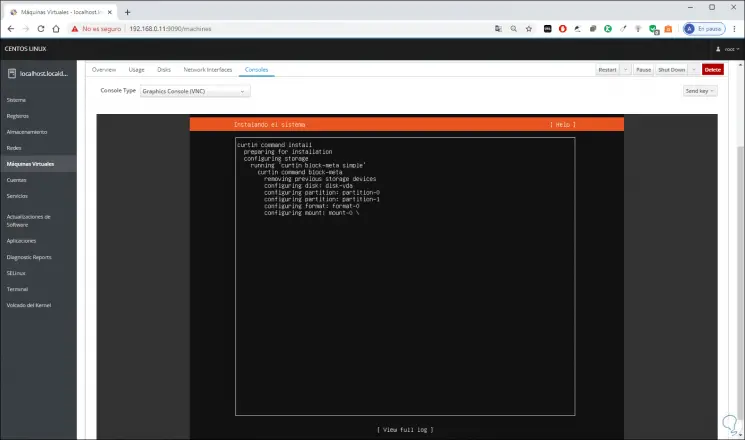
Step 13
After this the installation process will take place:
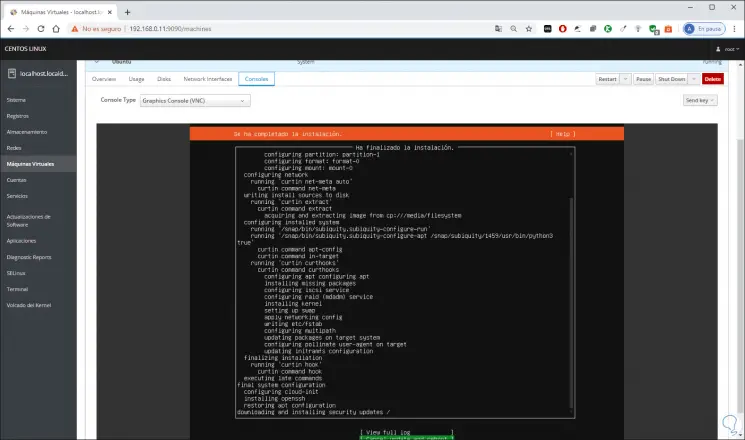
Step 14
When this ends we will see the following:
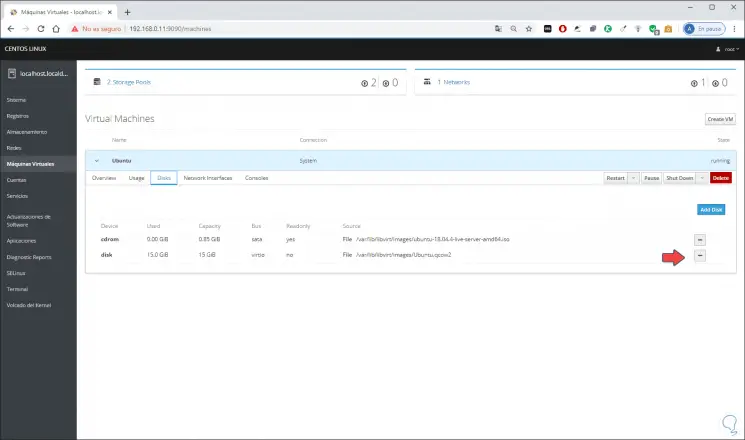
Step 15
Now we must go to the "Disks" section and there delete the disk with the used ISO image, in this example we click on the sign - located in "cdrom"
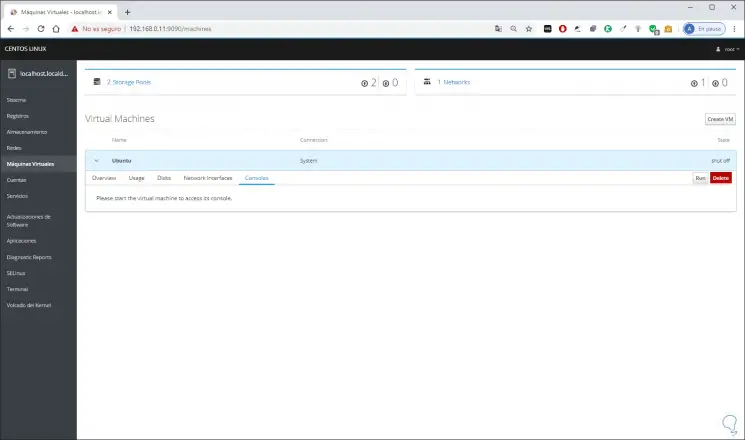
Step 16
To manage the virtual machine we will go to the "Consoles" tab where it will be possible:
- Start the virtual machine with Run
- Shutdown with ShutDown (when VM is active)
- Restart it with Restart (when the VM is active)
- Pause it with Pause (when the VM is active)
Step 17
As we mentioned, OpenSSH has been enabled for remote access and management, for this we can use an SSH client and enter the following. With this we will have control of the virtual machine.
ssh [email protected]

With these steps that TechnoWikis has explained to you, you will be able to create and manage virtual machines in CentOS 8 thanks to KVM.